

Gree Terra GWH09TB-D3DNA1A, Terra GWH12TB-D3DNA1A, Terra GWH18TC-D3DNA1A, Terra GWH24TD-D3DNA1A Owner's Manual
DUCTLESS INVERTER
HEAT PUMP
OWNER’S MANUAL
Models:
GWH09TB-D3DNA1A
GWH12TB-D3DNA1A
GWH18TC-D3DNA1A
GWH24TD-D3DNA1A

Thank you for choosing a
Ductless Heat Pump!
You can feel confident in your selection because the same pride in
craftsmanship and engineering knowledge that goes into millions
of other Gree installed products worldwide has gone into your unit.
Please read this owner’s manual carefully before operation
and retain it for future reference.
Contents
• Safety Precautions 2
• Part Names 4
• Operation of Wireless Remote Controller 5
• Selecting Operating Mode and Key Features 12
• Setting the Room Temperature Set Point 13
• Selecting the Swing Louver Position 14
• Timer Functions 15
• Sleep Functions 17
• System Functions 19
• Operation of Wireless Remote Controller 21
• Care and Cleaning 22
• Troubleshooting 23
• System Operations 25
• Energy Saving Tips 26
1
SAFETY PRECAUTIONS
Please read the following before installation.
Recognize safety information. This is the safety-alert symbol. When you see this
symbol on the unit and in instructions or manuals, be alert to the potential for personal
injury. Understand these signal words: DANGER, WARNING, and CAUTION. These
words are used with the safety-alert symbol.
DANGER identifies the most serious hazards which will result in severe personal injury
or death.
WARNING signifies hazards which could result in personal injury or death.
CAUTION is used to identify unsafe practices which may result in minor personal
injury or product and property damage.
NOTE is used to highlight suggestions which will result in enhanced installation,
reliability, or operation.
NOTE: Your actual heat pump system and related devices may differ from the images
shown in this manual.
This appliance is not intended for use by children without responsible adult supervision.
Proper care should be taken to ensure safety.
WARNING
Heat pumps, air conditioners & heating equipment should be installed, started up, and
serviced only by qualified installers and service technicians. Air conditioning, heat pumps
and refrigeration systems are hazardous due to high voltage electrical components,
high refrigerant pressures, and moving parts.
2
SAFETY PRECAUTIONS
Please read the following before operation.
WARNING
• Disconnect electrical power to heat pump system before performing any maintenance
or cleaning.
• Do not attempt to repair the heat pump system yourself. Incorrect repairs may cause
electric shock or fire. Contact a qualified service technician for all service requirements.
CAUTION
• Do not stand on the top of the outdoor unit or place heavy things on it. This could cause
personal injuries or damage the unit.
• Do not put hands or any objects into the air inlets or outlets. This may cause personal
injury or damage the unit.
• When cleaning, be careful not to splash water on the unit. Doing this may cause
electric shock or damage to unit.
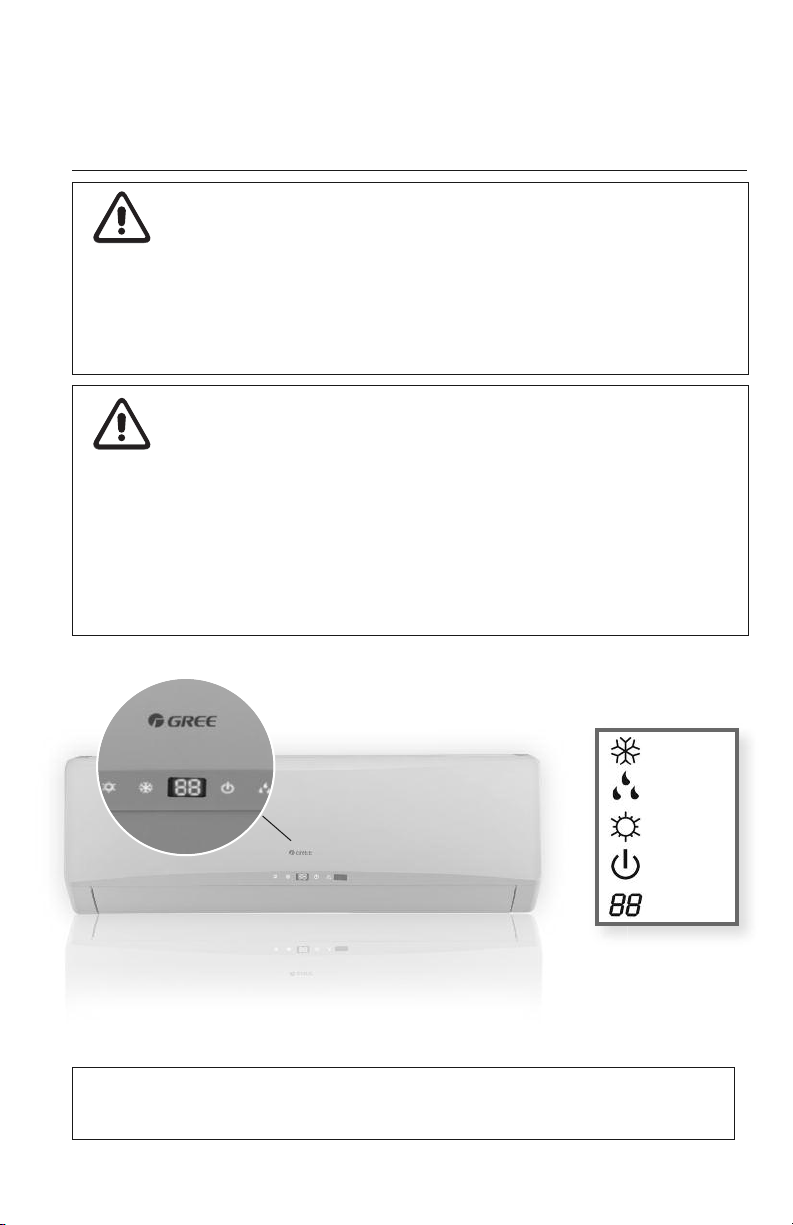
Icons Displayed
: COOL
: DRY
: HEAT
: POWER
: SET TEMP
Front Panel Display
The front panel on the indoor unit contains system status lights and an easy-to-read LED
display. The LED display is used to display room setpoint, indoor temperature, outdoor
temperature, or malfunction codes. See"Temp" button description for more details.
NOTE: The indoor unit display panel can be turned ON or OFF via the LIGHT button
on the remote controller. See "LIGHT" button description for more detail.
3
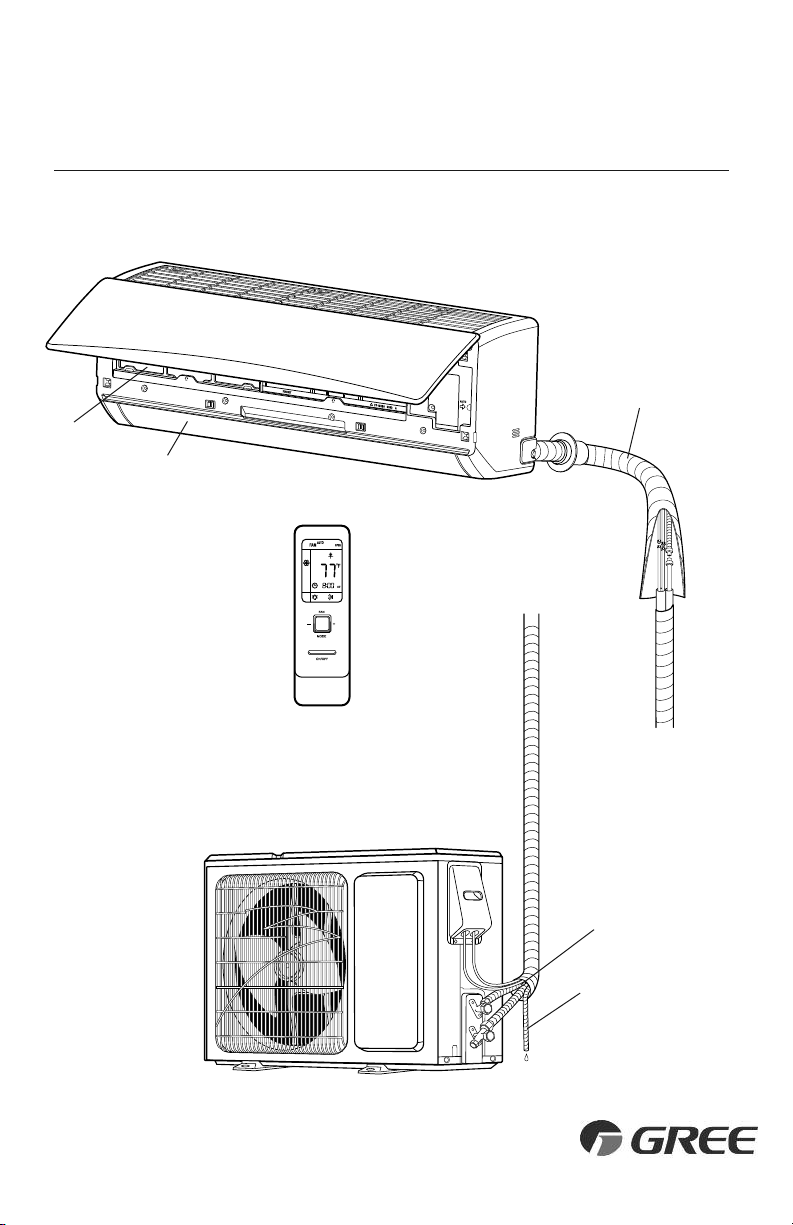
PART NAMES
Indoor unit
2
3
4
5
Part Name
1. Remote Controller
2. Front Panel
3. Photocatalytic Air Filter
4. Swing Louvers
5. Refrigerant Pipes
6. Insulation
7. Refrigerant Pipes
8. Drain Hose
Outdoor unit
1
6
7
8
4

OPERATION OF WIRELESS REMOTE CONTROLLER
REMOTE CONTROLLER OPERATIONS
The Terra universal wireless remote controller is sleek, versatile and allows you to change
room temperatures and functions on unit from the palm of your hand. The large LCD
display and buttons make it easy-to-understand and easy-to-use.
The remote controller may be used for several Terra units. It can operate the unit from a distance
of up to 25 ft. (7.6 m) as long as there are no obstructions. This is one-way communication only
(from remote controller to indoor unit.)
The remote controller is set from factory to display temperatures in°F. If °C is desired, turn
the remote OFF and then press “MODE“ and “––” buttons on the remote simultaneously.
ON/OFF Button
•
Pressing this button will turn the unit on and off. After pressing the "ON" button, the“OPER"
icon will be displayed. When the unit is turned OFF, the“OPER"icon will disappear.
MODE Button
• Pressing this button will present the AUTO, COOL, DRY, FAN and HEAT mode options
which can then be selected. AUTO mode is the default mode. When the indoor unit first
powers on under this mode, the temperature will not be displayed.
FAN Button
• Pressing this button will present the AUTO, LOW, MEDIUM-LOW, MEDIUM,
HIGH and ULTRA-HIGH speed options which can then be selected.
NOTE: When the indoor unit first powers on, the AUTO fan speed is the default mode.
In DRY MODE, the fan will automatically run at low speed.
TEMP Button
• Pressing this button will select either Room Setpoint, Room Temperature or
Outdoor Temperature on the indoor unit front panel display. The front panel
display will always revert to room setpoint after 5 seconds. When the indoor
unit first powers on it will display the room setpoint setting. Look for the
“thermometer” icon to appear inside or outside the ”house” icon on the
remote controller display, indicating whether the front panel is displaying
room setpoint, indoor or outdoor temperatures.
CAUTION
• Do not drop or throw remote controller.
• Protect remote controller from water
• Keep remote controller away from direct sunlight or high heat.
Indoor
Temperature
Outdoor
Temperature
5

OPERATION OF WIRELESS REMOTE CONTROLLER
Signal Transmitter
ON/OFF Button
FAN Button
TEMP Button
MODE Button
6
OPERATION OF WIRELESS REMOTE CONTROLLER
Remote Controller Functions
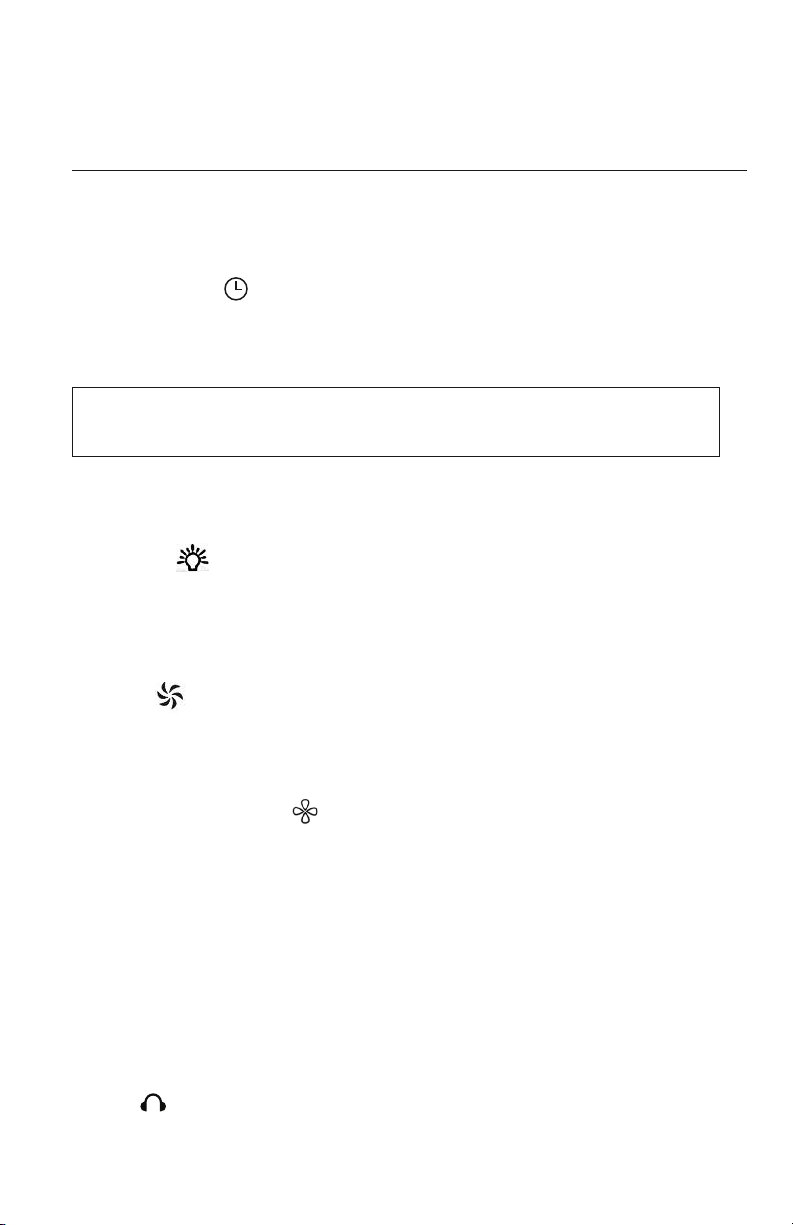
CLOCK Button
• Press the CLOCK button to enter Clock Setup Mode. The clock icon will begin
flashing. Set the clock by pressing the + or - buttons. Press once for slow adjustment;
press and hold down for fast adjustment. When finished, press the CLOCK button to
save your clock settings.
NOTE: The clock panel on the remote controller will display the time regardless of
whether the unit is ON or OFF.
LIGHT Button
• Press the LIGHT button to turn On or Off the display on the indoor unit front panel.
When the indoor unit first powers on, the front panel display will default to ON.
The LIGHT icon will display when the front panel display is ON.
TURBO Button
• Press the TURBO button to reach the desired room temperature faster. After
selecting the“HEAT”or“COOL” mode button, push the“TURBO” button. This
will force the unit to run at ultra high speed. When TURBO mode is running, the
TURBO icon is displayed on the remote controller.
X-FAN Button
• Press the X-FAN button to allow the indoor fan to run for 10 minutes after the
unit is turned off (cooling or dry modes only) to ensure that additional moisture is
removed from coil. X-FAN icon will be displayed on remote controller.
+ Button
• Press the + button to raise the room setpoint. Press once for slow adjustment and
hold down for fast adjustment.
– Button
• Press the – button to lower the room setpoint. Press once for slow adjustment and
hold down for fast adjustment.
QUIET Button
• Press the QUIET button to enter QUIET mode. The unit will provide quiet comfort
at low fan speed. This feature is active in HEAT or COOL modes only. The QUIET
mode icon will be displayed.
7
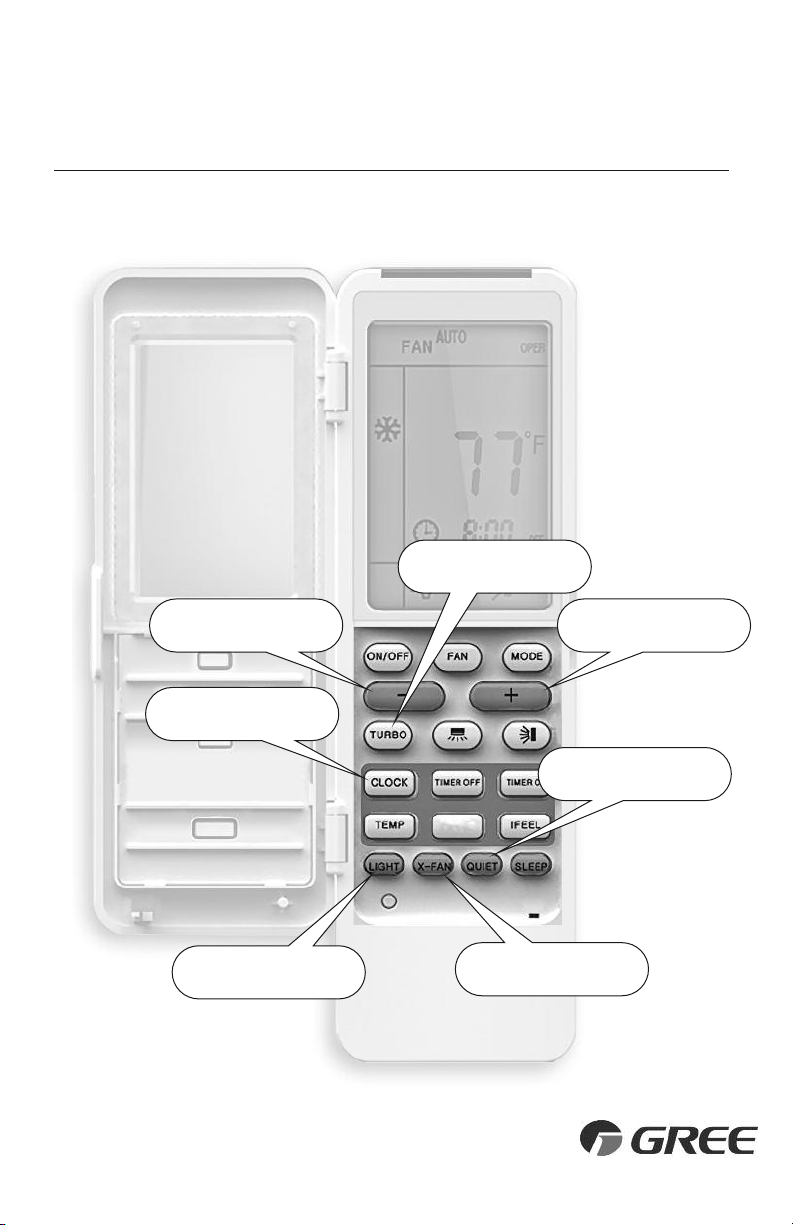
OPERATION OF WIRELESS REMOTE CONTROLLER
TURBO Button
– Button + Button
CLOCK Button
LIGHT Button
QUIET Button
X-FAN Button
8
 Loading...