

P13929 19/12/05

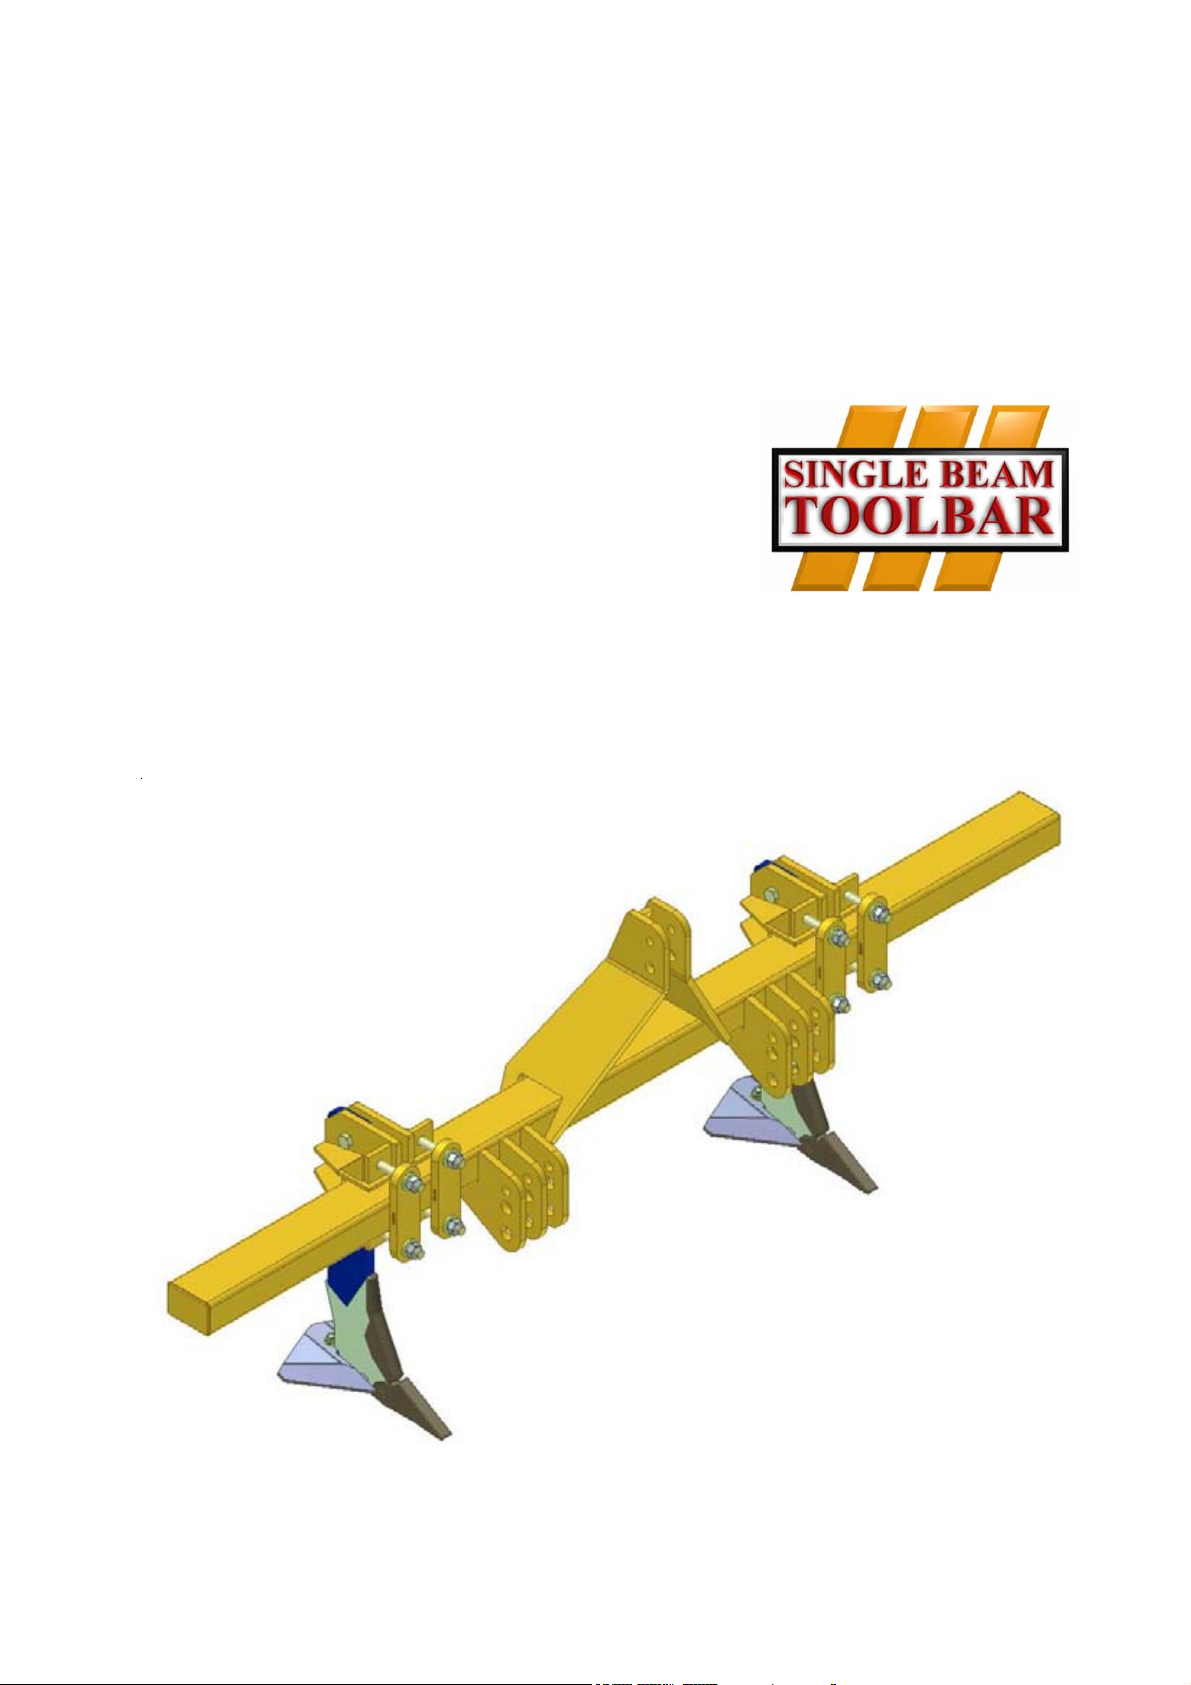
Single Beam Toolbar
2
Operating Instructions
Declaration of Conformity
DECLARATION OF CONFORMITY
Simba International Limited hereby declare that the Product described in this Operators Manual, and defined
by the 5 digit Registration number stamped onto the inside of the roller, conforms with the following Directives
and Regulations, and has been certified accordingly.
EC Machinery Directive 89/392/EEC, as amended by 91/3688/EEC, 93/44/EEC, and
93/688/EEC.
In order to fulfill the requirements of health and safety described in the EC Directive, the following standards
and technical specifications have been taken into account:
EN 292 - 1
EN 292 - 2
THE MANUFACTURER
Simba International Limited
Woodbridge Road
SLEAFORD
NG34 7EW
Lincolnshire
NG34 7EW
England.
Telephone 01529 304654.
CERTIFIED ON BEHALF OF SIMBA INTERNATIONAL LIMITED.
Philip J. Wright. BSc (Hons) C Eng. MI Agr.E
Technical Director.
Operating Instructions
3Single Beam Toolbar

y
.
a
e
r
r
t
y
e
o
e
e
l
e
s
e
s
s
e
l
Warranty
WARRANTY
TERMS AND CONDITIONS
In this warranty Simba International Ltd., is referred to as “the Company”.
1. Subject to the provisions of this warranty the Company warrants each new machine sold b
it to be sold free from any defect in material or workmanship for a period of 12 months from
date of installation with the end-user.
Some specific items have additional warranty over and above the standard 12 months
Details of these can be obtained upon request directly from the distributor or Simb
International Ltd.
2. If the machine or part thereof supplied by the Company is not in accordance with th
warranty given in clause 1 the Company will at its option:
(a) make good the machine or part thereof at the Company’s expense, or
(b) make an allowance to the purchaser against the purchase price of the machine o
part thereof, or
(c) accept the return of the machine and at the buyers option either:
I) repay or allow the buyer the invoice price of the machine or part thereof, o
II) replace the machine or part thereof as is reasonably practical.
3. This warranty shall not oblige the Company to make any payment in respect of loss of profi
or other consequential loss or contingent liability of the Purchaser alleged to arise from an
defect in the machine or impose any liability on the Company other than that contained in
clause 2.
4. Any claim under this warranty must be notified to the Company in writing specifying th
matters complained of within 14 days from the date of repair.
5. Any claim under this warranty must be made by the original purchaser of the machine and
is not assignable to any third party.
6. If the purchaser hires out the machine to any third party the warranty shall apply only t
matters notified to the Company in writing within 90 days of the date of delivery and claus
1 shall be read as if the period of 90 days were substituted for the period of 12 months.
7. The warranty will cease to apply if:
(a) any parts not made, supplied or approved in writing by the Company are fitted to th
machine or
(b) any repair is carried out to the machine other than by or with the express written approva
of the Company or
(c) any alterations not expressly authorized by the Company in writing are made to th
machine or
(d) the machine is damaged by accident or
(e) the machine is abused or overloaded or used for a purpose or load beyond its design
capabilities, or used in conjunction with a tractor whose power output capability exceed
the stated implement power requirement by more than 40%. For the purpose of thes
terms and conditions, “stated implement power requirement” refers to wheeled tractor
unless specifically stated. These power requirements should be reduced by 20% when
used in conjunction with tracked tractors.
(f) the machine is operated as part of a ‘cultivation train’ where more than one implement i
being towed, without the express written approval of Simba International Ltd.
(g) any maintenance is not carried out in accordance with the service schedules in th
operator’s manual.
(h) the Installation and Warranty Registration Certificate is not received by Simba Internationa
Ltd., Service Dept., Woodbridge Road, Sleaford, Lincolnshire, England, NG34 7EW, within
7 days of installing a new machine.
Single Beam Toolbar
4
Operating Instructions

Machine Identification
Enter the relevant data in the following list upon
acceptance of the machine:
Serial Number
Type of Machine
Machine Width
Year of Construction
Delivery Date
First Operation
Accessories
Operating Instructions/Spare Parts List: December 2005
Machine Identification
Dealer Address: Name: ......................................................................
Street: ......................................................................
Place: ......................................................................
Tel.: ................................................................. ....
Dealer's Customer No.: ............................................................
SIMBA Address: SIMBA
Woodbridge Road Ind. Est.
Sleaford
Lincolnshire
NG34 7EW
Tel.: 01529 304654
Fax: 01529 413468
E-Mail: simba.international@simba.co.uk
SIMBA Customer No.: .................................................................
Operating Instructions
5Single Beam Toolbar

Single Beam Toolbar
6
Operating Instructions

Table of Contents
Contents
Machine Identification .......................................................................................................5
Introduction ............................................................................................. 8
Foreword ......................................................................................................................... 8
Warranty Guidelines ......................................................................................................... 8
1. Safety Data ...................................................................................... 9
1.2 Use for the Intended Purpose ................................................................................. 9
1.3 Operational Safety ................................................................................................ 10
1.4 No Liability for Consequential Damage ................................................................ 10
1.5 Changing Equipment ............................................................................................ 10
1.6 During Operation .................................................................................................. 10
1.7 Servicing & Maintenance ...................................................................................... 10
2. Transportation and Installation.................................................... 11
2.1 Delivery ................................................................................................................ 11
2.2 Transportation ...................................................................................................... 11
2.3 Installation ............................................................................................................ 11
2.4 Hitching-up the machine ....................................................................................... 11
3. Adjustment/Operation ................................................................... 12
3.1 Description........................................................................................................... 12
3.2 Pro-Lift tines .........................................................................................................13
3.2.1 Pro-Lift Wings ...................................................................................................... 13
3.3 Furrower Tines ..................................................................................................... 14
3.4 Marker Arms......................................................................................................... 14
3.5 Work Instructions .................................................................................................. 14
3.6 Checks................................................................................................................. 14
3.7 Parking ................................................................................................................ 14
4. Servicing and Maintenance .......................................................... 15
4.1 Servicing .............................................................................................................. 15
4.2 Cleaning ............................................................................................................... 15
4.3 Storage / Parking ................................................................................................. 15
4.4 Operator Support ................................................................................................. 15
4.5 Maintenance Intervals ........................................................................................... 15
4.6 Maintenance Overview ......................................................................................... 16
5. Parts and Assembly .......................................................................... 17
Operating Instructions
7Single Beam Toolbar

Introduction
Introduction
Foreword
Make sure you have read and follow the
Operating Instructions carefully before using
the machine. By doing so, you will avoid
accidents, reduce repair costs and downtime
and increase the reliability and service life
of your machine. Pay attention to the safety
instructions!
SIMBA will not accept any responsibility for
any damage or malfunctions resulting from
failure to comply with the Operating
Instructions.
These Operating Instructions will assist you
in getting to know your component and in using
it correctly for its intended purposes. First, you
are given general instructions in handling the
component. This is followed by sections on
servicing, maintenance and the action to be
taken should a malfunction occur.
We reserve the right to alter
illustrations as well as technical data
and weights contained in these
Operating Instructions for the purpose
of improving the component.
Warranty Guidelines
1. The period of liability for material defects
(warranty) relating to our products is 12
months. In the case of written deviations
from the statutory provisions, these
agreements shall apply.
They shall become effective upon installation
of the machine with the end customer. All wear
parts are excluded from the warranty.
2. Warranty claims must be submitted to the
SIMBA Customer Service Department in
Sleaford via your dealer. It is only possible
to process claims which have been correctly
completed and submitted no later than 14
days after the date of repair.
These operating instructions are to be read
and followed by all persons working on or
with the component, e.g.:
• Operation (including preparation, remedying
of faults in the operating sequence and
servicing).
• Maintenance (maintenance and inspection)
• Transportation.
Together with the Operating Instructions, you
receive a Spare Parts List and a Machine
Registration form. Field service technicians
will instruct you in the operation and
servicing of your machine. Following this,
the Machine Registration form is to be
returned to SIMBA. This confirms your
formal acceptance of the machine. The
warranty period begins on the date of delivery.
3. In the case of deliveries made under the
warranty which are subject to the return of
the old parts, the old parts must be returned
to SIMBA within 28 days after the damage
occurred.
4. In the case of deliveries made under the
warranty which are not subject to the return
of the old parts, these parts must be kept for
the purpose of further decisions for a period
of 3 months after receipt of the warranty claim.
5. Warranty repairs to be carried out by
outside companies, or repairs which are
expected to take more than 10 working
hours, must be agreed upon in advance with
the Customer Service Department.
Single Beam Toolbar
8
Operating Instructions

Safety Data
1. Safety Data
The following warnings and safety instructions
apply to all sections of these Operating
Instructions. All safety instructions for the
machine should be followed.
1.1 Operating Instructions:
The Operating Instructions distinguish
between three different types of warning and
safety instructions. The following graphic
symbols are used:
Important!
Risk of injury!
Risk of fatal and serious injuries!
It is important that all the safety instructions
contained in these Operating Instructions
and all the warning signs on the machine
are read carefully.
1.2 Use for the Intended
Purpose
The SIMBA Single Beam Toolbar is built using
the latest technology and in accordance with
the relevant recognised safety regulations.
However, risks of injury for the operator or third
parties and impairment of the machine or
other tangible assets can arise during use.
The Toolbar unit is only to be operated when
in a technically perfect condition and for the
intended purpose, taking into consideration
safety and risks and following the Operating
Instructions. In particular, faults that can
impair safety are to be remedied
immediately.
Original parts and accessories from SIMBA
have been specially designed for this unit.
Spare parts and accessories not supplied by
us have not been tested or authorised.
Installation or use of non-original SIMBA
products may have a detrimental effect on
specific design features of the unit and affect
the safety of machine operators. SIMBA will
accept no liability for damage resulting from
the use of non-original parts or accessories.
Ensure that the warning signs are legible.
Replace any signs that are missing or
damaged.
These instructions must be followed in order
to prevent accidents. Inform other users of
the warnings and safety instructions.
Do not carry out any operations which may
affect safe use of the machine.
The SIMBA Single Beam Toolbar is designed
solely as a Toolbar unit. Use for any other
purpose, e.g., as a means of transport, will
be deemed to be improper use. SIMBA will
accept no liability for damage resulting from
improper use. The risk will be borne solely by
the operator.
Operating Instructions
9Single Beam Toolbar

Safety Data
1.3 Operational Safety
All protective and safety equipment, such as
removable protective equipment, must be in
place and functioning reliably before the
machine is put in use.
Check screws and bolts regularly for
tightness and retighten if necessary.
In the event of malfunctions, stop and
secure the machine immediately.
Ensure that any faults are remedied
immediately.
1.4 No Liability for
Consequential Damage
The Single Beam Toolbar has been
manufactured by SIMBA with great care.
However, problems may still occur when it is
used for the intended purpose. This may
include:
• Worn wearing parts.
• Damage caused by external factors.
• Incorrect driving speeds.
• Incorrect setting of the unit (incorrect
attachment, non-adherence to the Setting
instructions).
Therefore, it is crucial to always
check your Toolbar unit before and
during operation for correct
operation and adequate application
accuracy.
1.5 Changing Equipment
• Use suitable supports to secure any raised
frame sections suspended above you!
• Caution! Risk of injury due to projecting parts!
1.6 During Operation
The person in charge must:
• provide the operator with a copy of the
Operating Instructions.
• ensure that the operator has read and
understood the instructions.
1.7 Servicing &
Maintenance
Ensure that regular checks and inspections
are always carried out within the periods
required by law or specified in these
Operating Instructions.
Prior to performing maintenance and
servicing work, ensure that the machine is
positioned on solid, level ground and is secure
and stable.
Before cleaning the unit with water, steam jets
(high-pressure cleaning apparatus) or other
cleaning agents, cover all openings into
which, for reasons of safety or operation, no
water, steam or cleaning agents are to
penetrate.
When carrying out servicing and maintenance
work, retighten any loose screw connections.
Compensation claims for damage which has
not occurred to the component is excluded.
This includes any consequential damage
resulting from incorrect operation.
Single Beam Toolbar
10
Operating Instructions

Transportation & Installation
2. Transportation and
Installation
Transportation and initial installation of the
machine are described in this chapter.
2.1 Delivery
The Toolbar unit is normally delivered, fully
assembled, on a (low-bed) truck.
The machine can be lifted off with a crane,
fork-lift truck, or other suitable lifting
equipment.
When doing so, the weight, the centre of
gravity and the attachment points on the unit
are to be taken into account.
Depending on the lifting gear, attachment is
only to be at appropriate points on the frame.
2.3 Installation
When carrying out installation and
maintenance work there is a higher risk of
injury. It is important that you familiarise
yourself with the component and read the
Operating Instructions beforehand.
2.4 Hitching-up the machine
When hitching-up the machine,
ensure that no-one is between the
tractor and the machine.
• Attach the machine to the tractor 3 point
linkage.
2.2 Transportation
The Single Beam Toolbar can be transported
on public roads by hitching it up to a tractor or
on a low-bed truck.
The Single Beam Toolbar unit must be lifted
clear of the ground for road transport if
transported behind a tractor.
• It is important to observe the permitted
dimensions and weights when transporting the
machine.
• Use suitable lifting gear, e.g. a fork-lift truck.
• If the machine is transported on a trailer or a
flat-bed truck, it must be secured using straps
or other devices.
• Before transporting the machine on public
roads, it must be adjusted to its transportation
position and the stipulations relating to road
transportation fulfilled.
• The maximum permissible speed is 25 km /h.
11Single Beam Toolbar
Operating Instructions

Adjustment / Operation
3. Adjustment/Operation
2
Fig. 3.01: Single Beam Toolbar Frame
3.1 Description
1. 3 Point Linkage (Cat 2/3)
2. Toolbar Beam
The SIMBA Single Beam Toolbar is designed
to be used with either Pro-Lift subsoiler tines
or furrower tines.
Single Beam Toolbars have standard Cat 2/
3 linkages.
1
Single Beam Toolbar
12
Operating Instructions

3.2 Pro-Lift Tines
Adjustment / Operation
Extra Lift Wing
P10392
Increased lift height and and rake angle
creates greater soil disturbance on all
soil types especially in moister
conditions.
Lower relative distance between edge
of wing and point reduces draft
requirement.
Has ability to work at lower depths with
no decrease in soil disturbance or risk
of smear.
Fig. 3.02: Pro-Lift Tine
Different wings are available to suit the soil
conditions and optimise the performance of
the machine when using subsoiler tines.
Tine depth is achieved by moving the tines
up and down in the adjustable clamps.
3.2.1 Pro-Lift Wings
Standard Wing
P09060
Maximum soil disturbance with
minimum draft requirement under
normal circumstances.
Extra Wide Wing
P10411
Improved lateral shatter in moist/wet
soils, or non-cohesive soils.
Ideal for deep vegetable applications
under light/medium soils.
Wear Shroud
P11181
Wear plate to take soil abrasion so
lower trailing edge of tine does not
wear.
Wing angle reduces wear rates on leg.
13Single Beam Toolbar
Operating Instructions

Adjustment / Operation
3.3 Furrower Tines
Furrower tines create ridges in the soil ideal
for root crop applications such as potatoes.
3.5 Work Instructions
Turning:
Before turning, the machine should
be eased out of work while driving.
Likewise, it should eased back into
work once the turn has been
completed.
3.6 Checks
The working quality depends on the
adjustments and checks made prior to and
during work, as well as on regular servicing
and maintenance of the component.
Before beginning work it is therefore
important to carry out any necessary servicing
required.
Working Elements
• Are the working elements in good working
order?
Fig. 3.03: Furrower Tine Leg
3.4 Marker Arms
Marker arms can be bolted to the Toolbar
beam in order to ensure a uniform finish when
using furrower tines.
Fig. 3.04: Marker Arm
3.7 Parking
The machine must be left in a stable,
supported position.
Single Beam Toolbar
14
Operating Instructions

Servicing and Maintenance
4. Servicing and
Maintenance
Follow the safety instructions for
servicing and maintenance.
4.1 Servicing
Your Single Beam Toolbar unit has been
designed and constructed for maximum
performance, operational efficiency and
operator friendliness under a wide variety of
operating conditions.
Prior to delivery, your Toolbar unit has been
checked at the factory and by your authorised
dealer to ensure that you receive it in optimum
condition.
To ensure trouble-free operation, it is
important that servicing and maintenance
work is performed at the recommended
intervals.
4.4 Operator Support
If you have a problem, please contact Your
dealer. They will endeavour to solve any
problems which may occur and provide you
with support at all times.
In order to enable your dealer to deal with
problems as quickly as possible, it helps if
you can provide them with the following data.
Always state the:
• Customer Number
• Name and Address
• Machine Model
• Serial Number
• Date of Purchase and Operating Hours
• Type of Problem
4.5 Maintenance Intervals
Apart from daily maintenance, the
maintenance intervals are based on the
number of operating hours and time data.
When changing points on tines
extreme care should be taken.
Wear goggles at all times when
changing tine points.
Donot attempt to assist fitting tine
points with a steel headed
hammer, as this can lead to
splintering of the metal due to it’s
hardness, which can cause injury.
If tine fitting requires assistance,
a copper/hide mallet should be
used. Wear eye protection.
4.2 Cleaning
In order to ensure that the Toolbar is always
in operating condition and to achieve
optimum performance, perform the cleaning
and servicing work at regular intervals.
4.3 Storage / Parking
In order to avoid damage as a result of
moisture, the machine should be parked, if
possible, indoors or under cover.
Keep a record of your operating
hours to ensure that the specified
maintenance intervals are adhered
to as closely as possible.
Never use a Single Beam Toolbar
unit that is due for maintenance.
Ensure that all deficiencies found
during regular checks are remedied
immediately.
Place the machine on suitable
supports when working
underneath! Do not work under a
machine which is not supported!
On a new machine tighten all nuts and bolts
after 5 hours work and again after 15 hours.
This also applies to parts that have been
moved or replaced. After the initial 15 hours
of work a once a week check should be
sufficient depending on daily work rates.
Operating Instructions
15Single Beam Toolbar

Servicing and Maintenance
4.6 Maintenance Overview
Single Beam Toolbar Maintenance Overview
After first operation Instructions Interval
Chec k bolt tightness
During operation
Chec k bolt tightness
Tines
Working Depth Check setting and ensure implements are firmly secured daily
After season
Entire machine Carry out cleaning and m aintenance ---
Check they are firmly seated. Tighten / Secure if necessary Refer to table below for bolt torques
Check they are firmly seated. Tighten / Secure if necessary Refer to table below for bolt torques
Check setting and ensure implements are firmly secured.
Replac e tine points before the s hank begins to engage the
soil.
Max. Bolt Torques
M12 8.8 10 KgM ( 73 lb.ft)
M16 8.8 24 KgM ( 176 lb.ft)
M20 8.8 47 KgM ( 345 lb.ft)
M24 8.8 80 KgM ( 587 lb.ft)
M30 8.8 150 KgM (1100 lb.ft)
M36 8.8 280 KgM (2055 lb.ft)
5/8" UNC 24 KgM ( 175 lb.ft)
---
weekly
daily
Single Beam Toolbar
16
Operating Instructions
 Loading...