

Great Loong Brothers A7 User Manual

1
User Manual
Tablet PC
Model No.: A7
SHENZHEN GREAT LOONG BROTHER INDUSTRIAL CO., LTD

2
TABLE OF CONTENTS
TABLE OF CONTENTS ................................................................................................................ 2
1 OUTLOOK DESCRIPTION ...................................................................................................... 4
2 POWER BUTTON USAGE ........................................................................................................ 5
3 TOUCH-SCREEN NAVIGATION ............................................................................................ 5
4 U-Disk............................................................................................................................................ 5
5 USING MICRO-SD CARD ......................................................................................................... 4
6 GETTING STARTED ................................................................................................................. 6
Charge the device .................................................................................................................... 6
Turn the device on ................................................................................................................... 6
Wi-Fi Network Setup .............................................................................................................. 6
HDMI video play ..................................................................................................................... 6
7 DESKTOP .................................................................................................................................... 7
8 SCREEN LOCK ........................................................................................................................... 8
9 PRE-LOADED APPLICATIONS .............................................................................................. 8
10 STATUS AND NOTIFICATION AREA ............................................................................... 10
11 APPLICATION MANAGEMENT ........................................................................................... 9
Install Android Applications .................................................................................................. 9
Download Android Applications direct from a Website .................................................... 10
Uninstalling Android Applications ...................................................................................... 10
12 CLOCK ..................................................................................................................................... 10
Alarm ..................................................................................................................................... 10
13 BROWSER ............................................................................................................................... 11
14 CALENDAR ............................................................................................................................. 13
Add Event .............................................................................................................................. 12
15 CAMERA .................................................................................................................................. 14
Take Pictures ......................................................................................................................... 14
Take Videos ............................................................................................................................ 14
Single-motion Panorama ...................................................................................................... 14
16 CALCULATOR ....................................................................................................................... 15
17 MYRECORDER ...................................................................................................................... 15
18 EMAIL ...................................................................................................................................... 14
Add Email accounts .............................................................................................................. 15
Email Inbox ........................................................................................................................... 16
Edit Email Accounts .............................................................................................................. 16
Delete Email Accounts .......................................................................................................... 17
19 Gallery ....................................................................................................................................... 16
The operation with photo and video list .............................................................................. 16
20 SCREEN CAPTURE ............................................................................................................... 16

3
21 WI-FI ......................................................................................................................................... 17
22 SETTINGS ................................................................................................................................ 18
4
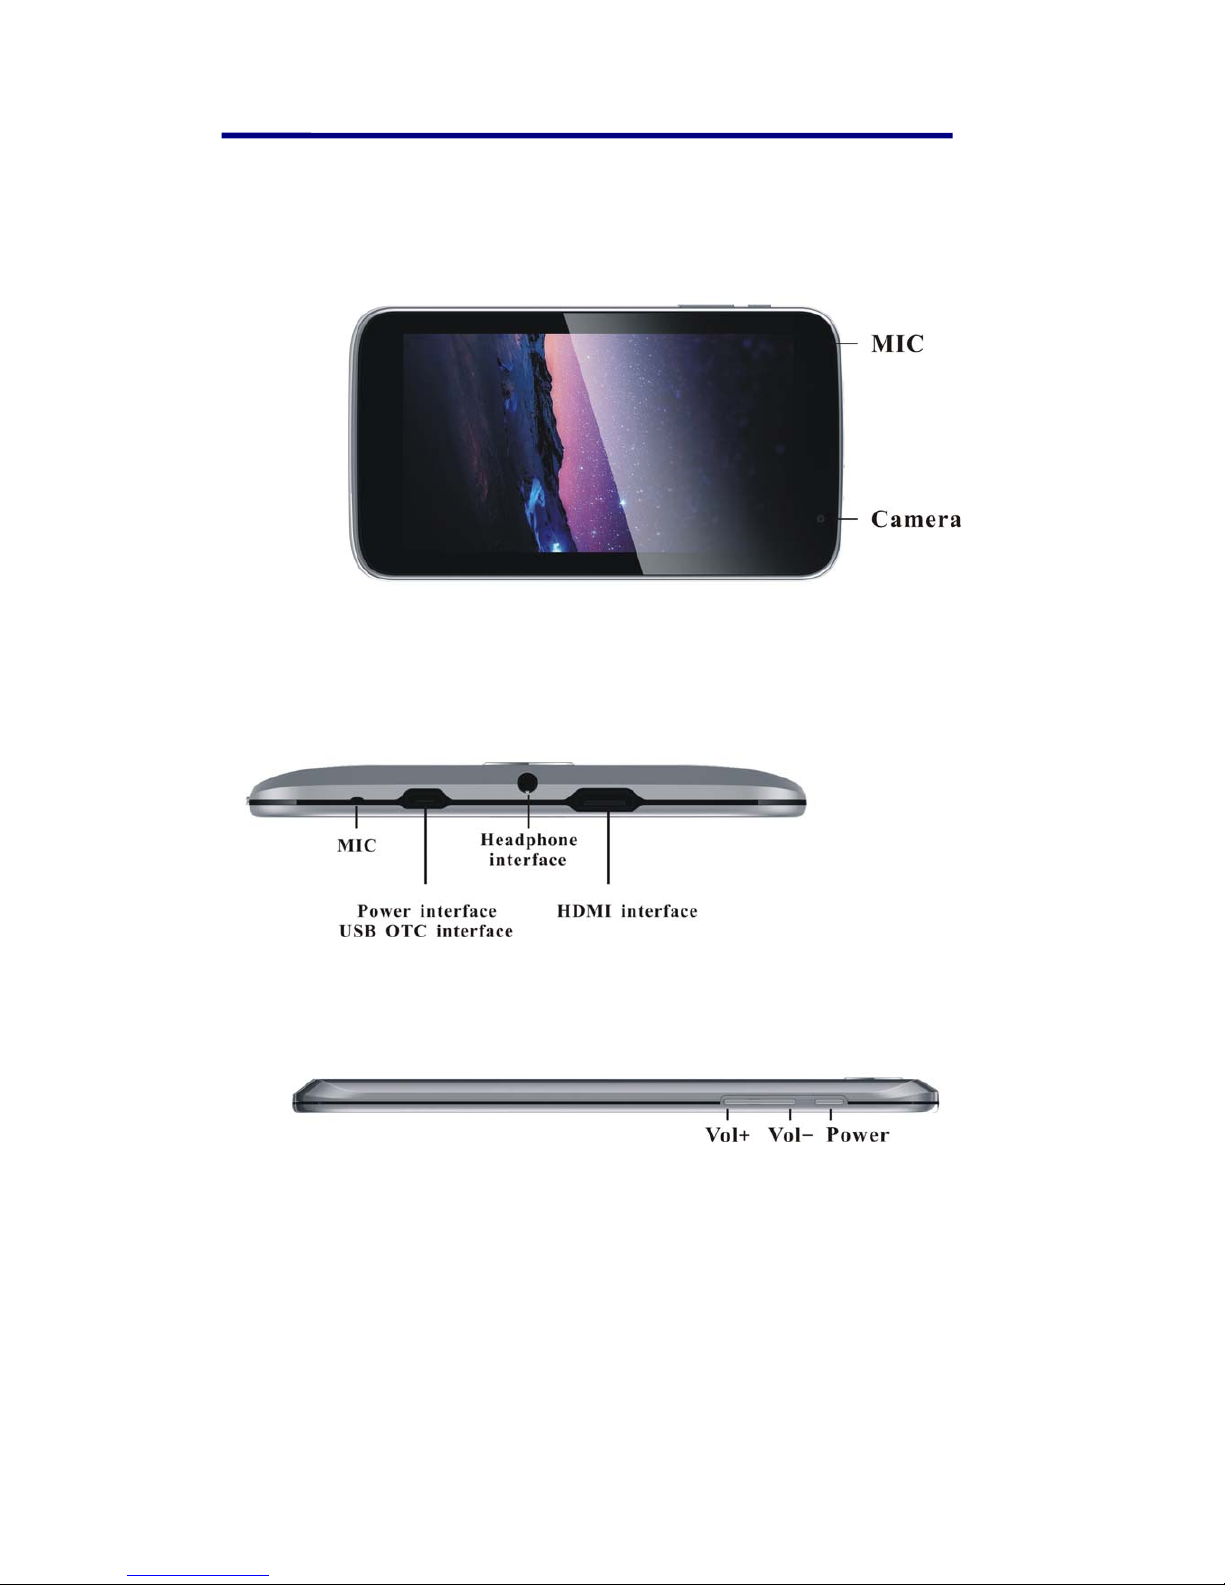
1 OUTLOOK DESCRIPTION
Front:
Right side:
Top:
5
2 POWER BUTTON USAGE
Turn On: Press the power button and hold for4seconds.
Turn Off: Press the power button and hold for 2 seconds →tap Powe r off→tap OK.
Airplane mode: Press the power button and hold for 2 seconds →Tap Airplane mode.
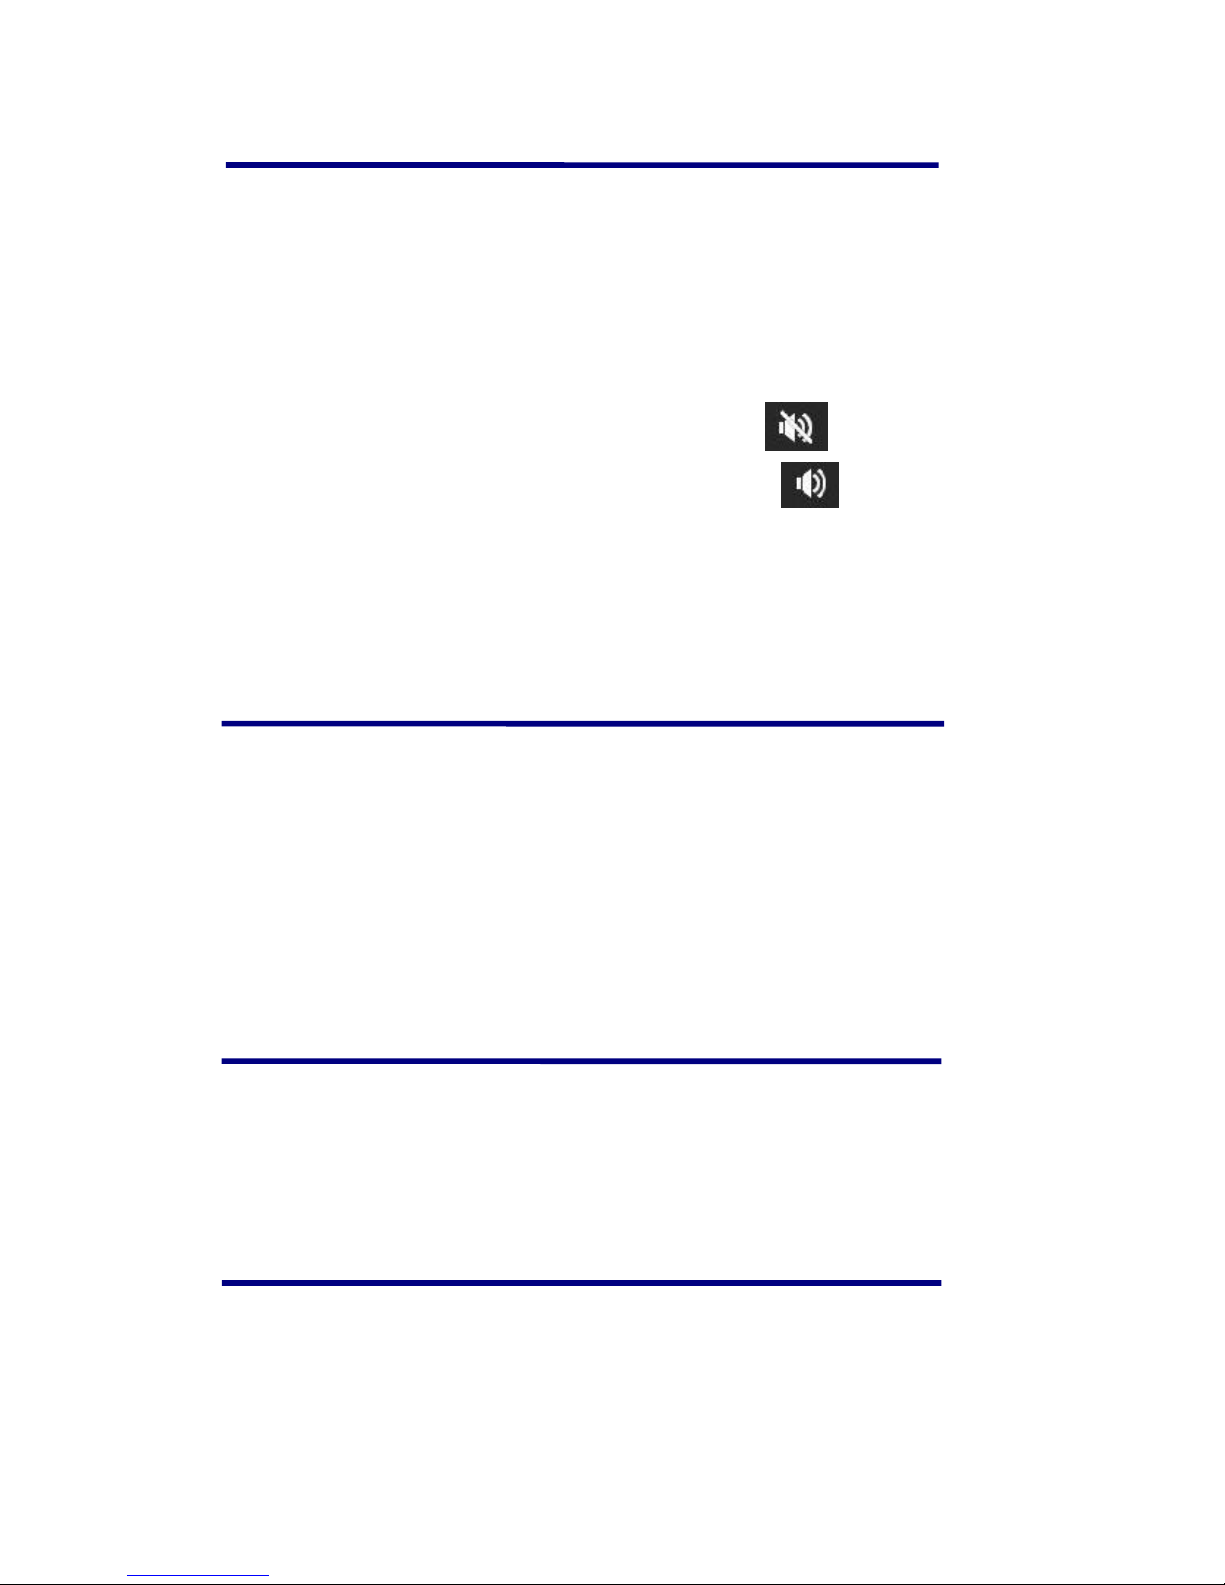
Silent mode: Press the power button and hold for 2 seconds →Tap
.
Normal mode: Press the power button and hold for 2 seconds →Tap
.
Force Off: If device does not respond, press and hold the power button for 5 seconds.
(Warning: Force off could lead to unpredictable system errors!)
Reset: Press the reset button could be reset the device. It’s will clear the all data, Please careful
with the function. (Note: After the current reset function can’t restart, can only be turned off, so
you need to press the power button restart the device after reset.)
3 TOUCH-SCREEN NAVIGATION
The touch-screen allows for quick, easy and convenient navigation for all applications.
Refer to the following method to operate the touch screen by the finger pulp:
Tap: Quick tap & release on an item on the screen.
Touch & hold: Touch and hold in place approx 2 seconds, and then release to display an
options window.
Finger slide: Touch & slide your finger across the screen and then release.
☆ To avoid scratching or crushing, do not place objects on the touch screen surface.
4 U-Disk
Insert U-Disk
Insert your U-disk into the device via USB host transfer cable. When ready for use,
enter into the file browser, switch to the USB folder to view it.
5 USING MICRO-SD CARD
☆ The device supports a maximum 32GB microSD card.

6
Insert your card into the microSD slot until it clicks into place. It’s OK.
☆ Don’t insert and remove the U-disk repeatedly in a short time, as this may cause
damage to the card.
☆ We recommend using major brands of memory cards to avoid incompatibility.
6 GETTING STARTED
Charge the device
☆ It is not recommended to use the device while charging.
Plug the power adapter into an electrical wall outlet, and then connect to the device to fully
charge the battery before use (A full charge takes about 6 hours in the off status).
Turn the device on
Press the power button briefly.
Wi-Fi Network Setup
Since many features require a Wi-Fi connection, we recommend you set up your Wi-Fi
network now.
1. Tap
→ Settings.
2. Slide Wi-Fi switch to turn on.
The device automatically scans and lists all local Wi-Fi Network found. A lock indicates
secure Wi-Fi networks that require input password to connect.
3. Tap the desired network to which you want to connect → enter the Network
Password if applicable → tap Connect.
4. Tap
to return to the Desktop screen.
☆ If your Wi-Fi network is set as hidden, it won’t be found
by the auto scan. Tap Add Wi-Fi network and follow the prompts
to add your network.
HDMI video play
This device support through the Mini HDMI connected with TV, it makes TV and device
displayed synchronic. For using this feature, insert the Mini HDMI cable into the right side of
the device interface to connect with TV.
7
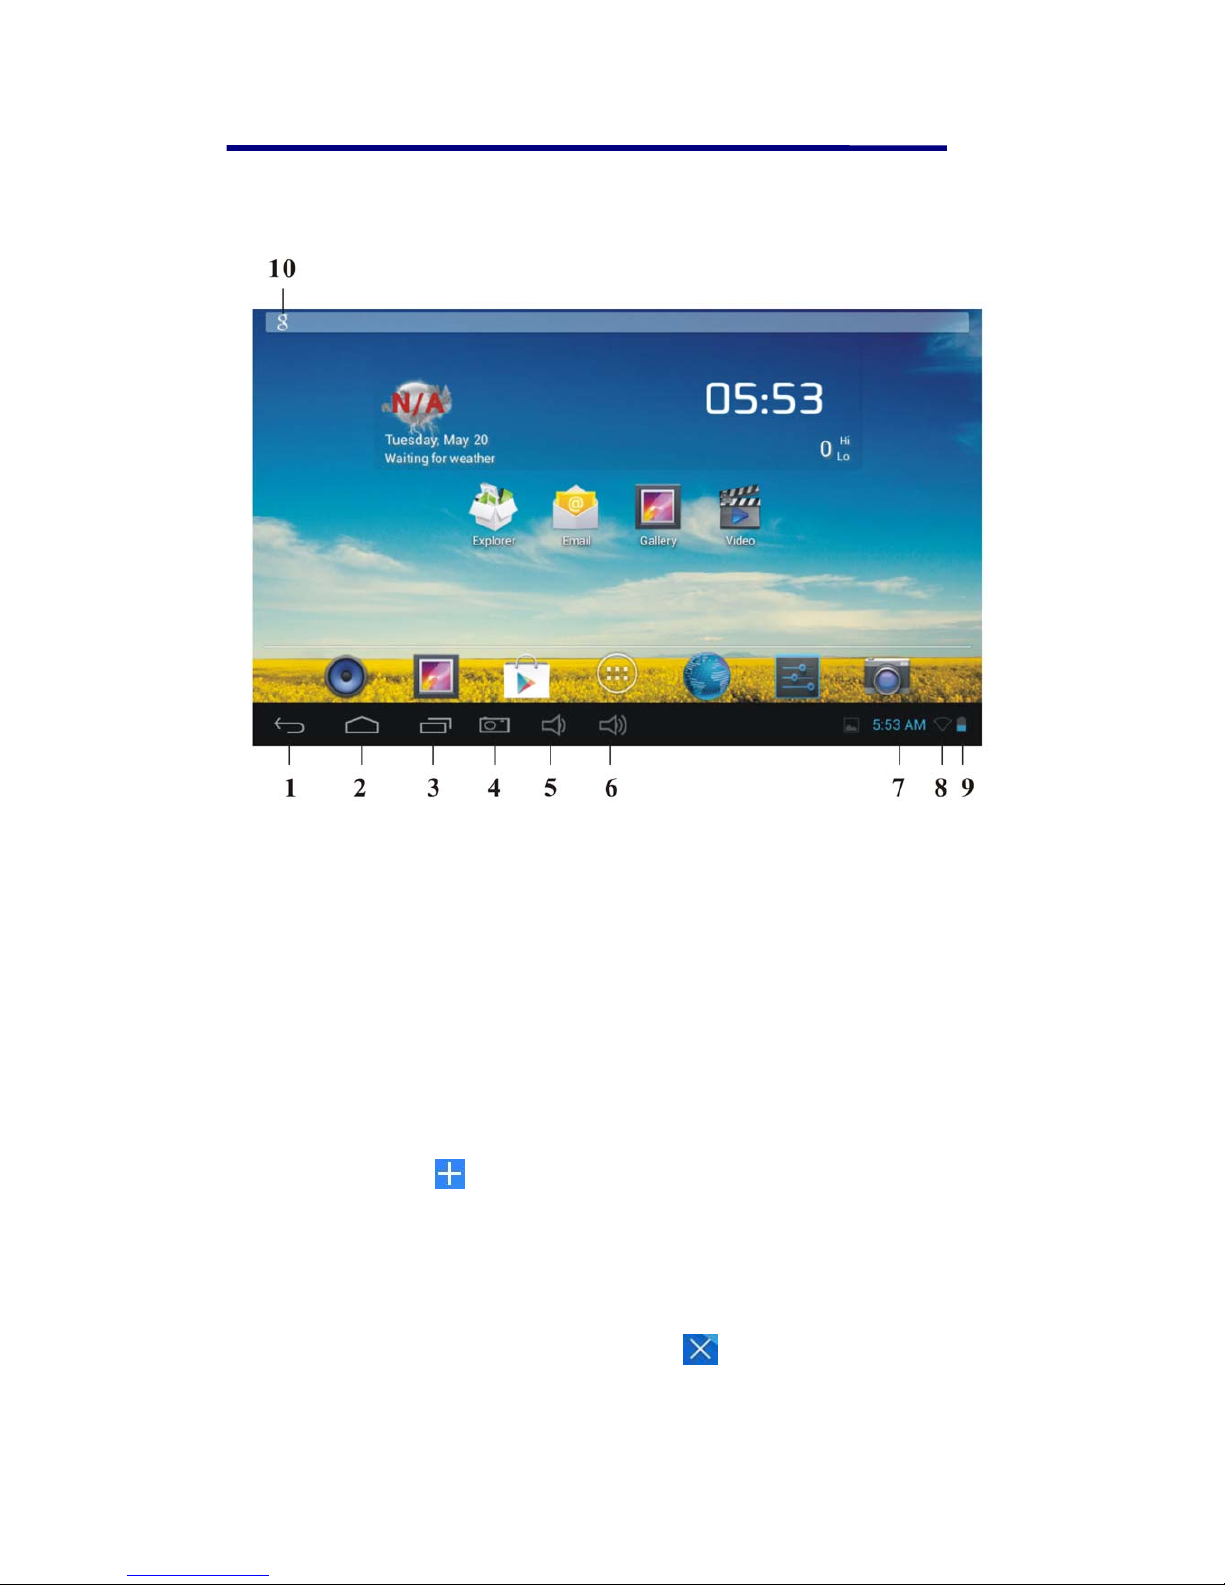
7 DESKTOP
1. Back.
2. Home.
3. Recent Apps.
4. Screen capture.
5. Vol-.
6. Vol+.
7. Current time.
8. Wireless network
9. Battery Status.
10. Google search.
Through add icon
can make many personalized operation, such as, add widgets,
application shortcuts, set wallpaper, add bookmarks, email accounts and set up the shortcut.
☆ Tap on any application icon to launch it.
☆ Touch, hold and then slide icons to reposition then on the screen.
☆ Touch, hold and slide icons onto
to remove them from the
Desktop screen.
 Loading...