

Greater Goods Balance 0605 User Manual
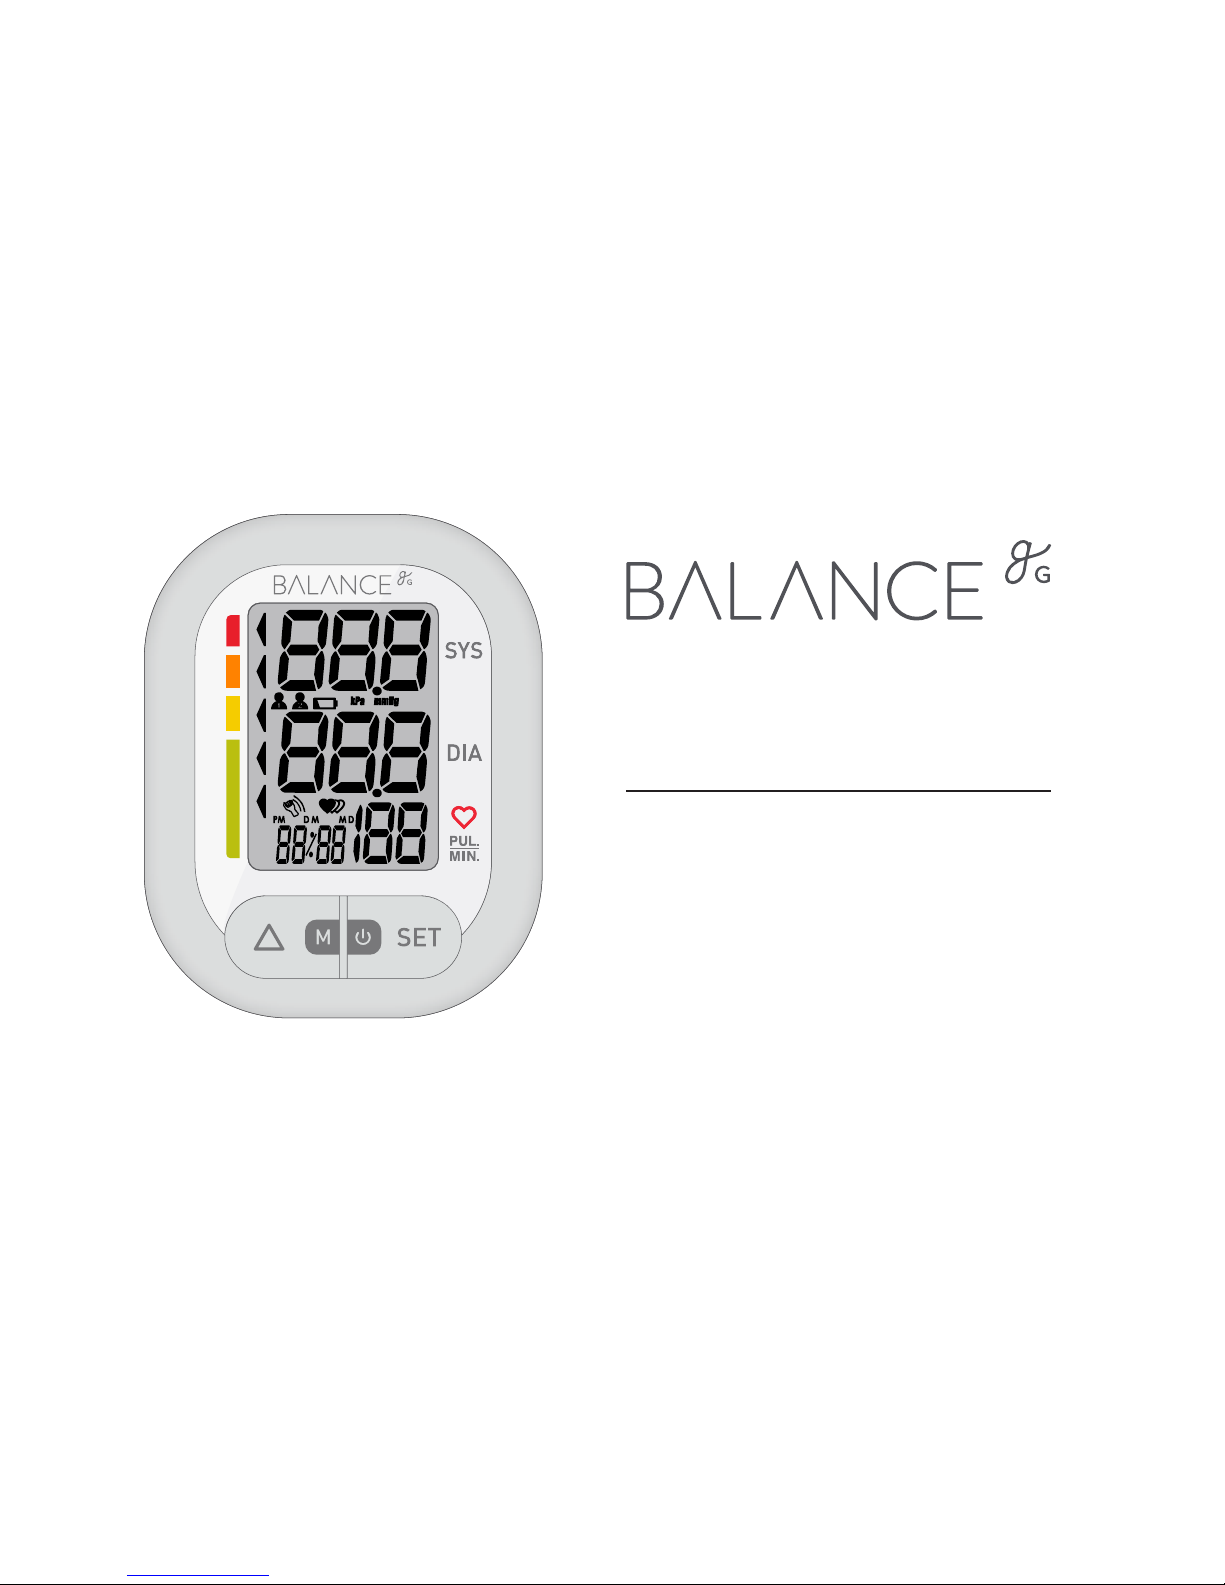
WRIST BLOOD PRESSURE
MONITOR MANUAL
Email: info@greatergoods.com
Phone: (866) 991-8494
VIDEO TUTORIAL:
greatergoods.com/0605
Model 0605

1
TABLE OF CONTENTS
MONITOR COMPONENTS / INSTALLING BATTERIES p. 3-6
SETTING TIME, DATE, AND MEASUREMENT UNIT p. 7-8
TAKING MEASUREMENTS p. 9-10
MEMORY / MANAGING RECORDS p. 11-12
TIPS / MAINTENANCE p. 13-14
ABOUT BLOOD PRESSURE p. 15-16
IRREGULAR HEARTBEAT DETECTOR / BATTERY CAUTIONS p. 17-18
TROUBLESHOOTING p. 19-20
DEVICE SPECIFICATIONS p. 21-22
COMPLIED STANDARDS LIST, FCC STATEMENT, EMC GUIDANCE p. 23-26
SAFETY INFORMATION / INDICATIONS FOR USE p. 27-32
WARRANTY p. 33

2
OUR PROMISE
We’re committed to creating 5-star products.
If we haven’t delivered on our promise, please contact us.
For the best possible experience with your product,
please visit greatergoods.com/0605.
WARNING: No modication of this equipment is allowed.
3
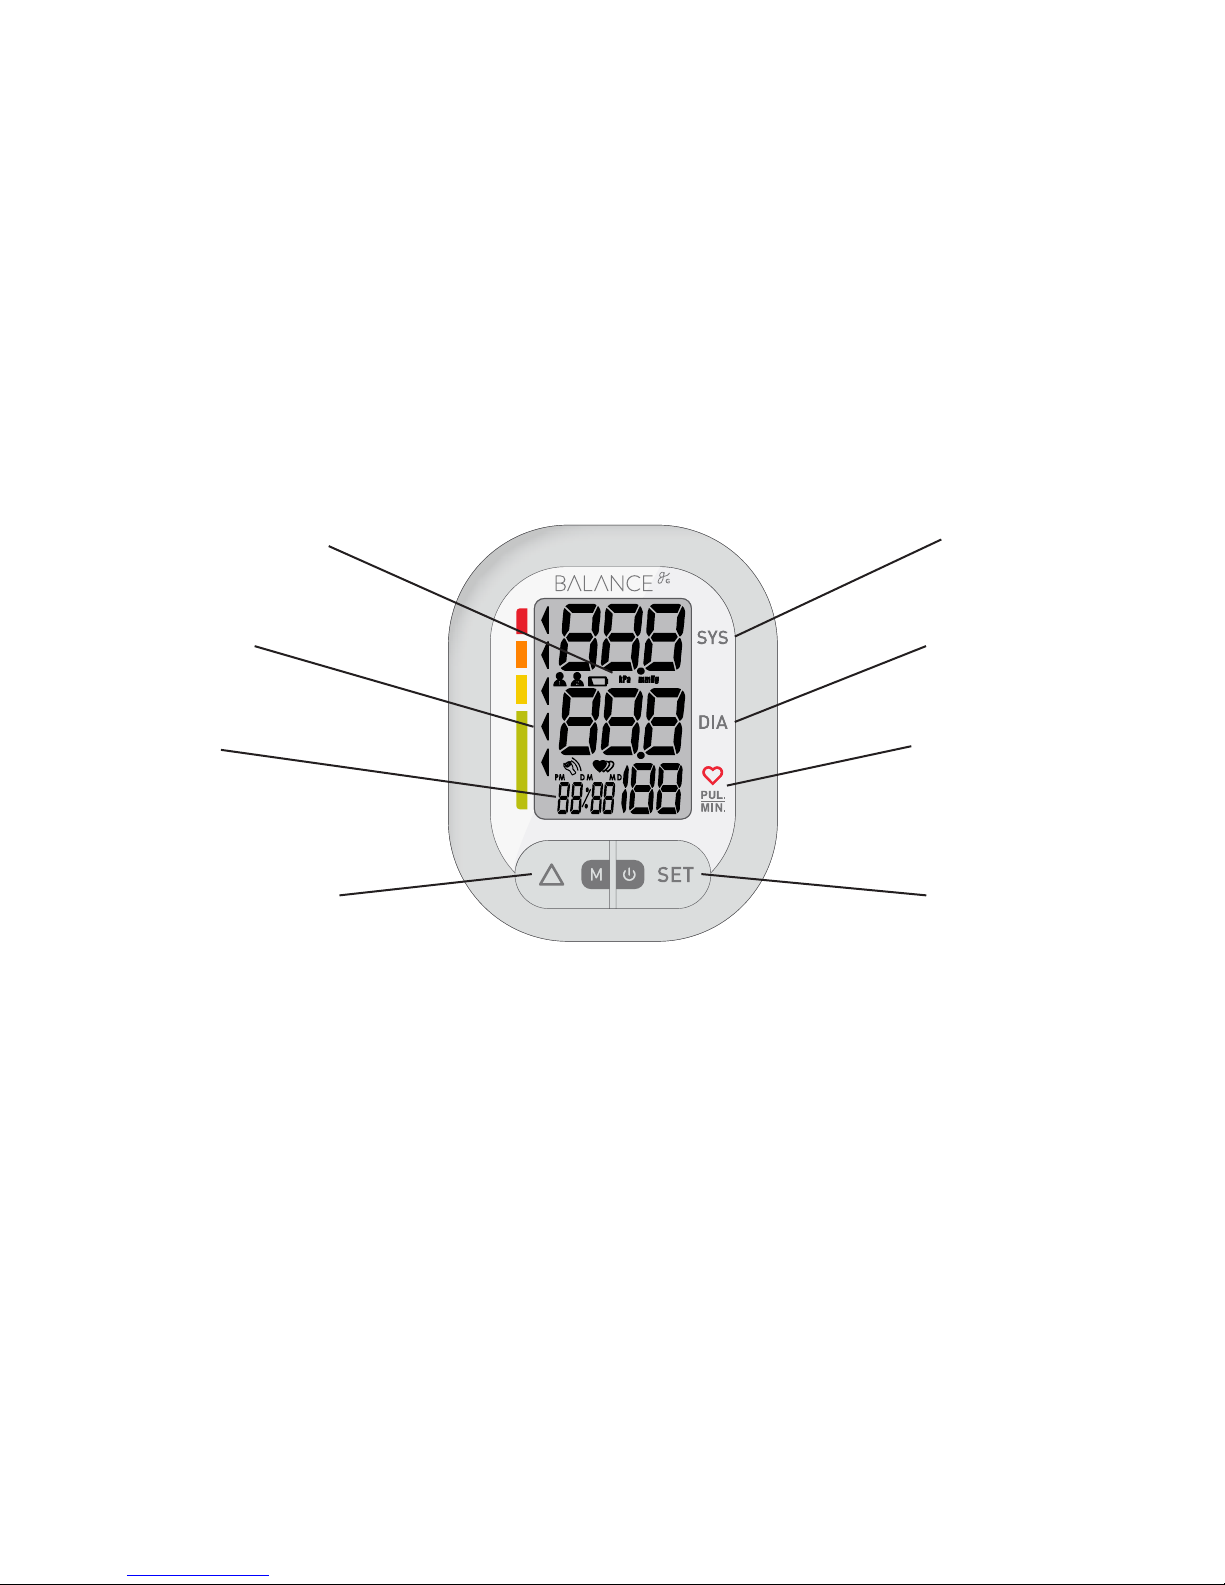
MONITOR COMPONENTS
LCD DISPLAY SYSTOLIC
DIASTOLICGRADE
TIME
ARROW / MEMORY
BUTTON
SET / POWER
BUTTON
PULSE RATE
NOTE: While the monitor only has two buttons, each button has two functions.
Throughout the manual, you will see the buttons referred to by the function
being described in that step (e.g. Press and hold the “POWER” button to turn
on, then press the “SET” button to select your user and begin measuring).
4
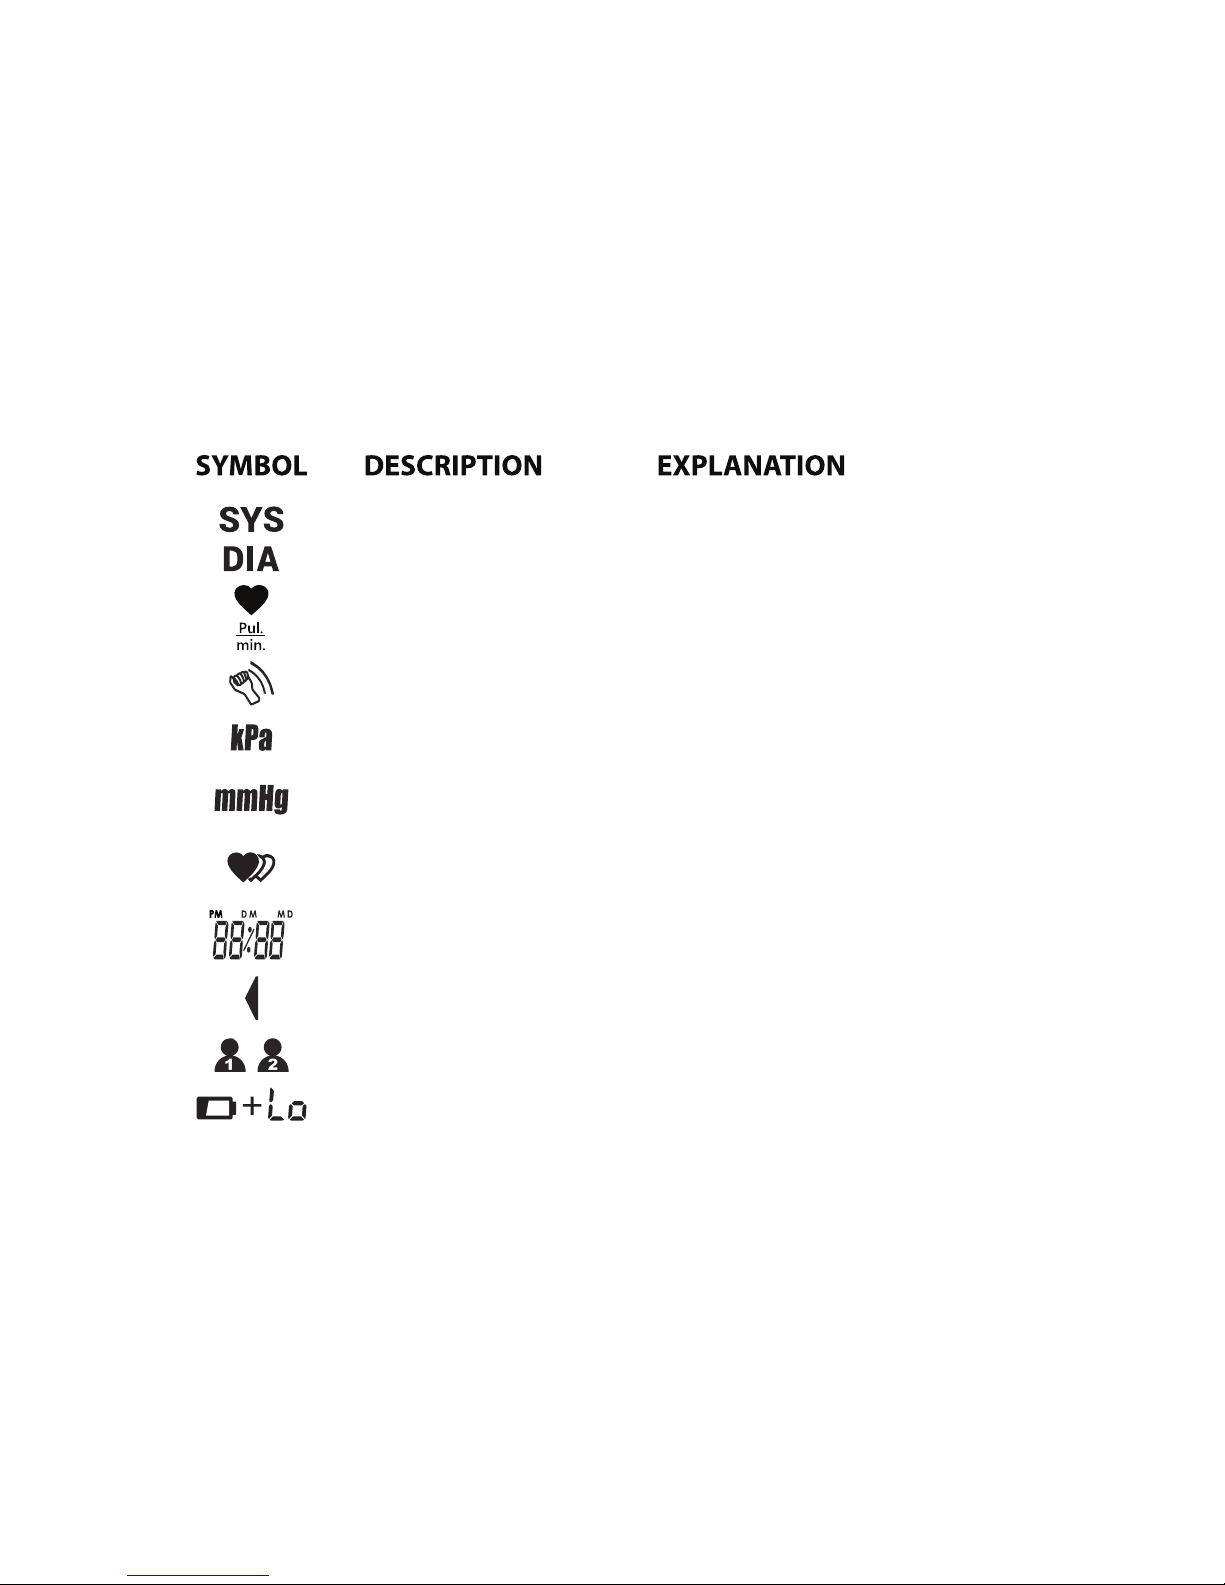
Systolic blood pressure High pressure result
Diastolic blood pressure Low pressure result
kPa (kiloPascal) Measurement unit of blood pressure
mmHg
(millimeters of mercury)
Measurement unit of blood pressure
Pulse per minute Beats per minute (BPM)
Irregular Heartbeat
Detection
Irregular heartbeat
Blood Pressure Grade Displays grade of blood pressure
Low batteries Batteries are low and need to be replaced
Current time Month / Day / Year – Hour / Minute
User ID
Start measurement and save the results
for USER 1 or USER 2
Shaking alert Shaking will result in inaccurate measurements
5
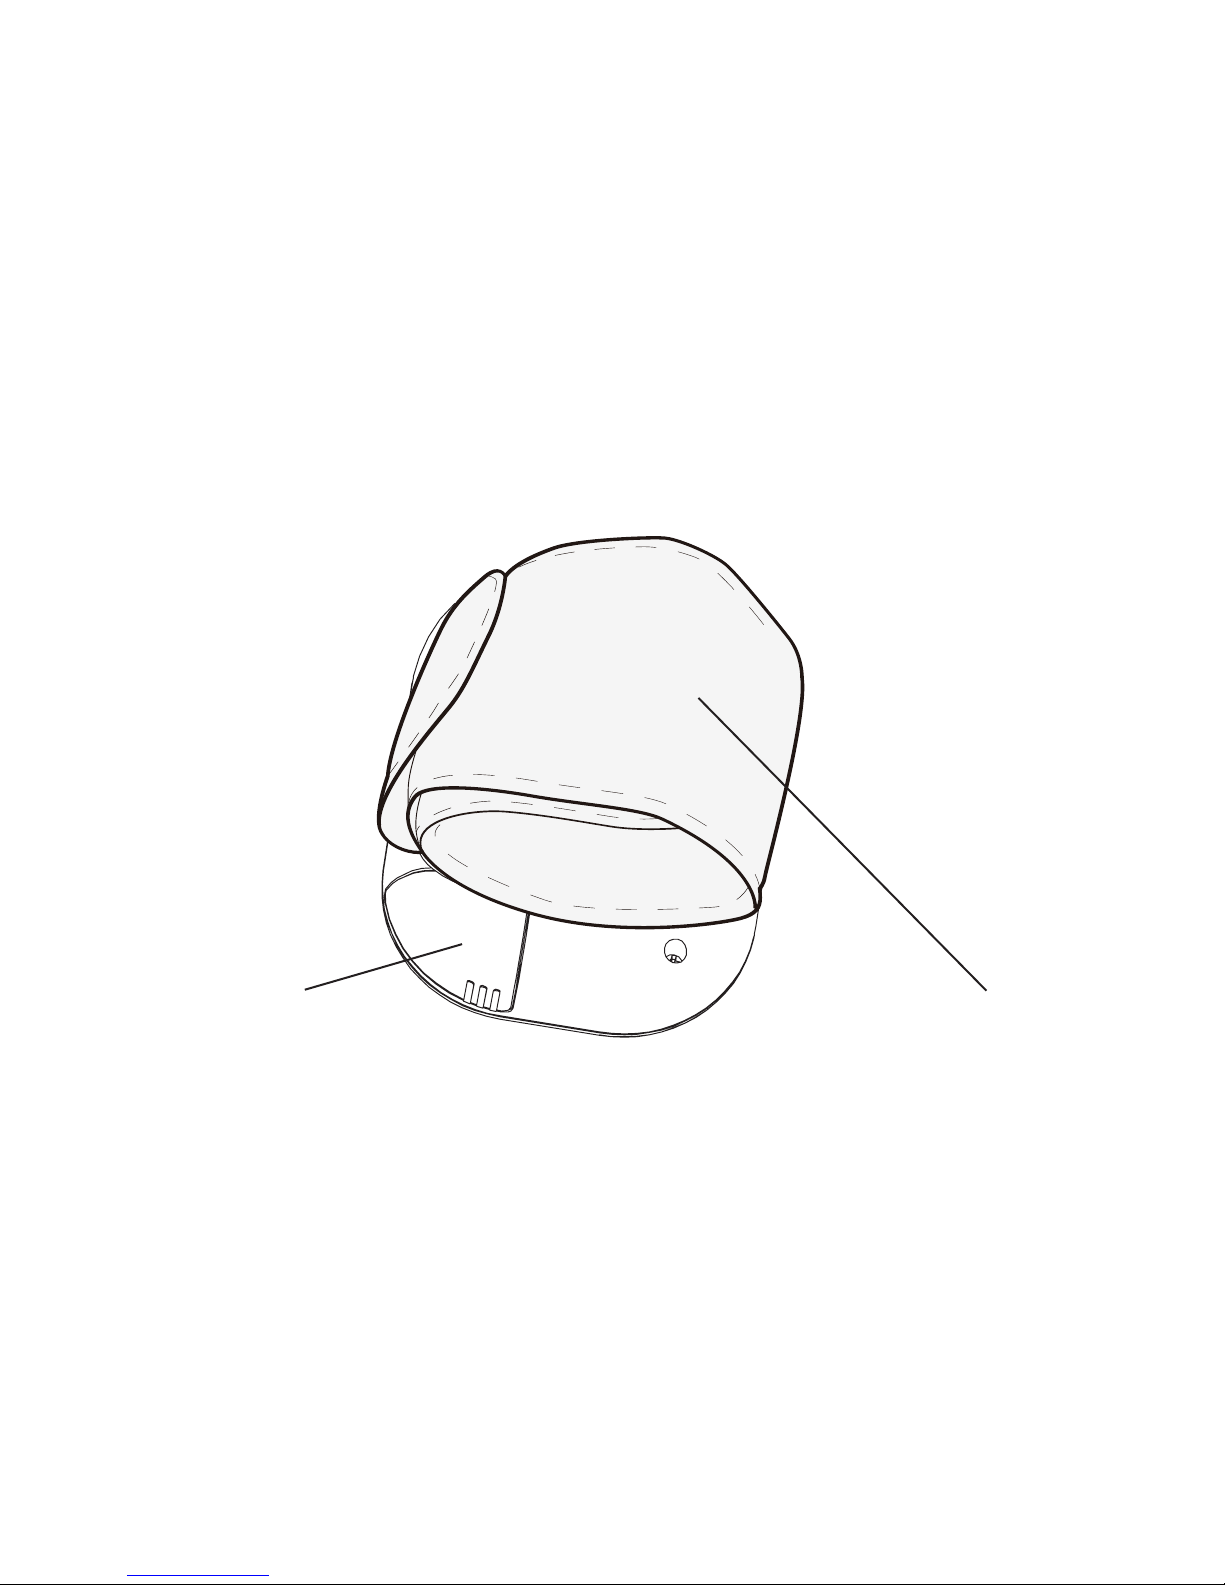
MONITOR COMPONENTS (cont.)
BATTERY
COMPARTMENT
CUFF
(Type BF applied part)
Package Contents:
1. Wrist Blood
Pressure Monitor
2. 2×AAA batteries
3. User manual
6
-
+
+
-
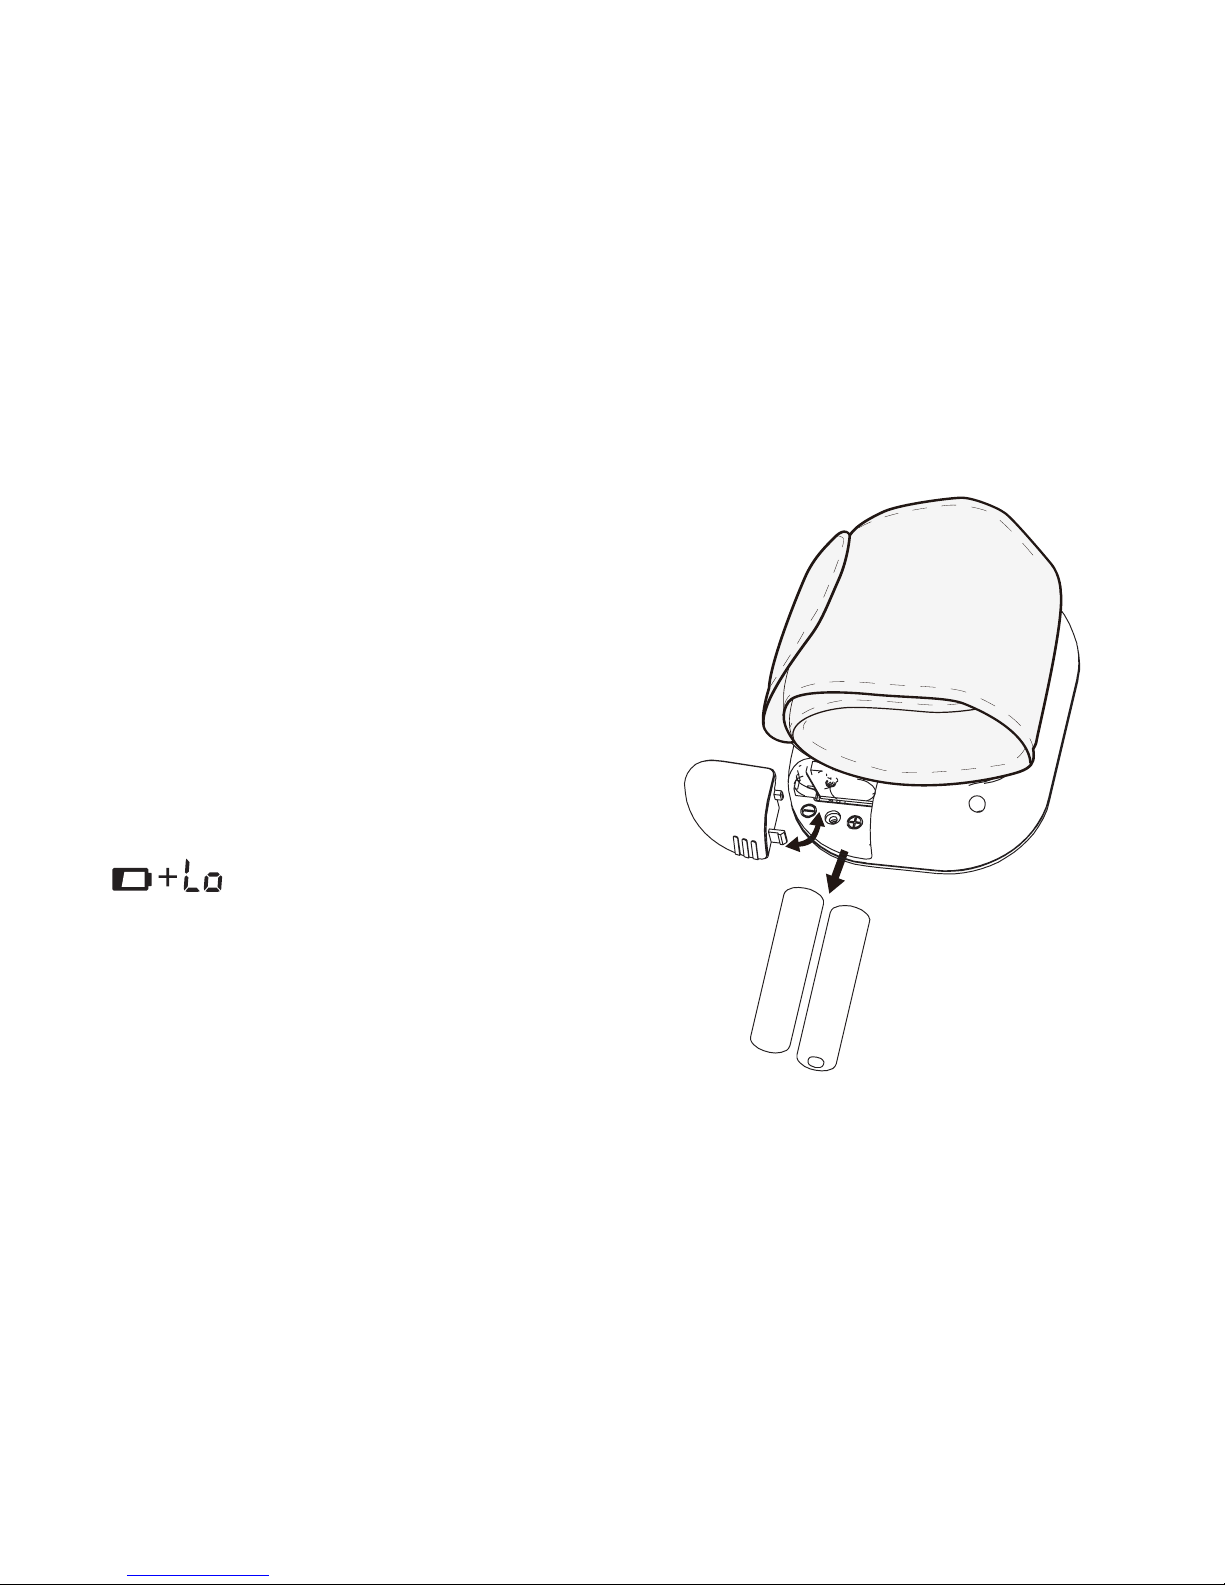
INSTALLING AND REPLACING THE BATTERIES
• Slide o the battery cover.
• Install the batteries by matching the
correct polarity, as shown here. Always use
the correct battery type (2 x AAA batteries).
• Replace the cover.
Replace the batteries whenever the
following happen:
appears.•
The display dims.•
The display does not light up.
•

7
SETTING TIME, DATE, AND MEASUREMENT UNIT
It is important to set the clock before using your blood pressure monitor,
so that a time stamp can be assigned to each record that is stored in the memory.
(year: 2014 - 2054 , time format: 24 H /12 H)
1. When the monitor is o, press and hold
the “POWER” button for about 3 seconds
to enter into setup mode. The blinking
numeral represents YEAR.
2. Press the “ARROW” button to change
the YEAR. Each press will increase
the numeral by 1 in a cycling manner.
Then, press the “SET” button to conrm
your selection and it will turn to the
next step.

8
3. Use the “ARROW” and “SET” buttons like you did in the previous step to
conrm MONTH, DAY, TIME FORMAT [24 hours or 12 hours], HOURS,
MINUTES, and the MEASUREMENT UNIT.
IMPORTANT!
Most doctors in the United States use mmHg (millimeters of mercury)
as the measurement unit.
4. After conrming the measurement unit, the LCD will display all the
settings you have done once again and then turn o.

9
FASTEN THE CUFF
1. Remove all accessories (watch, bracelet, etc.) from your wrist. If your
physician has diagnosed you with poor circulation in one wrist,
use the other one.
2. Roll or push up your sleeve to expose the skin.
3. Apply the cu to your wrist with your palm facing up.
4. Position the edge of the cu about 1.5 cm away from your palm.
5. Fasten the wrist cu around your wrist, leaving
no extra room between the cu and your skin.
If the cu is too loose, the measurement will not
be accurate. Sit upright comfortably and relax as
much as possible with your legs uncrossed.
Make sure your arm is supported and the wrist
monitor is level with the right atrium of the heart.
10
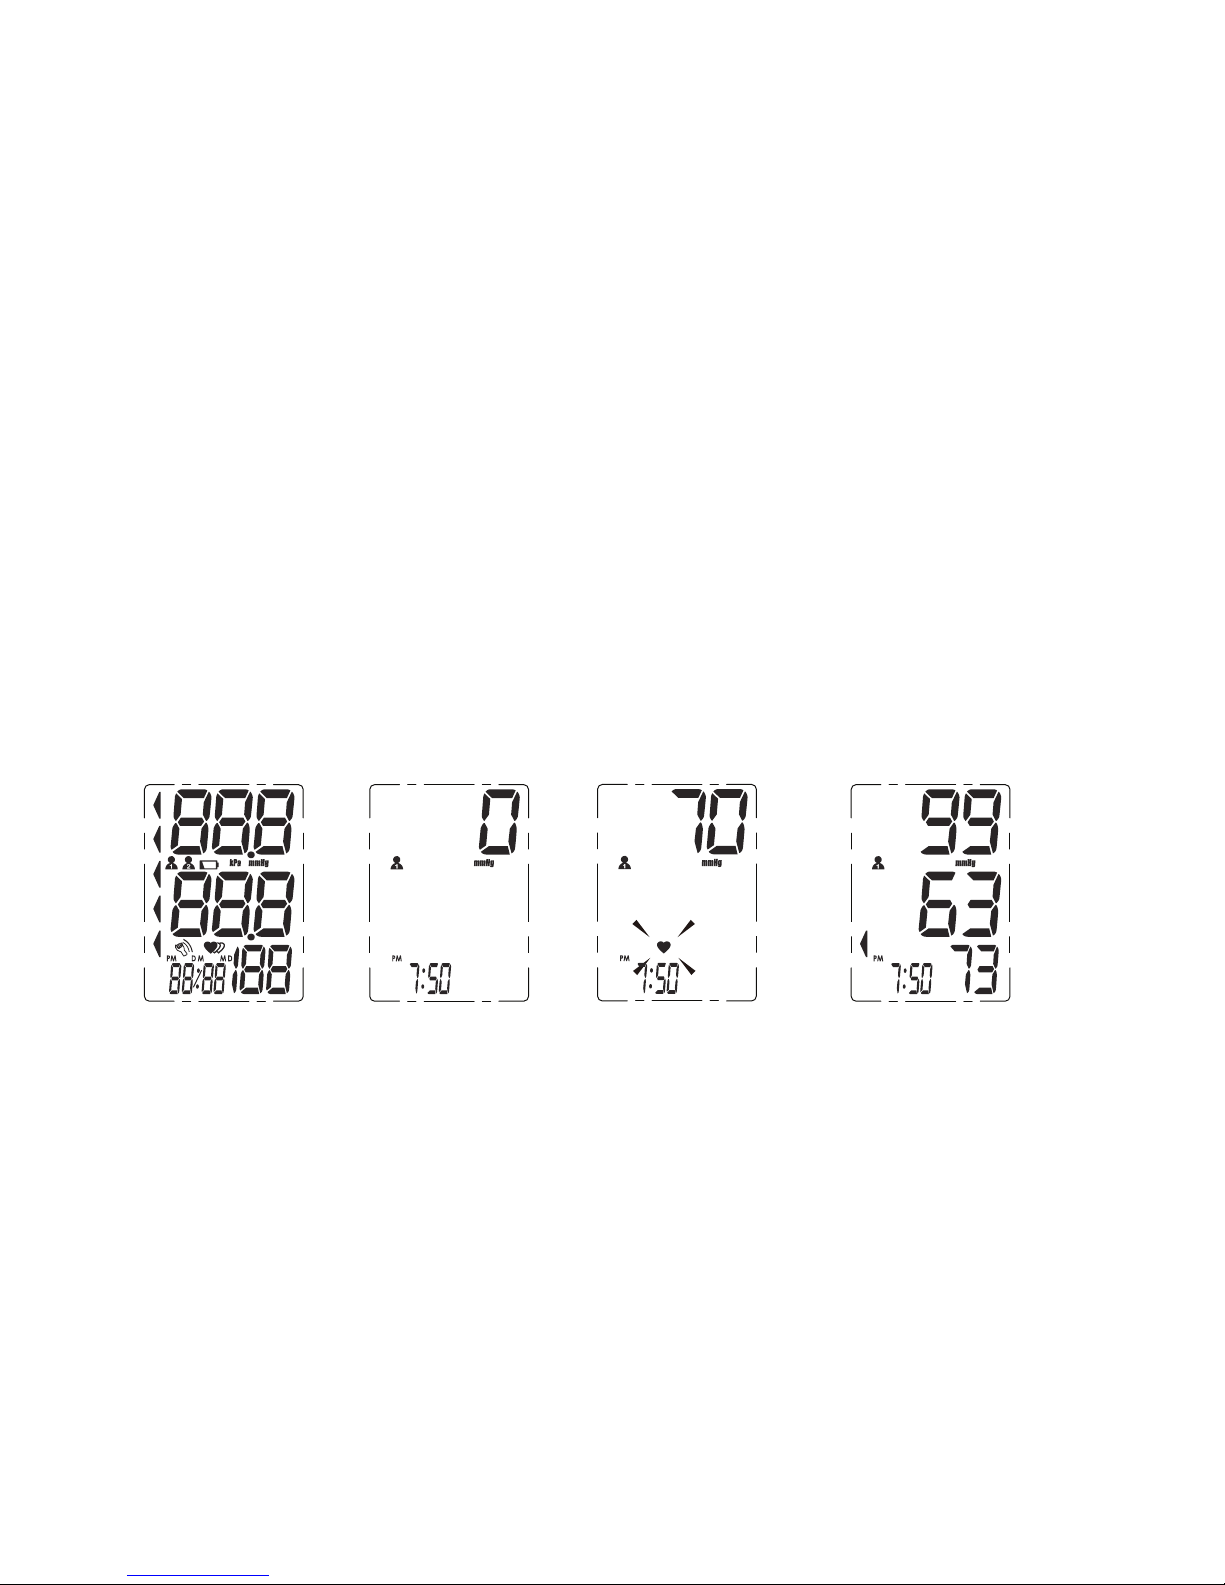
START THE MEASUREMENT
1. When the blood pressure monitor is o, press the “POWER” button to turn
it on. The LCD will display the user ID rst. Press the “ARROW” button to change
the user ID between User 1 and User 2. Press the “SET” button to conrm,
and it will nish the whole measurement for the selected user.
2. Press the “POWER” button to power o, otherwise the device will turn o
within 1 minute.
LCD display Adjust to zero
Inating &
measuring
Display and save
the result.
 Loading...