

Great Arnoldi Just in Case Owner's Manual
JUST IN CASE
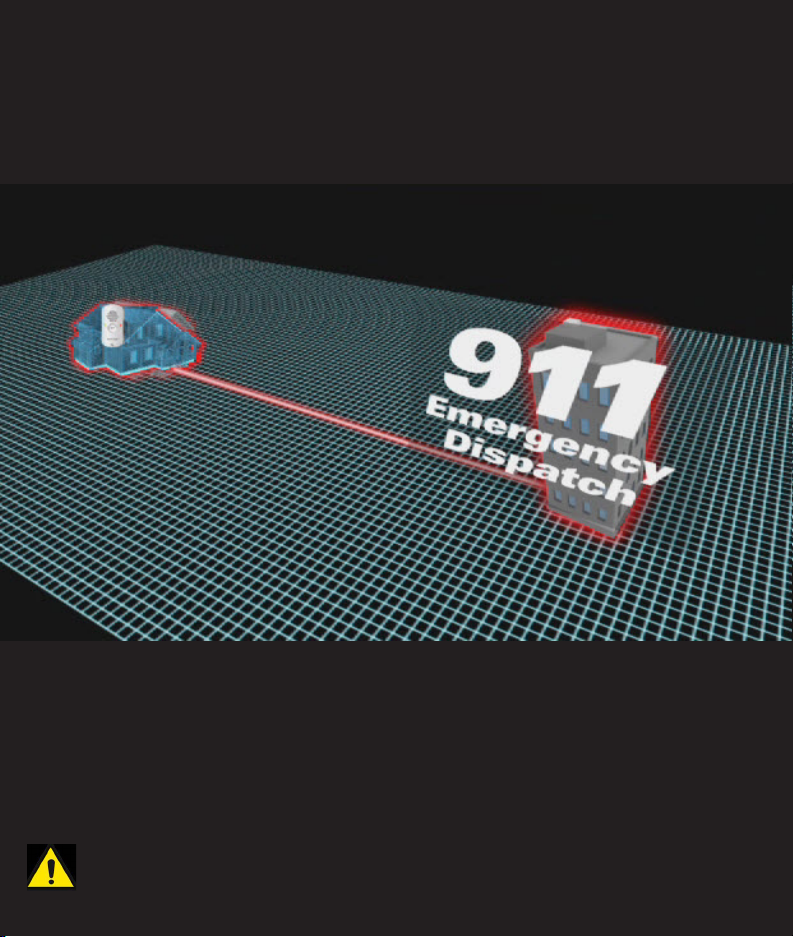
911 Emergency Phone
TM
Owner’s Guide
Core Unit and Additional Handsets
You MUST read and understand the instructions in this Owner’s
Guide BEFORE using the 911 Emergency Phone. SERIOUS
INJURY and DAMAGE can result from incorrect setup and use.

JUST IN CASE
TM
911 Emergency Phone
Table of Contents
COMPONENTS..............................................................................................5
SECTION 1
SAFETY PRECAUTIONS................................................................................6
1.1 Safety Warnings............................................................................................................6
1.2 Battery Strength Test Safety.....................................................................................7
1.3 Signal Strength Test Safety........................................................................................8
1.4 Electric Shock Warnings.............................................................................................9
1.5 Warning Label Locations.........................................................................................10
SECTION 2
INSTALLATION...........................................................................................11
2.1 Installing the Batteries..............................................................................................11
Battery Installation Procedures..........................................................................12
2.2 Locating the Handset(s)...........................................................................................14
Using the Velcro Strips..........................................................................................15
Waterproof................................................................................................................16
2.3 Locating the Base Unit.............................................................................................17
2.4 Connecting the AC Adapter/Power Cord..........................................................18
2.5 Connecting the Telephone Line...........................................................................20
Standard Telephone Connection......................................................................20
Connecting a Second Telephone.......................................................................21
Connecting with DSL............................................................................................22
2

JUST IN CASE
TM
911 Emergency Phone
Table of Contents
SECTION 3
OPERATION...............................................................................................23
3.1 Operating the Handset...........................................................................................23
3.2 Placing an Emergency Call....................................................................................24
3.3 Failed Emergency Call.............................................................................................24
3.4 Cancelling an Emergency Call..............................................................................25
3.5 Operating the Base Unit.........................................................................................25
3.6 Linking Additional Handsets................................................................................26
SECTION 4
PERIODIC TESTING...................................................................................27
4.1 Battery and Signal Test Procedures....................................................................28
Initiating the Battery and Signal Tests............................................................28
Battery Test...............................................................................................................29
Signal Test.................................................................................................................29
SECTION 5
CARE & MAINTENANCE............................................................................31
5.1 Battery Replacement...............................................................................................31
5.2 General Care...............................................................................................................31
5.3 Cleaning.......................................................................................................................32
5.4 Power Failures............................................................................................................33
3

TROUBLESHOOTING GUIDE.....................................................................34
FREQUENTLY ASKED QUESTIONS............................................................36
FCC INFORMATION....................................................................................40
LIMITED WARRANTY INFORMATION........................................................41
30-DAY MONEY BACK GUARANTEE.........................................................43
Copyright 2011, The Great Arnoldi, LLC
4
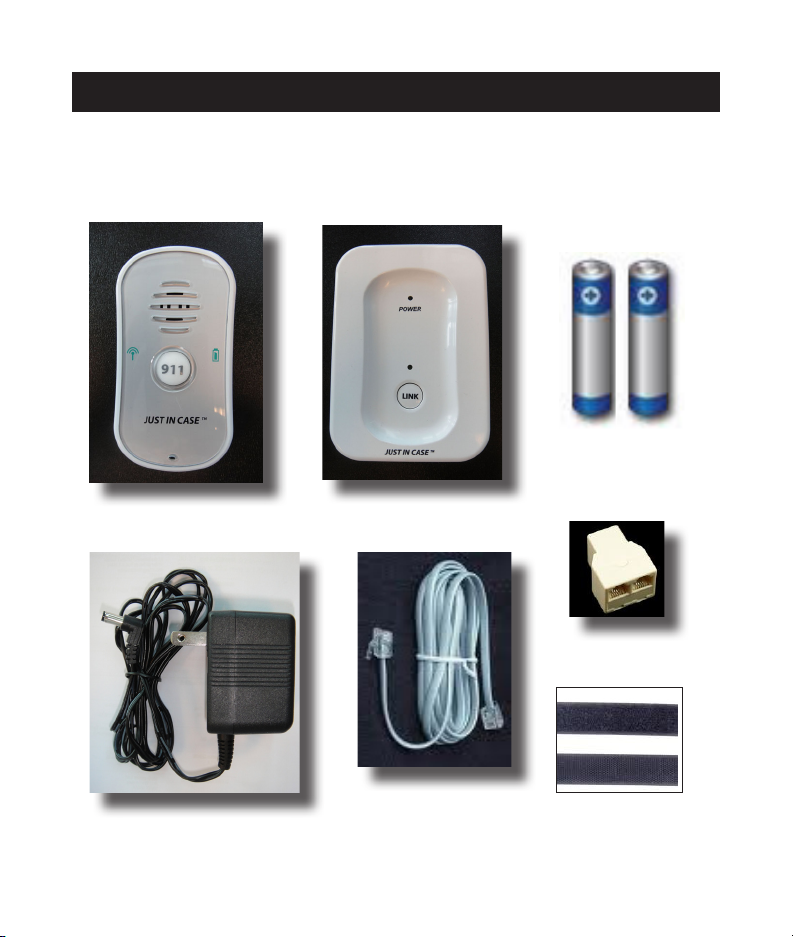
COMPONENTS
The following components are included with your JUST IN CASE
Emergency Phone Core Unit:
TM
911
Handset
AC Adapter / Power Cord
Base Unit
Phone Cord
AAA Alkaline
Batteries
Line Splitter
Velcro Strips
NOTE: If you have purchased an additional Handset, the components
include the Handset, AAA alkaline Batteries, and the Velcro Strips.
5
SECTION 1
SAFETY PRECAUTIONS
This section describes the safety precautions that should be followed during
installation, use and care of your JUST IN CASE
You MUST read and understand the Safety Warnings and this Owner’s
Guide before using your JUST IN CASE
to follow these safety precautions and the instructions in this Owner’s
Guide can result in the phone not working properly during an emergency.
TM
TM
911 Emergency Phone.
911 Emergency Phone. Failure
1.1 Safety Warnings
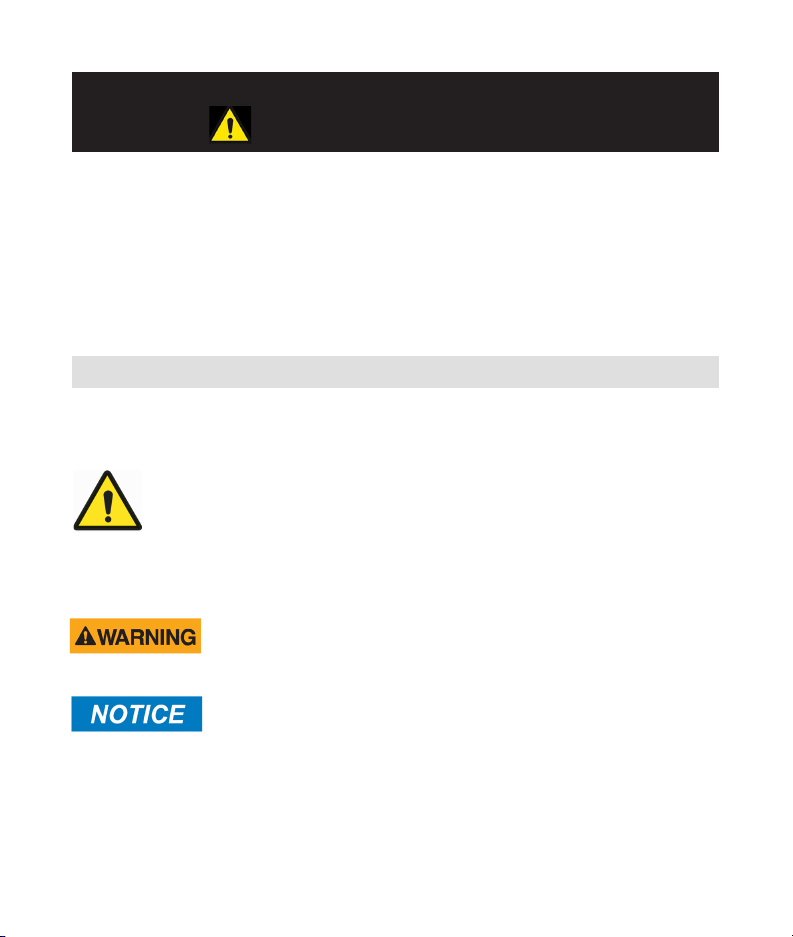
Throughout this Owner’s Guide, WARNING, NOTICE and the SAFETY
ALERT SYMBOL will be used.
This is the safety alert symbol. It is used to alert you to potential
personal injury hazards. Obey all safety messages that follow
this symbol to avoid possible injury or death. This safety alert
symbol precedes safety messages about risk of personal injury.
It may also have one of the following signal words:
WARNING indicates a hazardous situation which, if not
avoided, could result in death or serious injury.
NOTICE is used to address practices not related to
personal injury.
6

1.2 Battery Strength Test Safety
Your JUST IN CASE
TM
911 Emergency Phone Handset requires the use of
two AAA alkaline batteries for operation. This section describes the safety
precautions you must follow when testing and replacing your batteries to
ensure the SAFE OPERATION of your Handset. (See Section 4, pg. 27 for
Battery Testing Procedures).
WARNING
Failure to test and replace the batteries may result in your Handset
not working properly leading to SERIOUS INJURY or DEATH.
To ensure your Handset works properly during an emergency,
ALWAYS take the following safety precautions:
• TEST the batteries in your Handset monthly.
• TEST the batteries after using your Handset to place an
emergency call.
• REPLACE the batteries IMMEDIATELY if the battery strength
test fails.
• REPLACE the batteries in your Handset every year.
7

1.3 Signal Strength Test Safety
Your JUST IN CASE
regular telephone line and service for operation. If your telephone line is
disconnected, is in use, or is otherwise not working, you will not be able to
use your Handset to dial 911.*
Additionally, the Handset MUST be within range of the Base Unit to maintain
proper signal strength. This section describes the safety precautions you
MUST follow when testing the signal strength between the Base Unit and the
Handset to ensure the SAFE OPERATION of your Handset. (See Section 4, pg.
27 for Signal Strength Testing Procedures).
*NOTE: In some communities, you may still have 911 emergency service even
though your telephone line is disconnected. Contact your local telephone
service provider for your home to determine if 911 emergency service is
available, and under what circumstances.
TM
911 Emergency Phone Handset requires the use of your
WARNING
Failure to test the signal strength may result in your Handset
not working properly leading to SERIOUS INJURY or DEATH.
To ensure your Handset works properly during an emergency,
ALWAYS take the following safety precautions:
• TEST the signal strength during installation of your JUST IN
• TEST the signal strength anytime you relocate a Handset or
• TEST the signal strength after replacing the batteries.
• TEST the signal strength after you have LINKED an
TM
CASE
911 Emergency Phone Core Unit.
the Base Unit.
additional Handset to the Base Unit.
8
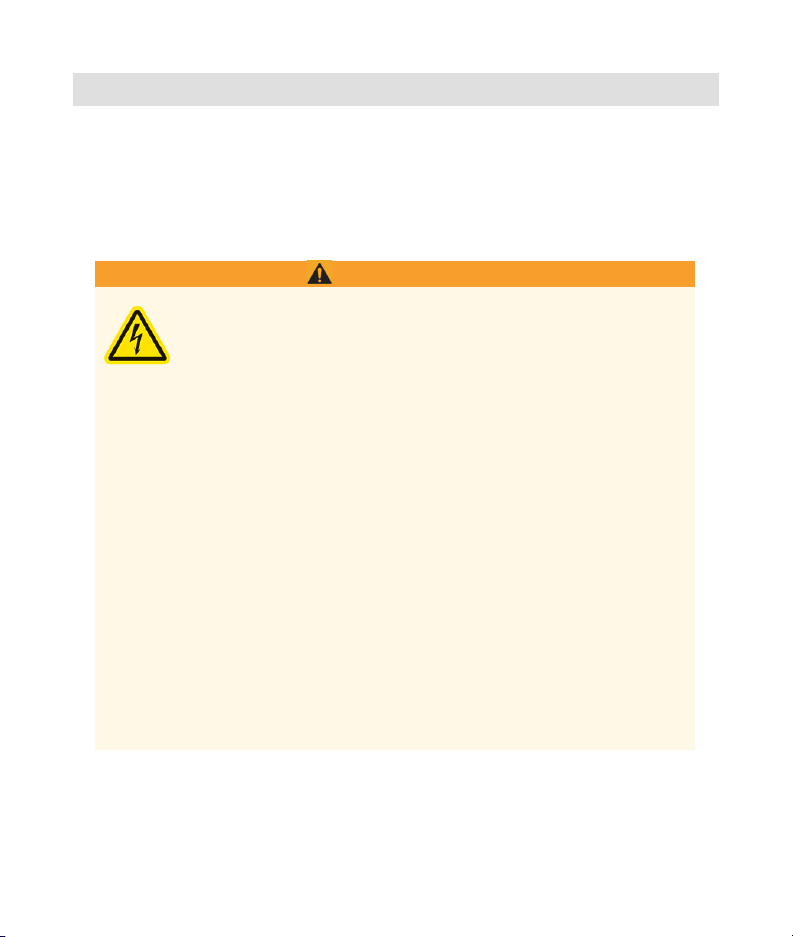
1.4 Electrical Shock Warnings
Your JUST IN CASE
AC for operation. Follow all instructions and safety precautions in this guide
when installing and using your phone. Failure to follow the safety precautions
in this Owner’s Guide may result in SERIOUS INJURY or DEATH.
TM
911 Emergency Phone Base Unit requires 120 Volts (V)
WARNING
Electrical shock can cause SERIOUS INJURY or DEATH.
To prevent electrical shock, ALWAYS take the following
safety precautions:
• ALWAYS plug the AC Adapter/Power Cord into a properly
grounded 120V AC outlet.
• ALWAYS use ONLY the provided AC Adapter/Power
Cord.
• NEVER use the Base Unit or the AC Adapter/Power Cord
if they are damaged.
• ALWAYS unplug the AC Adapter/Power Cord from the
Base Unit before cleaning the Base Unit.
• NEVER place the Base Unit or AC Adapter/Power Cord
in an area where they will be exposed to water or other
liquids.
• DO NOT disassemble any component of this product.
9
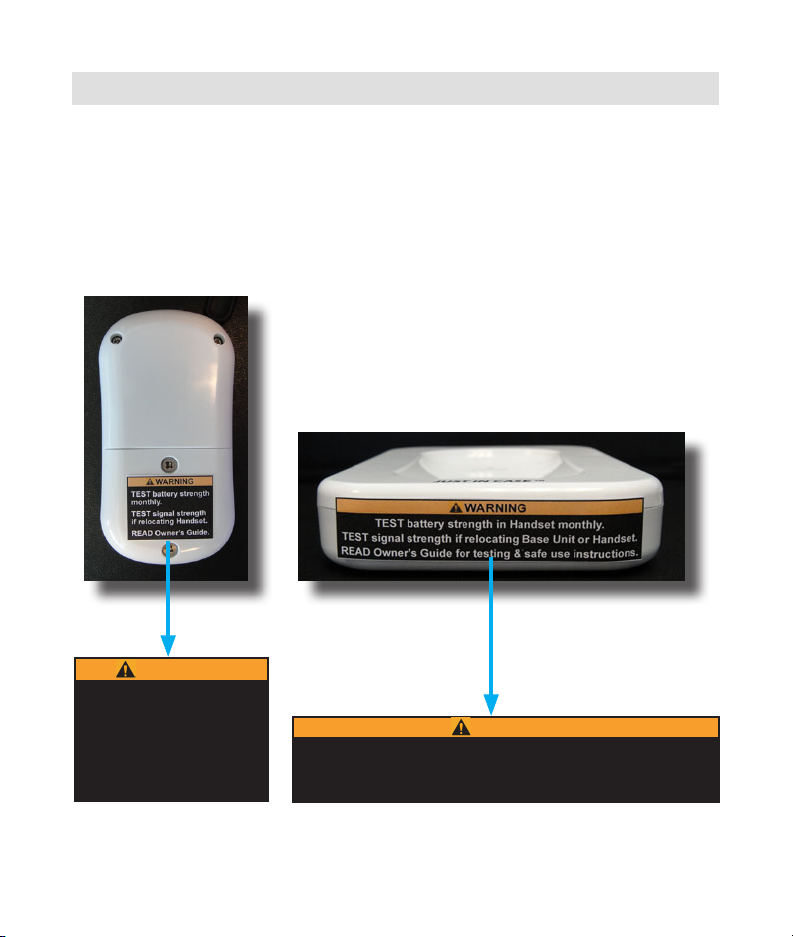
1.5 Warning Label Locations
Your JUST IN CASE
TM
911 Emergency Phone has two warning labels. One is
located on the back of the Handset, the other is located on the front of the
Base Unit. Periodically inspect these labels to ensure that they are clean and
legible. Damaged or missing warning labels must be replaced immediately.
To request replacement labels, please go to www.justincase911.com.
Back of Handset
Front of Base Unit
WARNING
TEST battery strength
monthly.
TEST signal strength
if relocating Handset.
READ Owner’s Guide.
Handset
Warning Label
TEST battery strength in Handset monthly.
TEST signal strength if relocating Base Unit or Handset.
READ Owner’s Guide for testing & safe use instructions.
WARNING
Base Unit
Warning Label
10

SECTION 2 - INSTALLATION
The initial installation of your JUST IN CASE
is important in ensuring safe and reliable operation. This section will provide
you with information and instructions about the installation of your Core Unit.
2.1 Installing the Batteries
Take the following safety precautions to ensure that your Handset works
properly and to prevent damage to your Handset caused by improper
handling and installation of the batteries:
IMPORTANT BATTERY SAFETY INFORMATION:
• Use ONLY new, high quality AAA alkaline batteries, from a recognized brand.
• ALWAYS follow the battery installation instructions carefully.
• ALWAYS insert the batteries correctly by matching the + and - polarity
markings on the battery with the label inside the battery compartment.
• ALWAYS TEST the batteries for strength once a month.
• ALWAYS REPLACE the batteries once every year.
• ALWAYS TEST the batteries for strength after using the Handset to make an
emergency call.
• ALWAYS keep batteries away from children and if swallowed seek immediate
medical attention.
• ALWAYS remove batteries if Handset is not going to be used for a long period
of time.
• DO NOT mix old batteries with new batteries or dierent types.
• DO NOT use rechargeable batteries and DO NOT place the provided AAA
alkaline batteries in a battery charger.
• NEVER throw batteries into a re, disassemble, or heat them.
• DO NOT remove or damage the battery casing.
TM
911 Emergency Phone Core Unit
11
Battery Installation Procedures:
NOTICE
DO NOT unscrew or remove the two top small screws on the
back of the Handset (See Figure 1, pg. 13). This may cause
severe damage to the Handset, causing it to not work when you
need to use it during an emergency.
1. Use a Phillips head screwdriver to carefully loosen the two battery
compartment screws in the battery compartment door on the back
(bottom) of the Handset (Figure 1, pg. 13).
2. Insert two AAA alkaline batteries inside the battery compartment as shown
below (Figure 2, pg. 13).
3. Follow the “+/-” signs on the label inside the battery compartment for
proper battery installation.
4. Insert the negative end of the battery into the compartment rst by
pushing it against the spring. Then lower the positive end into the slot.
5. Replace the battery compartment door and carefully tighten the battery
compartment screws.
NOTICE
Overtightening the battery compartment screws may cause severe
damage to the Handset.
DO NOT overtighten the battery compartment screws.
12
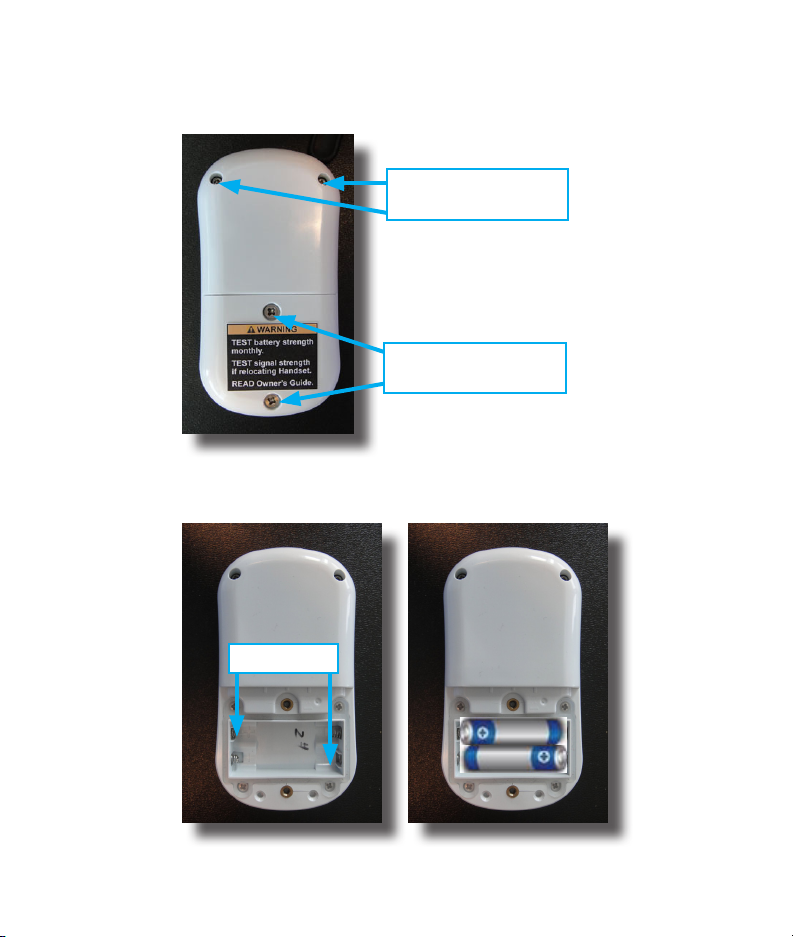
Figure 1. Handset screws.
Top Small Screws
*DO NOT REMOVE*
Battery
Compartment Screws
Figure 2. Correct battery placement in the battery compartment.
+ Polarity
13
 Loading...