

GREAT ARBOR GAC-252 User Manual
GREAT ARBOR COMMUNICATIONS
GAC-252 Wi-Fi Dial Up
Router User Guide
V1.0, Oct 2013
2013 Great Arbor Communications
Potomac, MD
www.greatarbor.com
Phone 301-547-3483 • Email support@greatarbor.com

i
G R E A T A R B O R C O M M U N I C AT I O N S
GAC-252 WiFi Dial Up
Router User Guide v1.0,
Oct 2013

ii
Table of Contents
GAC-252 Wi-Fi Dial Up Router User Guide i
Description 1
Specifications 2
Making the First Connection 3
Configure the Router 5
Start/Stop Connection Remotely 7
Optional Configuration Menu Items 8
Optional: Dialin Mode (Disabled by Default) 8
Optional: Automatic Mode 8
Optional: WiFi Security (Recommended) 9
Optional: Scheduled Dial Up 10
Format of Scheduled Dial Up Command using Crontab 10
Optional: Broadband Configuration 11
Using the Modem with a PC 12
Compatible ISPs 13
Troubleshooting 14
Warranty 16

D E S C R I P T I O N
1
Description
he GAC-252 is a high performance 802.11n WiFi Router with an advanced
V.92 standard phone modem to enable Wireless access to the Internet through
a phone line. The router makes a dialup connection to the dial up Internet
Service Provider (ISP) of your choice. It comes programmed with a free dial
up ISP phone number so that you can start using your WiFi wireless enabled device
without a subscription. The 802.11n WiFi standard allows the WiFi device to be
hundreds of feet away from the router. The GAC-252 WiFi antenna is detachable and if
necessary can be easily replaced with a higher gain antenna for even greater range. The
included V.92 standard 56K modem connects through the router’s USB port and
provides the maximum data rate a phone line can support (usually 40-50 kbps for a clear
phone line, less for noisy lines).
The GAC-252 can be used with both broadband and phone line connections. It is
compatible with most WiFi devices (Laptops, iPad, iTouch, WiFi Smartphones like the
iPhone, Droid, and Blackberry, Gaming devices like the Nintendo DS, etc.). The GAC252 software platform is based on the Open Source OpenWrt Linux distribution which
is used by thousands of users around the world.
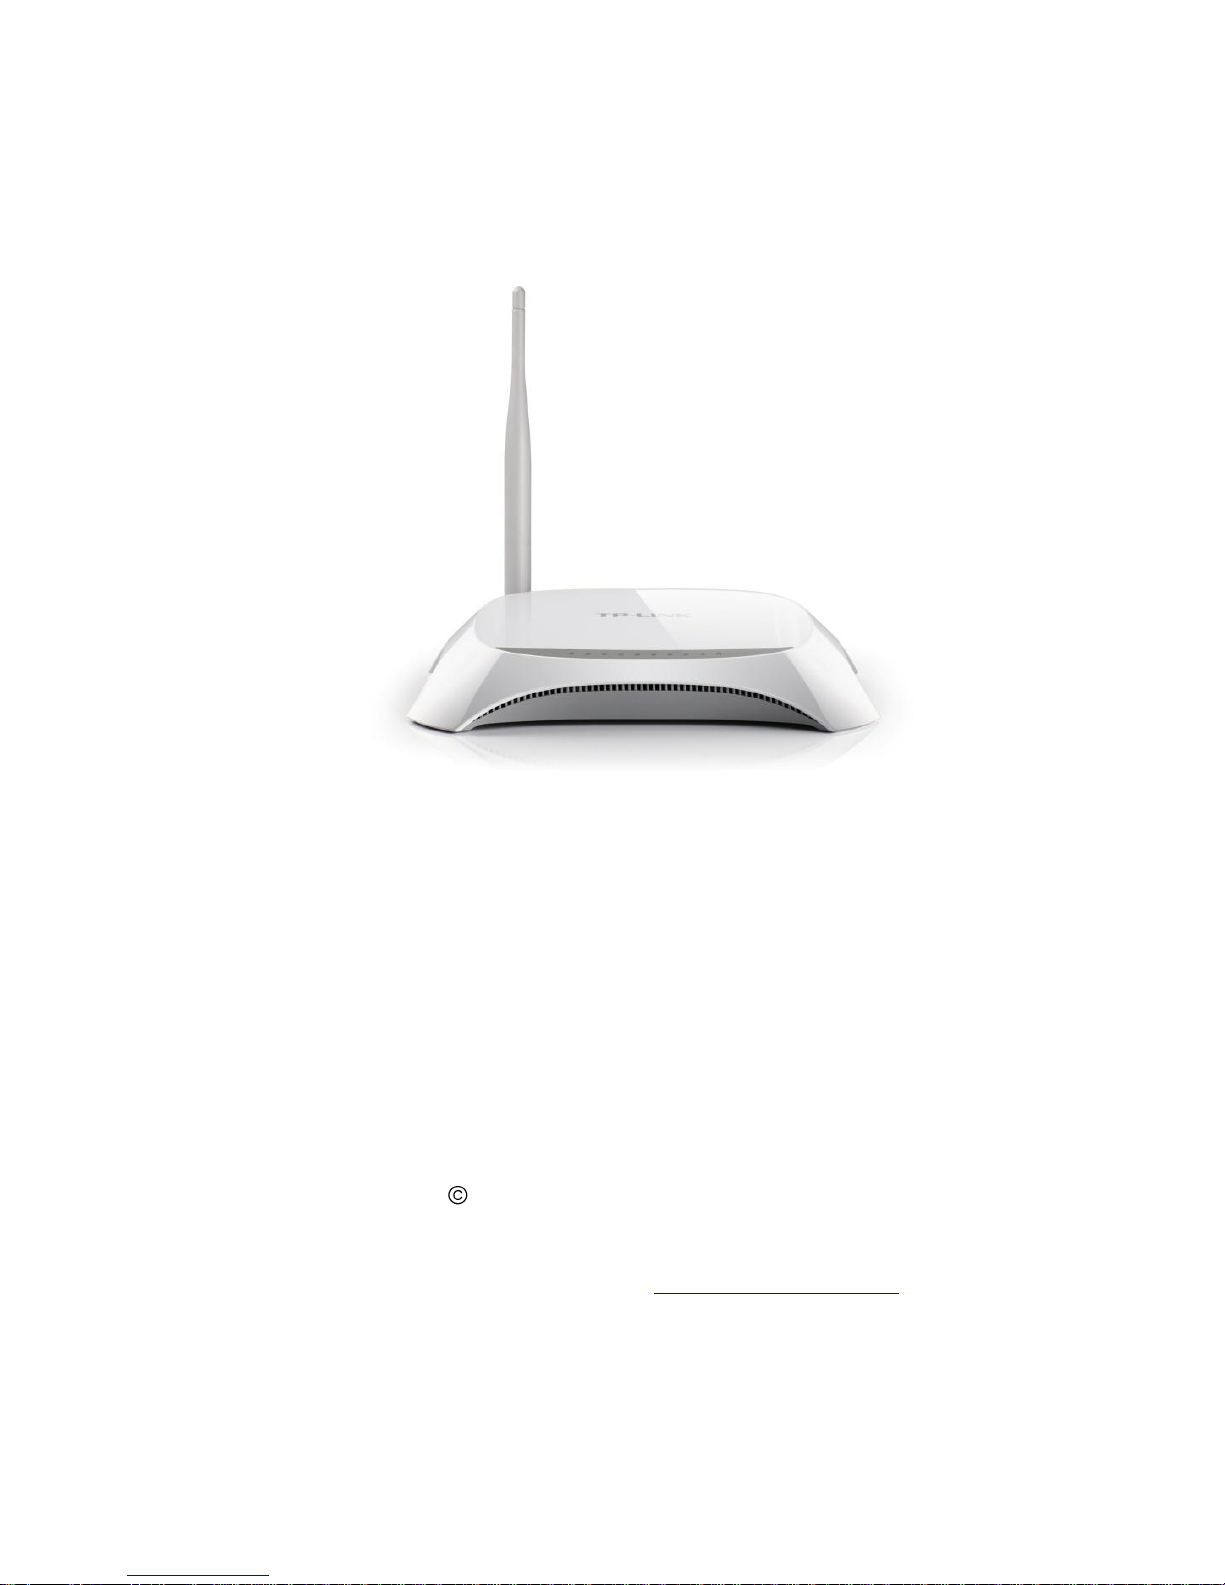
The GAC-252 which uses the TP-LINK TL-MR3220 version 2 hardware platform
replaces the original GAC-152 WiFi Dial Up Router which was based on the TLMR3220 version 1 hardware.
Chapter
1
T

D E S C R I P T I O N
2
Specifications
WiFi Specification
Standards
IEEE 802.11n, IEEE 802.11g, IEEE 802.11b
Wireless Signal Rates
With Automatic
Fallback
11n: Up to 300Mbps(dynamic); (150 Mbps for GAC-152)
11g: Up to 54Mbps(dynamic)
11b: Up to 11Mbps(dynamic)
Frequency Range
2.4-2.4835GHz
Wireless Transmit
Power (MAX)
20dBm(Max. EIRP)
Modulation
Technology
DBPSK, DQPSK, CCK, OFDM, 16-QAM, 64-QAM
Hardware Specification
Interface
4 10/100M LAN Ports (GAC-252)
1 10/100M WAN Port (GAC-152)
1 USB 2.0 Port
1 RJ-11 Phone Modem Port on included modem
Phone Modem
V.92 Standard.
Antenna
5dBi Detachable Omni Directional Antenna (X 3 GAC-150,
Single antenna GAC-152)
Power Supply Unit
Input: 110/220 volt
Output: 9VDC / 0.85A Switching PSU
Operating
temperature
0oC~40oC (32oF~104oF)
Storage temperature
-40oC~70oC(-40oF~158oF)
Relative humidity
10% ~ 90%, Non-Condensing
Storage Humidity
5%~90% Non-Condensing
Certifications
FCC, CE, RoHS

G E T T I N G S T A R T E D
3
Making the First Connection
Setup your router and access the web wirelessly in 5 minutes or less
tart by unpacking the router. The package consists of :
(a) Router, (b) USB Phone-Modem, (c) USB hub, (d) WiFi Antenna, (e)
DC Adapter, (f) Phone cable, (g) Printed User Guide and (h) CD which
contains the User Guide and the DIAL Windows utility.
Connections will now be made to the back panel of the Router shown on the next page.
First, screw in the antennas to the antenna connectors at the back. DO NOT screw them
in too tightly to avoid damage the connectors. Attach the black USB phone modem to
any port of the white USB hub. Insert the USB hub’s USB cable to the USB slot at the
side of the router. The USB hub is required to convert the high speed USB interface on
the router to the lower speed phone modem. Attaching the black USB modem directly
to the router may cause errors in transmission and so always use a USB hub in between
the black modem and the router.
Attach the phone cable to the RJ-11 slot on the phone modem and the other end of the
phone cable to a telephone wall jack. Plug in the DC adapter cable to the router and the
DC adapter to the wall power outlet.
Use of a power strip with surge protection for
both power and phone line is recommended.
If the router does not turn on then
push the ON/OFF button at the back of the router to turn the router on. The router
will power up and the SYS LED in the front will flash. Once it turns solid green the
router is ready. Press the DIAL button at the back of the router to dial-out to the pre-
configured free ISP Internet using the default long distance phone number configured in
the router. The dial up process takes anywhere from 30 seconds to 1 minute depending
on the quality of your phone line and the ISP you are dialing. The LEDs on the black
modem will flash during this process. Once the connection is established, the
INTERNET LED labeled with a “Globe” graphic (see Figure 2) will start flashing about
once per second. If the LED does not flash, remove the power cable from the router,
Chapter
2
S
 Loading...