

Great American Recreation Home Power Hockey Table Setup And Assembly Manual
Power Hockey Side Score (non-coin)
Setup & Assembly Instructions
20 Providence Pike
North Smithfield, RI 02896
800-831-2011 • (f) 401-463-6673
www.GreatAmericanRec.com
games@greatamericanrec.com

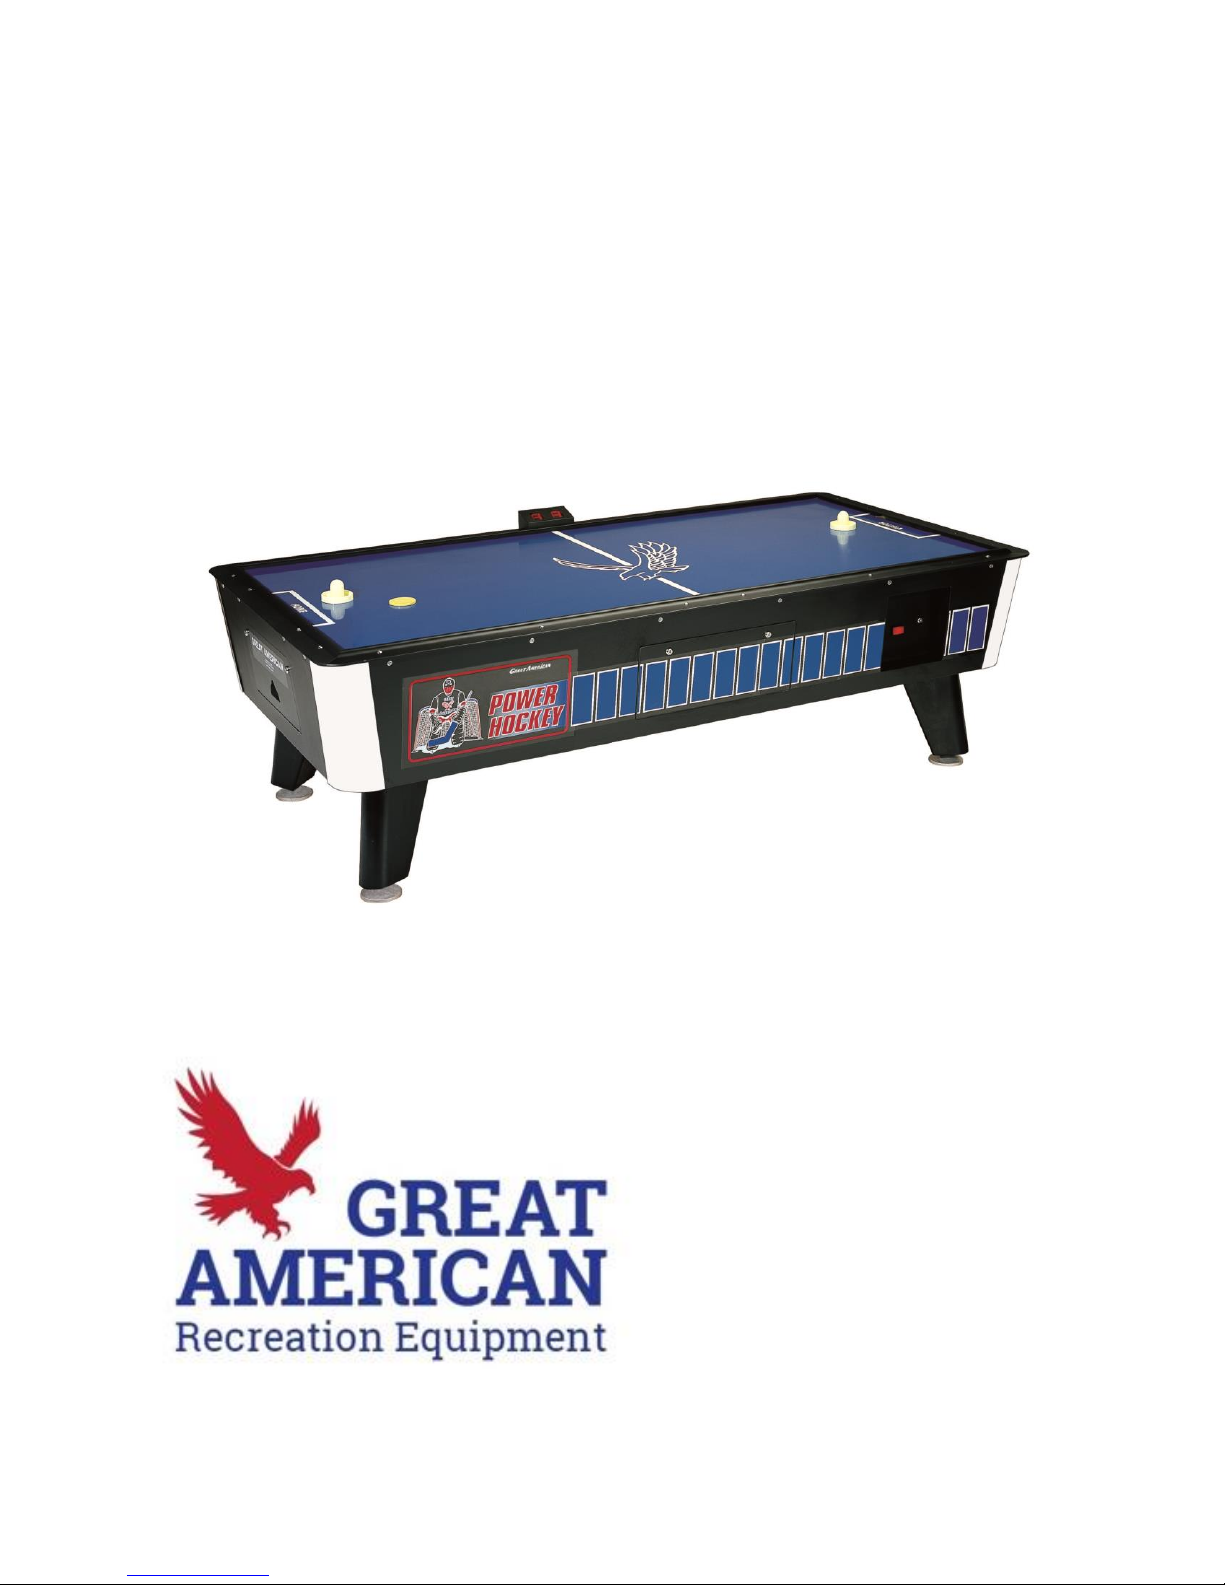
Thank You for purchasing the Great American Recreation Home Power Hockey Table.
This table is a home version of our commercial grade Power Hockey Table. It is designed
to withstand many thousands of plays in a commercial environment (i.e. bar, video
game/amusement center, etc.). We are confident that it will provide years of enjoyment in
your home.
Parts List
The following parts should be included with the Home Power Hockey Table:
4 Legs with attached levelers (located inside trap door in base)
16 1 1/2” x 3/8” #16 bolts (attached to inside of trap door)
10 Keys (amount may vary)
2 Mallets
1 Puck
1 Score Panel
4 1/4” #20 bolts

Setup Instructions
1. Locate key taped to Home Power Hockey Table playing surface.
2. Open trap door on the bottom of the H.P.H. Table.
3. Remove 4 legs with levelers and a bag of (16) bolts attached to the inside of the trap
door.
4. Attach legs to bottom of table using (16) 1 1/4” x 3/8” #16 bolts. (See Figure 1)
5. Stand table upright.
6. Open Power Supply Access Door (see Figure 2).
7. Locate bag stapled to door containing (4) 1/4” #20 bolts.
8. Using those bolts, attach Score Panel to side of table with taped wire.
9. Connect Wire from table to connector marked “Interface” on the back of the Score
Panel.
NOTE: Make sure the notch on the wire harness faces the center of the circuit board.
Front View of Home Power Hockey Table
FIGURE 1
1 1/4” x 3/8” #16 Bolt
Trap Door for legs
(on bottom of table)
Puck Drop Access Door
Legs
Wire from table
Score Panel
1/4” #20 bolts
Locks
 Loading...