

Page 1
GREAT ARBOR COMMUNICATIONS
ThurayaTM XT-HotSpot
Quick Start Guide
V1.2, Nov 2012
Great Arbor Communications
Potomac, MD
www.greatarbor.com
Phone 301-547-3483 • Email [email protected]
Page 2

XT-HOTSPOT Description
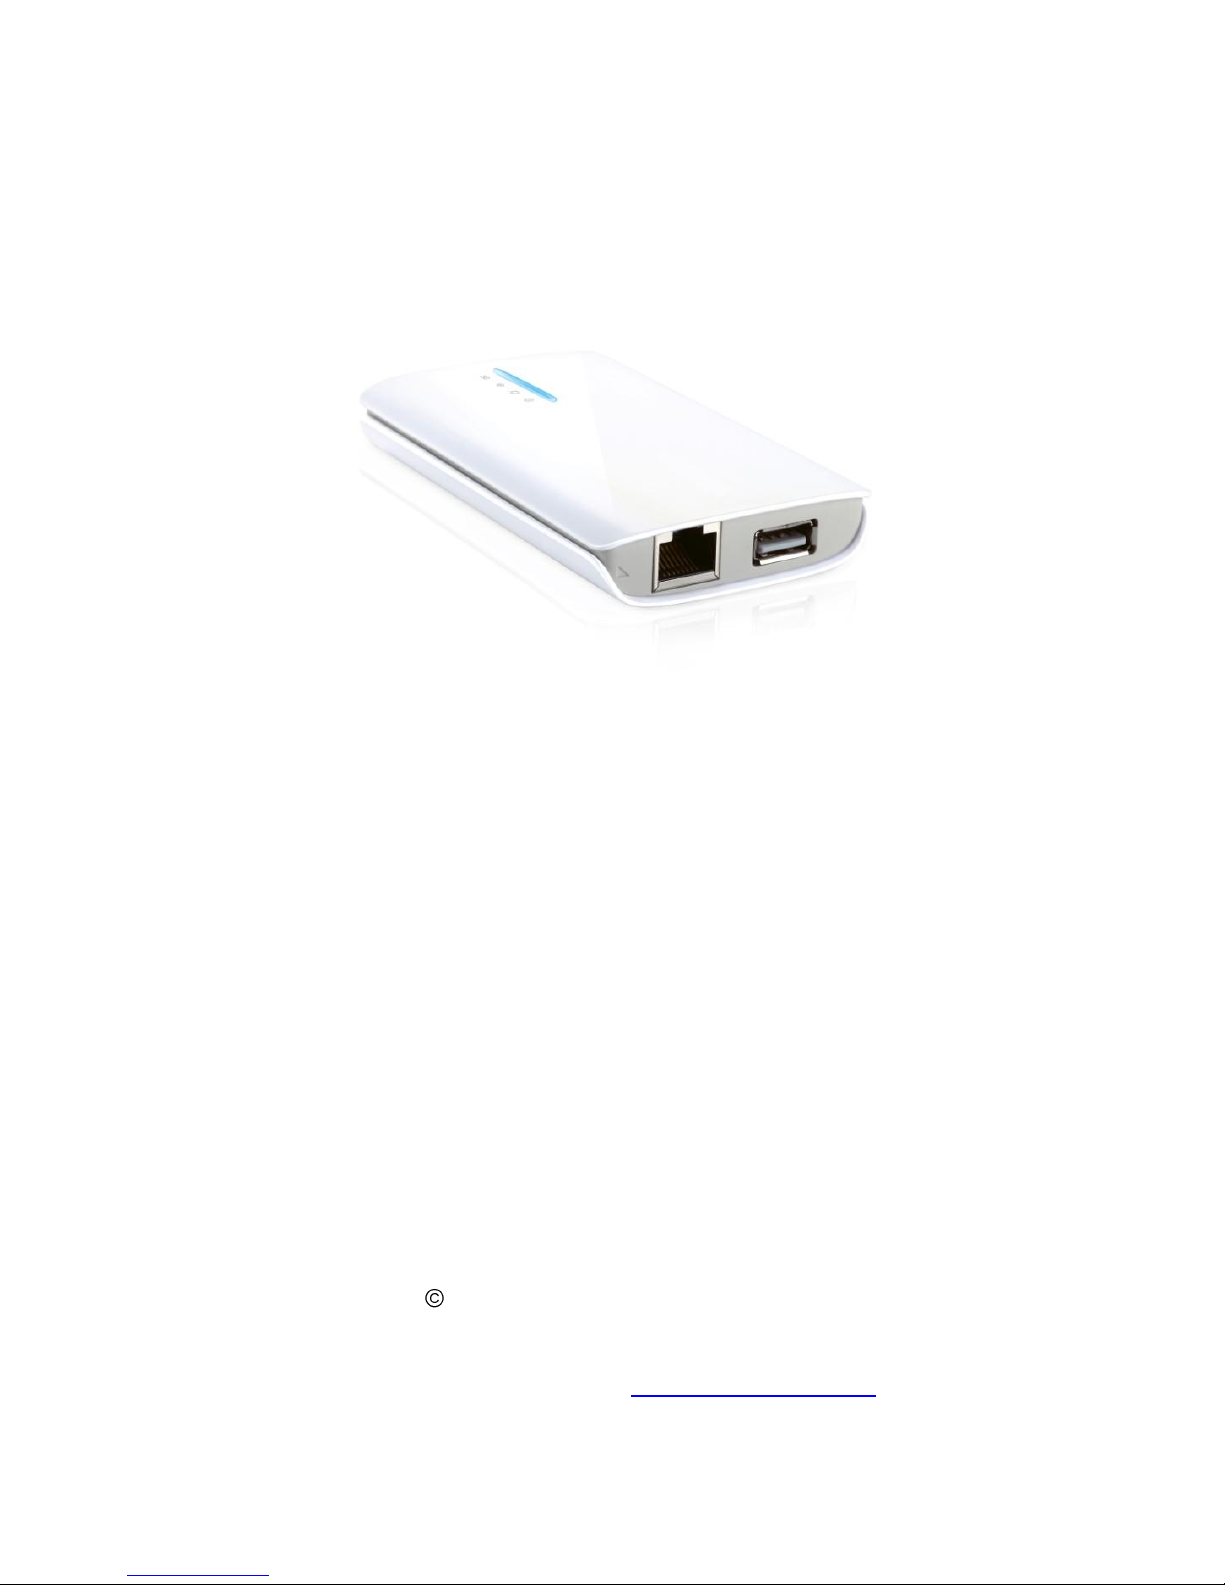
he XT-Hotspot is a compact, portable, 802.11n WiFi Router with a USB port
which can be interfaced to Thuraya phones with GmPRS packet data
connections. The hotspot has an internal battery and internal WiFi antenna
providing WiFi access to the Internet to mobile devices (smartphones, tablets,
etc) up to a distance of about 100 feet. The XT-Hotspot enables users to access the
Internet using their personal mobile devices with the Thuraya satellite phone providing
the Wide Area Network Connection to the Internet.
Specifications
Standards
IEEE 802.11n, IEEE 802.11g, IEEE 802.11b
Wireless Signal Rates
11n: Up to 150Mbps
11g: Up to 54Mbps
11b: Up to 11Mbps
Frequency Range
2.4-2.4835GHz
Security
WEP, WPA-PSK,/WPA2-PSK
Interface
1 10/100Mbps LAN Port, USB 2.0 Port for Thuraya
connectivity, a micro USB Port for power supply.
Internal Battery
2000 mAh (up to 4 hours of WiFi access to GmPRS). Battery
can be recharged by the included power adapter or from a PC
using the included USB cable
Power Adapter
Input: 110/220 volt, Output.; 5 Volts, 1A
Operating temperature
15oC-40oC
Storage temperature
-20oC-50oC
Operating humidity
0% - 75%, Non-Condensing
Storage Humidity
0%~75% Non-Condensing
Software Features
Always up data connections and on-demand connections
with disconnect after configurable inactive period
Certifications
CE, FCC, RoHS
Package Contents
XT-Hotspot, Power Adapter, USB Cable, Ethernet Cable,
Quick Installation Guide, Resource CD
LED Information
T
Page 3

Making the First Connection
tart by connecting the Thuraya Phone to the USB hub via the Thuraya data USB
cable (not included in package). Connect the USB hub to the standard USB port
on the XT-Hotspot. To charge the internal battery, connect the power adapter
cable to the micro-USB connector and plug the power-adapter to a 110/220 volt
source. Turn the phone on and make sure it is registered and configured for GmPRS
connectivity. Move the XT-Hotspot on/off switch to the on position. Once the hotspot
is up the WiFi LED will become a solid green. The hotspot will then attempt to establish
a GmPRS connection if it is configured for an always-on connection (default). Once a
connection is established the LED with the Internet symbol (LED closest to the edge)
will start flashing once per second. Next turn on your PC and scan for wireless networks.
This procedure can be different for different Operating Systems. For example on
Windows XP, you can view the available WiFi networks by clicking the WiFi icon on the
right end of the bottom panel and then selecting “View Wireless Networks”. The
hotspot WiFi ID - Thuraya will appear. If it doesn’t, wait for 10 seconds, and re-scan
(Refresh Network List in Windows XP). Once the Thuraya ID appears, select it and
click Connect.
Start a web browser on the PC and see if you can access websites on the Internet. Once
you are done with the Internet session, turn off the hotspot or pull the Thuraya USB
cable out to disconnect the connection. If the Internet LED is blinking but you cannot
connect to websites then your PC may not be connected properly to the hotspot. If the
Internet LED does not blink then the hotspot has not been able to initiate a GmPRS
connection. Review the troubleshooting section below to obtain the information needed
to diagnose the problem.
The XT-Hotspot can handle failures in GmPRS connectivity. For example, the XTHotspot can be powered up without the Thuraya phone being connected to the hotspot.
Plugging in the cable at a later time will cause the connection to be initiated. Additionally
if the GmPRS connection attempt fails the first time, the XT-Hotspot will periodically
attempt to establish a connection at a later time.
If you want to use the hotspot in wired mode, connect the PC’s LAN port to the LAN port on the hotspot.
Make sure that the PC is configured to get an IP address automatically. Note that PCs are usually
configured for automatic IP address assignment.
Manage the Hotspot
Connect via WiFi to the Thuraya ID as described earlier. Open up your web browser
and enter the address http://192.168.1.1 in the address bar. This is the internal web
configuration page on the hotspot and not a web site on the Internet. The login screen
will appear. Login to the hotspot with user name
root
and password
admin
Click the Network tab to open up the Interfaces page. In this page the GMPRS
interface shows the status of the GMPRS connection. If you need to view or edit the
GMPRS access configuration then click the Edit button in the GMPRS row. Make the
S
Page 4

changes and click Save & Apply. The hotspot will store the new entries and bring the
interfaces up. Wait a minute and then turn the hotspot off and then on to power up with
the new configuration.
Optional: On-Demand Mode
Access the last field (titled Inactivity timeout) in the GMPRS Configuration page to
configure the hotspot to dial up a connection based on activity. In this mode, whenever
your PC is connected to the hotspot (via WiFi or LAN) and you attempt to access the
Internet, the hotspot will make the dial up connection. Enter the time after which the
hotspot should automatically disconnect the connection in case of no activity (180
seconds is recommended). Setting the time to 0 changes the hotspot from Automatic
Mode back to Always-On mode in which it will automatically open a connection and
keep it up after being powered up. Press Save & Apply to save any changes made to the
configuration.
In On-Demand mode various programs on your laptop (Virus update, Windows
Update, etc.) may attempt to access the Internet without your knowledge and will trigger
a data connection. One way to disconnect the data connection is to disconnect the WiFi
connection on your laptop/device. The data connection will be automatically dropped
after the “Inactivity timeout” number of second. Another way is to turn the hotspot off
or pull the USB cable out
WiFi Security
Your WiFi connection can optionally be made secure if you want to be sure that no one
else accesses the Internet using your GmPRS connection or accesses your PC over WiFi.
Click the Wifi tab (located next to the Interfaces tab) under the Network section. In the
Wireless Overview section, there are 4 images on the extreme right. Click the “pencil”
image to edit the WiFi configuration. Click the Wireless Security tab in the lower section
to set encryption. The most secure form of encryption is WPA2-PSK and the key can be
a mixture of characters and letters. If your device does not support WPA2-PSK, you can
set the encryption to WEP. However in the case of WEP, the key has to be
exactly 10
characters. After making the entries, click Save & Apply.
For increased security, you can change the password for the hotspot. Select System and
then Administration. Put in the new password, confirm it and click Save & Apply.
Troubleshooting
If changes have been made to the configuration and the hotspot stops working, then the
unit can be reset to factory defaults by holding down the reset button with a pin for 8
seconds. The unit will reset and come up in 2 minutes. Do not turn off power during this
period. If the hotspot cannot make a GmPRS connection then access the System Log
(Status Tab) and cut/paste that into an email to [email protected]. Remote
access to Great Arbor engineers can be provided by connecting a PC to the Internet via
the PC LAN connection and connecting the PC to the hotspot using WiFi. A PC screen
sharing program like TeamViewer can be used on the PC to provide remote access.
 Loading...