

Page 1
OPERATING INSTRUCTION
Prior to use, please read this manual thoroughly.
Keep this manual in a convenient place for quick and easy reference.
No. 33505 No. S1021
No. S1022 No. S1023
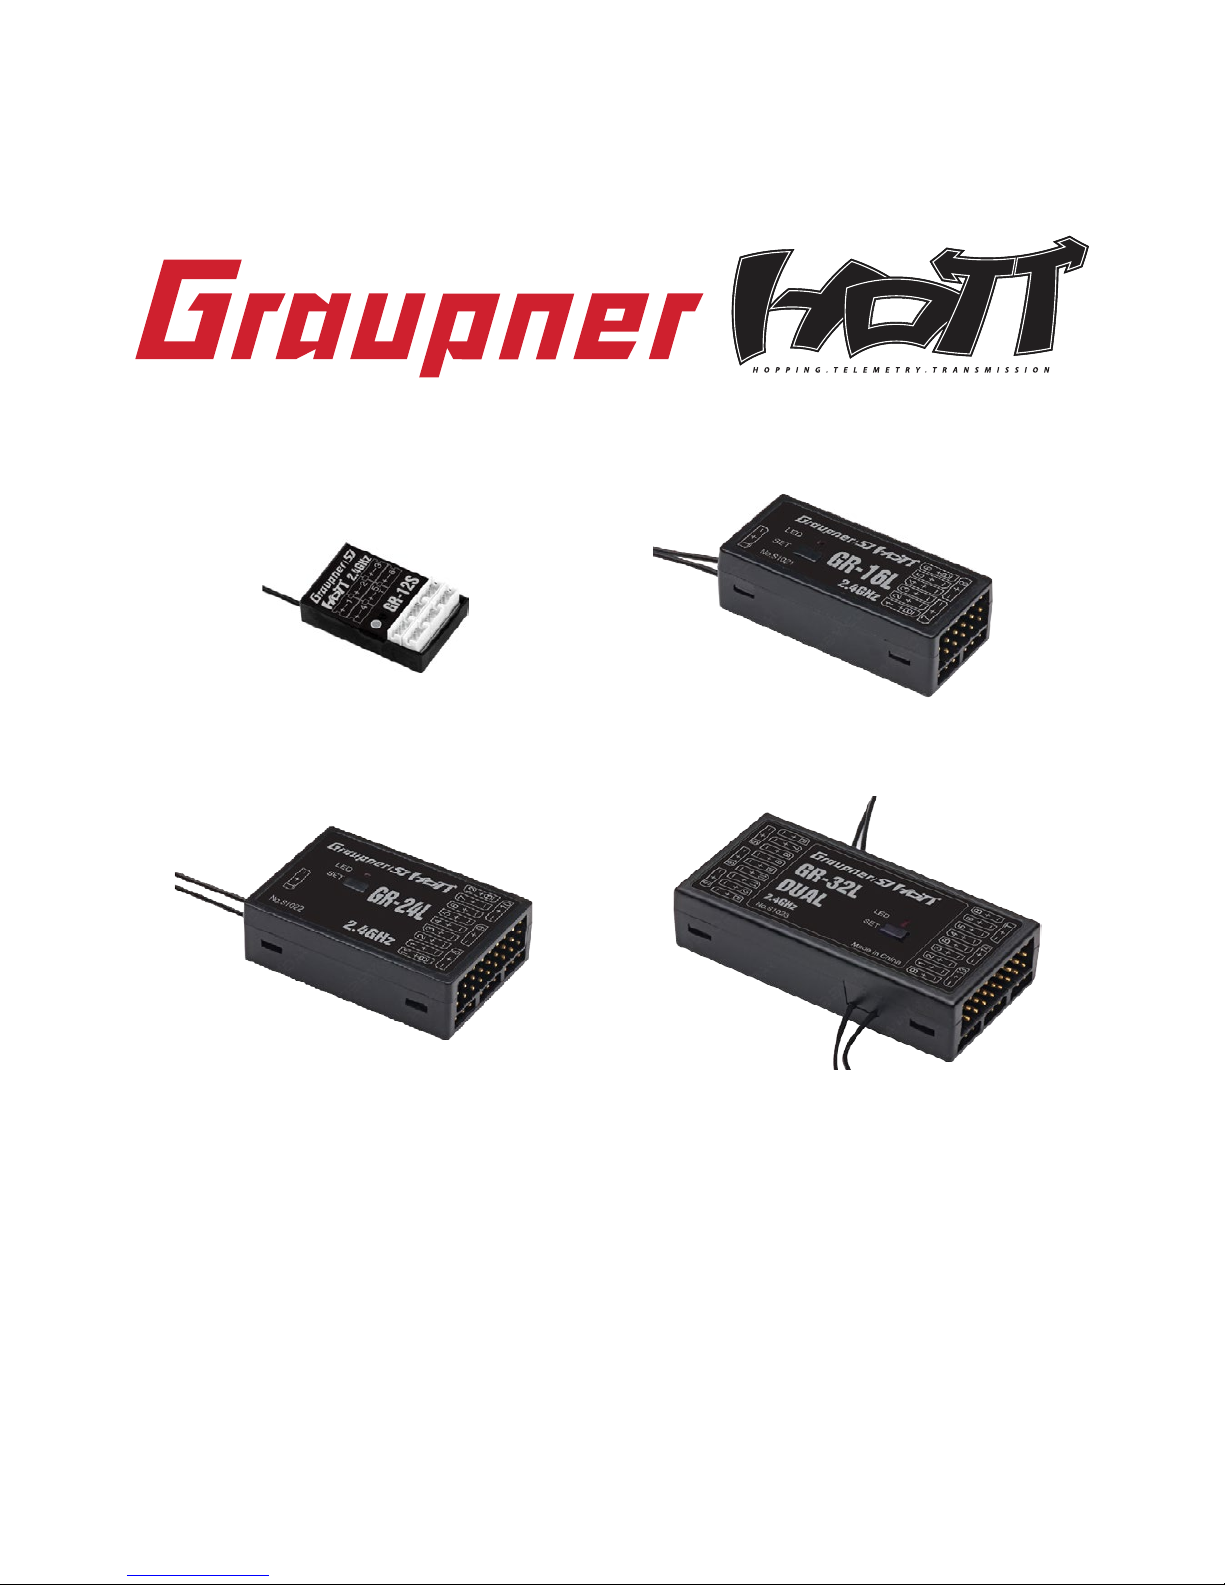
No. S1023 GR-32L DUAL HoTT
33505 GR-12S HoTT
No. S1022 GR-24L HoTT
No. S1021 GR-16L HoTT
Page 2

Contents
2
• Before Use
• Support and Service
- Customer support
- Internet sales site
- A/S regulation
- Warranty regulation
• Openhobby A/S Center
1. Introduction
2. Flying Safety
3. Features
- Specication
4. Operation
1) Binding
2) Range check
3) Fail-safe function
4) Range warning
5. Receiver
1) Servo connection
2) Power supply to the receiver
3) The programming socket
6. The Programming Setup With Telemtry Box
7. Firmware Update
8. Safety Approval
9. Accessories
3P
3P
3P
3P
3P
3P
3P
4P
4P
4P
5P
5P
5~6P
6~7P
7P
7P
8P
9P
9P
9P
10P
10P
11~13P
14~15P
Page 3

3
•
BEFORE USE
•
SUPPORT AND SERVICE
•
OPENHOBBY A/S CENTER
Thank you for purchasing Graupner HoTT 2.4GHz receiver. It is the common manual
for GR-12S (6 Channels), GR-16L (8 Channels), GR-24L (12 Channels), GR-32L (16
Channels). This system is extremely versatile and may be used by beginners and pros
alike. In order for you to make the best use of your system and to y safely, please read
this manual carefully. If you have any difculties while using your system, please con
-
sult the manual, our online Frequently Asked Questions (on the web pages referenced
below), your hobby dealer, or the Graupner Service Center. Due to unforeseen changes
in production procedures, the information contained in this manual is subject to change
without notice.
•
Customer support
We are happy to assist you with any question by e-mail or phone. Customer service
hours are from 9 am to 5 pm PST (Pacic Standard Time) during the workweek, Mon-
day through Friday. E-mailed questions will be answered as soon as possible
•
Online Support
Please visit us at www.openhobbby.com, to stay up to date with the latest software,
rmware and product information.
•
A/S Support
During the warranty period, we can repair this product at no cost in the event that it has
become faulty under normal operating conditions.
For non-functional products that are past the expiration date of the warranty or have
been improperly used, we would be happy to repair this product for an appropriate
amount of cost to the consumer.
•
Warranty information
Refer to the WARRANTY CARD in the Package
3245 University Ave, Suite 1520, San Diego, CA 92104, United States of America
Phone: +1 855-5-RCisHoTT ( +1 855-572-4746) Fax: +1 855-546-0350
E-mail: service@openhobby.com
©2014 Graupner USA – OPENHOBBY LLC. The HoTT trademark is used with per
-
mission of SJ Inc. 4386066
Page 4
4
1. INTRODUCTION
3. FEATURES
2. FLYING SAFETY
Read the ENTIRE instruction manual to become familiar with the features of the
product before operating. Failure to operate the product correctly can result in
damage to the product, personal property and cause serious injury.
WARNING
Graupner HoTT receivers are compatible with all of Graupner transmitters and used to
airplane, helicopter and glider. HoTT system gives user real-time information on various
useful data such as user model’s RPM, voltage, temperature, user programmable warn
-
ing, and so on which are directly obtained from telemetric speed controllers equipped
with this HoTT system without having to install separate sensor devices. Of course, all of
those telemetric data can be also transmitted from separate sensor devices. The use of
up to 75 hopping channels provides advanced reliable operation while keeping from any
external interference.
All instructions, warranties and other collateral documents are subject to change at the
sole discretion of Graupner. For up-to-date product literature, visit http://www.openhob
-
by.com and click on the support tab for this product
1. Do not y your model near spectators, parking areas or any other area that could
result in injury to people or damage of property.
2. Ensure that all channels are working in the proper manner.
3. Perform a ground range check prior to the initial ight of the day
4. Do not y during adverse weather conditions. Poor visibility can cause disorientation
and loss of control of your aircraft. Strong winds can cause similar problems
5. We strongly recommend to set the Failsafe function and also recommend that the
preset Failsafe would be idle position
6. You need to set the function of the transmitter after removing a power battery from a
model or stopping a engine of a model.
7. Ensure that all your batteries have been properly charged prior to ight.
- The use of up to 75 channels ensures extreme operating reliability and immunity to
external interference.
- The broad reception voltage range of 3.6 V - 8.4 V (functional to 2.5 V) ensures full
func tionality even when voltage uctuates.
- Two LEDs signal operating status.
- The optimized sizes and weights
- Receiver input sensitivity and thus the range have been increased further.
- Servo connections in the front panel.
- Failsafe, Hold, OFF, and standard (channel 1 failsafe; all others hold) programmable.
Page 5

5
- SPECIFICATION
When switching on or adjusting the radio control system it is essential to keep the
transmitter antenna at least 30 cm away from the receiver antenna all the time. If
the transmitter antenna is too close to the receiver antenna, the receiver will be
overloaded and the status LED on the receiver blinks red. The transmitter
responds by repeating a single beep every second and the radio control system is
entered Fail-Safe mode. If the distance of the antennas between transmitter and
receiver would be simply longer than 30cm in this situation, the beep of transmit
-
ter is ceased and the status LED on the receiver turns solid green
1) Binding
- Switch on the transmitter and receiver. The status LED of the receiver blinks red until
the receiver is bound to the transmitter.
- Enter BIND mode of your specic transmitter and press & hold the SET button on the
receiver for over 3 sec, the red status LED and the green status LED blink together.
After that, follow the procedures of your specic transmitter to bind, the system will
connect within a few seconds. Once connected, the status LED on the receiver turns
solid green, indicating the receiver is bound to the transmitter. If the binding process
has failed, repeat the whole procedure.
- Binding a number of receivers in one model
It is possible to bind a number of receivers to a transmitter in one model. Every receiv-
er must be bound to the transmitter individually according to the procedure already
described.
4. OPERATION
Model Name GR-12S GR-16L GR-24L GR-32L
Channel
Frequency
Modulation
Temperature Range
Operating Voltage
Charging rate
Antenna
Amplier
Size
Weight Approx
6 channels
2400~2483.5 MHz
2.4GHz FHSS
-15~+70˚C
(2.5) 3.6~8.4V
35.0mA
1ea,85mm/3.35in
O
31x20x19 mm
1.22x0.79x0.35 in
4.0g 0.15 oz
8 channels
2400~2483.5 MHz
2.4GHz FHSS
-15~+70˚C
(2.5) 3.6~8.4V
70.0mA
2ea,145mm/5.71in
O
46x21x14 mm
1.81x10.83x0.55 in
12.0g/ 0.42 oz
12 channels
2400~2483.5 MHz
2.4GHz FHSS
-15~+70˚C
(2.5) 3.6~8.4V
70.0mA
2ea,145mm/5.71in
O
46x31x14 mm
1.81x1.22x0.55 in
16.0g/ 0.56 oz
16 channels
2400~2483.5 MHz
2.4GHz FHSS
-15~+70˚C
(2.5) 3.6~8.4V
70.0mA
4ea,145mm/5.71in
O
63x30x14 mm
1.48x1.18x0.55 in
24.0 g/ 0.85 oz
Page 6

6
- Mount the bound receiver in the target place in the model.
- Switch on the RC system so that you could observe the movement of the servos.
- Put the model on a at surface (pavement, closely mown grass or earth), and ensure
that the receiver antenna should be at least 15cm above from the ground.
- Face the model with the transmitter in your normal ying position, the antenna on
the transmitter shouldn’t be toward the model directly and it keeps stand horizontally
during range checking
- Enter range check mode of your specic transmitter and follow the procedures of your
specic transmitter to check the range. the transmitter repeat a single beep with a
regular rhythm, indicating the Range checking is processed normally.
- Walk over 50 meters away from the model with controlling the transmitter sticks
constantly and check whether the model is operating normally. You should have total
control of the model with the trainer switch pulled
- If control issues exist within 50 meters, the system should not be used. And contact
your local Service Department of SJ INCORPERATED.
- Range-check is automatically terminated in 90 seconds and it is also terminated by
turning off the range check function of your specic transmitter. the status LED on the
receiver turns solid green when terminated.
- Have your helper position the model and check effective radio range before every
ight while simulate all the servo movements which will take place when the model is
in ght. The ground range must always be at least 50m in order to ensure safe and
reliable model control.
The last bound receiver is the master receiver when the system would be in use. Every
telemetry sensors installed in the model must be connected to the master receiver,
since the only master receiver transmits sensor data through the downlink channel. The
second and all further receivers are operated as the slave mode which are connected
in parallel to the master, with the downlink channel switched off. The control signals can
be passed to a number of receivers simultaneously and also the different signal can be
assigned to each receiver through the Channel Mapping function of the transmitter or
the optional SMART BOX. The typical example would be the use of two servos for each
aileron, etc.
NOTICE : Make sure to double check that transmitter is bound to receiver by turning
off/on transmitter’s power after binging process is completed
2) Range checking
Before every ying session and especially with a new model, it is important to perform a
range check. All Graupner aircraft transmitters incorporate a range testing system which,
when activated, reduces the output power, allowing a range check. Notice that every
ying must not be permitted in the range checking mode and the model is restrained on
the ground. After binding the receiver to the transmitter, switch the on transmitter and
the receiver and wait until the status LED on the receiver turns solid red.
Page 7

7
3. Fail-safe function
In its default state, the receiver is set to “Hold” mode. If you lose connection, all
channels hold last given command and the status LED on the receiver turn solid red.
The transmitter also repeats a single warning beep every second. You can use the fail
safe option by programming the throttle channel to respond to a fail-safe situation. : the
throttle channel of an engine-powered model should be set to idle, the throttle channel
of an electric-powered model to “stop”, and the throttle channel of a model helicopter to
“Hold”. When a signal is lost the throttle channel, all channels are driven to the failsafe
position so that it could prevent the model crashing and the personal injury or property
damage.
During normal operations (i. e. when controlling a model) never enter
the range check mode !
CAUTION
The two functions “Binding” and “Range check” described above can be
used by the programming button or the SMART-BOX without any inuence
on the setting value saved in the transmitter and the receiver. However, if
the fail safe option is used by the programming button, all the setting value
which is seen on the fail safe screen in SMART BOX, including the setting
value that could be installed by the programming button, might be reset. For
this reason, we recommend the programming by SMART BOX.
4. Range warning
Since the transmitter’s output is much higher than that of the receiver, the user tends
to be hard to notice the seriousness of the situation and try to keep full control of the
model. So when the receiver signal in the down-link channel becomes too weak, the
transmitter repeats a single warning beep every second. You should y back the model
towards the safe place until the warning signal ceases. If the beep warning does not
cease when you y back, it is that the transmitter or receiver low voltage warning or tem
perature warning is activated, you must land the model and cease operations without
delay in this situation.
IMPORTANT
Page 8

8
5. RECEIVER
Servo socket
Channel 1 ~ Channel 6
Telemetry
Channel 5
Servo socket
Programming
socket
Programming
socket
Servo socket
33505 GR-12S HoTT
Servo secket
: Channel 7-12,15~16
Battery socket : B
Battery socket : B
Battery socket : B
Telemetry socket : T
Servo socket
: Channel 1~6, 13~14
Battery socket : B
Sum signal socket : S
S1023 GR-32L DUAL HoTT
S1022 GR-24L HoTT
S1021 GR-16L HoTT
Page 9

9
Model Name GR-12S GR-16L GR-24L GR-32L
Channel
Battery channel
Sum signal channel
Telemetry channel
6 channels
Any channel
6
5
8 channels
B
8
T
12 channels
B
8
T
16 channels
B
S
T
1. Servo connection
Plug the servos into the row of sockets on the right end of the receiver. The connector
has polarity, note the small chamfer on one edge. The socket polarity is also marked
as +, - on the case, brown wire (-), red (+) and orange (signal).The servo sockets of the
receiver are numbered and the battery socket and sum signal socket are specied but
the servo can be connected in parallel with a Y-lead for your choice
2. Power supply to the receiver
When using High Power servos, connect the receiver power supply to the vertical ports.
If the servos would be connected to the vertical ports in parallel with the power supply
by a Y-lead, servos also can be controlled.
3. The programming socket
The socket with “T” marks on the left end of the receiver is telemetry interface socket,
GR-12S are Channel 5, This socket is used for Telemetry interface by the optional
telemetry sensors, updating the latest Graupner Firmware by the USB interface and
programming by the SMART BOX. The socket polarity is marked as +,- on the case:
brown wire (-), red (+) and orange (T). GR-12S needs the optional adapter cable (Order
No.: 23048)
Page 10

10
NOTICE: The optional USB PC Interface, HoTT PC Interface zender and HoTT Adapter
cable are needed to update.
S8270 : USB PC Interface 7168.S: HoTT PC Interface zender 23048: HoTT Adapter cable
If you use optional SMART BOX, you may per-
form the programming setup get the real-time
data information on receiver through big and
clear LCD. Please contact “www.openhobbby.
com” to get the manual of the optional SMART
BOX manual for more detais
SMART BOX order No. : 33700
For more information on the latest rmware and the related software, please refer
to the download menu on our website www.openhobby.com, www.graupner-sj.com
6. THE PROGRAMMING SETUP WITH TELEMETRY BOX
7. FIRMWARE UPDATE
Page 11

11
8. SAFETY APPROVAL
Declaration of Conformity
(in accordance with ISO/IEC 17050-1)
Product(s) : Graupner HoTT Receiver GR-12S(6 channels)
Equipment class : 1
The objects of declaration described above are in conformity with the requirements of
the specications listed below, following the provisions of the European R&TTE directive
1999/5/EC:
- EN 60950-1:2006/A11:2009
- EN 301 489-1 V1.8.1
- EN 301-489-3 V1.4.1
- EN 301-489-17 V1.3.2
- EN 300 328 V1.7.1
0678
•
FCC Information
Product(s) : Graupner HoTT Receiver
GR-12S(6 channels), GR-16L(8 channels), GR-24L(12 channels), GR-32L(16 channels)
GR-12S GR-16L GR-24L GR-32L
FCC ID :
ZKZ-33505
FCC 47 CFR PART
15C
FCC ID :
ZKZ-33508
FCC 47 CFR PART
15C
FCC ID :
ZKZ-33512
FCC 47 CFR PART
15C
FCC ID :
ZKZ-33516
FCC 47 CFR PART
15C
Page 12

12
• FCC Statement
1. This device complies with Part 15 of the FCC Rules. Operation is subject to the follow
-
ing two conditions:
(1) This device may not cause harmful interference.
(2) This device must accept any interference received, including interference that may
cause undesired operation.
2. Changes or modications not expressly approved by the party responsible for compli
-
ance could void the user‘s authority to operate the equipment.
• NOTE
This equipment has been tested and found to comply with the limits for a Class B digital
device, pursuant to Part 15 of the FCC Rules. These limits are designed to provide
reasonable protection against harmful interference in a residential installation. This
equipment generates uses and can radiate radio frequency energy and, if not installed
and used in accordance with the instructions, may cause harmful interference to radio
communications.
However, there is no guarantee that interference will not occur in a particular installation.
If this equipment does cause harmful interference to radio or television reception, which
can be determined by turning the equipment off and on, the user is encouraged to try to
correct the interference by one or more of the following measures:
- Reorient or relocate the receiving antenna.
- Increase the separation between the equipment and receiver.
- Connect the equipment into an outlet on a circuit different from that to which the receiv
-
er is connected.
- Consult the dealer or an experienced radio/TV technician for help.
• FCC radiation exposure statement
This equipment complies with FCC radiation exposure limits set forth for an uncontrolled
environment.
This equipment should be installed and operated with minimum distance of 20 cm
between the radiator
and your body.
• KC Information
Product : Graupner HoTT Receiver
GR-16L(8 channels), GR-24L(12 channels), GR-32L(16 channels)
국립전파 연구원의 전자파 적합등록을 획득하였습니다.
(This product is certied and registered from Korean National Radio Research Agency.)
Page 13

13
- This equipment’s aerial must be at least 20 cm from any person when the system is in use.
We therefore do not recommend using the equipment at a closer range than 20cm.
- Ensure that no other transmitter is closer than 20cm from your equipment, in order to avoid
adverse effects on the system’s electrical characteristics and radiation pattern.
- The radio control system should not be operated until the Country setting has been set
correctly at the transmitter. This is essential in order to fulll the requirements of various
directives - FCC, ETSI, CE, KC and etc. Please refer to the instructions for your particular
transmitter and receiver for details of this procedure.
- Check all working systems and carry out at least one full range check on the ground before
every ight, in order to show up any errors in the system and the models programming.
- Never make any changes to the programming of the transmitter or receiver whilst operating
a model.
CAUTION
• ENVIRONNEMENTAL PROTECTION NOTES
This product must not be disposed of with other waste. Instead, it is the us-
er’s responsibility to their waste equipment by handing it over to a designated
collection point for the recycling of waste electrical and electronic equipment.
The separate collection and recycling of your waste equipment at the time of
disposal will help to conserve natural resources and ensure that it is recycled
in a manner that protects human health and the environment. For more
information about where you can drop off your waste equipment for recycling, please contact your
local city ofce, your household waste disposal service or where you purchased the produce
GR-16L
GR-24L
GR-32L
KCC인증번호: KCC-CRM-sjr-16003120
방송통신위원회고시 제2013-01호
방송통신위원회고시 제2012-102호
“신고하지 아니하고 개설할 수 있는 무선기기”
KCC인증번호: KCC-CRM-sjr-16003210
방송통신위원회고시 제2013-01호
방송통신위원회고시 제2012-102호
“신고하지 아니하고 개설할 수 있는 무선기기”
KCC인증번호: KCC-CRM-sjr-16004010
방송통신위원회고시 제2013-01호 “무선설비규칙”
방송통신위원회고시 제2012-102호
“신고하지 아니하고 개설할 수 있는 무선기기”
Page 14

14
9. ACCESSORIES
Best.-Nr. 33611 General Air-Modul Graupner HoTT
Vario, Drehzahl, Treibstoff, 2x Temp-
eratur, 2x Spannung, Strom bis 40A,
Kapazität, Einzelzellenspannung
2 -6 S
Best.-Nr. 33612G raupner HoTT Temperatursensor
120°C, Spannungssensor
Graupner HoTT Temperatursensor
200°C, Spannungssensor
Best.-Nr. 33615G raupner HoTT RPM Optical Sensor
Best.-Nr. 33613
Best.-Nr. 33700 HoTT SMART BOX
G
G
Page 15

15
Best.-Nr
Best.-Nr. 33600G
33576 Receiver GR-12 +3XG HoTT
Receiver GR-12L HoTT
Graupner HoTT GPS mit Vario
Receiver GR-16L HoTT
Receiver GR-24L HoTT
Best.-No. S1022
Best.-No. S1021
Best.-No. S1012
Page 16
 Loading...