

GRAUPNER ALPINA 3001 ELEKTRO Instructions Manual
// Order. No. 41950
41960
Instructions
ALPINA 3001 ELEKTRO
Electric-powered model glider
This model requires a six-function radio control system.
GRAUPNER GmbH & Co. KG D-73230 KIRCHHEIM/TECK GERMANY
Modifications reserved. No liability for printing errors 12/2010
0062196
1

Specification
Wingspan approx. 3001 mm
Overall length approx. 1420 mm
Wing section TA-30 series, 8.3 %
Tailplane section 10%
Wing area approx. 48.2 dm²
Tailplane area approx. 4.2 dm²
Total surface area approx. 52.4 dm²
Min. all-up weight, according
to fittings, approx. 2450 g
Longitudinal dihedral approx. 1 - 1.3°
Centre of Gravity approx. 84 - 88 mm aft of the wing root leading edge
Important safety notes
You have acquired a kit which can be assembled into a fully working RC model when
fitted out with suitable accessories. However, we as manufacturers have no control
over the way you build and fly your RC model aircraft, nor how you install, operate
and maintain the associated components, and for this reason we are obliged to deny
all liability for loss, damage or costs which are incurred due to the incompetent or
incorrect use and operation of our products, or which are connected with such
operation in any way. Unless otherwise prescribed by binding law, the obligation of
the GRAUPNER company to pay compensation, regardless of the legal argument
employed, is excluded. This includes personal injury, death, damage to buildings,
damage due to loss of business or turnover, interruption of business or other direct or
indirect consequent damage whose root cause was the operation of the model.
The total liability in all cases is limited to the amount of money which you actually
paid for this model.
This model aeroplane is built and flown at the sole and express responsibility of the
operator. The only way to avoid injury to persons and damage to property is to
handle and operate the model with the greatest care and consideration at all times.
During construction
When handling adhesives and solvent-based materials it is important to observe the
safety notes and instructions supplied by the manufacturer. Many glues and solvents
are capable of causing injury and damage to materials if they are not used competently. Take waste glue and paint to your local model shop or toxic waste collection
centre.
Note that balsa knives, pins, etc. have sharp points and edges, and should be handled carefully to avoid injury.
Take care to keep tools, adhesives and paints out of the reach of children.
A large, unobstructed working surface is a great advantage for all types of modelmaking.
If you are a relative beginner and are not sure of any process, it is always best
to ask an experienced modeller for help.
GRAUPNER GmbH & Co. KG D-73230 KIRCHHEIM/TECK GERMANY
Modifications reserved. No liability for printing errors 12/2010
0062196
2

Flying the model
Never fly your ALPINA 3001 Champ ELEKTRO in a nature reserve or any other
protected site. Please don’t disturb the animals and plants which live in the
countryside.
Trees and bushes are the natural habitat of many birds, and also serve as nesting
sites and general protection for them.
Before you fly the model for the first time it is essential to take out a special
insurance policy designed to cover modelling risks.
These safety notes should be kept in a safe place. If you ever dispose of the
model, be sure to pass them on to the new owner.
Manufacturer’s declaration:
If material defects or manufacturing faults should arise in a product distributed by us
in the Federal Republic of Germany and purchased by a consumer (§ 13 BGB), we,
Graupner GmbH & Co. KG, D-73230 Kirchheim/Teck, Germany, acknowledge the
obligation to correct those defects within the limitations described below.
The consumer is not entitled to exploit this manufacturer’s declaration if the failure in
the usability of the product is due to natural wear, use under competition c onditions,
incompetent or improper use (including incorrect installation) or external influences.
This manufacturer’s declaration does not affect the consumer’s legal or contractual
rights regarding defects arising from the purchase contract between the consumer
and the vendor (dealer).
Extent of the guarantee
If a claim is made under guarantee, we undertake at our discretion to repair or
replace the defective goods. We will not consider supplementary claims, especially
for reimbursement of costs relating to the defect (e.g. installation / removal costs) and
compensation for consequent damages unless they are allowed by statute. This does
not affect claims based on legal regulations, especially according to product liability
law.
Guarantee requirements
The purchaser is required to make the guarantee claim in writing, and must enclose
original proof of purchase (e.g. invoice, receipt, delivery note) and this guarantee
card. He must send the defective goods to us at his own cost, using the address
stated above.
The purchaser should state the material defect or manufacturing fault, or the
symptoms of the fault, in as accurate a manner as possible, so that we can check if
our guarantee obligation is applicable.
The goods are transported from the consumer to us and from us to the consumer at
the risk of the consumer.
GRAUPNER GmbH & Co. KG D-73230 KIRCHHEIM/TECK GERMANY
Modifications reserved. No liability for printing errors 12/2010
0062196
3

Duration of validity
This declaration only applies to claims made to us during the claim period as stated
in this declaration. The claim period is 24 months from the date of purchase of the
product by the consumer from a dealer in the Federal Republic of Germany (date of
purchase). If a defect arises after the end of the claim period, or if the evidence or
documents required according to this declaration in order to make the claim valid are
not presented until after this period, then the consumer forfeits any rights or claims
from this declaration.
Limitation by lapse of time
If we do not acknowledge the validity of a claim based on this declaration within the
claim period, all claims based on this declaration are barred by the statute of
limitations after six months from the time of implementation; however, this cannot
occur before the end of the claim period.
Applicable law
This declaration, and the claims, rights and obligations arising from it, are based
exclusively on the pertinent German Law, without the norms of international private
law, and excluding UN retail law.
The following points are important and must be observed at all times:
Before you fly the model check that the radio control system is working reliably,
and that all connections are secure.
The batteries must be charged and the range of the radio control system must be
checked before you operate the model. In particular, the radio control system
batteries must be fully charged before each session.
Ensure that the channel you intend to use is not already in use by other
modellers. Never fly the aeroplane if you are not certain that your channel is free.
Read and observe the instructions and recommendations provided by the
manufacturer of your radio control system and accessory components.
Ensure that the servos are not mechanically obstructed at any point in their
travel.
Dry cells and rechargeable batteries must never be short-circuited.
Remove all batteries from the model prior to transporting and storing it.
Do not subject the aircraft to dirty or cold conditions, or high levels of humidity or
heat.
Secure the model and your RC equipment carefully when transporting them.
They may be seriously damaged if they are free to slide about.
IMPORTANT: when the flight battery is exhausted, you must not dispose of it in
the household waste. Take the pack to your local battery reclamation centre.
IMPORTANT: when the useful life of the model and the transmitter are over, do
not discard them in the domestic rubbish. The electric and electronic components
GRAUPNER GmbH & Co. KG D-73230 KIRCHHEIM/TECK GERMANY
Modifications reserved. No liability for printing errors 12/2010
0062196
4

in particular must be taken to your nearest electrical recycling centre. Ask your
local authority if you are not sure of its location.
Pre-flight checks
Check that the radio control system works correctly and at full range before every
flight: switch on the transmitter and the receiving system, and extend the transmitter
aerial to its full length; walk away from the model, and check that all the control
surfaces work smoothly and immediately at an appropriate distance; check also that
they deflect in the correct “sense” in relation to the stick movements.
If you are a relative beginner to this type of model flying, we recommend that you
enlist an experienced model pilot to help you check and test-fly the machine.
Care and maintenance
Clean the model carefully after every session. The aeroplane and RC com-
ponents should only be cleaned using suitable cleaning agents. Ask your model
shop for information.
When cleaning any types of printed decoration (decals, design films) it is
important to avoid using solvent-based cleaners, as such agents may ruin the
printing. Use nothing more than a mild liquid detergent solution and a soft cloth.
Notes on building the model
It is essential to read right through the building instructions before starting work on
the model. Bear in mind the hazards involved in the use of tools.
Before making any glued joints, be sure to clean the surfaces and remove all traces
of grease. We recommend sanding lightly, before wiping with a non-greasy cleaning
agent. Before gluing parts to the fuselage it is essential to roughen the surfaces with
fine abrasive paper and de-grease them with acetone or similar solvent, otherwise
you will not obtain strong, durable joints. This applies in particular to moulded GRP
fuselages.
Tools required to build the ALPINA 3001 Champ ELEKTRO
Pencil (HB lead), felt-tip pen, setsquare, tape measure or metre rule, household
scissors, sharp narrow-bladed knife, e.g. balsa knife, Order No. 980, small electric
drill, set of twist drills.
GRAUPNER GmbH & Co. KG D-73230 KIRCHHEIM/TECK GERMANY
Modifications reserved. No liability for printing errors 12/2010
0062196
5

Gluing different materials
The following table gives examples of some typical joints, but it makes no claim to be
comprehensive.
Materials Typical joint Adhesive
Order No.
GRP to Canopy to UHU plus endfest 300
steel wire latch wire Order No. 950.43
GRP to Fuselage to UHU plus endfest 300
wood servo plate Order No. 950.43
Note:
Areas of the fuselage which are to be glued should be rubbed down with fine-grit
abrasive paper to remove any traces of mould release agent. Carefully remove all
sanding dust. Aim at reducing the glossy surface to a matt finish, otherwise there is
no chance of a durable glued joint between the fuselage and other parts.
When using adhesives it is important to observe the instructions supplied by the
manufacturer. The main Graupner FS catalogue includes many other types of glue.
Ensure good ventilation in your workroom when using solvent-based adhesives.
Read the manufacturer’s instructions.
Important note
It is essential to avoid using solvent-based glues for any joint in which the
adhesive comes into contact with the styrofoam wing core. This applies in
particular to cyano-acrylates, as these materials immediately attack the foam
and cause large-scale damage; in most cases the component is rendered
unusable. Use only solvent-free adhesives; we recommend UHU-Endfest (24hour epoxy resin) or epoxy laminating resin thickened with chopped cotton
strands. Do not use 5-minute epoxy for joints which are vital to airframe
integrity, or for crucial control linkages!
Note regarding: “gluing with epoxy
Epoxy laminating resin is not an effective adhesive on its own! These resins only
work well as glues when thickened with various additives. You can adjust the
qualities of your adhesive by choosing the appropriate additive to suit your
application:
1. Chopped cotton strands produce a tough, flexible joint.
2. Super-fine glass fibres produce a rock-solid joint which is easy to sand.
3.
Micro-balloons transform epoxy resin into a lightweight filler paste.
”
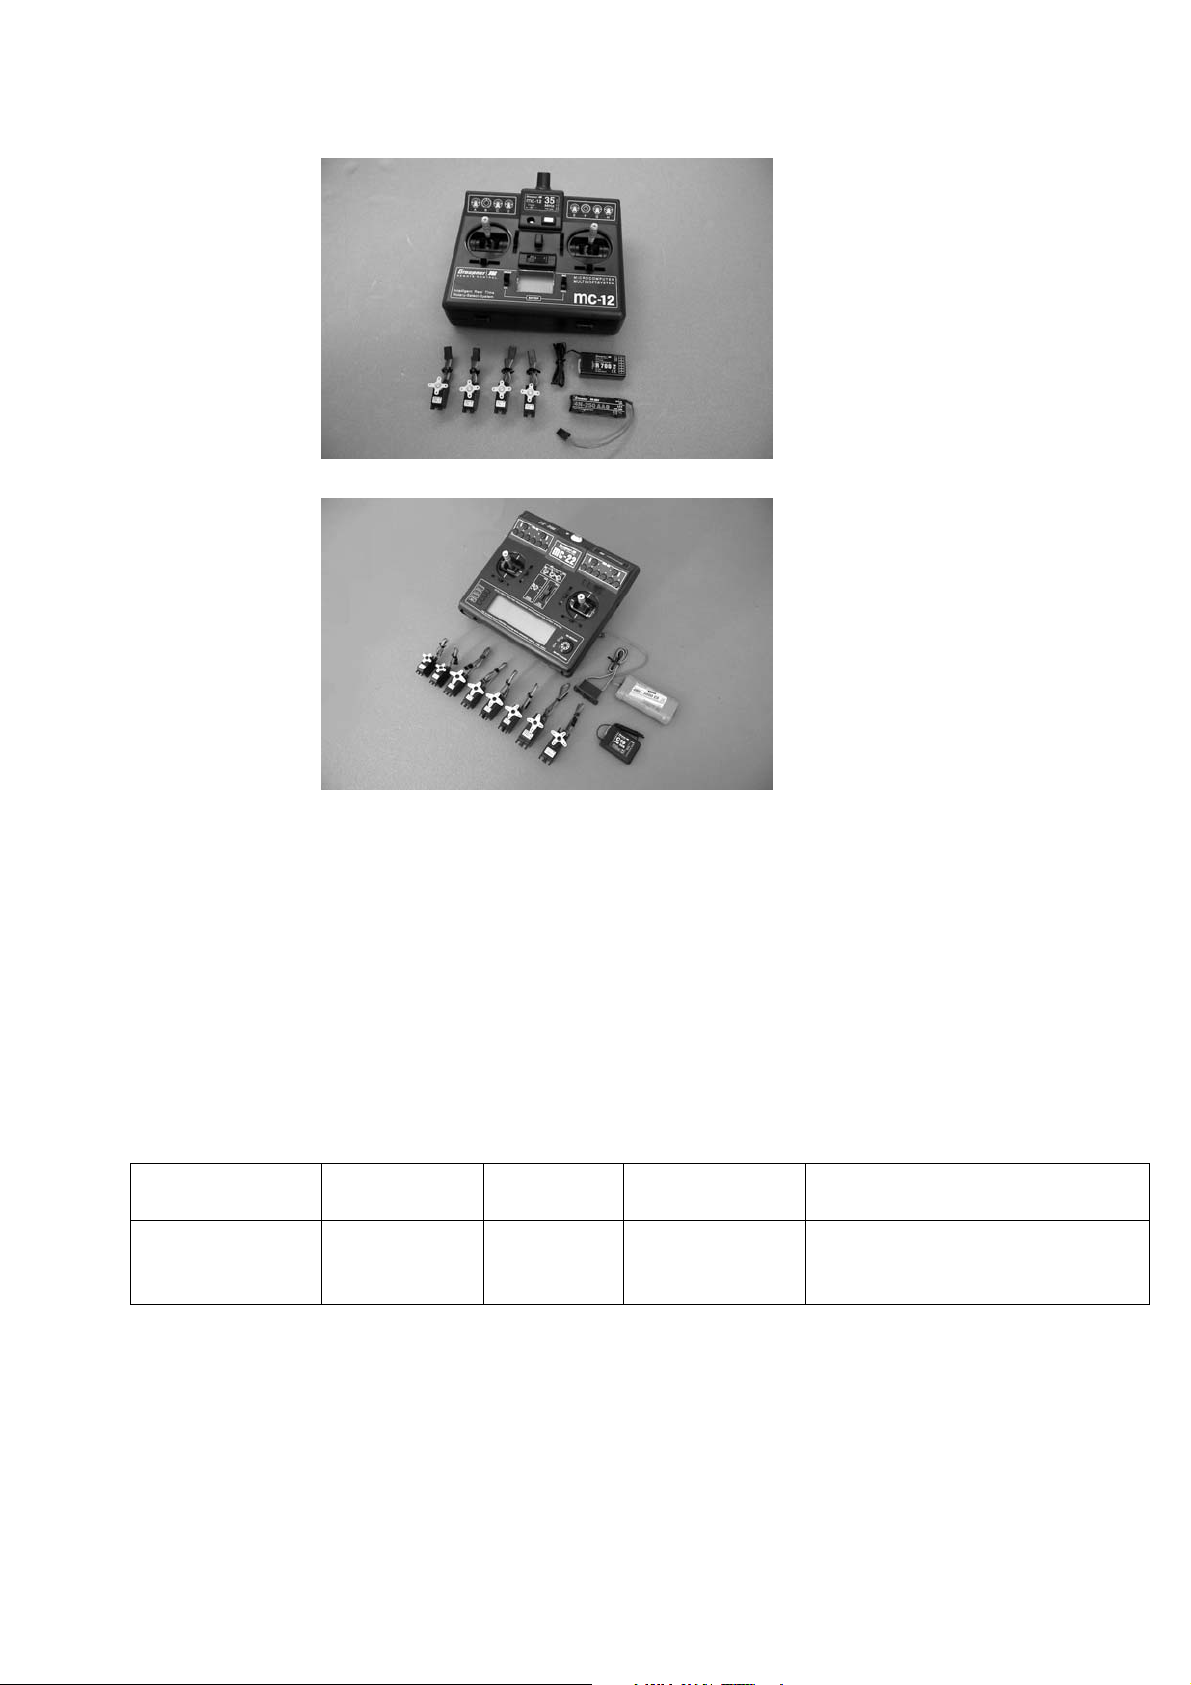
Radio control system
We particularly recommend: mx-12 to mc-24 computer systems
GRAUPNER GmbH & Co. KG D-73230 KIRCHHEIM/TECK GERMANY
Modifications reserved. No liability for printing errors 12/2010
0062196
6
or
Recommended servos:
For rudder and DES 678 BB MG Order No. 7943
elevator
For ailerons and DES 448 BB MG Order No. 7914
flaps
Receiver power supply PRX-3A Order No. 4135
Suitable receivers include the DS 19, SMC 19 and SMC 14.
Servo extension leads required
Order No. 3935.18 For permanent connection to the receiver 4 reqd.
Electric motor and accessories
Motor
Order No.
COMPACT 540
7720
See the main FS catalogue for details of suitable battery chargers.
Propeller
Order No.
40 x 25 cm
1336.40.25
Spinner
Order No.
42 mm Ø
6042.5
Flight battery
Order No.
LiPo battery,
3/3200 mAh
7657.3
Speed controller
Order No.
BRUSHLESS CONTROL 70
7237
GRAUPNER GmbH & Co. KG D-73230 KIRCHHEIM/TECK GERMANY
Modifications reserved. No liability for printing errors 12/2010
0062196
7
Assembling the ALPINA 3001 Champ ELEKTRO
Please don’t start work on the model until you have read through the instructions and
understand the purpose of the various components and stages of construction. If you
are not satisfied with the quality of any part, take it back to your model shop for
replacement before modifying it in any way.
The wings
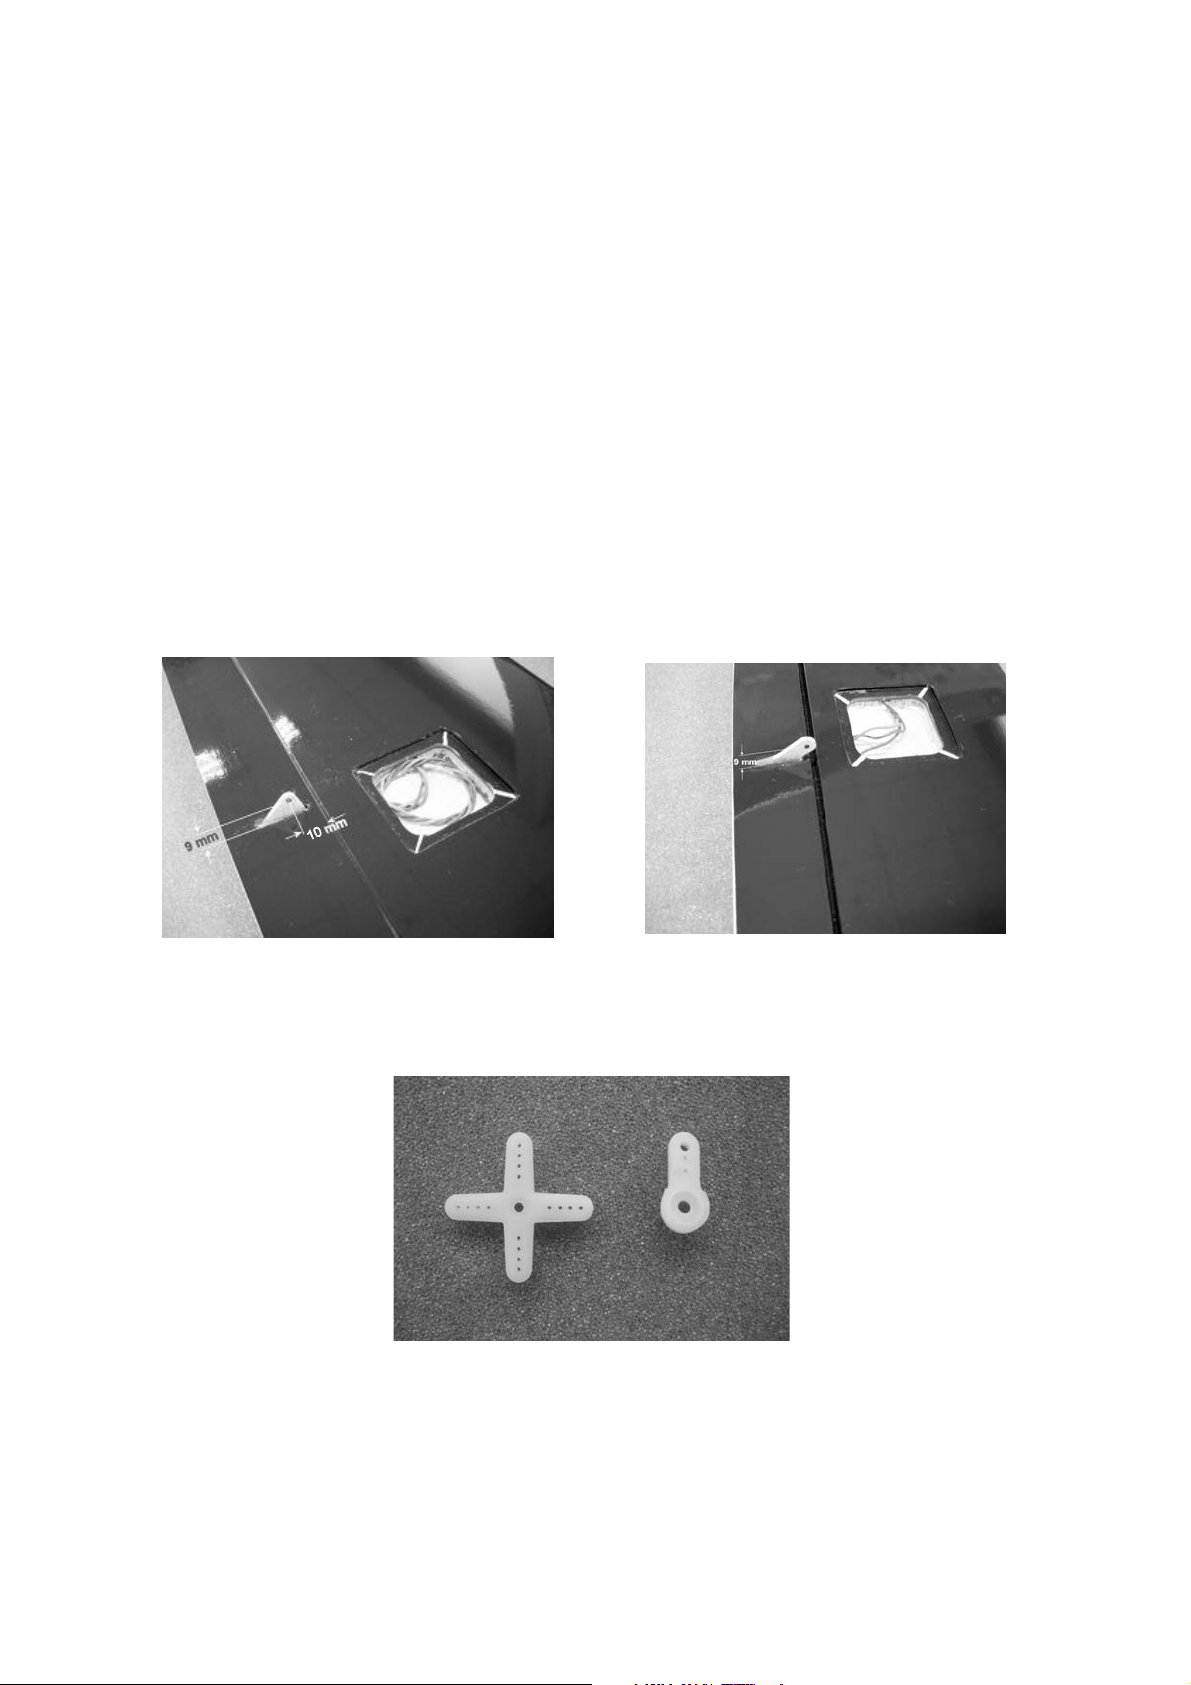
Use your fingertips to locate the horn slots in the ailerons and flaps, remove the
covering film over them using the tip of a hot soldering iron or a sharp balsa knife,
then trim them as required so that the horns are a snug fit. The GRP horns should be
glued in the slots as shown in the two photos, taking care to produce really strong
joints.
The slots are machine-cut to approximately the correct depth, but you may need to
make minor adjustments by removing a little more of the foam core. Ideally you
should aim at removing foam inside the slots until the veneer is exposed, in this case
with the grain running at RIGHT-ANGLES to the wingspan.
While the glue is curing you can use the time to cut down the servo output levers to
the shape shown in the photo. Drill out the outermost hole in the output arm to 1.6
mm Ø to suit the threaded steel pushrod.
Centre the servos, then push the prepared output arms onto the servo output shafts
and fit the retaining screws.
GRAUPNER GmbH & Co. KG D-73230 KIRCHHEIM/TECK GERMANY
Modifications reserved. No liability for printing errors 12/2010
0062196
8
The servos are centred by switching on the RC system and setting the trims to
neutral.
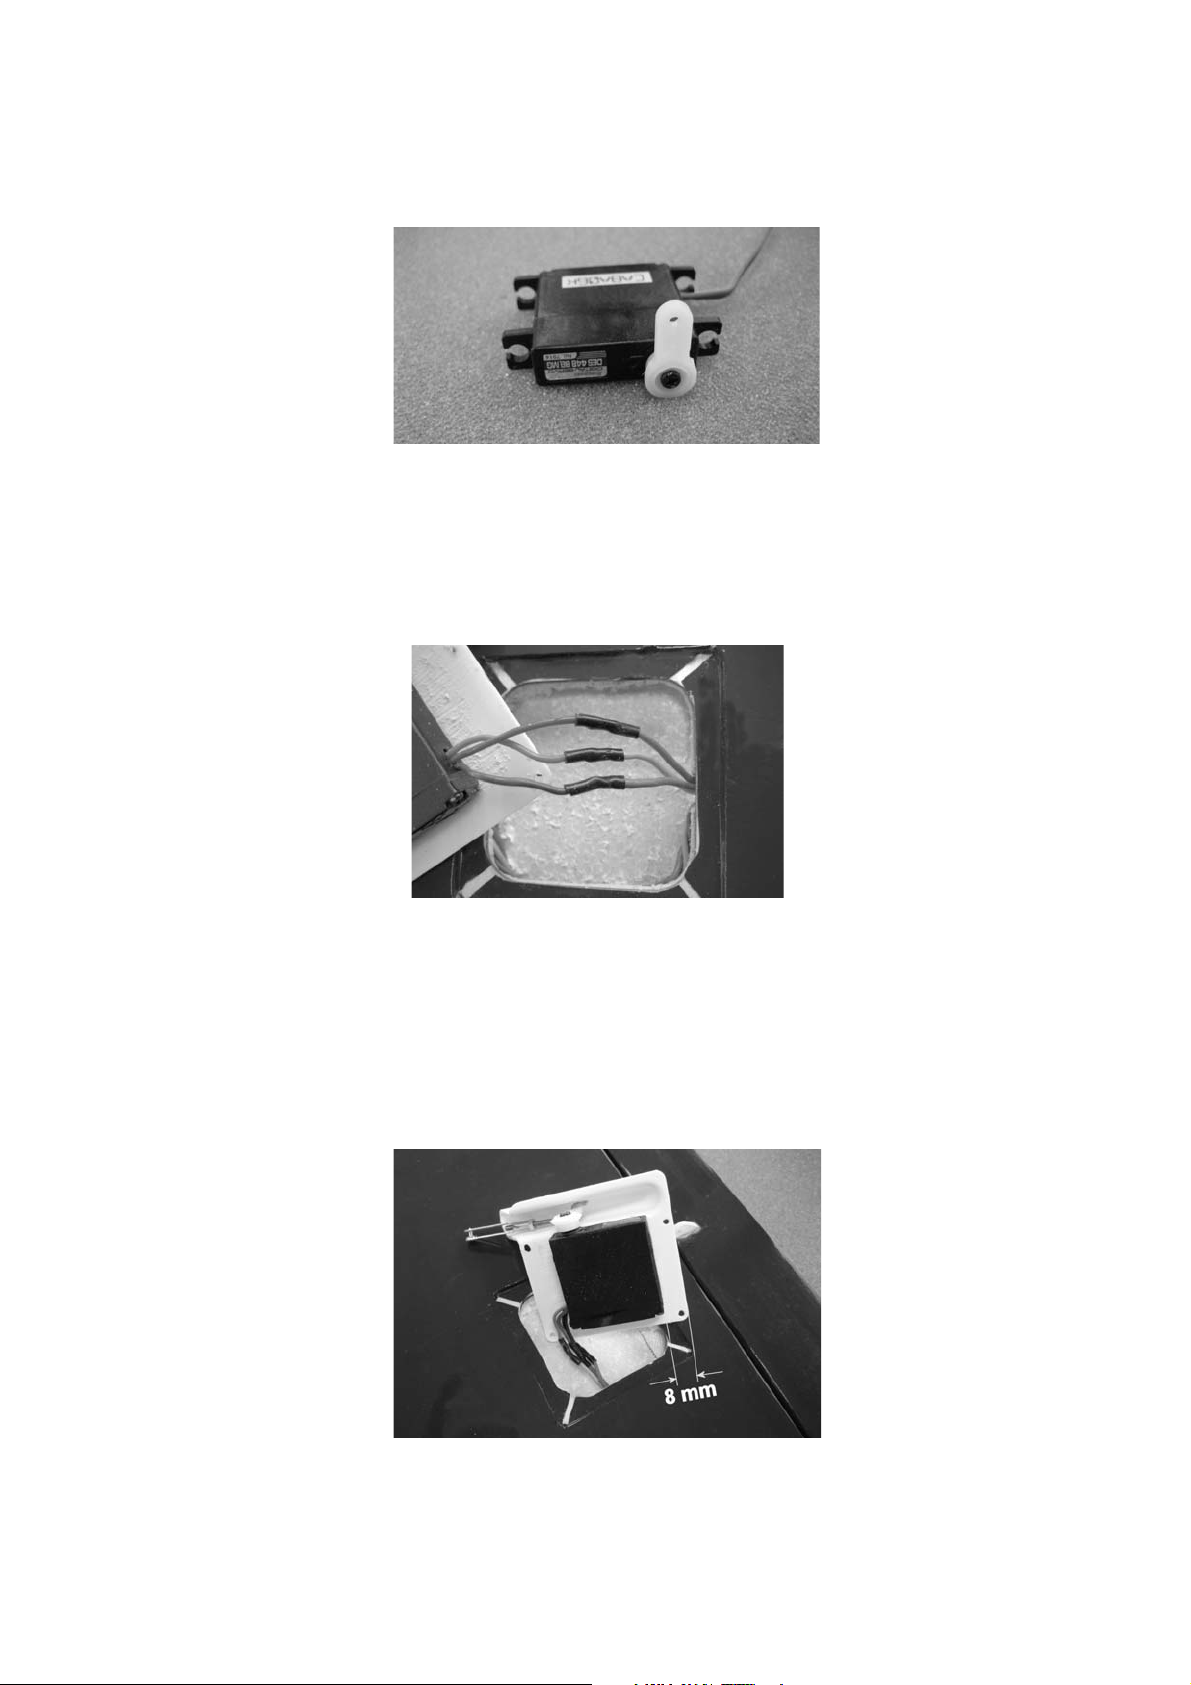
The next step is to glue the servos to the servo well covers, but first you will need to
solder the servo leads to the extension leads (already present in the wings), and
remove the servo mounting lugs. Solder the joints carefully, ensuring that you maintain correct polarity, i.e. connect like colours of wire together. Insulate each soldered
joint with a separate heat-shrink sleeve, which must be fitted onto the wire before the
joint is soldered.
The servos can now be glued to the covers as shown in the photo: the output arm
must be positioned in the centre of the pushrod fairing, and there should be an 8 mm
gap between the servo and the edge of the moulding, as shown below.
Thoroughly sand the servo well cover and the servo case before gluing them
together.
It is possible to use cyano, Order No. 5821, for these joints, but in this case you must
ensure that the servo is positioned correctly “first time”, i.e. you will have no opportunity to adjust the servo position if you use cyano.
GRAUPNER GmbH & Co. KG D-73230 KIRCHHEIM/TECK GERMANY
Modifications reserved. No liability for printing errors 12/2010
0062196
9
 Loading...