

Page 1
Manual
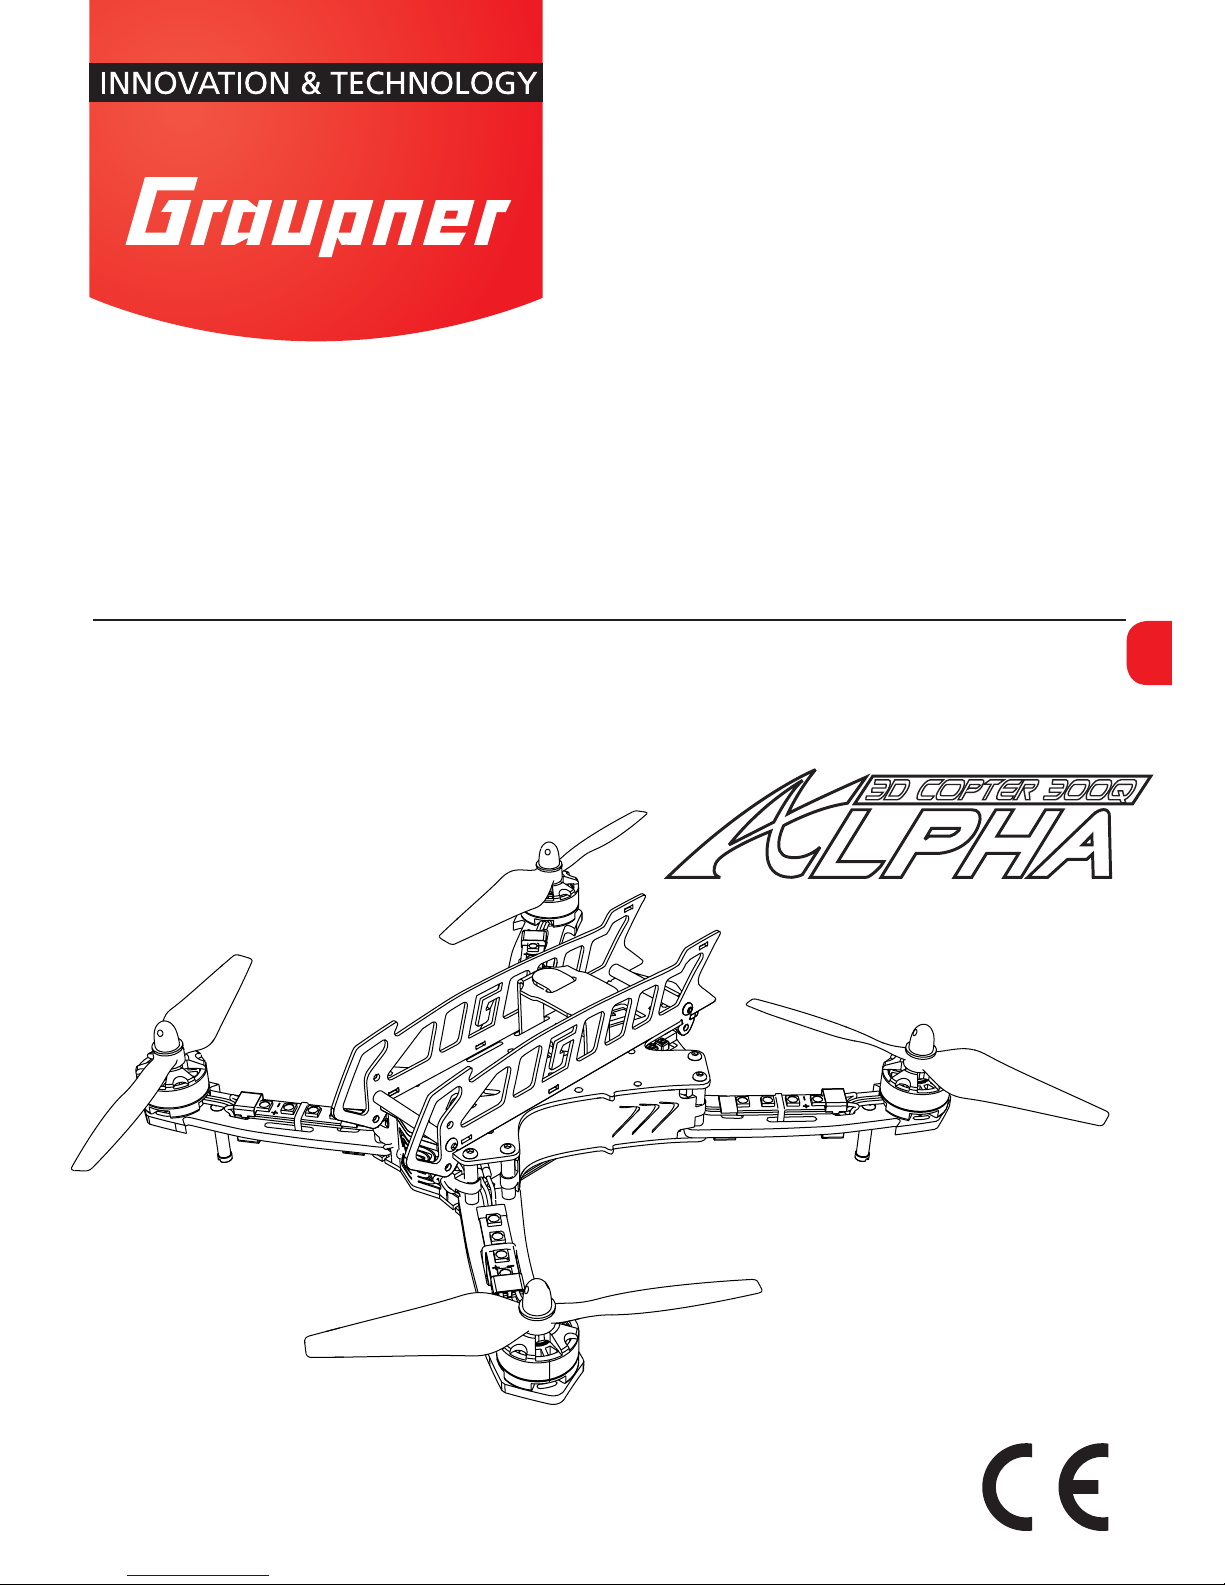
3D Copter Alpha 300 Q
No. 16530.HOTT
EN
Page 2

2 / 16
16530.HOTT_jh_V1
Page 3

3 / 16
16530.HOTT_jh_V1
Index
Introduction ............................................................................4
Service Centre ........................................................................4
Intended use ..........................................................................5
Package content ....................................................................5
Required accessories .............................................................5
Symbols explication ................................................................6
Safety notes ...........................................................................6
Preparation before use ...........................................................8
Receiver’s binding ...................................................................8
Transmitter presettings ...........................................................9
First use ...............................................................................10
Initialization of the gyro in the receiver ...................................10
Installing the propellers .........................................................11
First flight ..............................................................................11
Technical Data ......................................................................12
Spare parts ...........................................................................13
Declaration of conformity ......................................................13
Notes on environmental protection .......................................14
Care and maintenance .........................................................14
Warranty certificate ...............................................................14
Page 4
4 / 16
16530.HOTT_jh_V1
Introduction
Thank you for purchasing a Graupner 3D COPTER ALPHA 300Q.
This 3D Copter is extremely versatile. This manual is valid for all
speed controllers listed on the cover sheet.
Read this manual carefully to achieve the best results with your
3D Copter and first of all to safely control your models. If you
experience any trouble during operation, take the instructions to
help or ask your dealer or Graupner Service Centre.
Due to technical changes, the information may be changed in
this manual without prior notice. Be always updated by checking
periodically on our website, www.graupner.de to be always upto-
date with the products and firmwares.
This product complies with national and European legal requirements.
To maintain this condition and to ensure safe operation, you must
read and follow this user manual and the safety notes before using
the product!
NOTICE
This manual is part of that product. It contains important information concerning operation and handling. Keep these instructions for future reference and give it to third person in case you
gave the product.
Service Centre
Graupner Central Service
Graupner/SJ GmbH
Henriettenstrasse 96
D-73230 Kirchheim / Teck
Servicehotline
(+49) (0)7021/722-130
Monday - Thursday
9:15 am - 5:00 pm
Friday
9:15 am - 1:00 pm
Graupner USA
OPENHOBBY LLC
3245 University Ave
Suite 1520
San Diego, CA 92104
Web: www.graupnerusa.com
Phone: +1 855-572-4746
Email:service@openhobby.com
Graupner in Internet For the service centers outside Germany please refer to our web
site www.graupner.de
Page 5
5 / 16
16530.HOTT_jh_V1
Intended use
The 3D Copter kit is a base for a remote controlled quadcopter.
Other components are required to finish the 3D Copter. (See
recommended accessories section). Punctual technical information about the components of this kit can be found in the
Technical data section.
The 3D Copter is designed exclusively to be used as a battery-po-
wered, radio controlled model, any other use is not allowed. For
any improper use no warranty or liability is accepted.
Read through this entire manual before you attempt to assemble or use or use the 3D Copter.
Graupner/SJ constantly works on the development of all products; we reserve the right to change the item, its technology
and equipment.
Target group
The 3D Copter is not a toy. It is not suitable for children under 14
years. The assembly and operation of the 3D Copter must be performed by experienced modellers. If you do not have sufficient
knowledge about dealing with radio-controlled models, please
contact an experienced modeller or a model club.
Package content
3D COPTER ALPHA 300Q
2x white 3D Prop 6x3 / 2x red 3D Prop 6x3 propellers
4x S3057 speed controllers Ultra Control 20A 3D with Open
Source BL Heli Software
2x S7051 ULTRA 2809 2300KV Brushless Motor
2x S7052 ULTRA 2809 2300KV Brushless Motor left
S8446 Voltage Module +SBEC
GR-18 HoTT Gyro receiver
LED PCBs
LED PCB covers
Manual 3D Copter Alpha 300Q
Manual Gyro Receiver GR-18
Manual Voltage Module + SBEC
Manual Ultra Control 20A 3D
Required accessories
S1002 mz-12 or 33112 MX-12 (or higher)
9717.3.D35 LiPo battery V-MAXX 50C 3/1500 11,1V XT60
Page 6

6 / 16
16530.HOTT_jh_V1
Symbols explication
Always follow the information marked with the CAUTION or WAR-
NING symbol. The signal word WARNING indicates the potential
for serious injury, the signal word CAUTION indicates possibility of
lighter injuries.
The NOTE is an important information that warns you about pos-
sible material damages.
Safety notes
WARNING
This safety notes are intended to protect you and other people.
They are also used for safe handling the product. Therefore
please read this section very carefully before using the product!
Do not carelessly leave the packaging material lying around,
since it might become a dangerous toy for children.
Persons, including children, with reduced physical, sensory or
mental capabilities, or lack of experience or knowledge, or not
capable to assemble and use safely the 3D Copter must not use
the 3D Copter without supervision or instruction by a responsible
person.
Operation and use of radio-controlled models needs to be
learned! If you have never operated a model of this type before,
start carefully and make yourself familiar with the model's reactions to the remote control commands. Proceed responsibly.
First, always perform a range and function test on the ground
(to do so, hold your model tight), before you use your model.
Repeat the test with running motor and with short throttle bursts.
Before you start using the remote control model, you have to
check the further relevant laws and regulations. These laws you
must obey in every case. Pay attention to the possibly different
laws of the countries.
The insurance is mandatory for all kinds of model operation. If
you already have one, so please inform yourself if the operation
of the respective model is covered by your insurance. If this is
not the case, conclude a special liability insurance policy for
models. We recommend to provide the 3D Copter with a label,
where are indicated the name, address, tel. n., e-mail and
insurance n. so that the copter can be clearly assigned in the
event of a crash.
!
!
Page 7

7 / 16
16530.HOTT_jh_V1
Due to safety and licensing reasons (CE), any unauthorized
reconstruction and/or modification of the product is prohibited.
Only use the components and spare parts that we recommend.
Always use matching, original Graupner plug-in connections of
the same design and material.
Make sure that all of the plug-in connections are tight. When disconnecting the plug-in connections, do not pull the cables.
Protect the Copter from dust, dirt, moisture and other foreign
parts. It must be protected from vibration as well as excessive
heat or cold. The models may only be operated remotely in normal outside temperatures such as from -10°C to +55°C.
Only operate all your HoTT components using the current software version.
If you have questions which cannot be answered by the operating manual, please contact us (contact information see page 3)
or another expert in the field.
WARNING
Safety notes during the use
Also while programming, make sure that a connected electric
motor cannot accidentally start. Injury risk by the turning propellers! Program always the motors stop switch on the transmitter.
(See transmitter manual)
Avoid shock and pressure. Check the 3D Copter regularly for
damages to the housings and cables. Damaged or wet electronic components, even if re-dried, should no longer be used!
Never touch the turning propellers, this can cause serious injury.
The propellers must be mounted securely, flying parts can cause
serious injury.
Keep long hair, loose clothing such as scarves, loose shirts or
similar well away from the danger zone of the revolving propeller, they may be withdrawn by the propeller, flying debris can
cause serious injury.
Observe the safety notes of the required components.
!
Page 8

8 / 16
16530.HOTT_jh_V1
Note:
After you perceive your model, check if all components are
inside the package and undamaged.
Remove the battery from the model when transporting or when
not in use. During transport protect the model and the transmitter from damages.
During transport protect the model and the transmitter from
damages.
Care:
Clean the Copter, the battery and the charger only with the suitable cleaners. Good is a spirit-free cloth. Never use chemical
cleaners, solvents, petrol, alcohol or similar.
Preparation before use
To start fling you need the following items:
Transmitter (MX-12 / MZ-12 or higher)
LiPo Battery 3S
Receiver
The receiver is already set by his factory programming optimally
to the 3D Copter. For additional programming options read the
instructions supplied with the receiver.
Installing the battery
Fix the battery in its compartment using the included hook-andloop tape. Place the battery so that the copter’s centre of gravity
(see sketch on the left) is in the middle of the 3D Copter.
Receiver’s binding
If you wish to bind the receiver to a new model memory, this is
the procedure:
Switch the transmitter’s RF section off in the “Basic model
settings” menu (see transmitter manual)
Switch on the receiver and put it in binding mode, by pres-
sing and holding the binding button (green and red LED on
the receiver are flashing)
Initiate binding in the transmitter’s “Basic model settings”
menu.
If the red LED of the receiver goes out within about 10
seconds and the green LED is illuminated, the binding pro-
cess has been completed successfully. Your transmitter/
receiver combination is now ready for operation.
If the red LED is still lit, the „binding“ failed. In this case,
repeat the whole procedure.
P
Page 9

9 / 16
16530.HOTT_jh_V1
Transmitter presettings
In the transmitter it must be selected a free model memory, the
model type must be “surface model“ and the channel 1 direction
must be set so that in “motor off“ position the power indicator
must show -100%.
The flight mode must be set on channel 5. Then program a twoway switch for channel 5 to control the flight mode:
Attitude mode: Channel 5 = -100% to 0%. The stick movement
determinates the Copters tilt on Roll and Nick. It allows a maximal angle of about 50° at 100% of stick movement. Mode suggested for beginners. The stick movements tilts directly proportionally to Roll and Nick.
Rate mode: Channel 5 = higher +50%. The stick movement
determinates the rate without angle limit. Aerobatic mode allows
rolls and loopings.
We suggest to set the fail-safe on channel 5 and channel 1 at
-100% , so that in fail safe situation the attitude mode ist activated and the engines stop.
Program always the motors stop switch on the transmitter. (See
transmitter manual) This prevents accidental starting of motors,
thus reducing the risk of injury.
In addition to the motor stop switch you need to program a
mixer to switch off the motors in acro mode. If the Acro mode is
activated and you control over the rate mode, the motor stop
function would control the motors fully backwards. To prevent
this switch the mixer in attitude mode, here then the stopping of
the motors is ensured via the switch. Set free mixer from S1 to
C5. (see sketch on the left)
Do not forget to set the failsafe up!
Program motor-off switch!
Mixer motor stop on channel 5
Ty p
von
zu
M1
M2
M3
S
5
??
??
M4
M5
??
??
??
??
??
??
1
=
zu
MIX 1
Weg+100%+100%
Offset
ASY
SYM
S 5
+100%
Setting of the flight-mode - attitude
or rate mode on channel 5
Page 10

10 / 16
16530.HOTT_jh_V1
First use
Risk of injury by rotating propellers. The motors can run up
when switching from the Attitude mode to the Rate mode. Hold
the throttle stick over center position when switching. Assemble
the propellers immediately before flight operations.
Always start and land in Attitude mode.
Pay attntion that the throttle travel is different in Rate mode. (See
sketch below)
Example: If the throttle stick is in lower position when you switch
to Rate mode, the motors will soon turn in opposite direction.
Initialization of the gyro in the receiver
Once the 3D Copter has been switched on, the gyro immediately
becomes active but still needs to be initialised. To initialise the
gyro, keep your 3D Copter still when you switch it on. The calibration process can only be performed when the receiver is
absolutely still.
After 3 seconds in a still position you will hear beeps emitted by
all motors.These "wiggles" signal that initialisation has been successful and that calibration is complete. Always wait until the
calibration process has finished before starting to fly the model.
The motors will not start until the calibration is complete.
Throttle travel
Rate mode
Throttle travel
Attitude mode
Full throttle positive
Full throttle negative
Linear
Linear
Idle
Idle
Linear up to full throttle
WARNING
!
Safety function - motors off
Page 11

11 / 16
16530.HOTT_jh_V1
Installing the propellers
Risk of injury by rotating propellers when starting the motors.
Always unplug the XT-60 connector to the LiPo battery before
working on the propeller.
Install the propellers as shown in the picture below. Pay attention to install the proper propeller to each motor. The propeller
rotation sense is written on the propeller (R/L)! The image represents the copter seen from the top.
3D Prop 6x3 White propeller, R+L (front 1+2)
3D Prop 6x3 Red propeller, R+L (back 3+4)
1 = Clockwise motor 2 = Counter-clockwise motor
propeller (.L) propeller (.R)
4 = Counter-clockwise motor 3 = Clockwise motor
propeller (.R) propeller (.L)
First flight
Switch the transmitter on and plug the battery to prepare the
copter to fly.
Choose a wide area for your first flight. We suggest to select first
the flight mode, because the copter is thus easier to control and
it is easier to become familiar with the flight characteristics of 3D
Copter. Proceed carefully and responsibly.
The built-in voltage module with SBEC offers the possibility to
adjust up to three different voltage warnings in 0.1V steps. Refer
to the instructions supplied with the module and the manual for
your HoTT transmitter.
WARNING
!
1
2
3
4
First flight in Attitude mode!
Battery connection
Page 12

12 / 16
16530.HOTT_jh_V1
Technical Data
S7051/S7052 ULTRA 2809 2300KV
Brushless Motor (clockwise and counter-clockwise)
Turns/Volt - 2300KV
Diameter - 28mm
Input voltage - 2-4S LiPo
Shaft diameter - 5mm (clockwise/counter-clockwise thread)
Weight - 45g
S3057 Speed controller Ultra Control 20A 3D
Input voltage - 2-4S LiPo
Dimensions mm - 25x21x6 mm
Weight - 15 g
Maximal current - 12A
Without BEC
S8446 Voltage module + SBEC
Operating voltage: 7,2 - 25,2V
Antennas: 35 x 17 x 7 mm
Weight: 8 g
Maximum current: 3A, burst (0,5 s) 7A
BEC voltage: 4,5 - 8V
GR-18 Receiver GR-18
Operating temperature: - 15...+70 °C
Antennas: 2 x wires 145 mm
Total weight approx.: 14 g
Frequency: 2400 ... 2483.5 MHz
Range approx.: 4000 m
Dimensions ca.: 46 x 21 x 14 mm
Modulation: 2.4 GHz FHSS
Current consumption: 70 mA
Operating voltage: (2,5) 3,6 ... 8,4 V
3D Prop 6x3 propellers
Ø/pitch: 15/7,5 cm
Weight ca.: 4.0 g
Ø/pitch: 6/3 "
Colors: red or white
Chassis
Axle distance: 211x298 cm
Chassis height: 6 cm
Motors height: 4 cm
Chassis thickness: 2 mm
Arms 10x3 cm (thickness 3 mm)
Weight:110 g
Page 13

13 / 16
16530.HOTT_jh_V1
Spare parts
2x S7051 ULTRA 2809 2300KV Brushless Motor, right
2x S7052 ULTRA 2809 2300KV Brushless Motor, left
2x 3D Prop 6x3 Propeller white
2x 3D Prop 6x3 Propeller red
1x GR-18 HoTT Gyro receiver
4x S3057 Ultra Control 20A 3D
1X S8446 BEC Module
1x 16530.11 Main chassis plate
2x 16530.14 Lateral plate
4x 16520.5 Copter Arm 3mm
1x 16530.40 Covers
1x 16530.20 Aluminium spacer 12x 20 mm, 2x 40 mm
1x 16530.30 Round-head hex screw 16x M3x8, 16x M3x6, 8x M3x17
Nylon screw 4x M3x6
3x 3391.8 Shrink tube Ø 8mm, red, black
1x 2970.D35 XT-60 connector
1x S8439 Set nuts M5 clockwise and counterclockwise thread (2x each)
4x S8376 Double side adhesive pads for speed controllers
1x 1587.200.R Velcro cable tie
15x S8436 Cable tie, black, 2,5 x 100 mm
1x
48195.W
LED PCB 9-17V white
1x
48195.R
LED PCB 9-17V red
1x
48195.1
LED PCB covers
Other interesting, actual accessories, such as FPV goggles, transmitters, cameras, propellers, batteries, motors
and speed controllers for your Race Copter are available in the Accessories area for the respective items on our
website in the online shop: www.graupner. de
Declaration of conformity
Speed controller Ultra Control 20A 3D
Graupner declares that the product is conform to EU norms.
EMV 2004/108/EC: EN 61000-6-3: 2007+A1:2011; EN 610006-1:2007
Voltage module + SBEC
Graupner declares that the product is conform to EU norms.
EMV 2004/108/EC: EN 61000-6-3: 2007+A1:2011; EN 610006-1:2007
Page 14

14 / 16
16530.HOTT_jh_V1
Notes on environmental protection
Disposal notes
This symbol on the product, user manual or packaging indicates
that this product must not be disposed with other household
waste at the end of its life. It must be handed over to the applicable collection point for the recycling of electrical and electronic
equipment.
The materials are recyclable as marked. By recycling, material
reusing or other forms of scrap usage you are making an important contribution to environmental protection.
Batteries and accumulators must be removed from the device
and disposed at an appropriate collection point. Please inquire
if necessary from the local authority for the appropriate disposal
site.
Care and maintenance
Notes on care
The product does not need any maintenance, it works so as it
is without any special care. In your own interests protect it from
dust, dirt and moisture.
Clean the product only with a dry cloth (do not use detergent!).
Warranty certificate
The Graupner, Henriettenstrassee 96, 73230 Kirchheim/Teck
grants from the date of purchase of this product for a period of
24 months. The warranty applies only to the material or operational defects already existing when you purchased the item.
Damage due to wear, overloading, incorrect accessories or
improper handling are excluded from the guarantee. The legal
rights and claims are not affected by this guarantee. Please
check exactly defects before a claim or send the product,
because we have to ask you to pay shipping costs if the item is
free from defects.
The present construction or user manual is for informational purposes only and may be changed without prior notice. The current version can be found on the Internet at www.graupner.de
on the relevant product page. In addition, the company Graupner
has no responsibility or liability for any errors or inaccuracies that
may appear in construction or operation manuals.
No liability can be accepted for printing errors.
P
Page 15

15 / 16
16530.HOTT_jh_V1
Page 16

16530.HOTT_jh_V1
 Loading...