

Page 1
www.gras.dk
LI0055 – Revision 25 June 2012
Instruction Manual
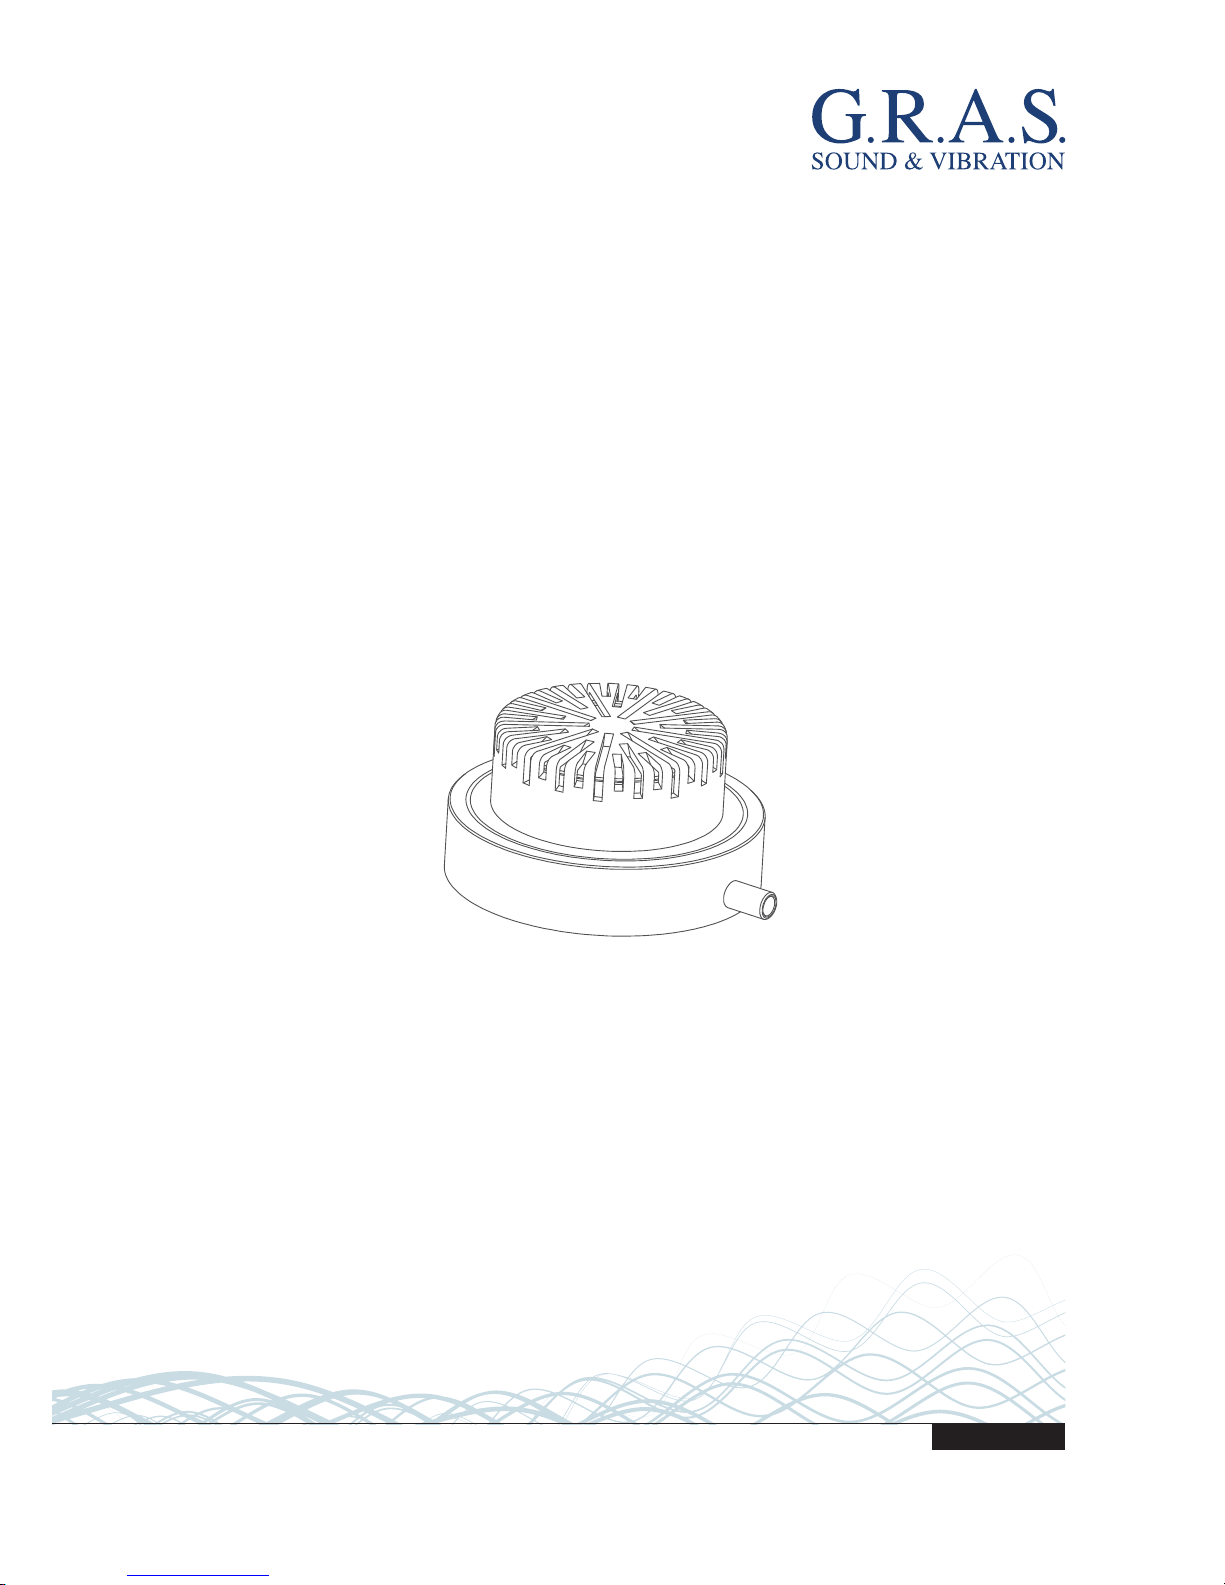
67AX ½” CCP Ground Array Microphone System
Page 2
2
LI0055 – Revision 25 June 2012
Revision History
Any feedback or questions about this document are welcome at gras@gras.dk.
Revision Date Description
1 27 May 2011 First publication
2 25 June 2012 Added calibration and verification information.
Copyright Notice
© 2011-2012 G.R.A.S. Sound & Vibration A/S
http://www.gras.dk
Any technical documentation that is made available by G.R.A.S. is the copyrighted work of
G.R.A.S. and is owned by G.R.A.S.
The content in this document is subject to change without notice. G.R.A.S. Sound & Vibration A/S
is not liable or responsible for any errors or inaccuracies that may appear in this document.
Trademarks
KEMAR is the trademark of G.R.A.S. Sound & Vibration A/S.
Any other product names mentioned in this document may be trademarks or registered trademarks of their respective companies and are hereby acknowledged.
Page 3
3
LI0055 – Revision 25 June 2012
Contents
Introduction .................................................................................. 4
The Package.............................................................................................. 4
Assembling the 67AX System ..................................................................... 4
Calibration and Verification ............................................................. 6
Calibrating the microphone .......................................................................... 6
Verifying the microphone ............................................................................ 6
Technical Specifications .................................................................. 7
Dimensions and Data for 67AX ................................................................... 7
Ordering Information ...................................................................... 8
Accessories ............................................................................................... 8
Calibration ................................................................................................. 8
Warranty ................................................................................................... 8
Service and Repairs .................................................................................... 9
Page 4

4
LI0055 – Revision 25 June 2012
Introduction
This manual describes how to assemble, calibrate, and verify the 67AX ground array
sets.
The Package
The parts for your 67AX are delivered unassembled.
The following table lists the items included with the 67AX package.
Item Part Number
½” CCP flush-mounted microphone, with 4cm cable and Microdot-toMicrodot adapter AE1038
47AX-S1
O-ring, Ø13.5mm OR0137
O-ring, Ø55mm OR1512
Cover plate, with 8 screws (SK2015 M2.00× 4.00) GR1426
Cable safety clip, with 2 screws (SK2008 M3.00× 8.00) GR1427
Mounting plate GR1425
Windscreen for 67AX AM0375
3m Angled Microdot-to-BNC cable AA0069
Manual LI0055
Assembling the 67AX System
The first step to assembling the 67AX system is connecting the microphone to the cable
as shown in Fig. 1.
To assemble the 67AX system:
1. Place the small O-ring in the ridge in the center hole.
2. Place the assembled microphone, grid-side down, in the center hole on top of
the small O-ring. Arrange the cable attached to the microphone in the cavity
Fig. 1. An illustration of how to connect the Microdot-to-Microdot adapter on the microphone to the angled Microdot
adapter on the 3m cable.
Page 5

5
LI0055 – Revision 25 June 2012
surrounding the mounted microphone and fit the cable in the ridge that leads to
the outer edge of the plate.
3. Place the large O-ring in the ridge near the edge of the cavity. The large O-ring
must lie on top of the cable.
4. Fit the cover plate on top of the microphone and O-ring assembly and fasten in
place with 8 screws.
5. Fasten the safety clip over the cable with 2 screws.
These steps are shown in Fig. 2.
1
2
3
4
5
(× 8)
Fig. 2. A view of the order for assembling the parts of the 67AX.
Page 6

6
LI0055 – Revision 25 June 2012
Calibration and Verification
Note: For complete calibration information, see the pistonphone instruction manual. The
instructions here explain the specific details related to the 67AX.
G.R.A.S. recommends calibration prior to each use to ensure the accuracy of your
measurements. Verification is performed in situations where you need to check that the
microphone is functioning in its setup and cannot check it properly in the laboratory.
Important: The pistonphone calibration adapter and the pistonphone field-verification
adapter are designed for use with a 250Hz pistonphone, such as the G.R.A.S. 42AP
Pistonphone. Do not use them with any other calibrator or verification device. The
250Hz pistonphone can be used for both calibration and daily verifications.
Calibrating the microphone
To calibrate the microphone in the 67AX, remove it from the mounting plate.
1. Set the pistonphone in an upright position, preferably using a calibration stand
for stability.
2. Mount the pistonphone calibration adapter (RA0221) on the pistonphone.
3. Insert the microphone into the adapter on the pistonphone. Press gently to
ensure that the microphone is inserted as far as it can go.
4. Turn on the pistonphone and calibrate as described in the instruction manual for
the pistonphone.
Verifying the microphone
1. Mount the field-verification adapter (RA0216) onto the pistonphone.
2. Hold the pistonphone steady while centering the opening in the adapter over the
microphone.
3. Gently press the pistonphone with adapter over the microphone, ensuring that
the microphone is as far in the pistonphone as it will go.
Note: Due to the setup conditions for the microphone, you may not be able to hold the
pistonphone steady. As a result, measurements may not be ideal and cannot be used
for calibration purposes. These measurements can only be used for verifying that the
measurement chain and the microphone especially is functioning as expected.
Important: When performing verification in the field on a microphone with the grid
removed, be extremely cautious during measurements. The membrane is vulnerable
without the grid and can be easily damaged.
Page 7

7
LI0055 – Revision 25 June 2012
Technical Specifications
Dimensions and Data for 67AX
Dimensions
Microphone Ø13.2mm
Housing Ø18.0mm
Microphone set height
Without grid 8mm
With 9.20mm
Weight 15g
Mounting Plate Ø400mm
Data was collected in a temperature of 23°C (±3°C) and in a relative humidity of 60%
±20%.
Frequency response for the set
±2.0dB 3.15Hz – 20kHz
±1.0dB 5Hz – 12.5kHz
Nominal sensitivity for the set
at 250Hz 12.5mV/Pa
Polarization voltage 0V
Dynamic range for the set
Upper limit (3% distortion) 146dB re. 20μPa
Thermal noise 22dB(A) re. 20 μPa
Temperature
Operation –30°C to +70°C
Storage –40°C to +85°C
Static-pressure coefficient
250Hz/25°C -0.008dB / kPa
Humidity (non-condensing)
Range 0 – 100% RH
Influence (250Hz) <0.1dB (0 – 100% RH)
Influence of axial vibration equivalent to 1m/s² 66dB re. 20μPa
Venting Rear-vented
Page 8

8
LI0055 – Revision 25 June 2012
Ordering Information
Included Items Part Number
½" Ground array microphone kit (includes 47AX-S1 ½” Flush-mounted
microphone set, Ø400mm mounting plate with assembly parts and
cable, and windscreen)
67AX
Manual LI0055
Accessories
The following accessories are needed for the 67AX, but they are not included in the
basic package. They must be ordered separately.
Accessory Part Number
Pistonphone field-verification adapter RA0216
Pistonphone calibration adapter RA0221
Important: The pistonphone calibration adapter and the pistonphone field-verification
adapter are designed for use with a 250Hz pistonphone, such as the G.R.A.S. 42AP
Pistonphone. Do not use them with any other calibrator or verification device. The
250Hz pistonphone can be used for both calibration and daily verifications.
Calibration
Before leaving the factory, all G.R.A.S. products are calibrated in a controlled laboratory
environment using traceable calibration equipment.
An individual test certificate is included with each product. The calibration information is
also stored in the built-in TEDS.
We recommend a yearly recalibration at minimum, depending on the use, measurement
environment, and internal quality control programs.
We recommend calibration prior to each use to ensure the accuracy of your
measurements.
Warranty
All G.R.A.S. products are made of high-quality materials that will ensure life-long stability and robustness. The 67AX is delivered with a 5-year warranty.
Page 9

9
LI0055 – Revision 25 June 2012
Damaged diaphragms in microphones can be replaced.
The warranty does not cover products that are damaged due to negligent use, an incorrect power supply, or an incorrect connection to the equipment.
Service and Repairs
All repairs are made at G.R.A.S. International Support Center located in Denmark. Our
Support Center is equipped with the newest test equipment and staffed with dedicated
and highly skilled engineers. Upon request, we make cost estimates based on fixed
repair categories.
If a product covered by warranty is sent for service, it is repaired free of charge, unless
the damage is the result of negligent use or other violations of the warranty. All repairs
are delivered with a service report, as well as an updated calibration chart.
G.R.A.S. Sound & Vibration continually strives to improve the quality of our products for
our customers; therefore, the specifications and accessories are subject to change.
 Loading...