

Page 1

User Manual
for Android Marshmallow
Page 2

Cautions
For better use, please carefully read the "User's Guide",
and follow the prompts.
Avoid products placed above 40 ℃ or below -5 ℃
environment.
Please forbid the product from fire, moisture
environment, and direct sunlight.
Please do not attempt to personally disassemble,
repair,modify the product, if demand please contact
sales staff.
Please operate according to the "User's Guide".
Please avoid crashing the product.
Please do not use the product near strong magnetic
fields, power plants, etc.
Do not use the product when riding bicycle, car and
motor cycle to avoid dangerous.
Do not use high volume to avoid damage to your hearing.
Properly dispose of electronic waste, such as batteries.
Page 3
How to Use Your Tablet
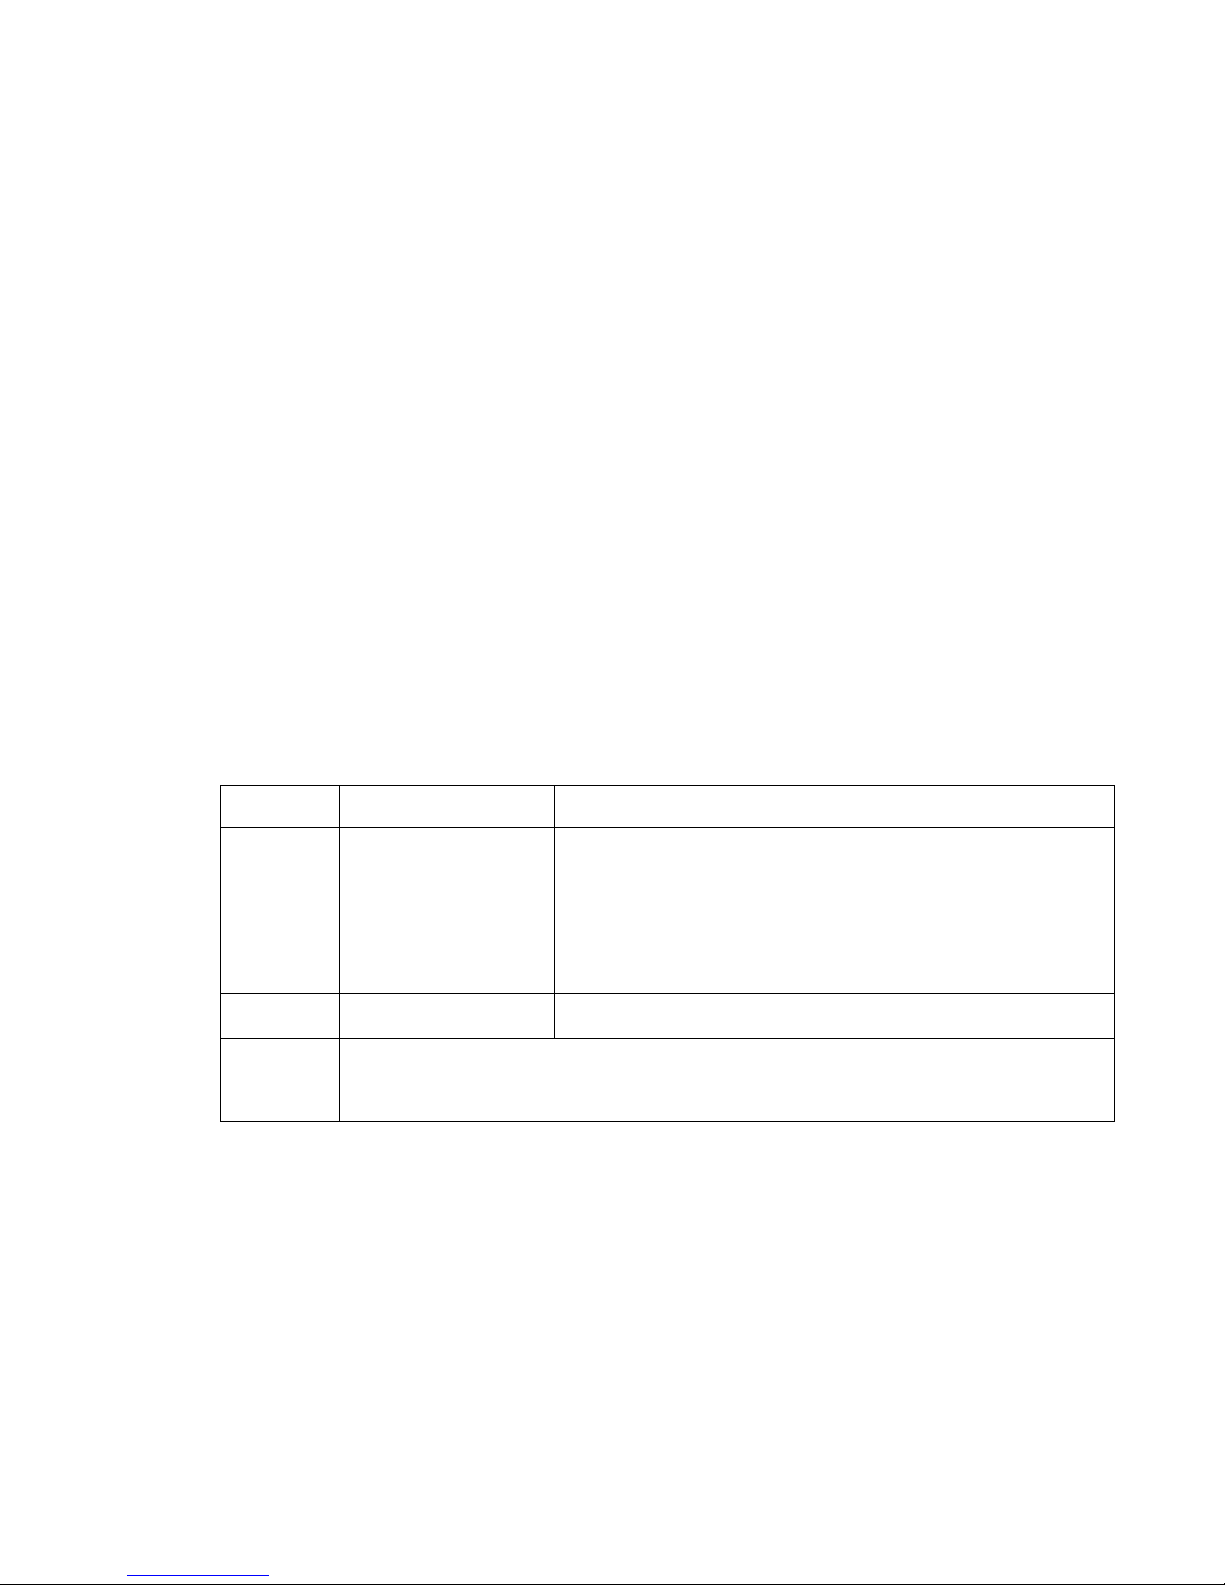
Jack
Earphone Jack: Insert earphone to this jack for
listening music or sound recording.
Micro USB Jack: Charging your tablet, or connecting
your tablet with PC to copy/delete files, or
connecting your USB accessories by the USB
OTG cable, such as USB mouse, USB keyboard.
(Can only use one equipment at the same
time)
TF Card Slot: Insert TF card, can support up to 32GB.
Mic: Built-in microphone for sound recording.
Physical Buttons
Items
Name
Functions
1
Power
ON/OFF
Short press:Sleep/wake up
Long press: (1) Power on/off
(2) Restart
2
Vol +/-
Short press: vol +/-
3
Press Power and vol - button at the same time, can
take screen shot.
Page 4
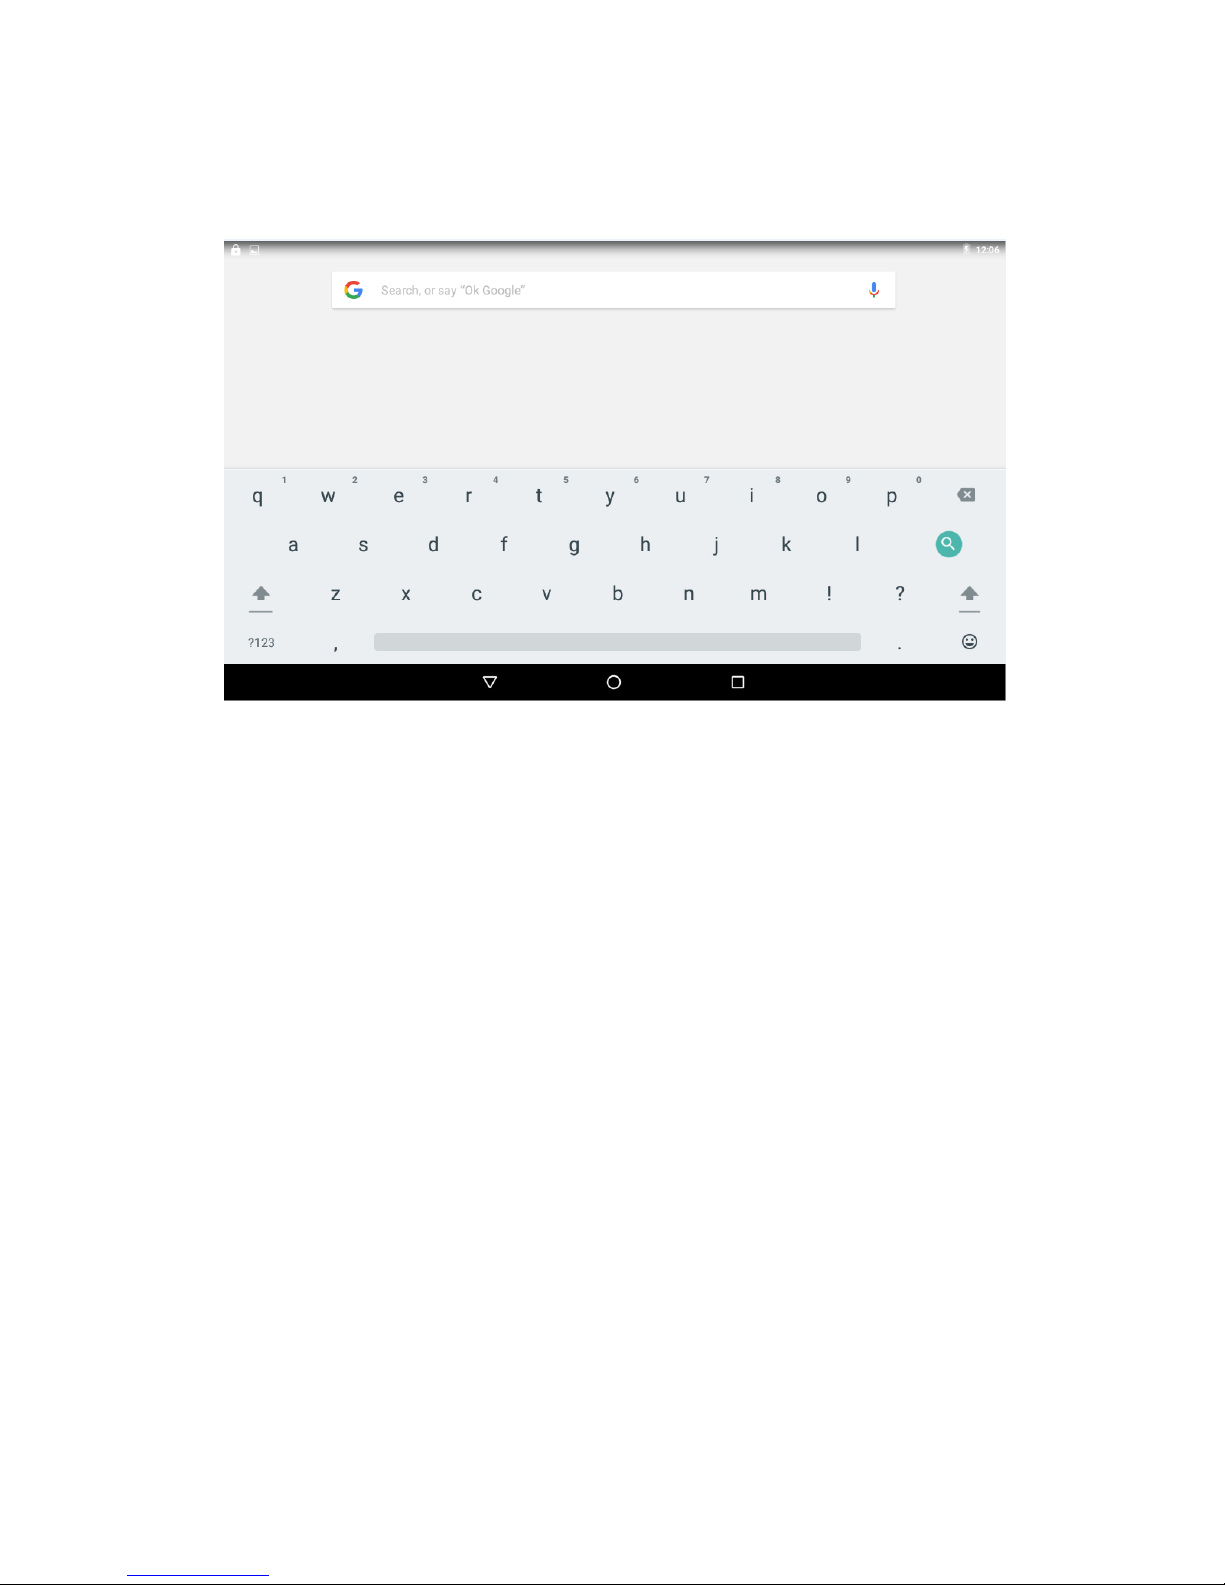
Virtual keyboard as picture 1:
Picture 1
Page 5
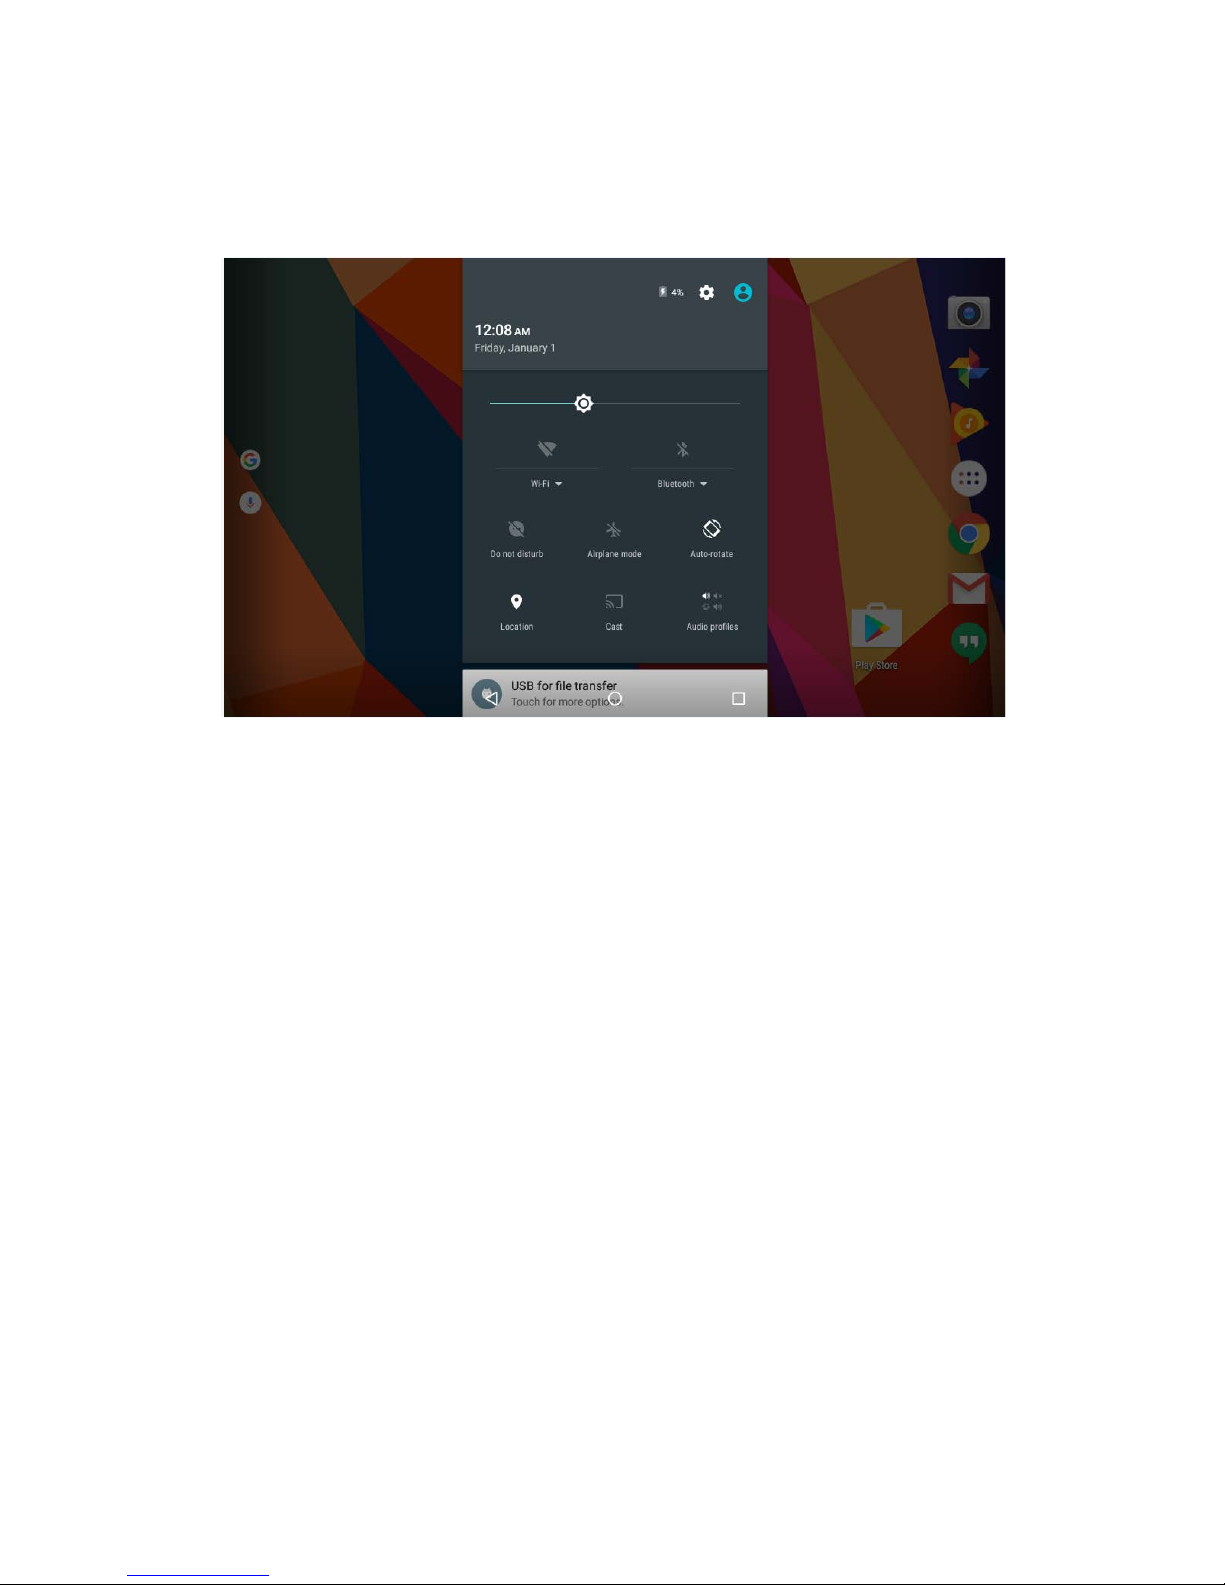
Quick settings is shown as picture 2:
Picture 2
Touch and drag the window twice from the center of
screen to open the shortcut and frequent use setting
option. Quick setting window is open just touch the
correct setting which you need to change.
Widgets
As shown below, it also belongs to a system of
shortcuts. Some widgets are built-in and other you
can download from play store or third-party APK &
install widgets.
Widgets can be dragged to any desktop interface in
five HOME screen.
Page 6
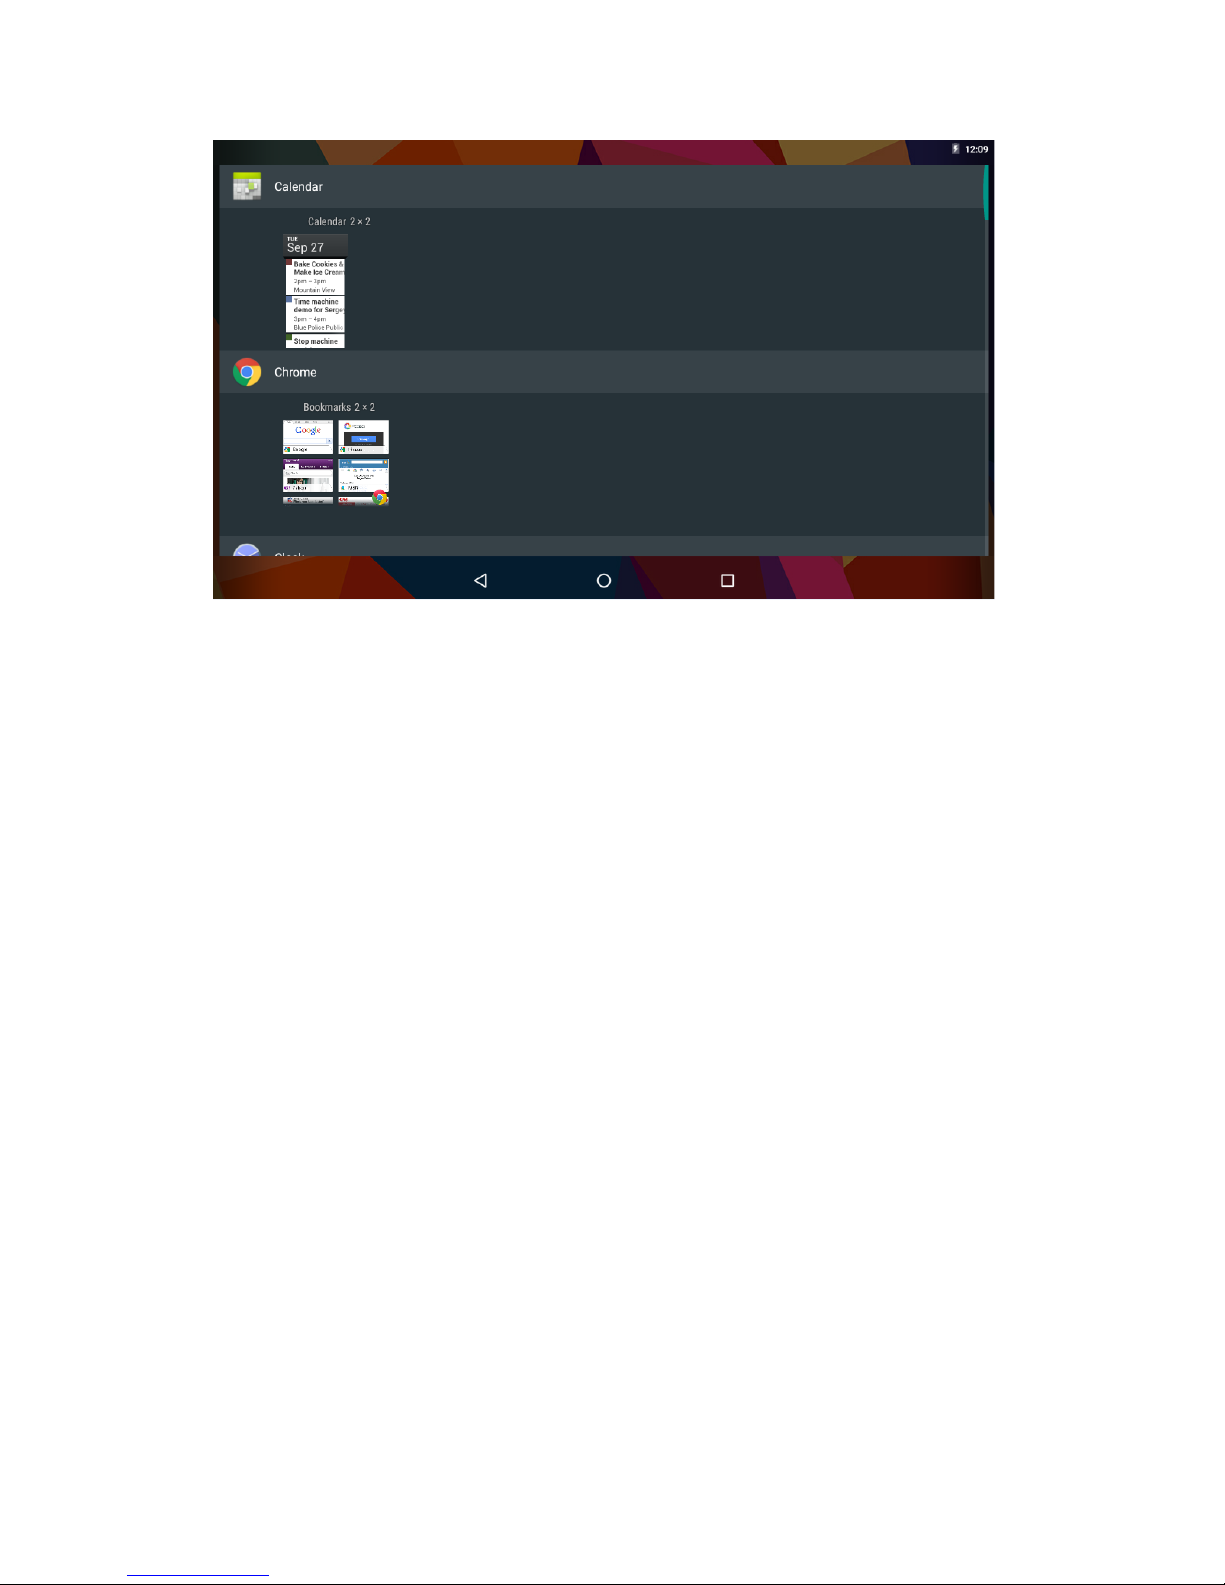
Picture 3
Product Use
Battery Charging
Your tablet has a built-in rechargeable lithium battery.
Before using the product for the first time, the
battery should be charged fully to ensure proper
working of the product.
The battery inside the device can not be replaced. If
you have questions or need to replace the battery,
please contact our equipment service center.
Do not connect the tablet to a power source other
than that which is indicated here or on the rating
label as this may result in the risk of fire or electric
shock and failure of the product.
When the battery power is low, the device will display
a low battery message, if power is low, the device will
automatically shut down. Please recharge the tablet
to continue using it.
Page 7
If misused battery used in this device may cause a fire
or chemical burns.
The battery used in this device may result in fire or
chemical burn if it is misused. Do not disassemble,
incinerate, or heat the battery. Do not leave the
battery in a place subject to direct sunlight .
Note
Please use the adapter for charging which is provided with
the tablet his adapter is designed to charge the tablet faster
at 2A input.
Power On/Off/ Standby
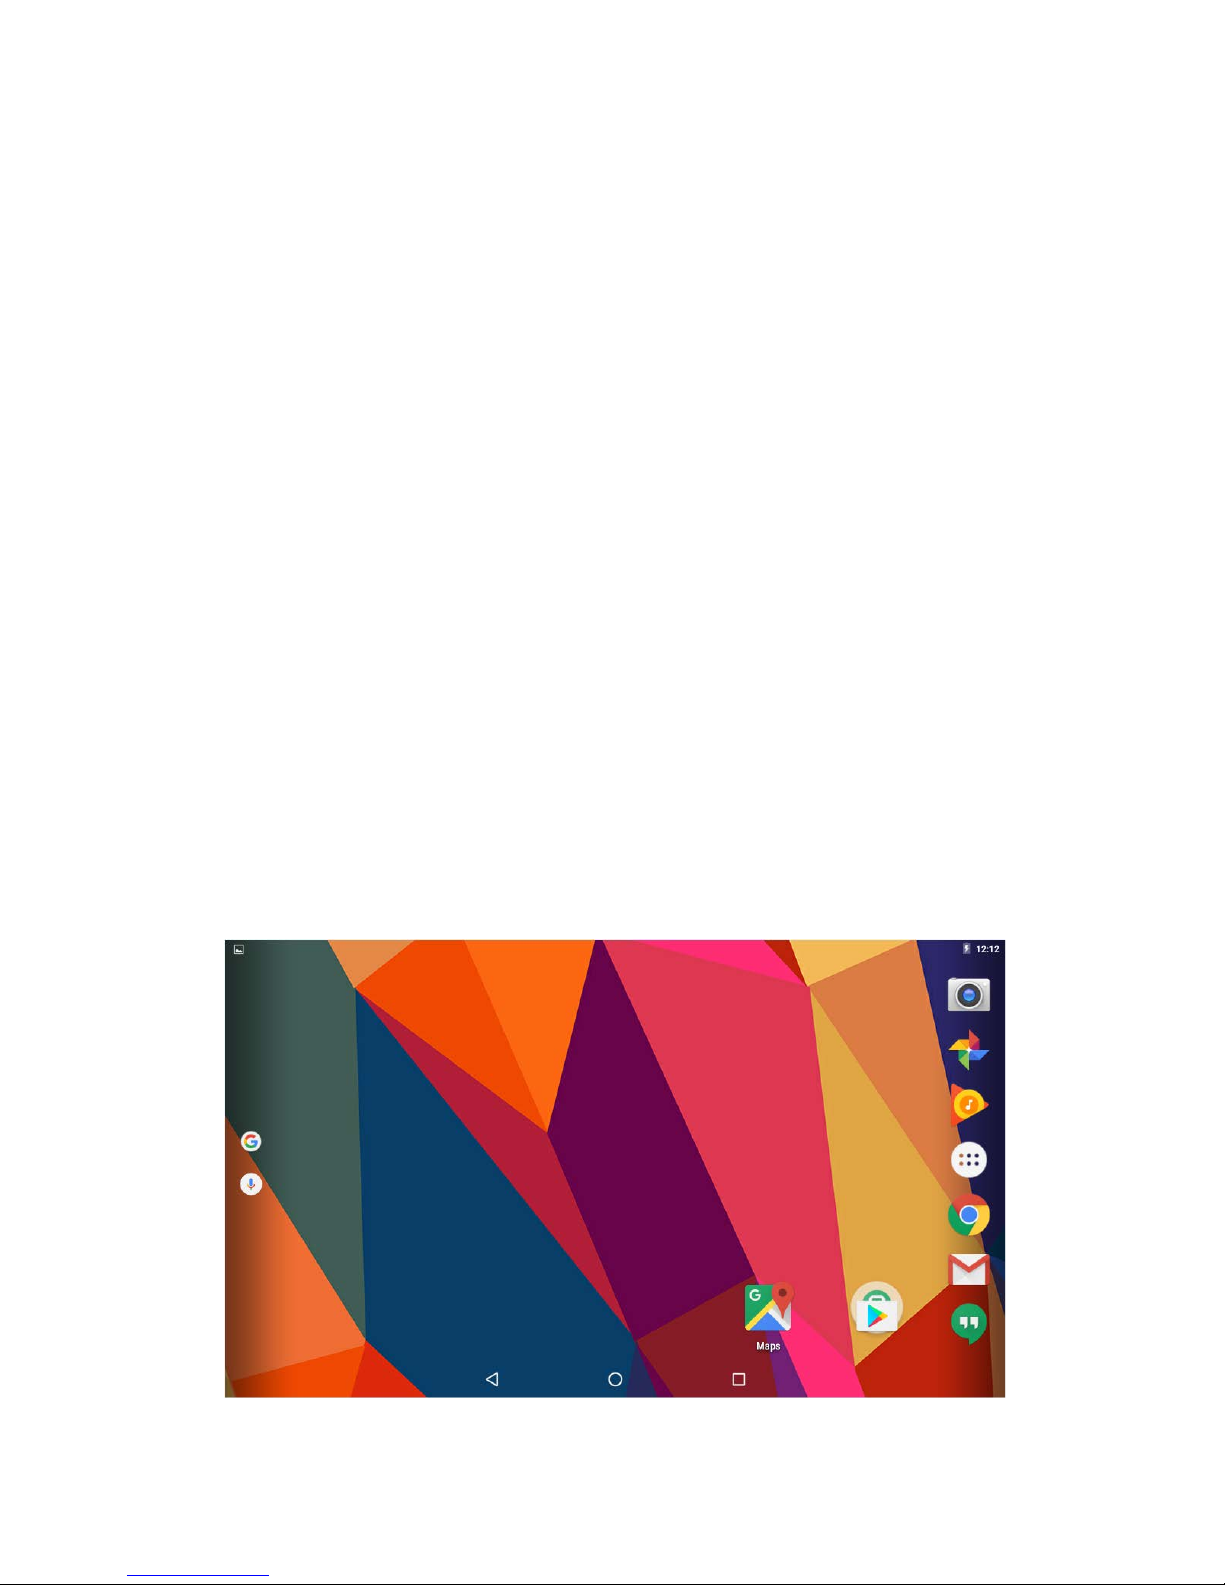
Power on
: Long press Power ON/OFF button, after
the “ANDROID” logo loading for several seconds, the
desktop appears as picture 4:
Picture 4
Page 8
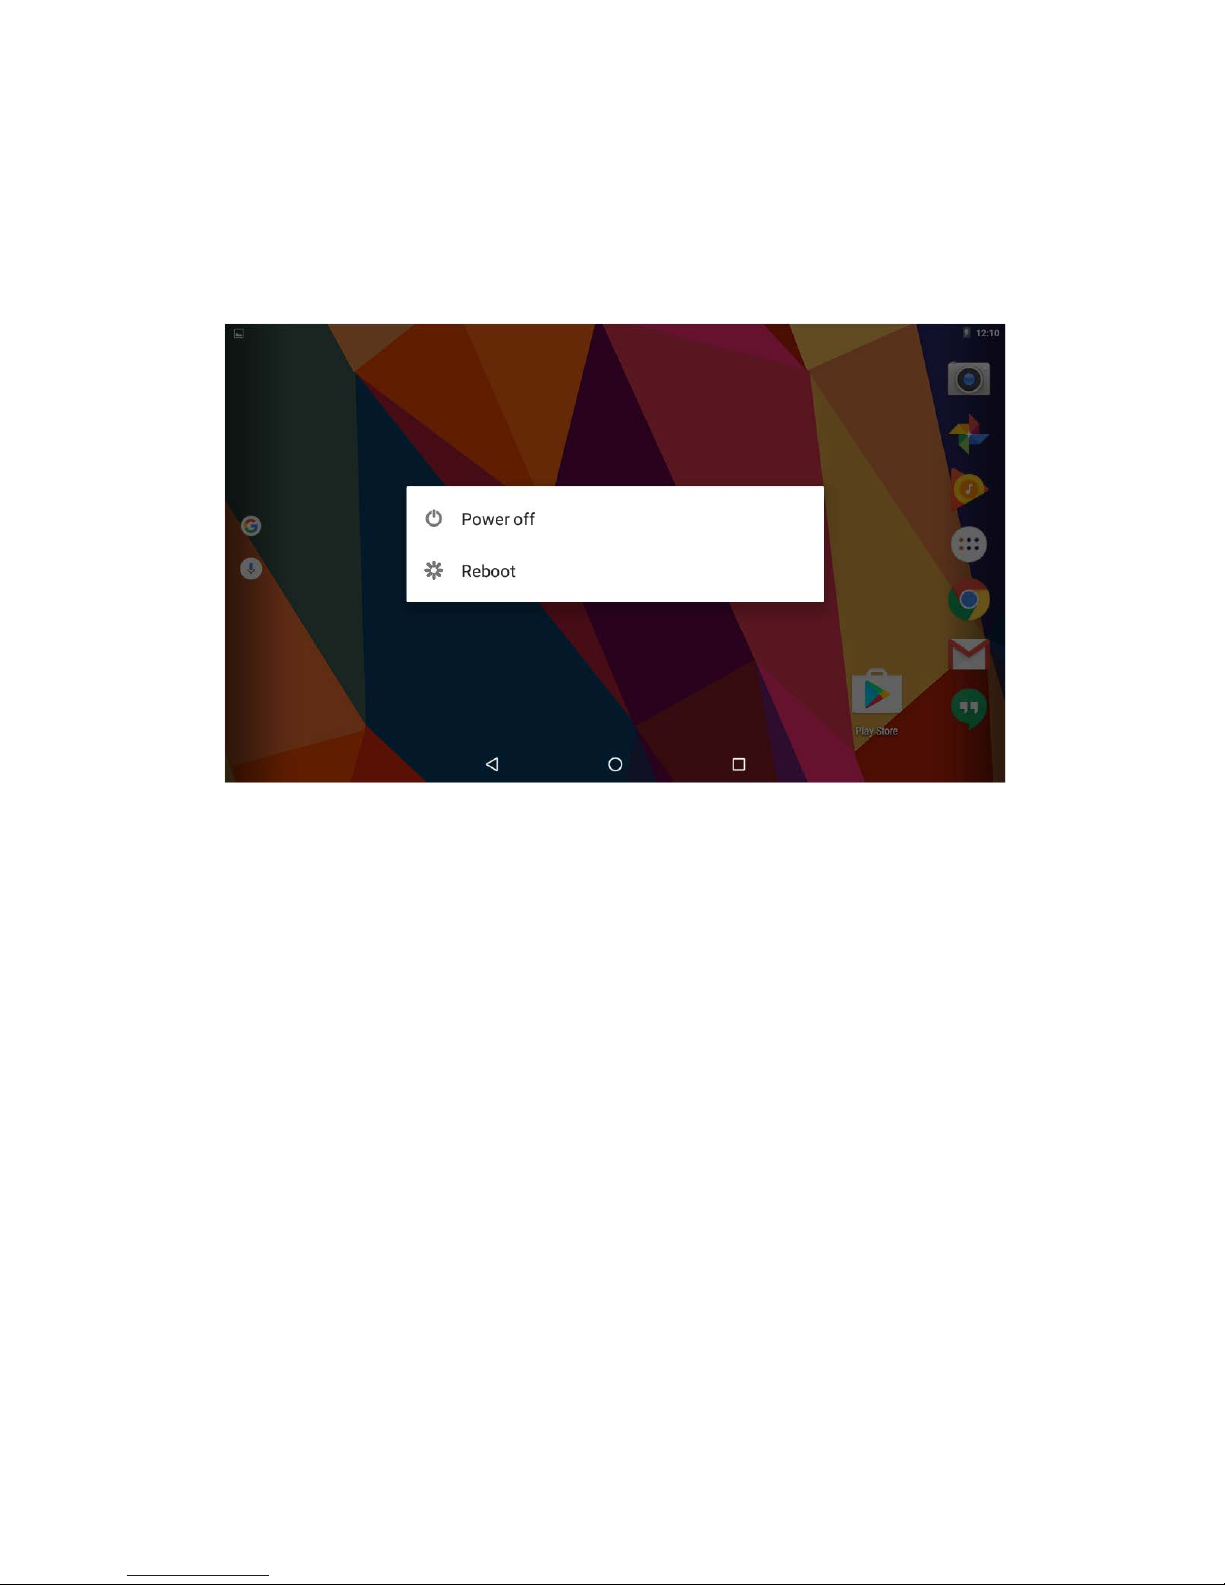
Power Off:Long press the Power ON/OFF button for 5
seconds, you can power off the tablet according the
dialog pop on the screen. Refer the figure picture 5:
Picture 5
Standby: During the power on mode, press the power
button once to enter the power-saving standby mode,
then press the power button again, the screen
prompts to enter the unlock mode.
Reset
Stab the reset hole with a sharp hard object, you can
reset the machine. After the reset, the machine will
power off.
Page 9
Connecting to the PC
USB Connect
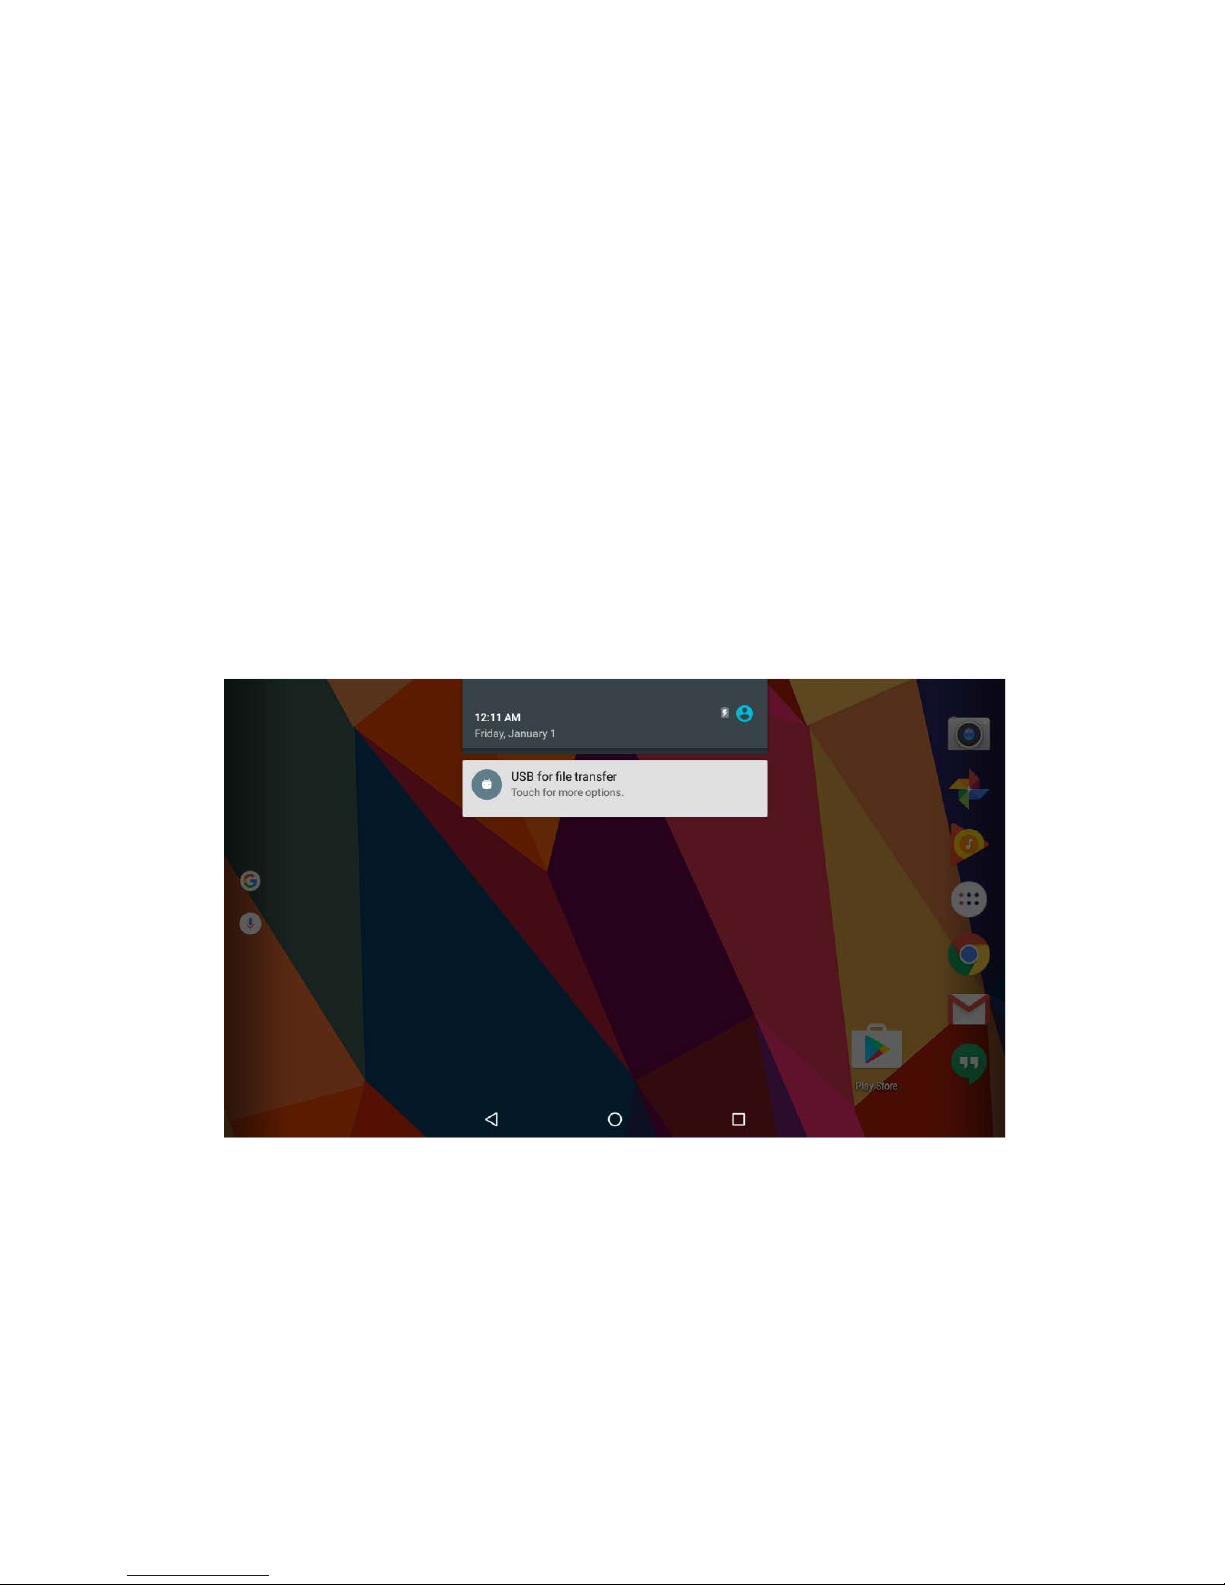
Connection to a computer: You can connect your
Tablet to the computer to copy the data from the
tablet to computer or vice versa. For this you need to
use the USB cable provided. Connect the small side of
the cable to the tablet micro USB jack and another
end to the computer, after this connection you need
to go to “My Computer” window and find along C86G
icon.Double click on this you will see tablet storage.
Here you can copy the data or delete.
Picture 6
Page 10
Micro SD
Micro SD card maximum capacity of this product
supports up to 64G.
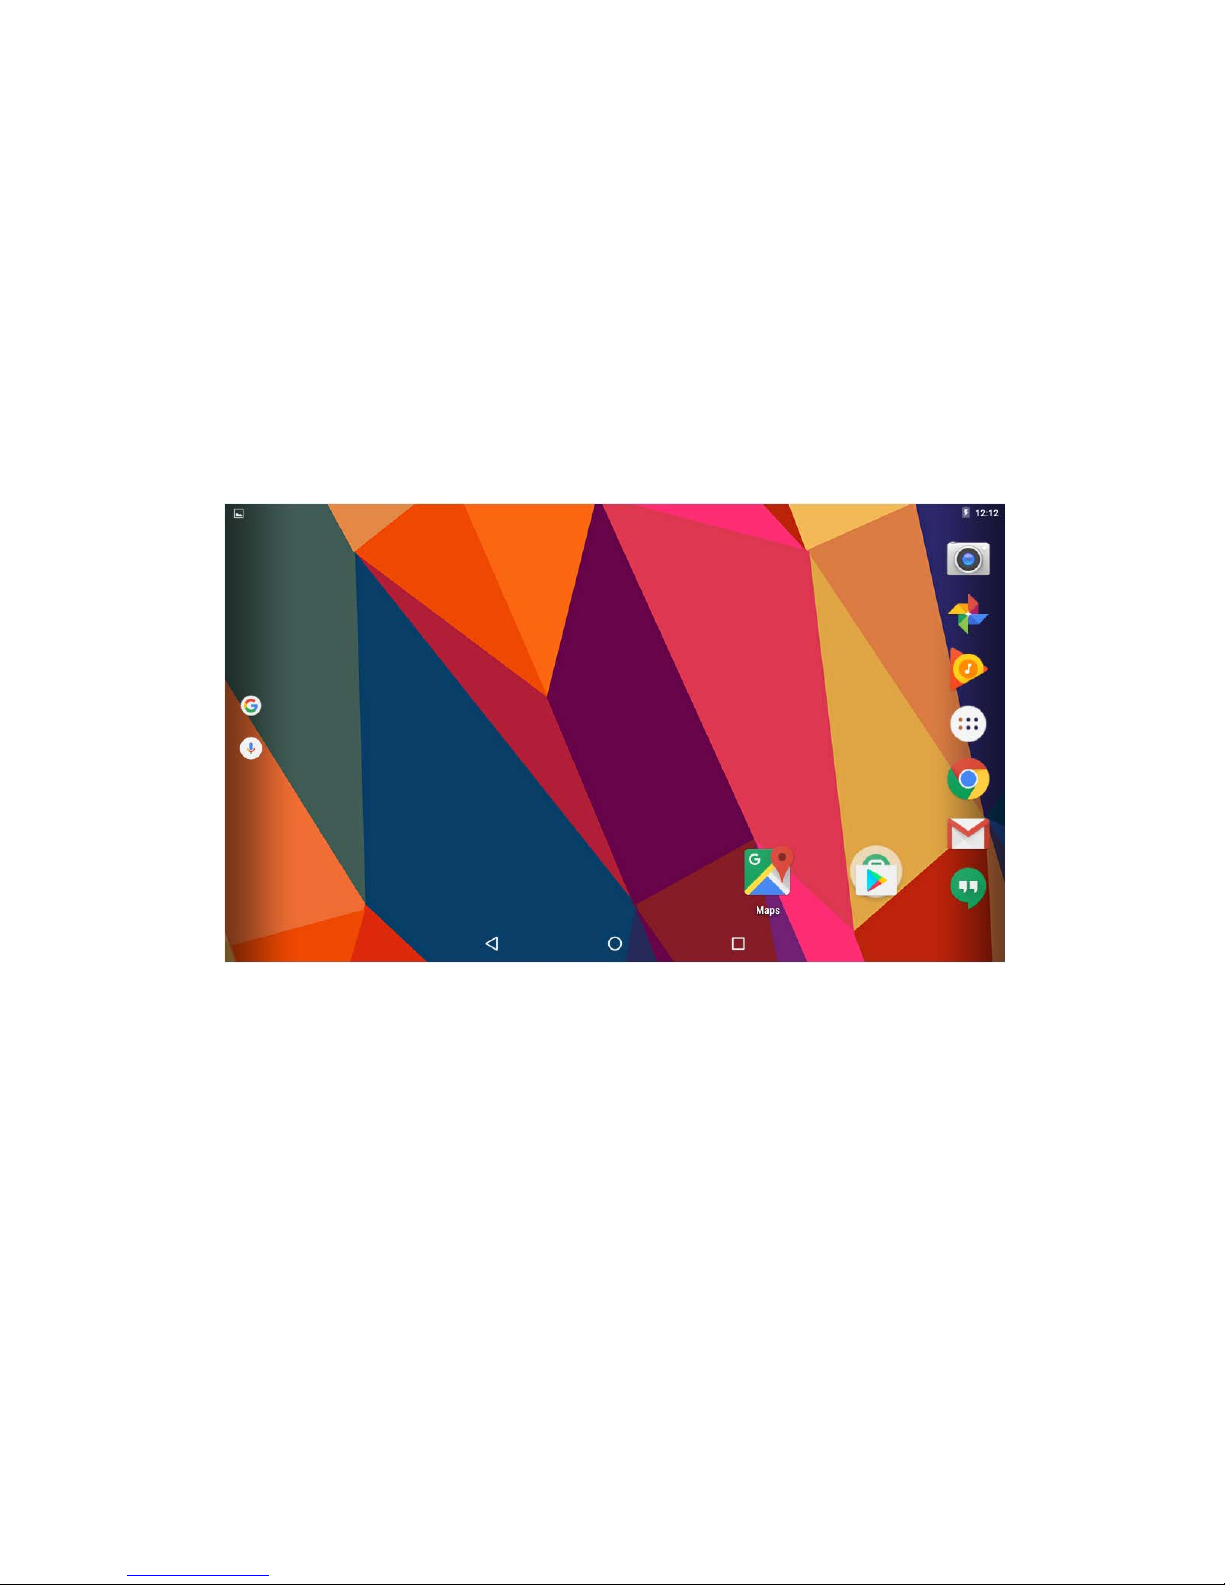
Desktop and Main Menu
Desktop screen as picture 7:
Picture 7
The shortcuts in the desktop can be freely dragged
and deleted. Desktop can be sliding around, long
press the icon to drag the icon. Drag the shortcut to
delete icon and the shortcut will be deleted.
Page 11
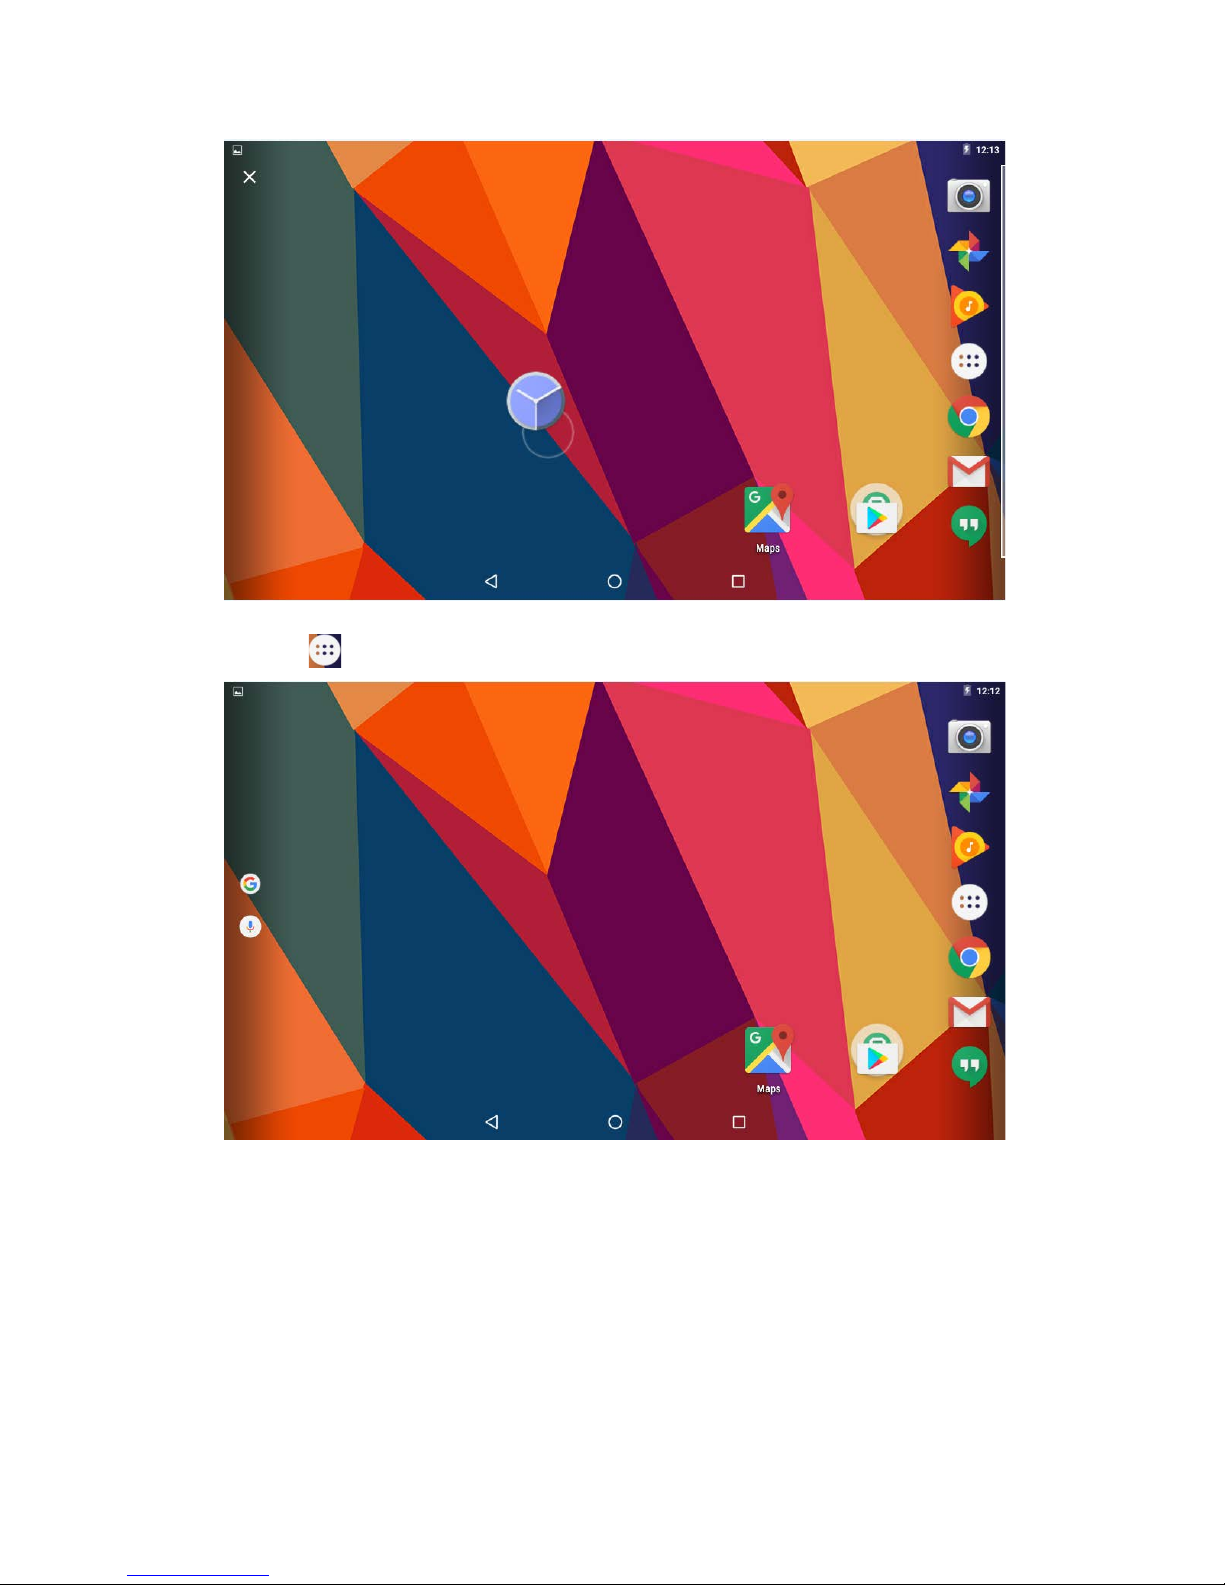
Picture 8
Click icon to enter the main menu
Picture 9
All the apk appear on the main menu.
Page 12
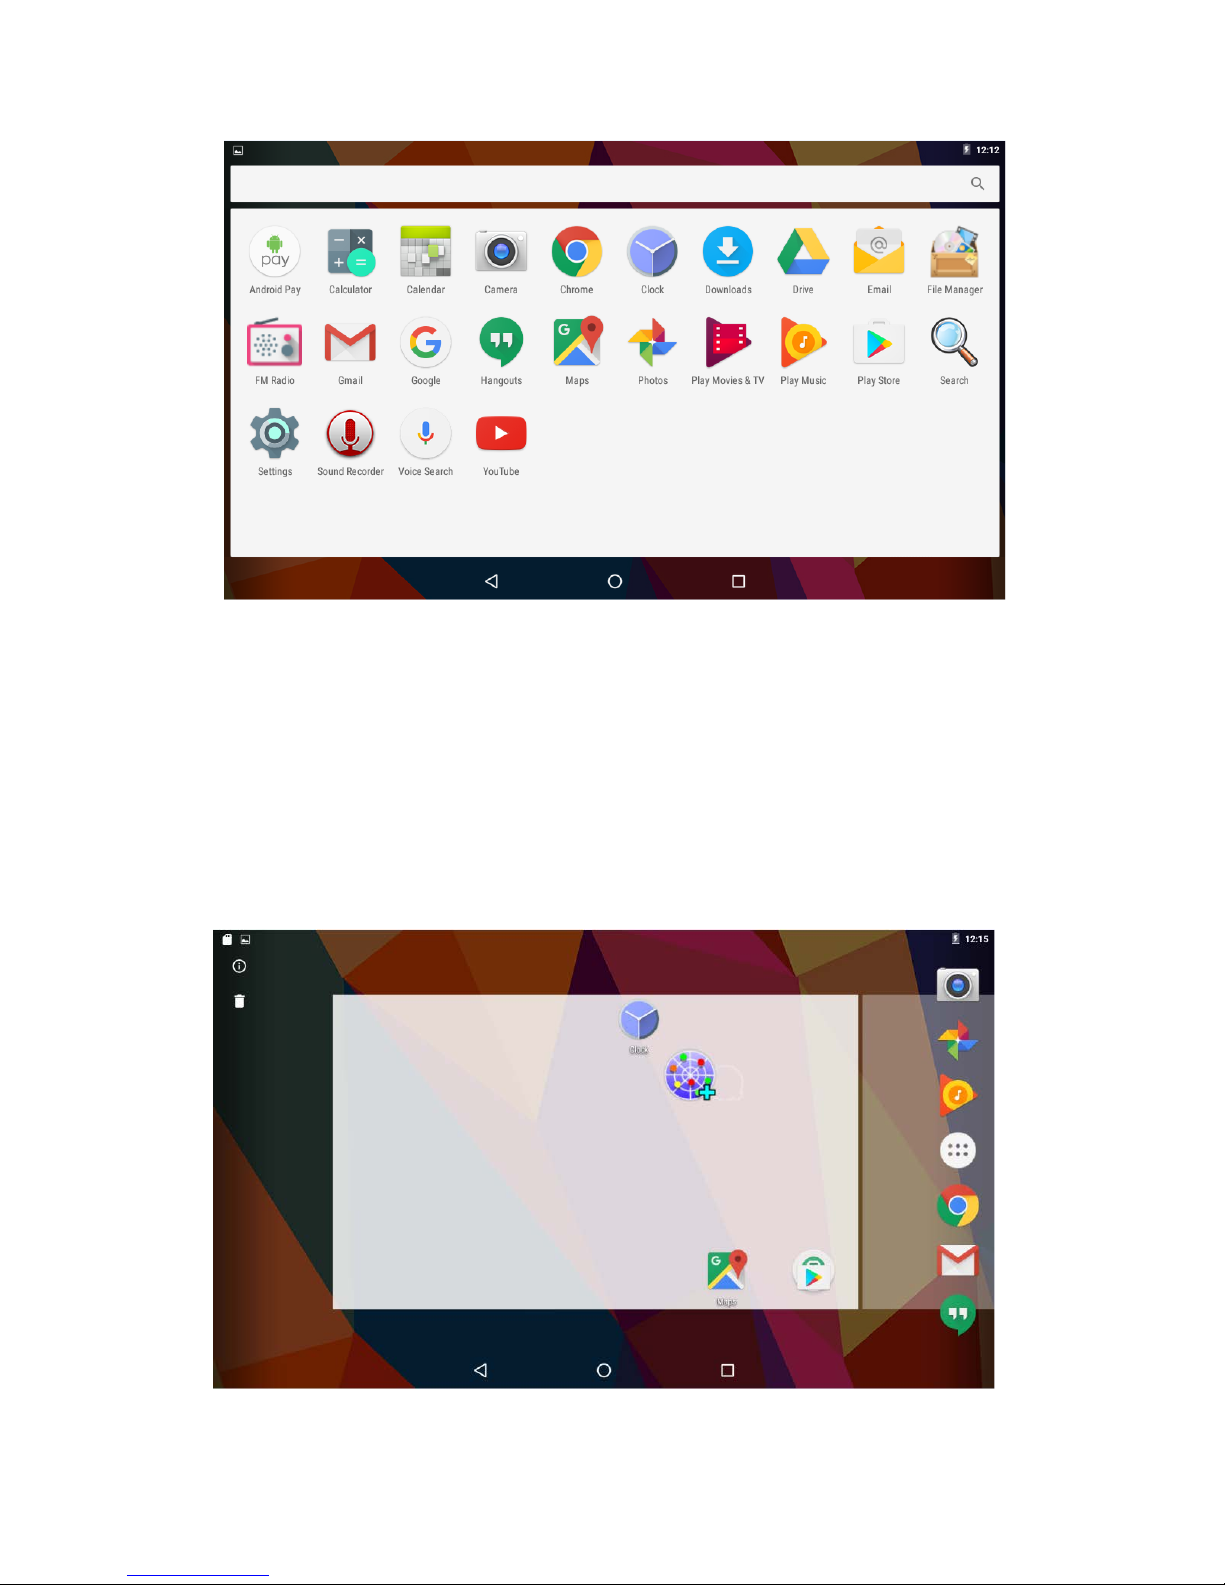
Picture 10
All the install apk will be visible in main menu, just
click the apk and start using. You can delete the apk
by long press the apk and bring the icon to desktop
and drag the apk to uninstall icon and the application
will be deleted. Or simply go to the setting in Apps
option and delete the apk.
Picture 11
Page 13
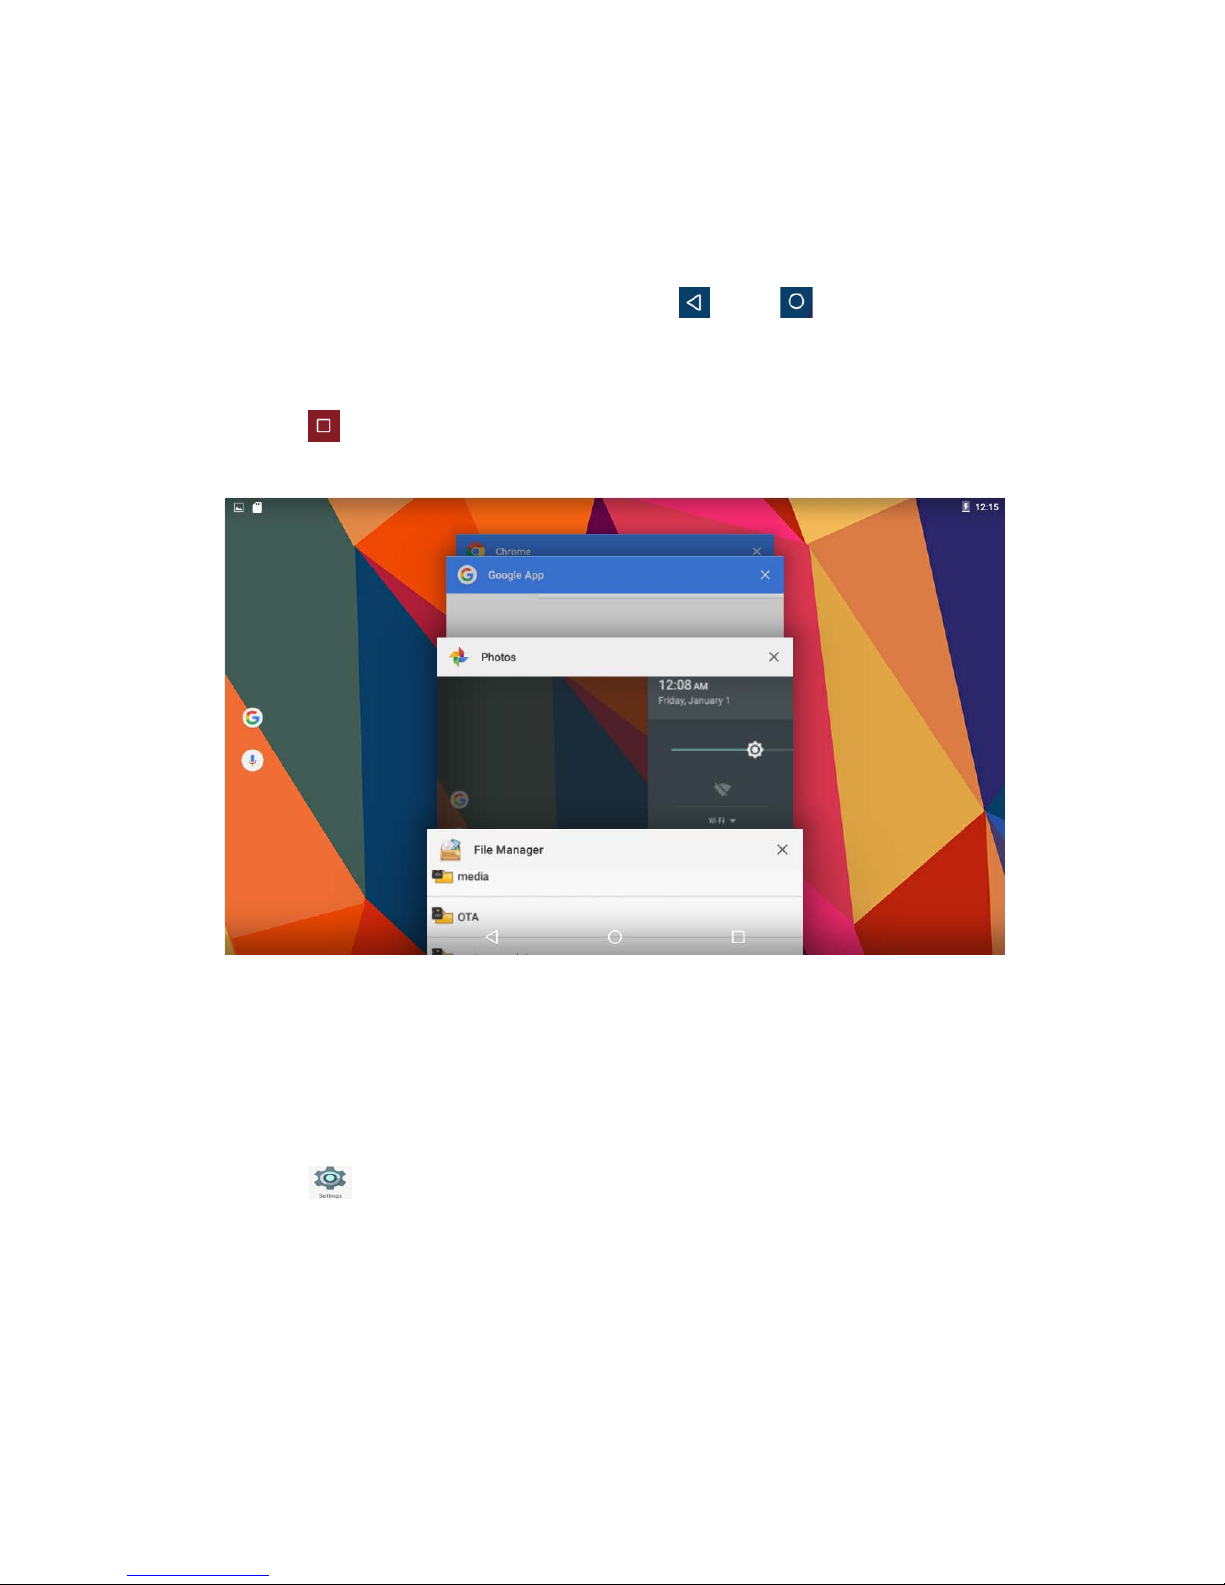
Open or Switch Application
On the desktop or the main menu, select an
application, click its icon to enter, you can use the
application. To exit, press the or to the main
interface. After the return, you can click into other
applications.
Click to switch between the running applications,
refer to the figure below:
Picture 12
Settings
Click icon in the main applications to open the
system settings interface, as shown below:
Page 14
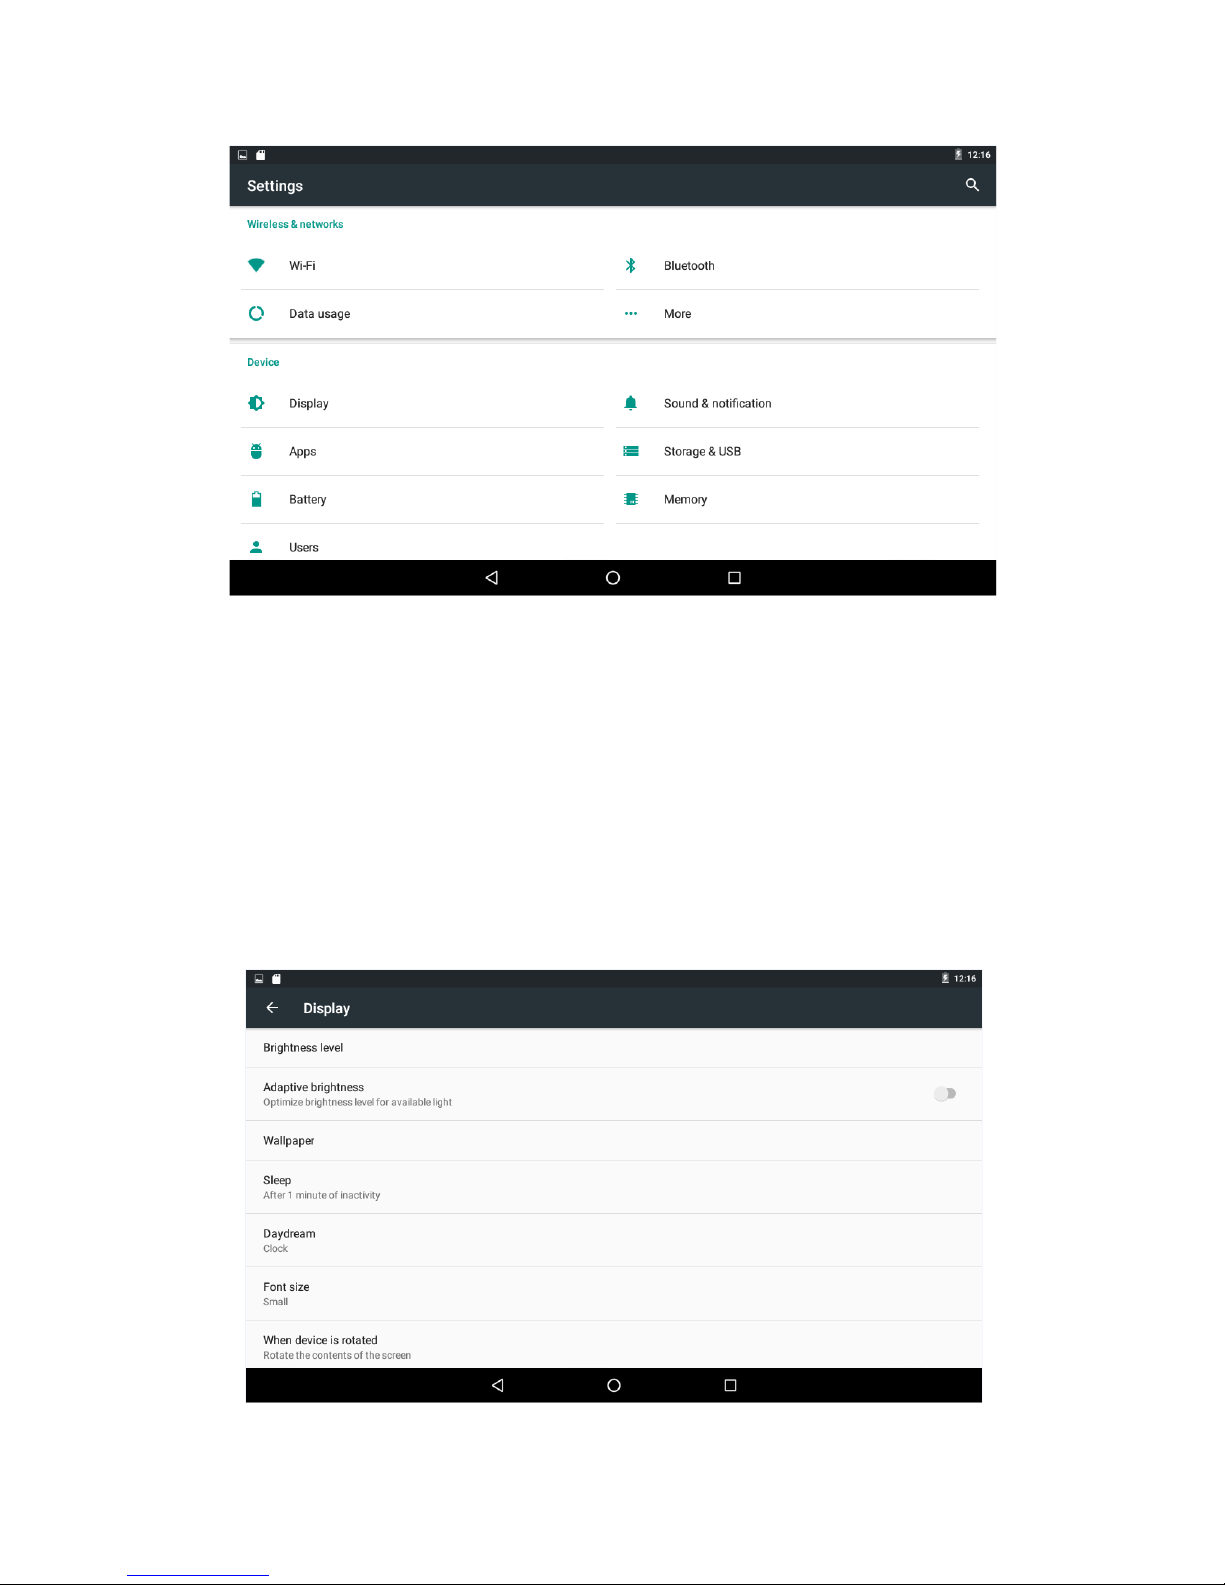
Picture 13
Select the appropriate operation of the relevant
items, such as: wireless and network, display, date
and time settings, about device, etc.
General Function
Some common features such as brightness, wallpaper,
sleep time can be change in Settings. Details as
picture 14:
Picture 14
Page 15
WI-FI
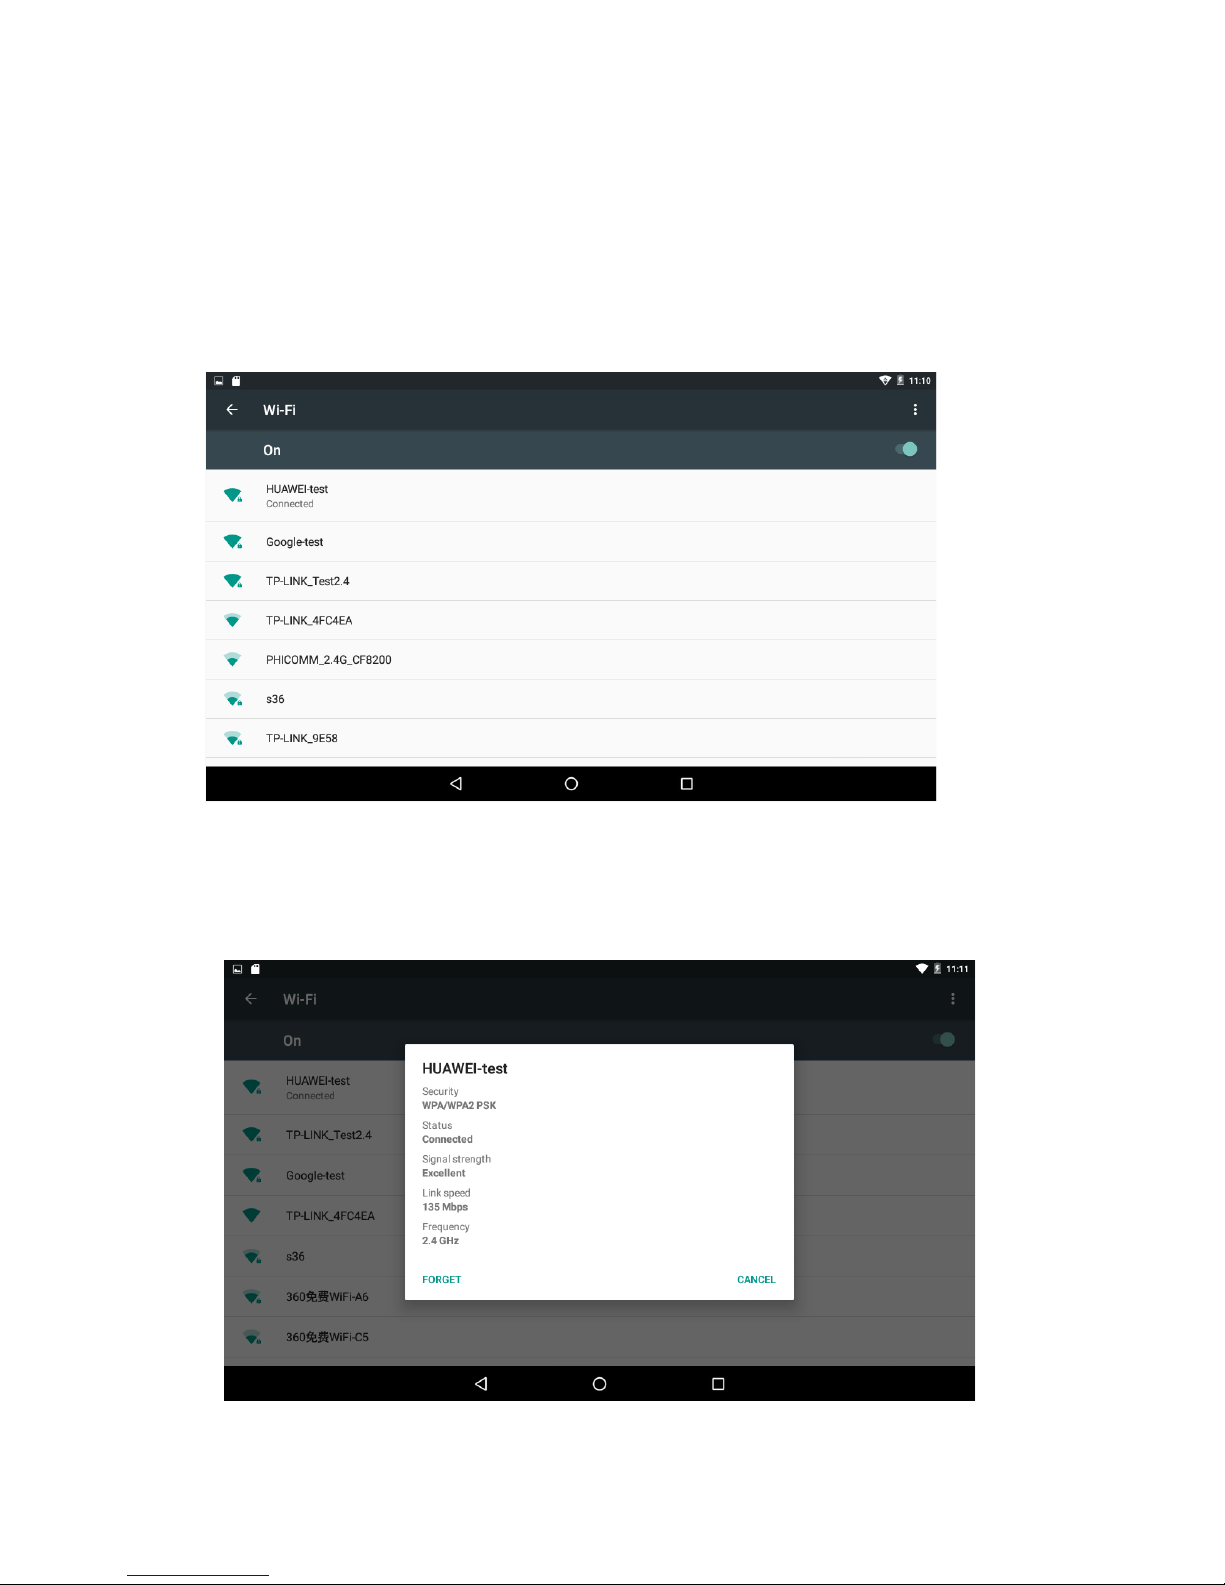
To connect WI-FI simply click WI-FI icon in settings .
First, open WI-FI,then tap WI-FI network you want to
connect and then enter the password to login.
Details as picture 15:
Picture 15
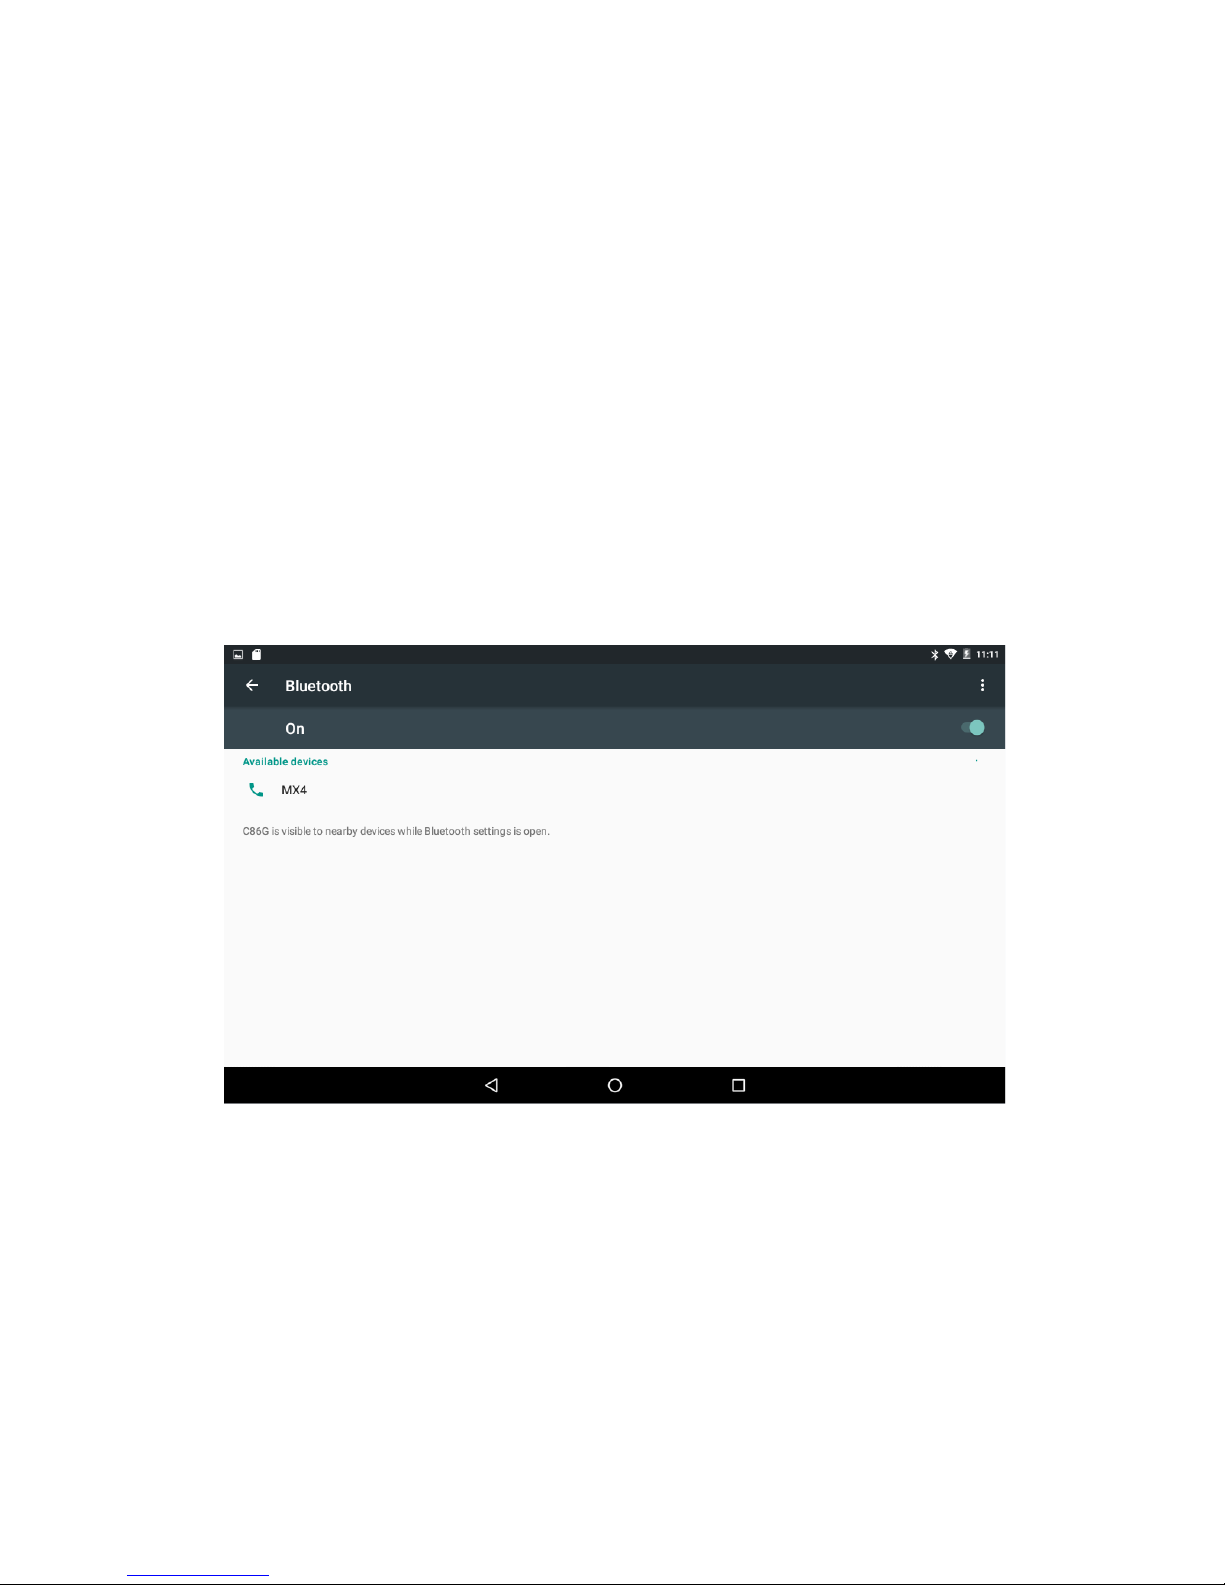
After the WI-FI network is connected, you can click
the network & check the specific details of the
network connection. Details as picture 16:
Picture 16
Page 16
Of course, you can also open WI-FI network through
the "Quick setting shortcut" described earlier.
Bluetooth
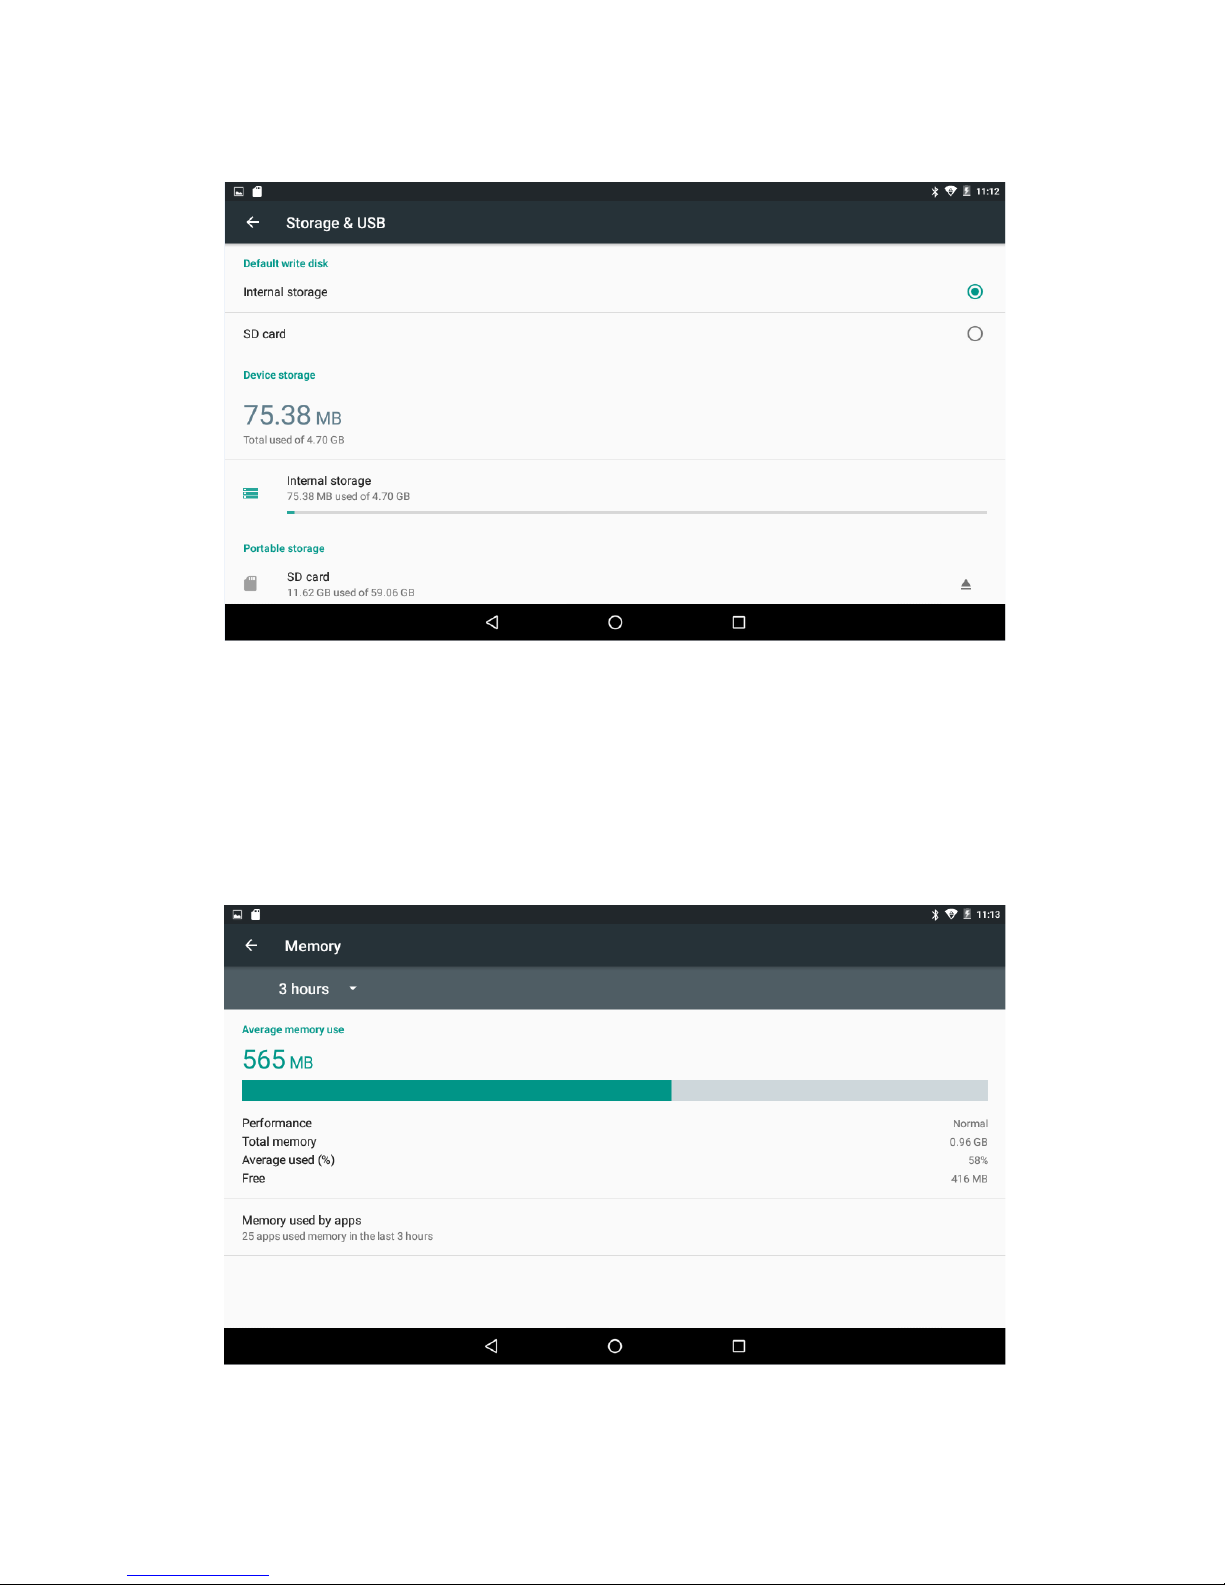
Click the Bluetooth in setting & on the bluetooth, you
can see the list of bluetooth device available for ready
to pair, details as picture 17. Click the available
bluetooth device, it will popup request window, enter
into related password, and match the device to
connect.
Picture 17
Storage & USB
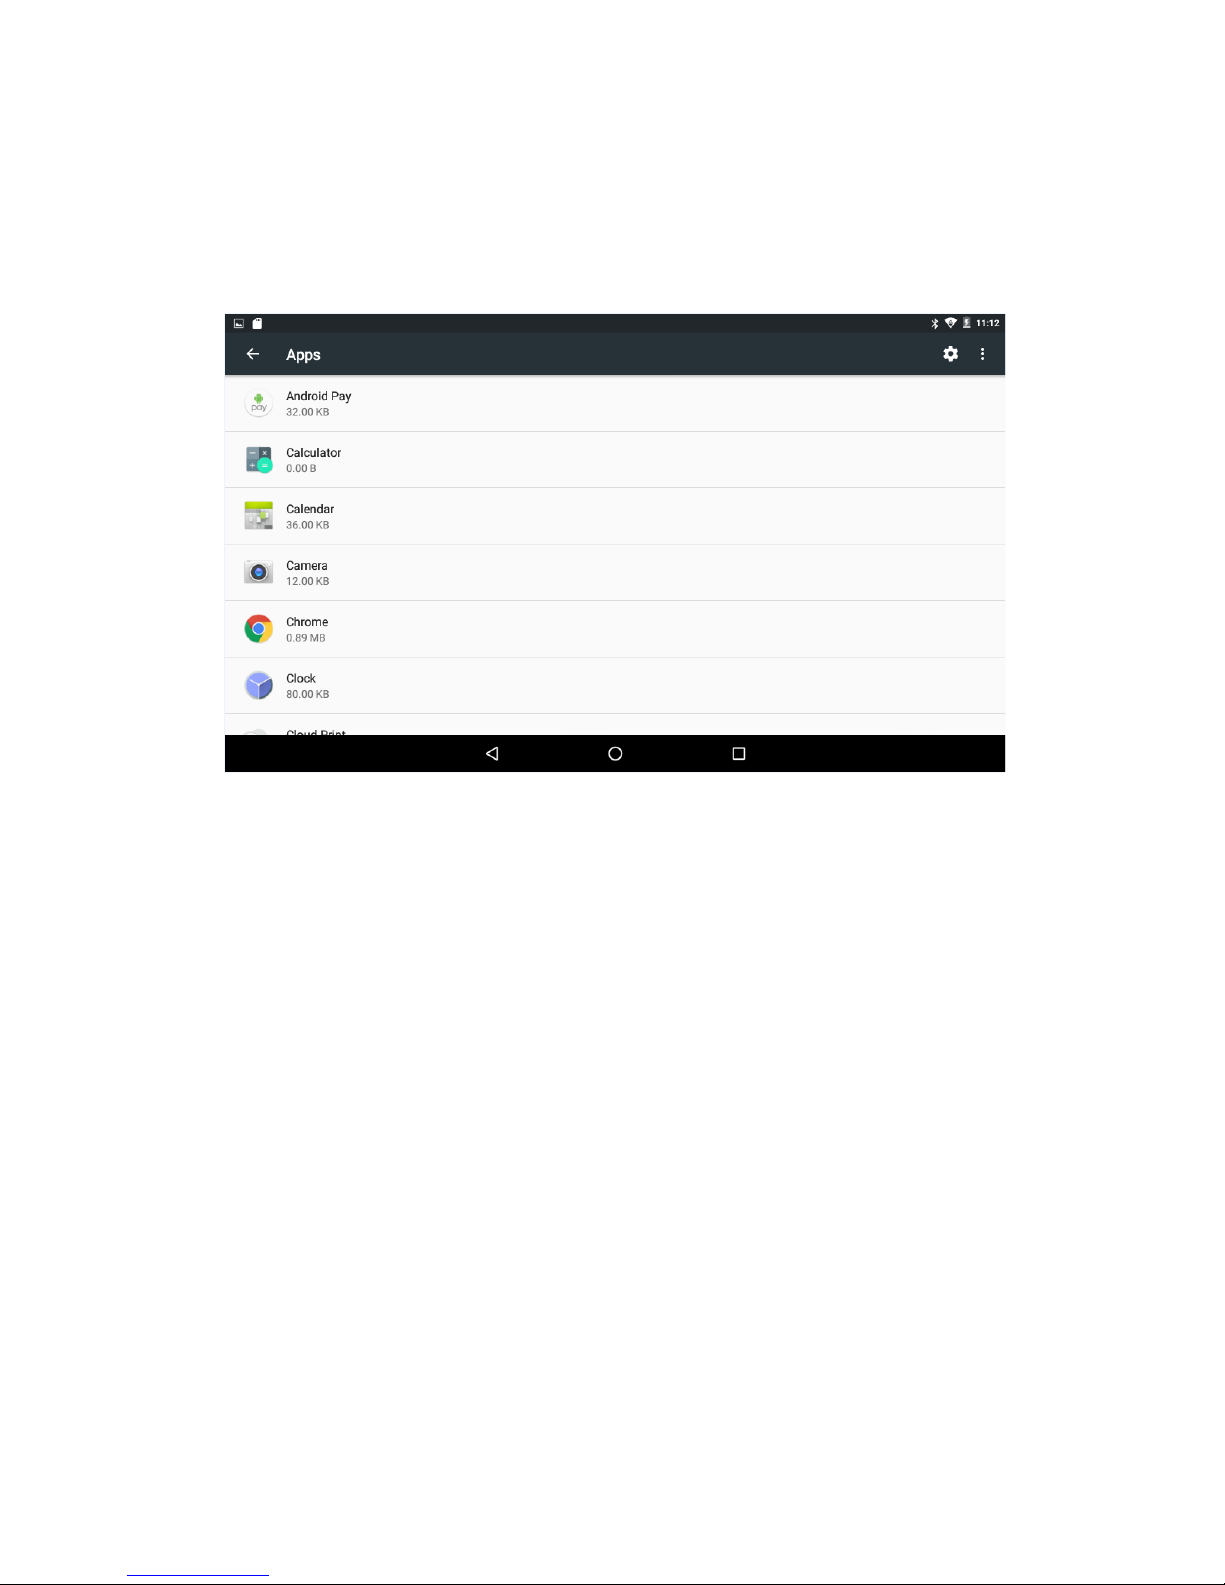
Enter “Storage & USB”, you can see the storage device
information, including the tablet capacity, external
Micro-SD card capacity and usage. Details as picture
Page 17
18:
Picture 18
Memory
View the used space and available space, as picture
19,click “Memory used by apps” you can view the
working device.
Picture 19
Page 18
Apps
Enter the “Apps”, you can view the status of each app.
Details as picture 20:
Picture 20
Click on an individual app to view details, you can
forcibly stop the running app, clear data, uninstall,
move to SD card and other operations. Details as
picture 21:
Page 19
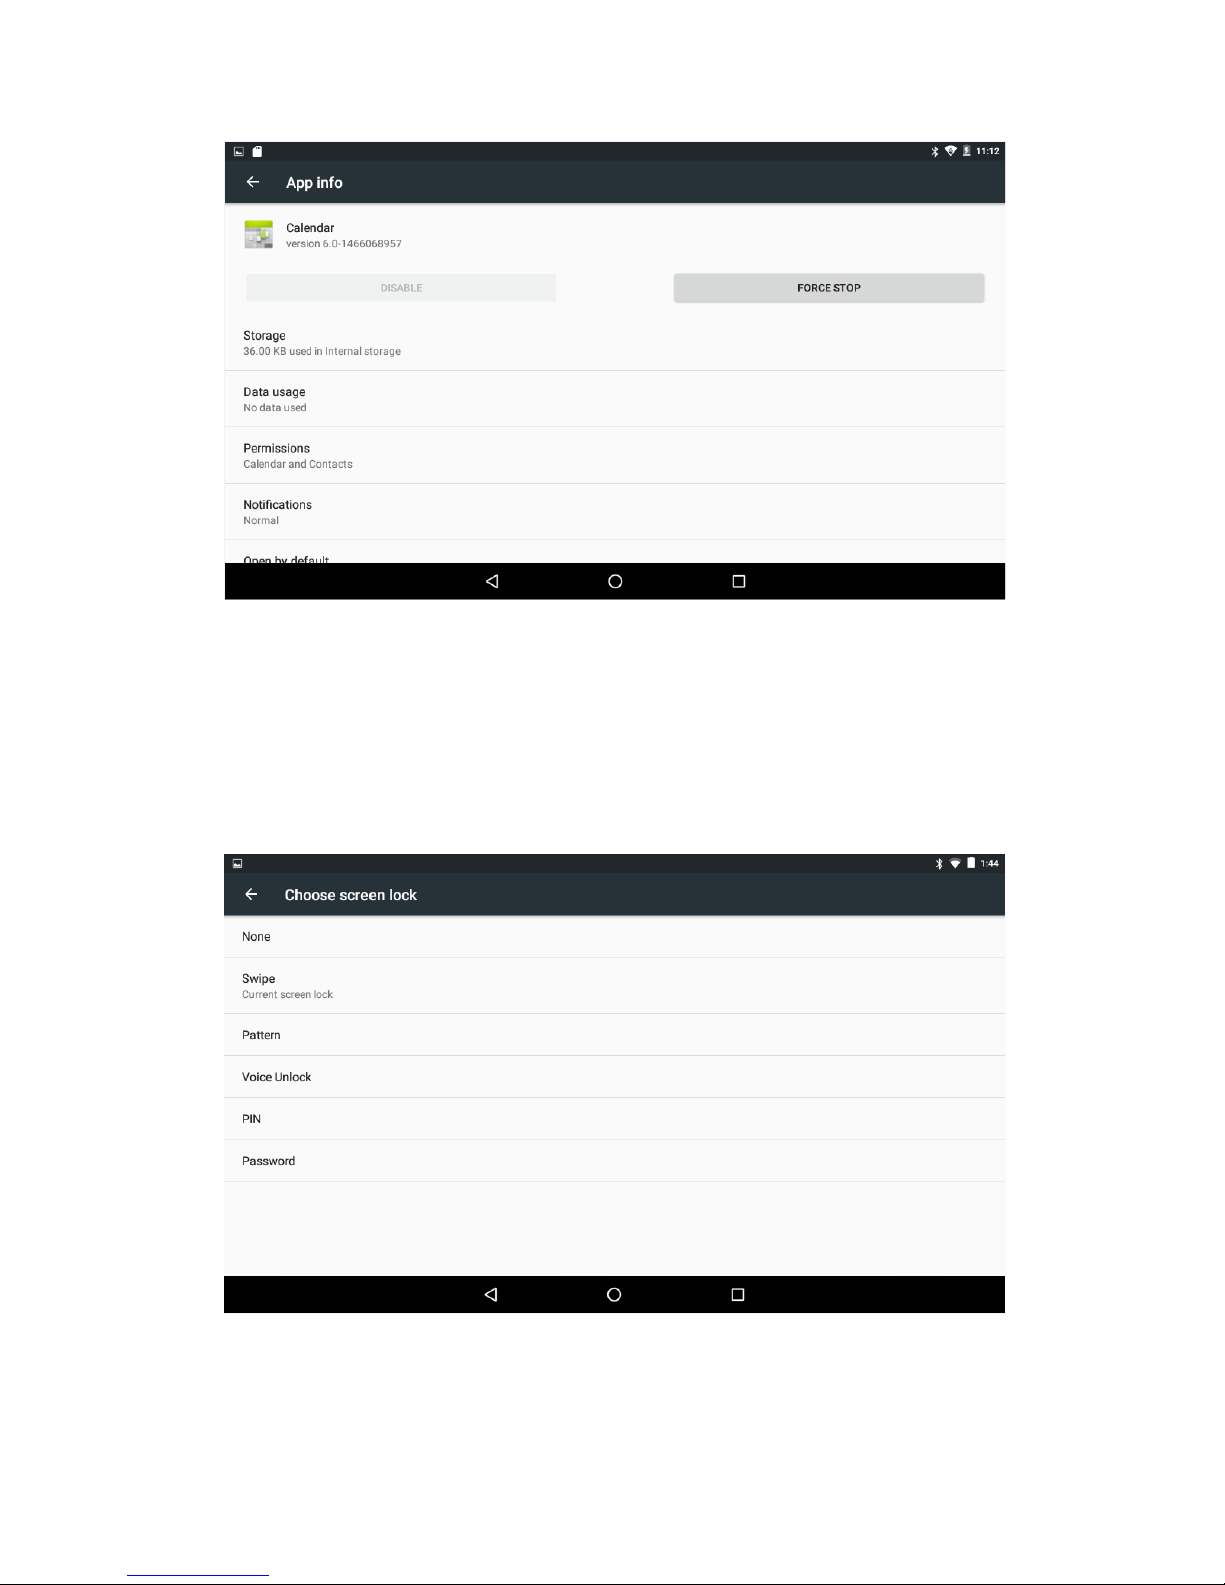
Picture 21
Security
Enter “Security”,click “Screen lock” to set security
settings lock, set the security lock as password,
pattern and so on. Details as picture 22:
Picture 22
Page 20
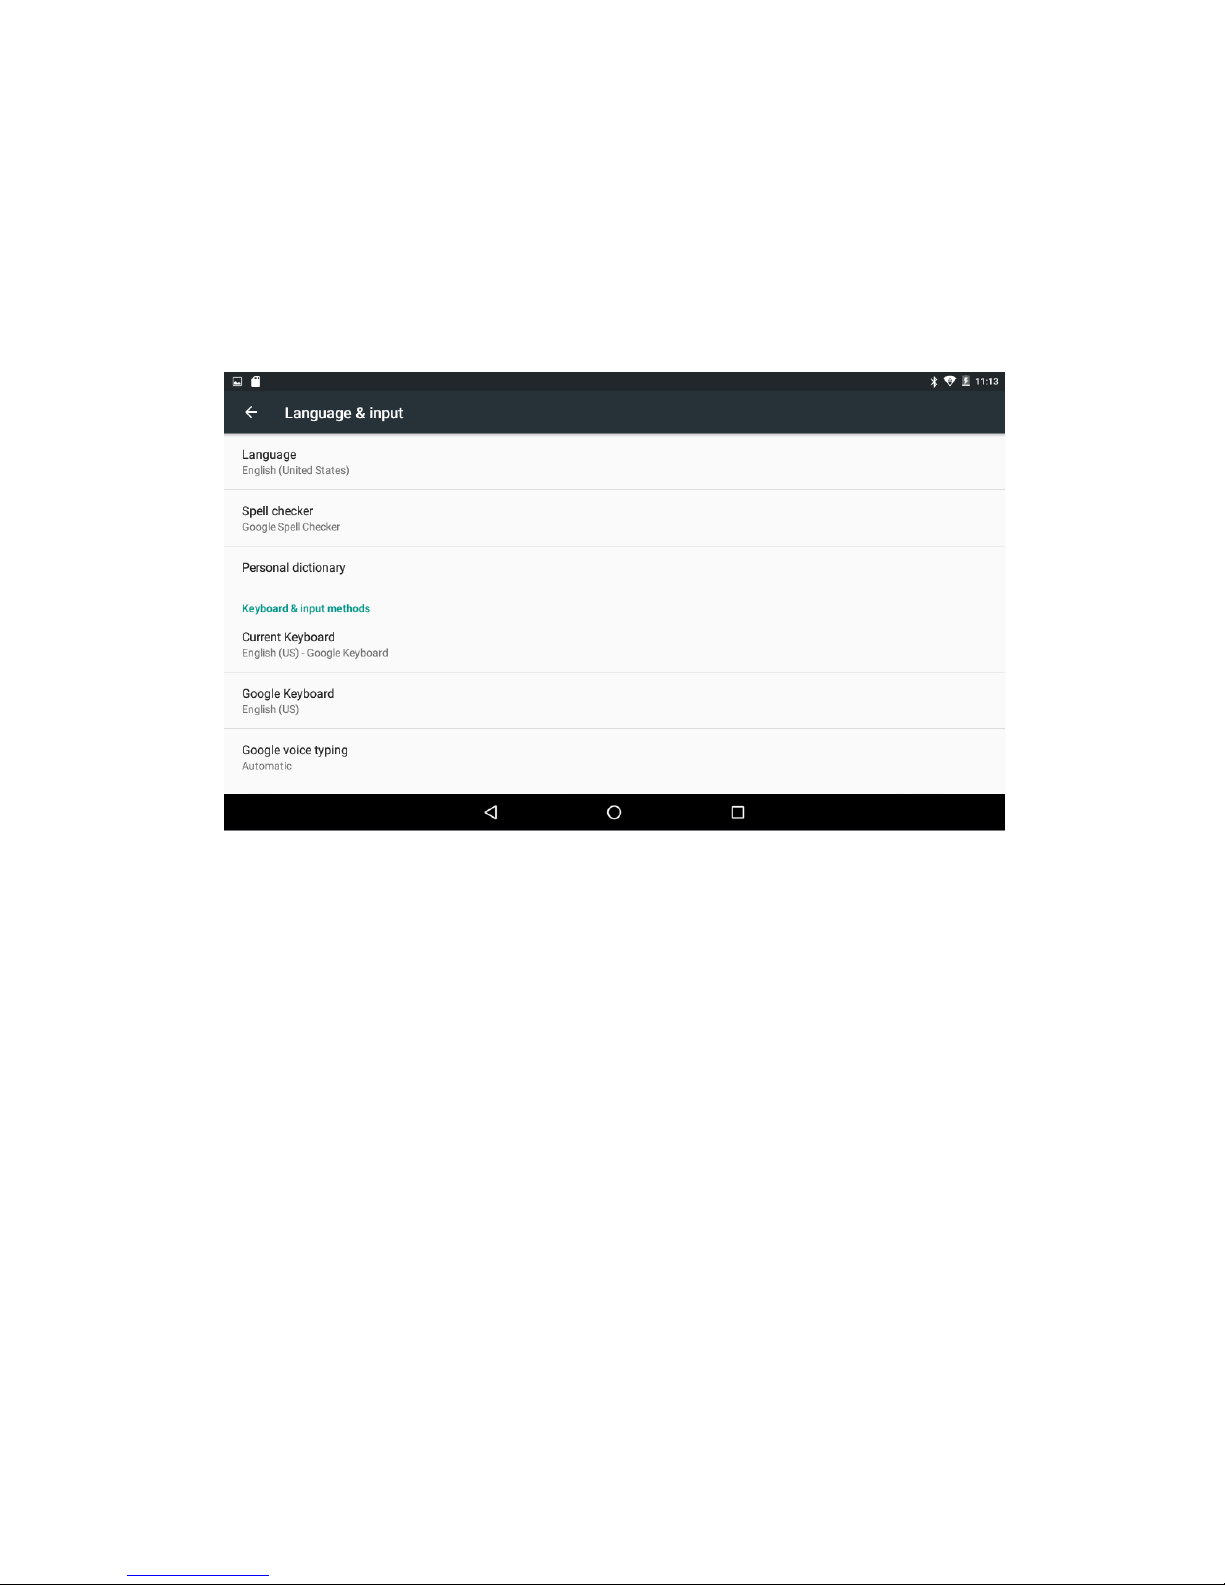
Language & input
Enter “Language & input”, can set the language and
input. As shown below,click on the language to enter,
you can set the machine language. Language library is
the latest 6.0 system language libraries.
Picture 23
Backup & reset
Enter “Backup & reset”, you can backup the machine
information to avoid lost of them. Remark: Reset will
empty all the user information & data, please
carefully use this feature.
Page 21
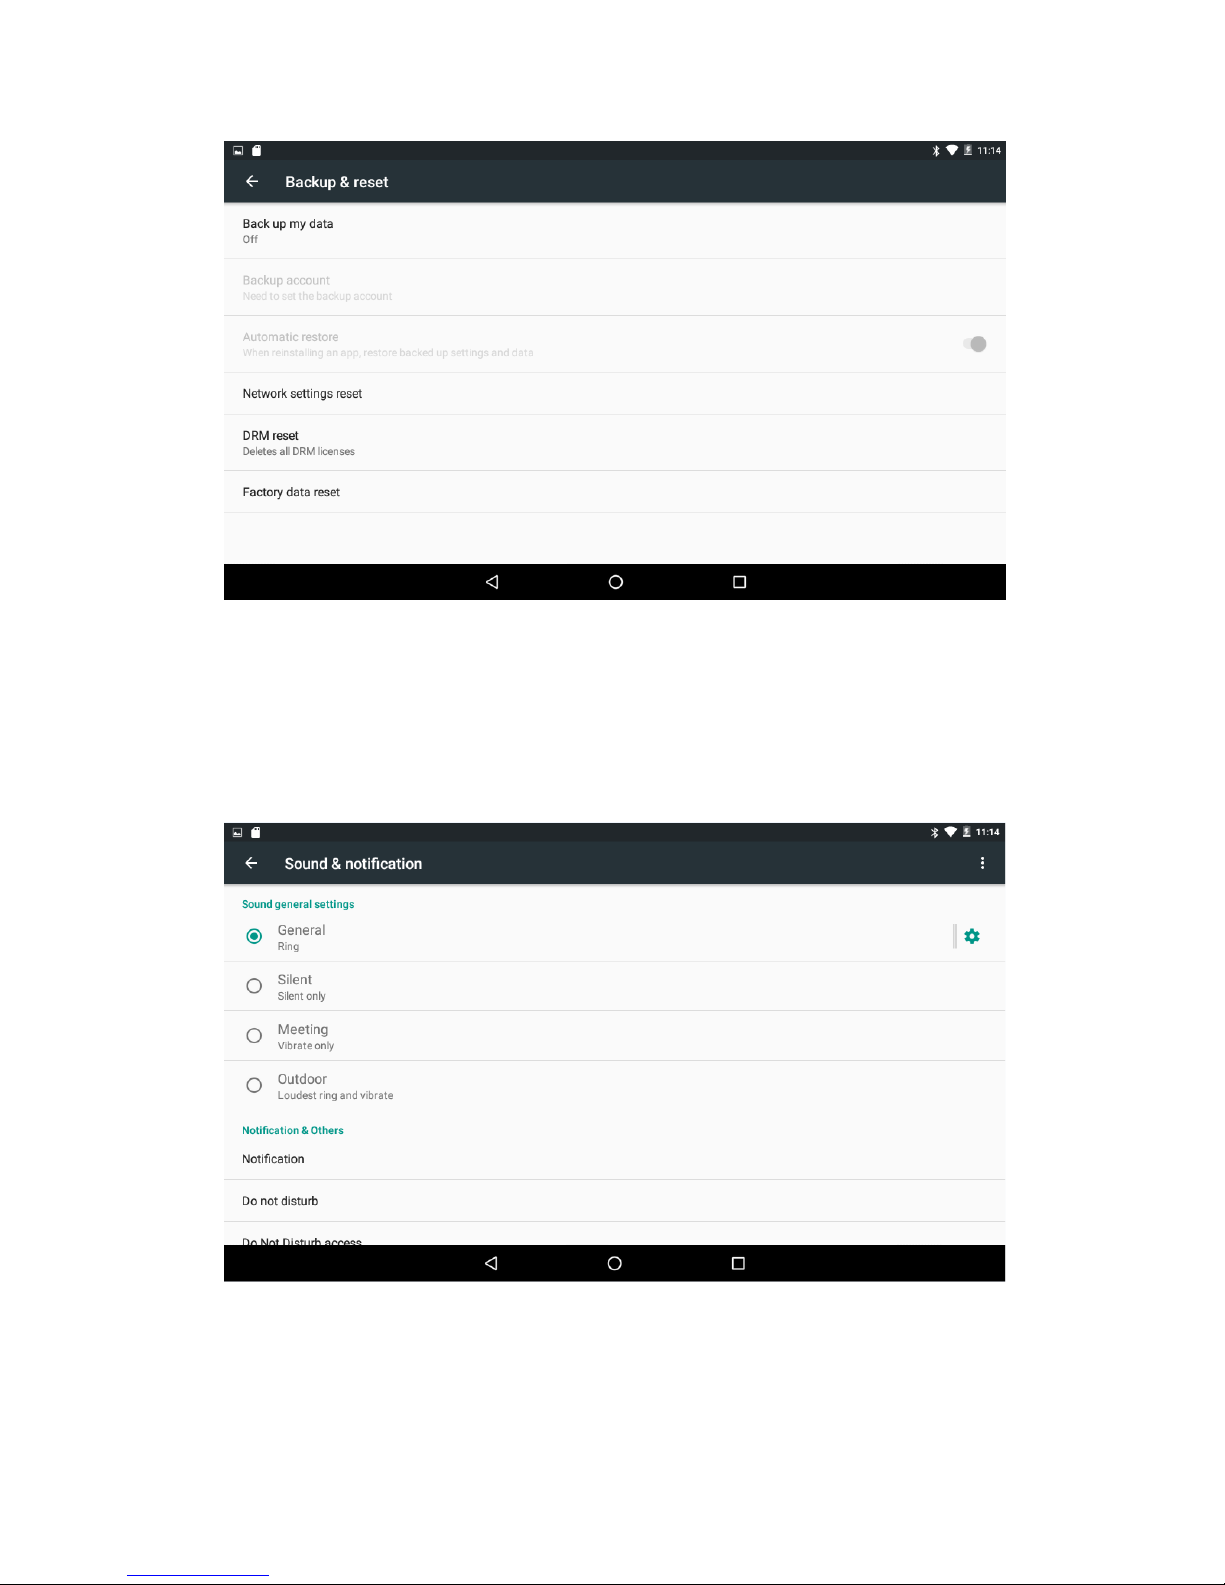
Picture 24
Sound¬ification
Click Setting --> Sound¬ification to set audio
profiles like Silent/Outdoor,details as follows:
Picture 25
Page 22
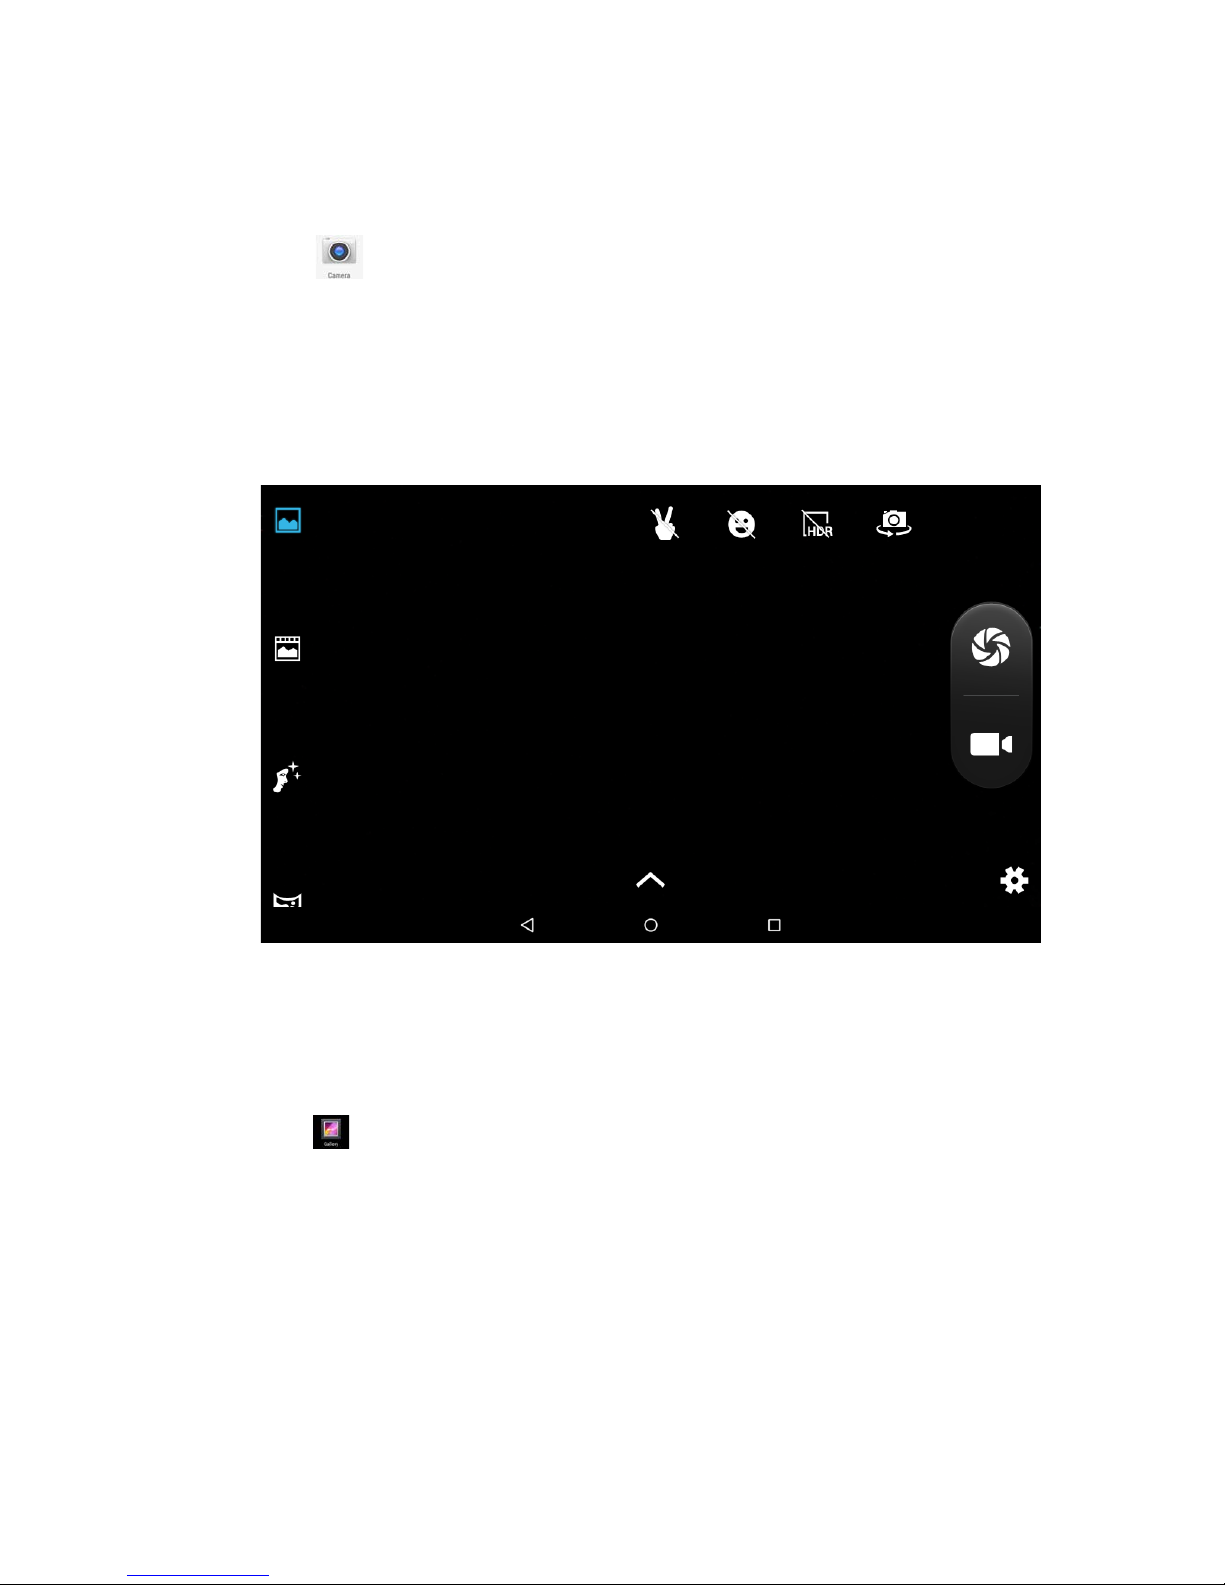
Camera
Click to enter the camera application. Can
preview bigger picture, zoom pictures by sliding 2
fingers on the screen. After preview, gently slide, you
can re-enter the camera interface. Details as picture
26.
Picture 26
Gallery
Click to enter the gallery application, in the
gallery, you can preview all the storage data of the
machine in the picture and video files, including
memory and Micro-SD card pictures and video files.
Below is a picture gallery doucument preview.
Page 23
Picture 27
Music
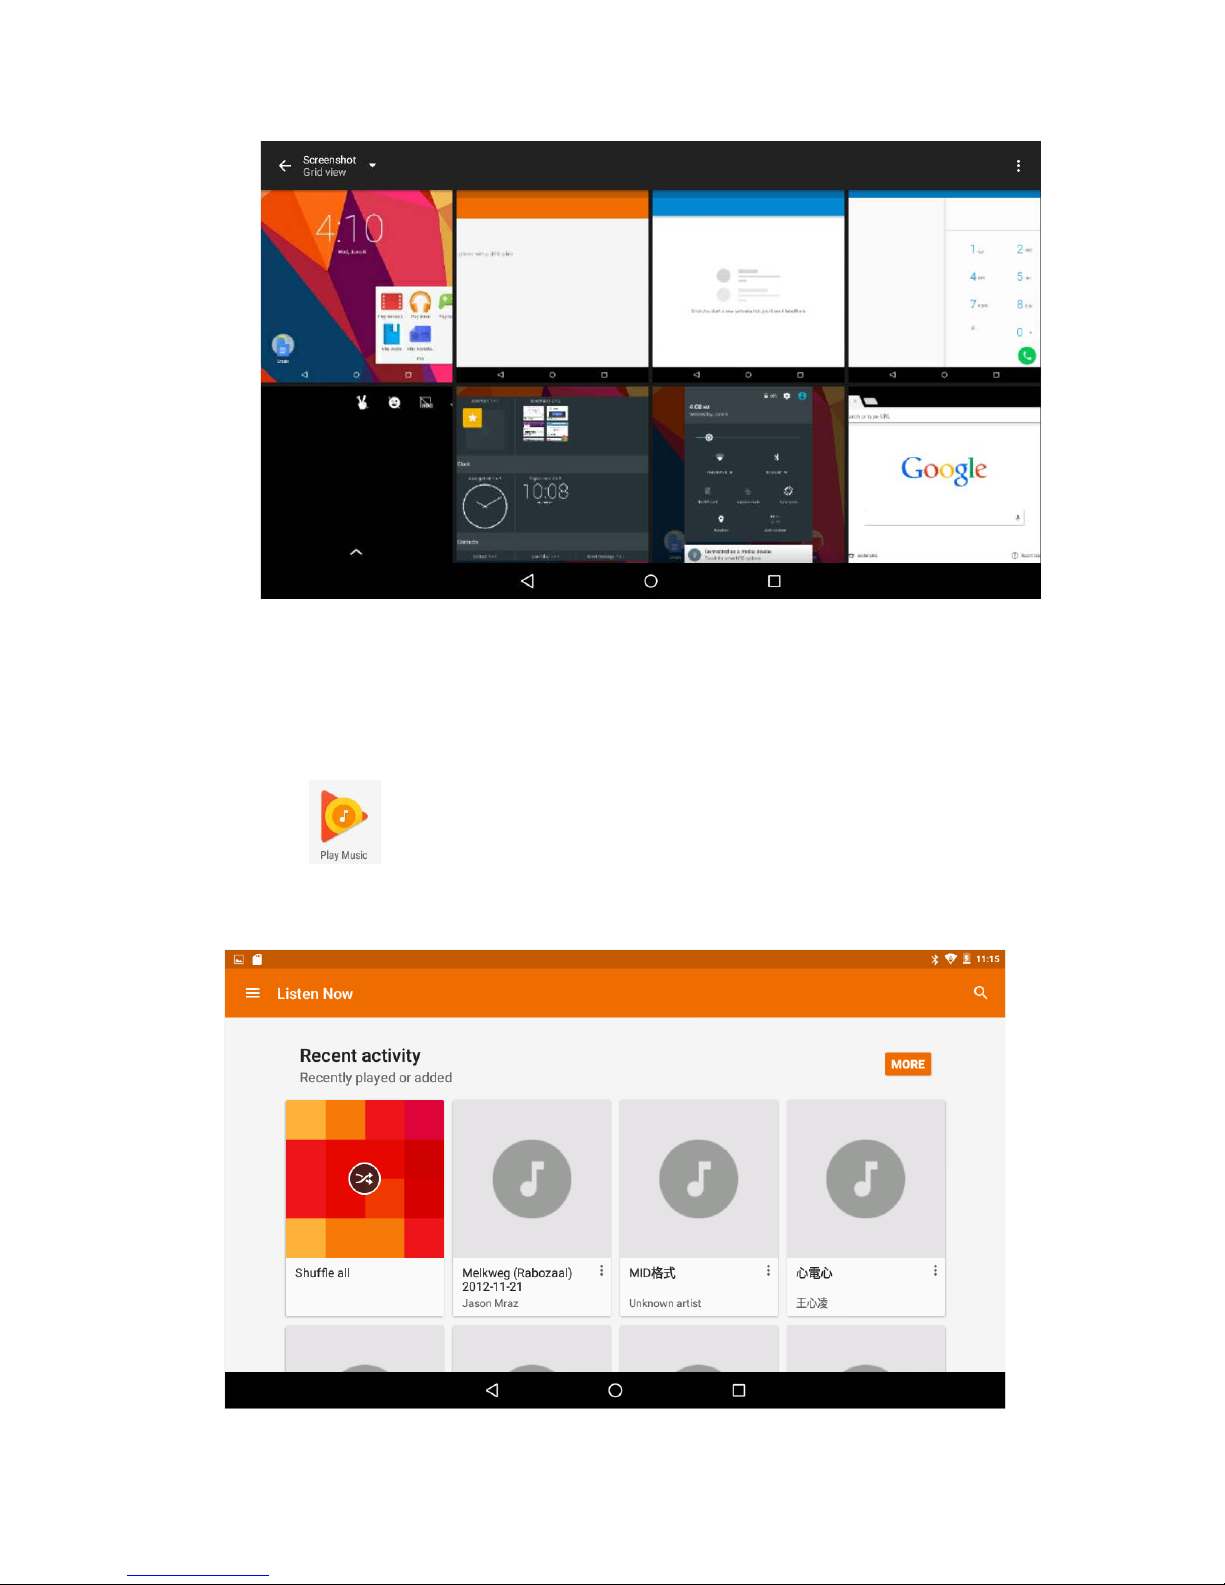
Click to enter into music player,clik the music
you want to play, details as picture 28:
Picture 28
Page 24
Browser
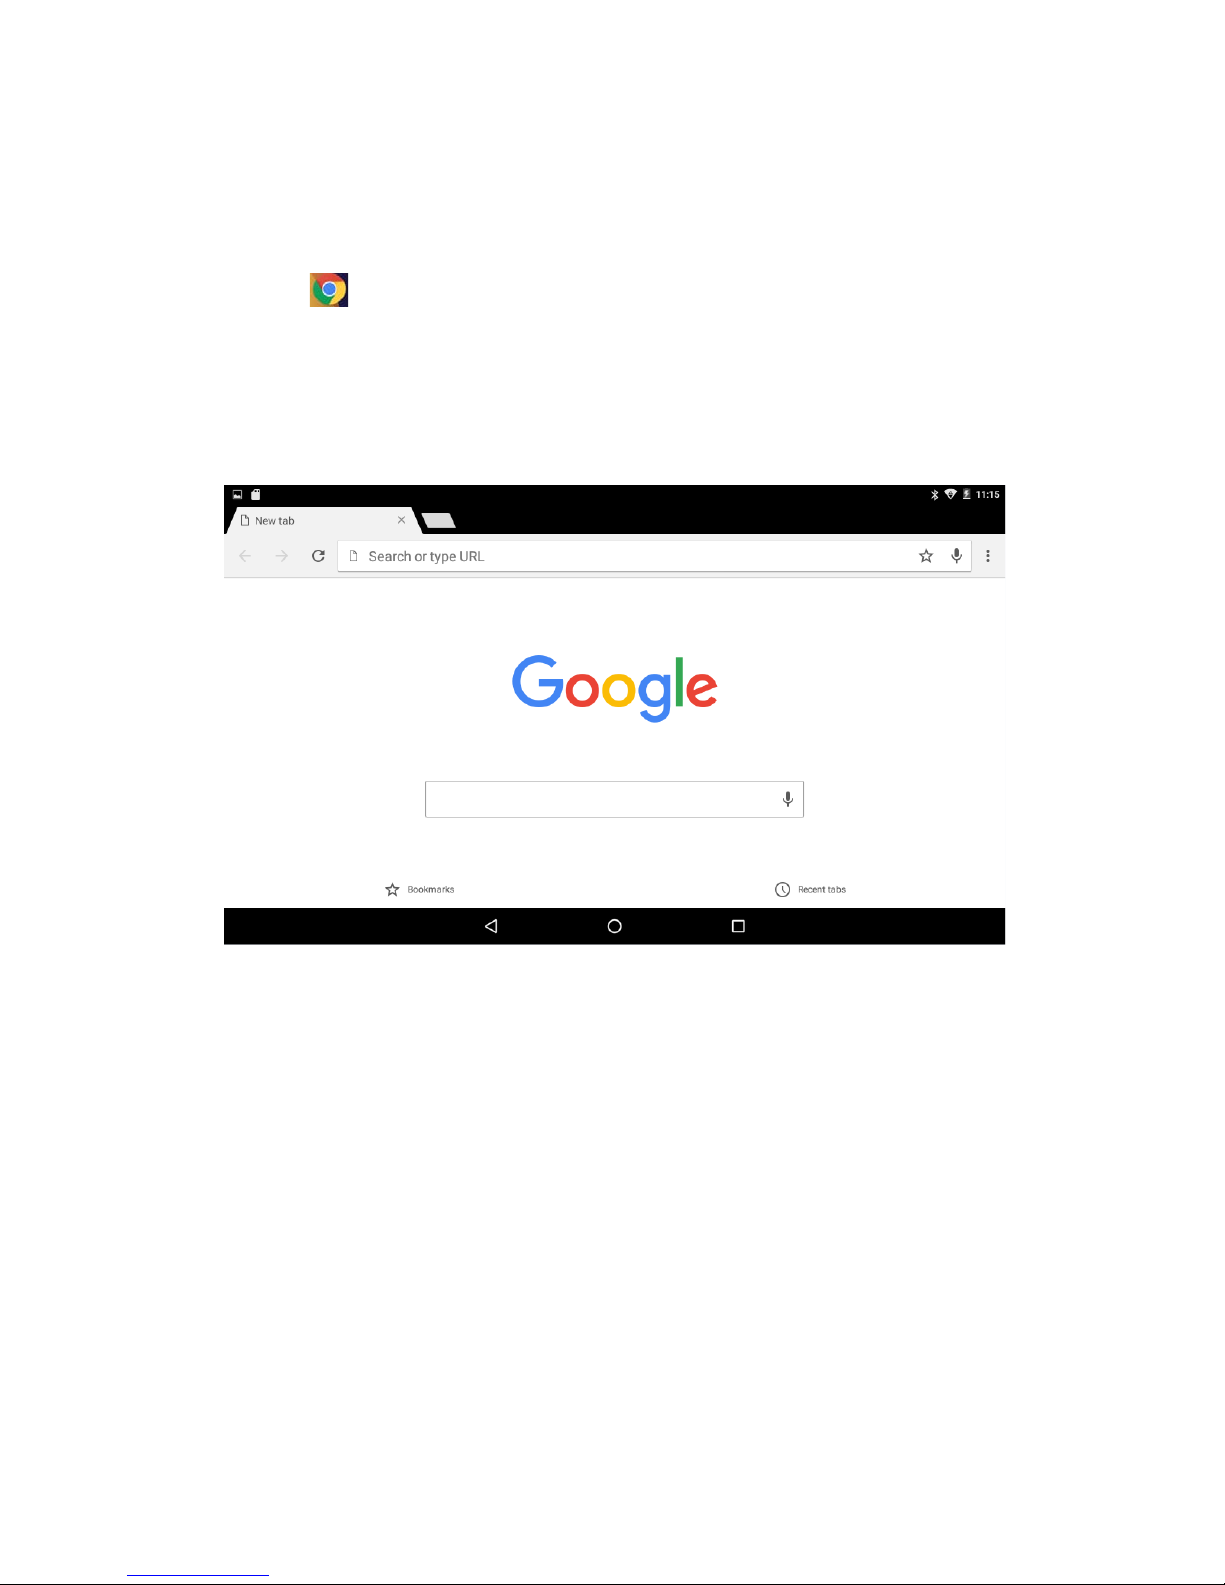
Click to enter the internet, after the network
connection,open a Web browser, enter the URL,you
can quickly browse the Web ,or enter the URL
through the main desktop search bar to open the
page.
Picture 29
Page 25

Warning:
Changes or modifications to this unit not expressly approved by the party
responsible for compliance could void the user’s authority to operate the
equipment.
This device complies w ith Part 15 o f the FCC R ules. Opera tion is su bject to th e
following two conditions: (1) this device may not cause harmful interference,
and (2) this device must accept any interference received, including
interference th at m ay cause undesired operation. changes or mo di fications not
expressly approved by the party responsible for compliance could void the
user's authority to operate the equipment.
RF Exposure Information:
The SAR limit of USA (FCC) is 1.6 W/kg averaged over one gram of tissue.
Device Types kaleidoscope (FCC ID: 2AGNK-S8) has also been tested
against this SAR limit.
The highest SAR value reported under this standard during product
certification for use when properly worn on the body is 0.792W/kg.
This device was tested for typical body‐worn operations with the back of the
handset kept 0mm from the body. To maintain compliance with FCC RF
exposure requirements, use accessories that maintain a 10mm separation
distance between the user's body and the back of the handset.
The use of belt clips, holsters and similar accessories should not contain
metallic components in its assembly.
The use of accessories that do not satisfy these requirements may not comply
with FCC RF exposure requirements, and should be avoided.
NOTE:
This equipment has be en tes ted and fou nd to comply w ith the l imits for a Class
B digital device, pursuant to Part 15 of the FCC Rules. These limits are
designed to provide reasonable protection against harmful interference in a
residential installation. This equipment generates, uses and can radiate radio
frequency energy and, if not installed and used in accordance with the
instructions, may cause harmful interference to radio communications.
However, there is no guarantee that interference will not occur in a particular
installation. If this equipment does cause harmful interference to radio or
television recepti on, which can be deter mine d by tur ning the eq uip ment o f f a nd
on, the user is encouraged to try to correct the interference by one or more of
the following measures:
-- Reorient or relocate the receiving antenna.
-- Increase the separation between the equipment and receiver.
-- Connect the equipment into an outlet on a circuit different from that to which
the receiver is connected.
-- Consult the dealer or an experienced radio/TV technician for help.
This device and its antenna(s) must not be co-located or operation in
conjunction with any other antenna or transmitter.
 Loading...