

Gram Precision RK-15 Series, RK-6 Series, RK-3 Series, RK-30 Series Operation Manual
SERIES / SERIE / SÉRIE
RK
3 / 6 / 15 / 30
OPERATION MANUAL
MANUAL DE UTILIZACION
MANUEL D´UTILISATION
2
INDEX English
Precautions 5
Before using the balance 5
Product introduction 7
Features & specifications 7
Front panel 8
Keyboard & functions of keys 10
Power supply 11
Setting mode 12
Parameters 13
Calibration 17
Operation 18
Weighing 18
Tare 18
Checking function 20
Basic counting 22
Accumulation 25
The control from pc to scale 27
Exporting data to pc in form excel 29
U.Key connector 32
Warranty 34
2

3
ÍNDICE Español
Precauciones 36
Antes de utilizar la balanza 36
Introduccion del producto 38
Características y especifiaciones 38
Descripción del display 39
Teclado y función de las teclas 41
Alimentacion 42
Configuracion de parametros 43
Parametros 44
Calibracion 48
Operacion 49
Pesaje 49
Tara 50
Función de límites 51
Cuentapiezas 52
Acumulación de pesadas 55
Conectar la balanza a una impresora 56
Exportación de datos a un pc en formato excel 59
Conector u.Key 61
Garantia 63
4
SOMMAIRE Français
Precautions 63
Avant l´utilisation de la balance 63
Vue eclatée de la balance 65
Caracteristiques generales 65
Description de l´écran 67
Clavier et fonction des touches 68
Alimentation 70
Configuration des parametres 71
Parametres 72
Etalonnage 77
Mode d´utilisation 78
Fonction de pesage 78
Fonction de tare 79
Limites de poids 80
Compte-pieces 82
Accumulation des pesées 84
Connexion de la balance a l´imprimante 85
Exportation des donnees d´un ordinateur au format excel 89
Connecteur u.Key 93
Garantie 95

5
ENGLISH
PRECAUTIONS
Place the scale on a flat and stable surface.
Verify that the input voltage and the plug type matches the local AC power supply.
Warm up the scale for 15 minutes before using it for the first time.
Keep the scale away from EMI noise, strong wind and vibration, which might
cause incorrect reading.
Avoid sudden temperature changes (suitable operating temperature is between 0~40℃)
Disconnect the power supply when cleaning the scale.
Do not immerse the scale in water or other liquids.
Service should be performed by authorized personnel only.
BEFORE USING THE BALANCE
Unpacking and Checking
Open the package and check the instrument for transport damage.
Immediately inform your dealer if you have complaints or if parts are missing.
The package should contain:
1. Scale body 2. User manual
3. Weighing pans 4. Adaptor

6
Installing Components
1. Before using the scale, remove the shipping protection screw (rotate
counterclockwise), which located underneath the scale and cork the plug
buckle.
Note: the RK-30 model doesn´t include the shipping protection screw.
2. Cover the weighing pans on the scale body properly.
Leveling the Scale
To compensate for small irregularities or inclinations at the location, the
scale can be leveled. The scale is equipped with a level indicator at the front
panel .Adjust the leveling feet until the air bubble in the indicator is centered
as shown.
Note: The scale should be leveled each time once its location is changed.
7
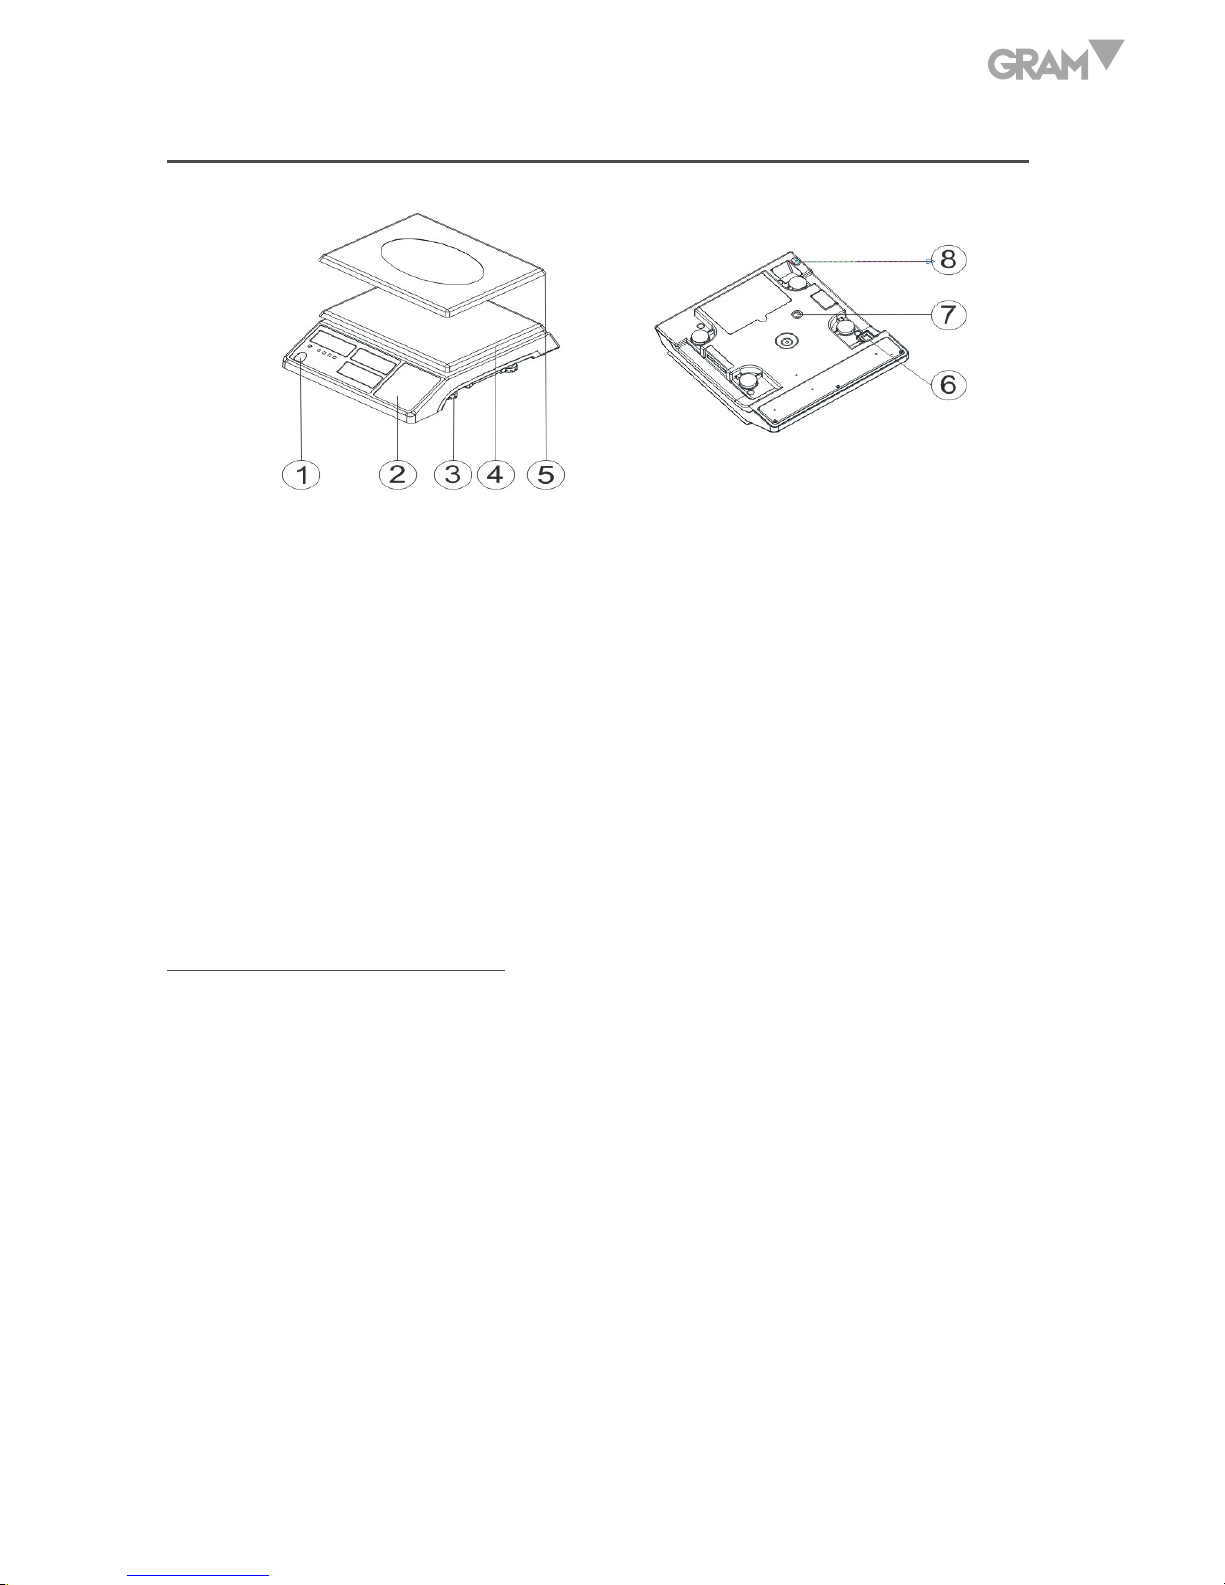
PRODUCT INTRODUCTION
1. Leveler
2. Keypad
3. Adjusting feet
4. Plastic weighing pan
5. Stainless Steel weighing pan
6. On/Off switch
7. Transport protection screws
8. Power socket
Features & Specifications
· Resolution up to 1/15000
· Tare, Preset Tare, auto zero tracking
· Single point and linear calibration available
· HI/OK/LO quantity checking function
· Weighing platter easy to disassemble with dust proof PVC cover
· Low battery and charging status indication
· Accumulation of weight and quantity
· RS 232 port
8
Model RK-3 RK-6 Rk-15 RK-30
Capacity(kg) 3 6 15 30
Weighing units Kg/g/lb
Display LCD backlit displays (6/5/6 Digits)
Pan size 294 x 228 x 13.5mm
Scale dimensions 330 x 289 x 104mm
Power supply DC 9v/400mA or rechargeable battery 6V/4A)
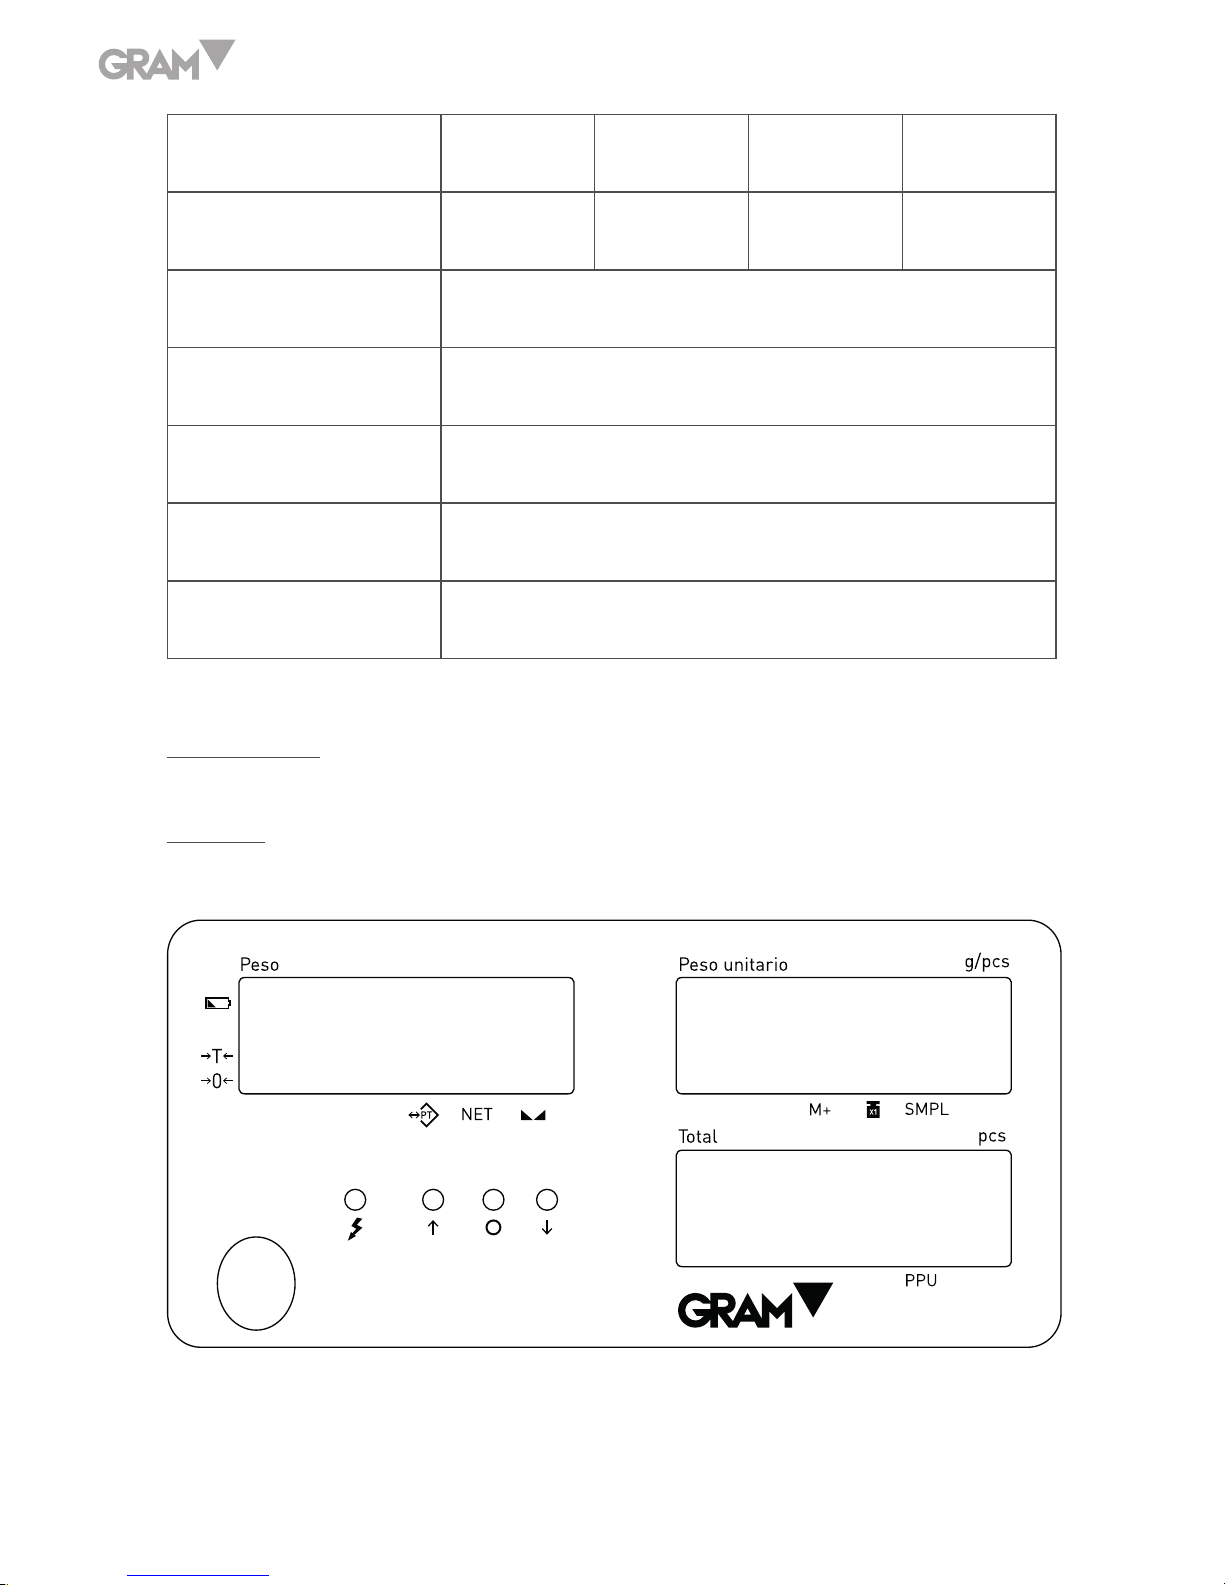
Front panel
Display

9
Low battery indicator
Tare indicator
Zero indicator. The zero range is ±2﹪ maximum capacity
Battery charge indicator
High limit indicator (HI)
Ok limit indicator.
Low lim it indicator (LOW).
Predeterminated Tare symbol “ ”
Net weight symbol “ ” it light on when a tare is done or a
predeterminated tare value has been entered.
Stable symbol .
PPU Unit weight average symbol “ ”
“M+” symbol “ ” when weighing accumulation is actived.
Unit weight symbol, it light on when an unknow unit weight has
been entered
Sample symbol when the function coutingpieces is active, when the
unit weight is less to 4/5 divisions or the sample quantity is less to
10 pieces.

10
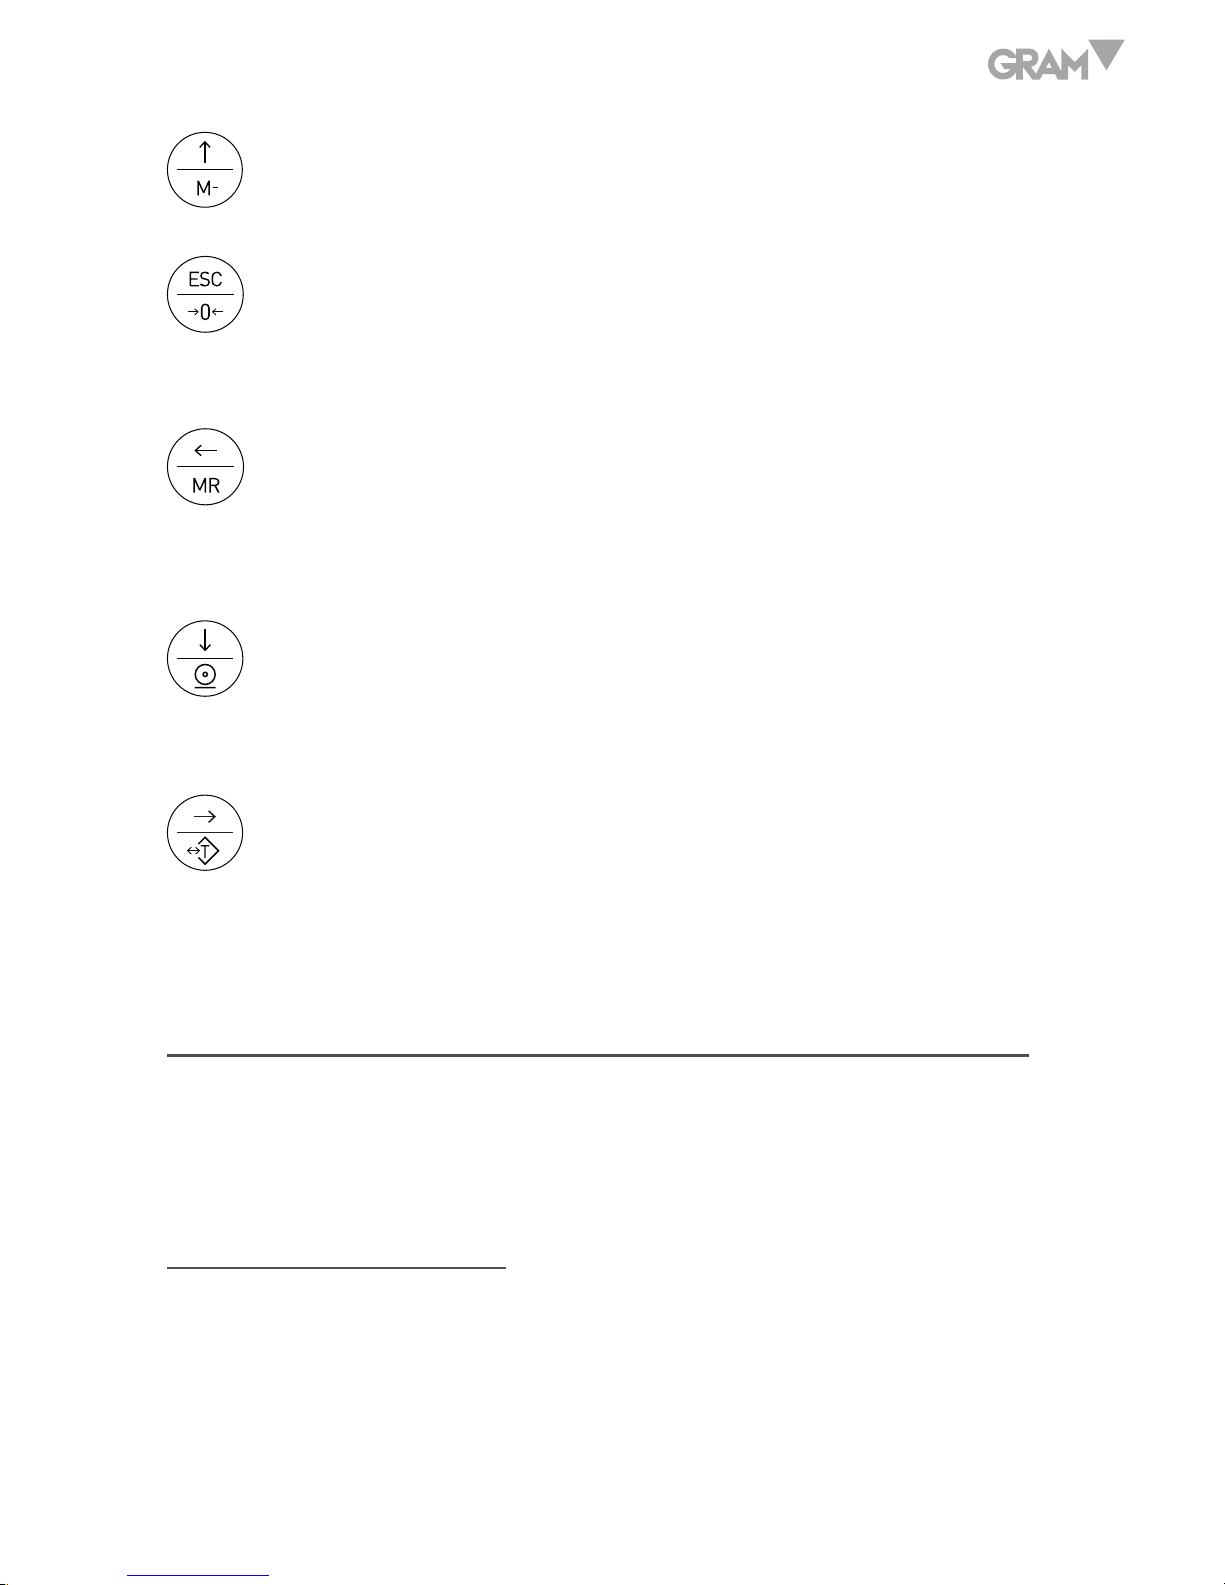
Keyboard
Numeric keys. Enter specific values for tare; unit
weight and other data entries
Point decimal key.
Short press to enter the sampling mode. Long press to close ACAI
after sampling. And shift Units when setting capacity. .
Shift the displays of Gross weight and Net weight after tare. Long
press to enter parameters setting. And turn on or turn off check
weighing when entering HI, LO, OK setting.
Find out the unit weight in memory or reset the unit weight again.
Input the indicated unit weight via numeric keys and press it to
start counting function.
Accumulate the records of counting or weighing. Save the changing
parameter. Set the capacity and resolution.
11
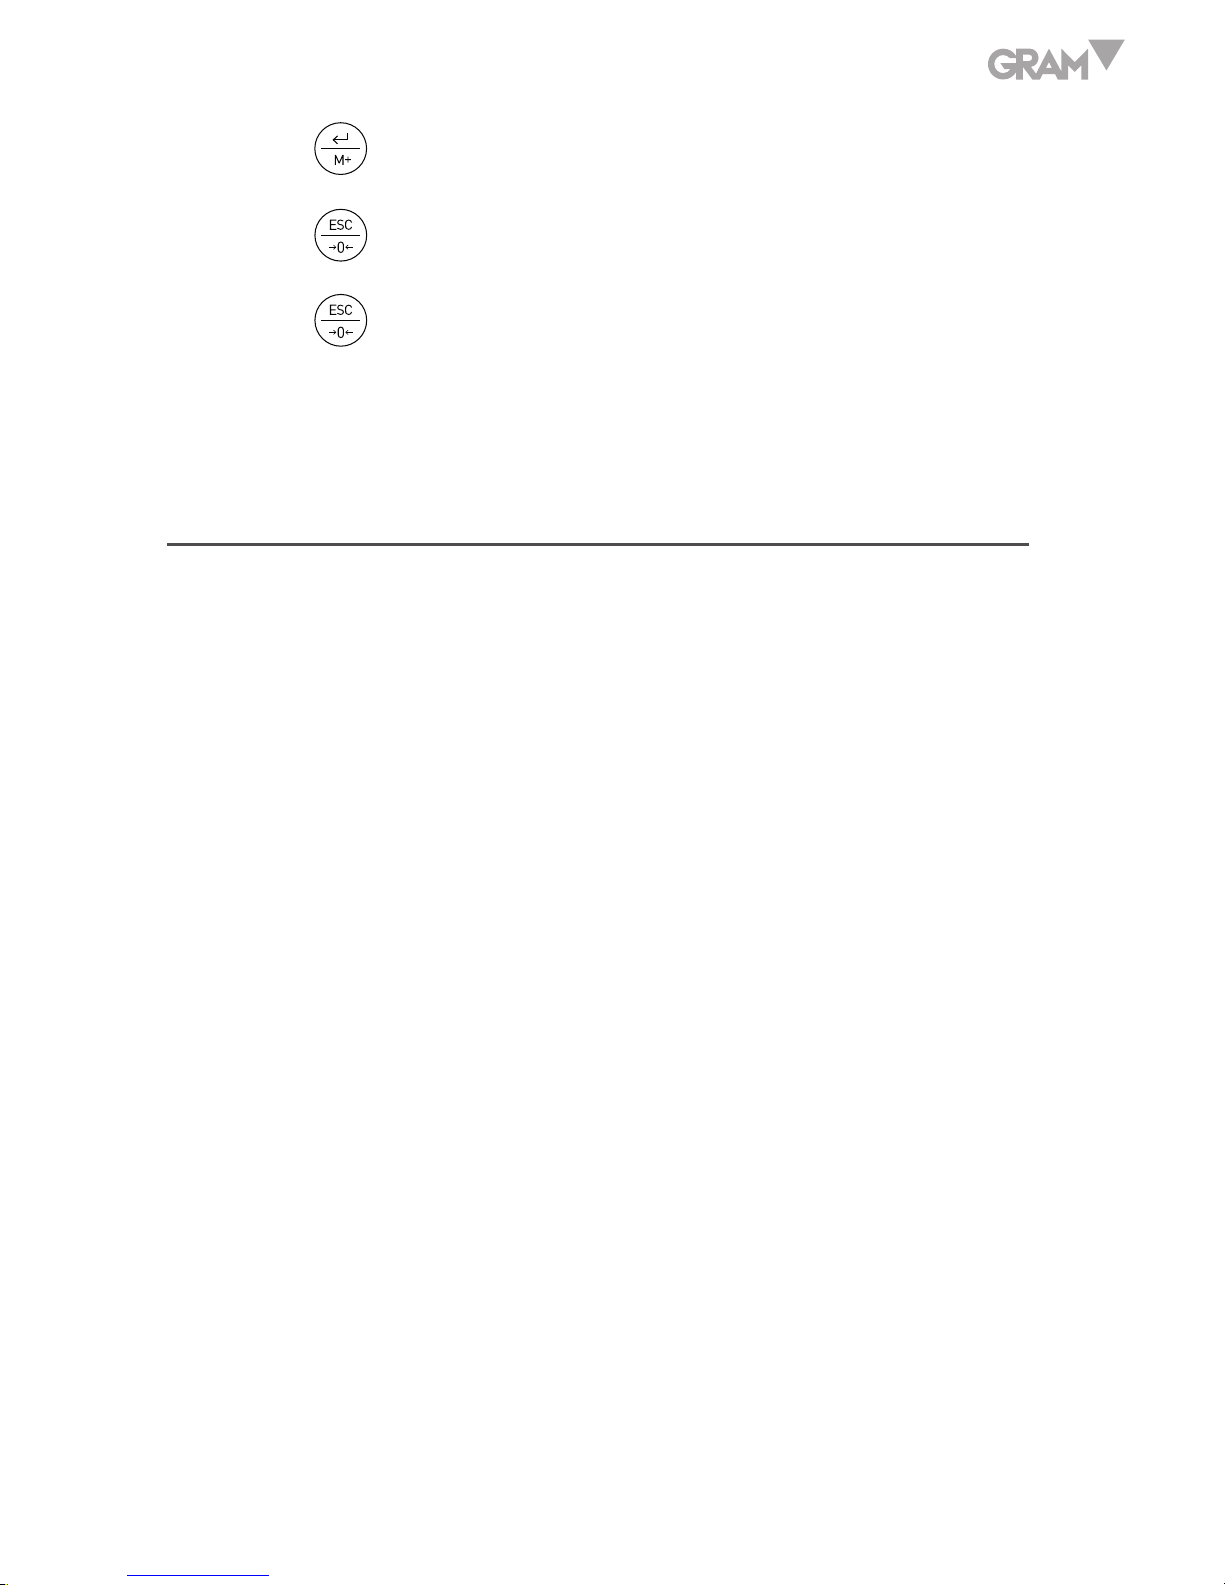
Clear the input figures. Set the value of HI. Enable the blinking
figure plus one when inputting the figures.
Zero the display (within 2﹪ of max.capacity) or cancel Tare action.
Exit from the setting without saving.
Recall and display the total Accumulation data (weight, total count
and number of weightments ) and the first 10 records in details.
Circle the choices in the setting. Make the blinking spot shift
leftwards when inputting the figures.
Press the key to print when printing manually is selected. Set the
LO value. Enable the blinking figure decrease one when inputting
the figures.
Input the weight of the object on the weighing pan as a Tare value .
Inputs the indicated value entered via the numeric keys as a preset Tare value ; cancel tare action. Display rightwards the first 10
records in detail. Make the blinking spot shift rightwards when
inputting the figures.
POWER SUPPLY
Please verify the local power source before plugging into the power outlet,
and use the individual power socket and original adaptor.
Alternative power supply
1. 9V/400mA adaptor
2. (6V/4A) internal rechargeable battery

12
Power Consumption
About 300mW (without backlight)
About 380 mW (with backlight)
Low battery warning
When “ ” appears in the upper left corner of the weight window, the
battery power requires recharging. The charge lamp turns green from red
when the recharging is completed (which takes about 8 hours). Disconnect
the scale from power supply when it is fully charged. A full charged battery
can operate the scale for approximately 65 hrs with backlight, 80hrs without
backlight.
Note: Battery is to be replaced only by an authorized service dealer .Risk of
explosion can occur if replaced with the wrong type or connected improperly
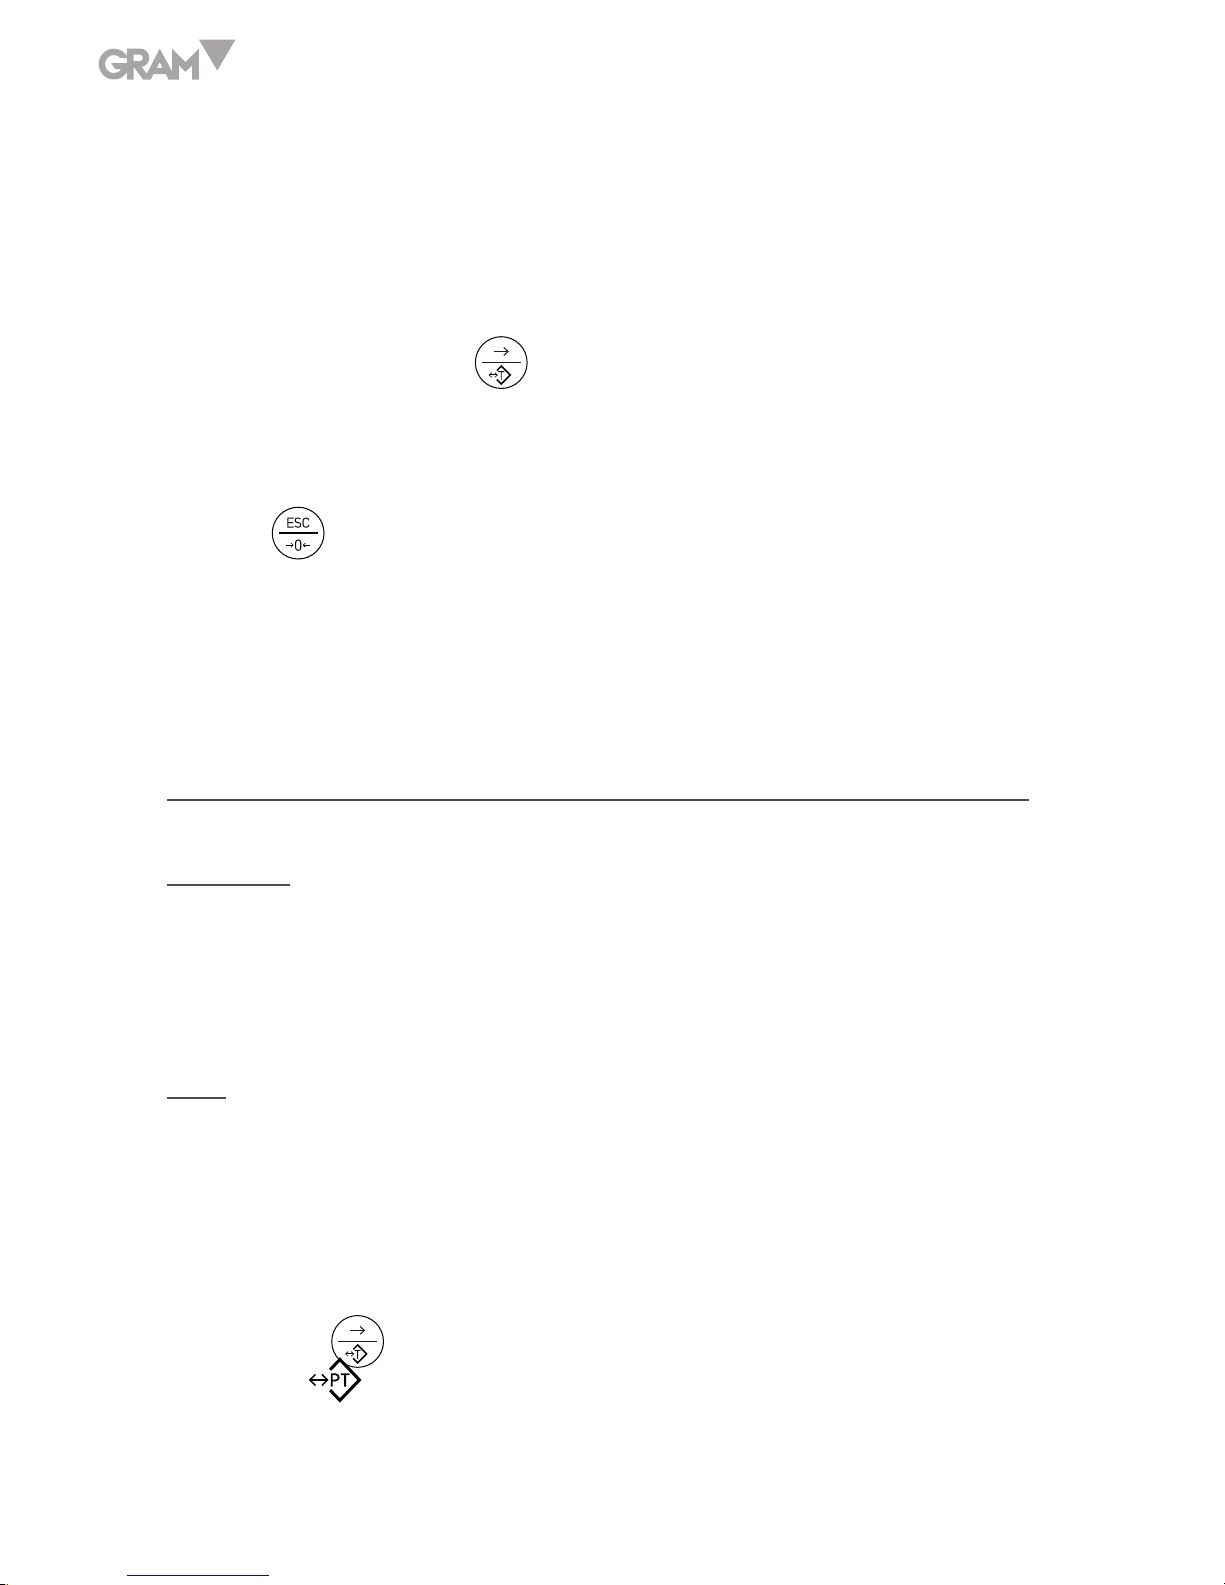
SETTING MODE
Function Setting
1. Press key while powering on, or key in the weighing mode to
enter parameter setting.
2. Press key or to circle the parameters
3. Press key to enter the selected parameter.
4. Press key or to circle the items of present parameter.
13
5. Press key to save after changing and return to parameters choosing.
6. Press key to return without saving.
7. Press key again to return to weighing mode.
Note: In the parameter setting mode, press the numeric key to choose the
parameter directly.
PARAMETERS
SET00
CHECK
internal code checking – Version software V.103
SET01
LIGHT
backlight modes shifting
ON
= Backlight
OFF
= No backlight
AUTO
= Auto-on after getting a stable weigh data or any key is
pressed. But auto off after N seconds (N=2s, 5s, 10s, 20s, ever) with
no action.
(ever=the backlight lasts forever with more than 9d placed on the
pan) when it is stable.
SET02
UNIT
current using units setting (for weighing window and
unit weight window) options are : kg kg)kg g)g g)lb lb
E.g. When Kg, G is selected, means weighing window current using
unit is kg and unit weight window current using unit is g

14
How to set current using units?
When parameter SET02 UNIT is selected, press SMPL to choose the desired
unit, press to save the setting , then press or to advance to
next parameter setting.
SET03
ZERO
zero range setting
d0 (one division) , d1 (2 divisions), d2 (3 divisions), d3 (4 divisions),
d4 (5 divisions) and d5 (6 divisions)
SET04
C.6
whether to save the upper & lower limit of quantity checking
OFF = previously set quantity checking values are not retained
when the unit is turned on.
ON = previously set quantity checking values are retained when the
unit is turned on.
SET05
CHSC
stable weight checking setting: on, off
On: it starts checking weight when the weight and quantity are
within the checking range and the stable symbol appears.
Off: it starts checking weight once the weight and quantity are
within the checking range
SET06
BEEP
beep setting
Hi: There will be a warning sound when the material quantity is more than
the upper limit, and the weight of the material is more than 20 divisions

15
Ok: There will be a warning sound when the quantity of the articles
is between the upper and lower limit (including the upper and
lower limits).
Lo: There will be a warning sound when the material quantity is
less than the lower limit, and the weight of the material is more
than 20 divisions
Out: There will be a warning sound when the material quantity
exceeds the upper or lower limits, and the weight of the material is
more than 20 divisions
no.beep: No sound alarm.
SET07
PER
external equipment setting:
PC: computer output
U.KEY: U.KEY connector works with PC to send the weighing data
to computer (WinXP/Win7) in form of Excel and so on.
SET08
BAUD
baud rate setting: 9600, 4800, 2400
SET09
PRT.K
printing modes setting
contin: Printing continually
stable: Printing automatically when get a stable weight (more than 20d)
key: Printing by pressing keys

16
SET10
PRT.F
printing format setting: prt01~prt03
Use the numeric key to set the format directly.
SET11
FIL
filtering setting: 1, 2, 3, 4
Set the filtering level in which the stable indication turns on .The
higher the setting, the slower stabilization time.
SET12
2-T
Precondition for zeroing or taring setting
stable: Taring or zeroing can be not action without stable indication
after pressing the key or
always: Taring or zeroing can be action without stable indication
after pressing the key or
auto: Press key or , but it works only when get the stable
indication.
SET13
0-FF
weight memory parameter: on, off
On: display the last weight when powering on again
Off: do not display the last weight when powering on again
SET14
HILO
the kinds of checking: Qty.ck, Wt.ck
Qty.ck: start amount checking
Wt.ck: start weighing checking

17
SET15
RESET
parameter initialization
press key then key to start initialization. It is finished
when displaying OK.
CALIBRATION
Note: Before calibration, please set the capacity first. The unit used in
calibration is the one that has been set before. During the calibration
procedure, long press to return to normal weighing mode without
saving.
Here we take 3kg/0.2g as an example
1. Press and hold while powering on, not release it till the window
displays “CAL”
2. With no load on the weighing pan, press to start zero point calibration.
3. Wait till the window displays the first calibration value.
Note: The first calibration value is default. If the value has been changed, the
default value is 1/3 of full load.
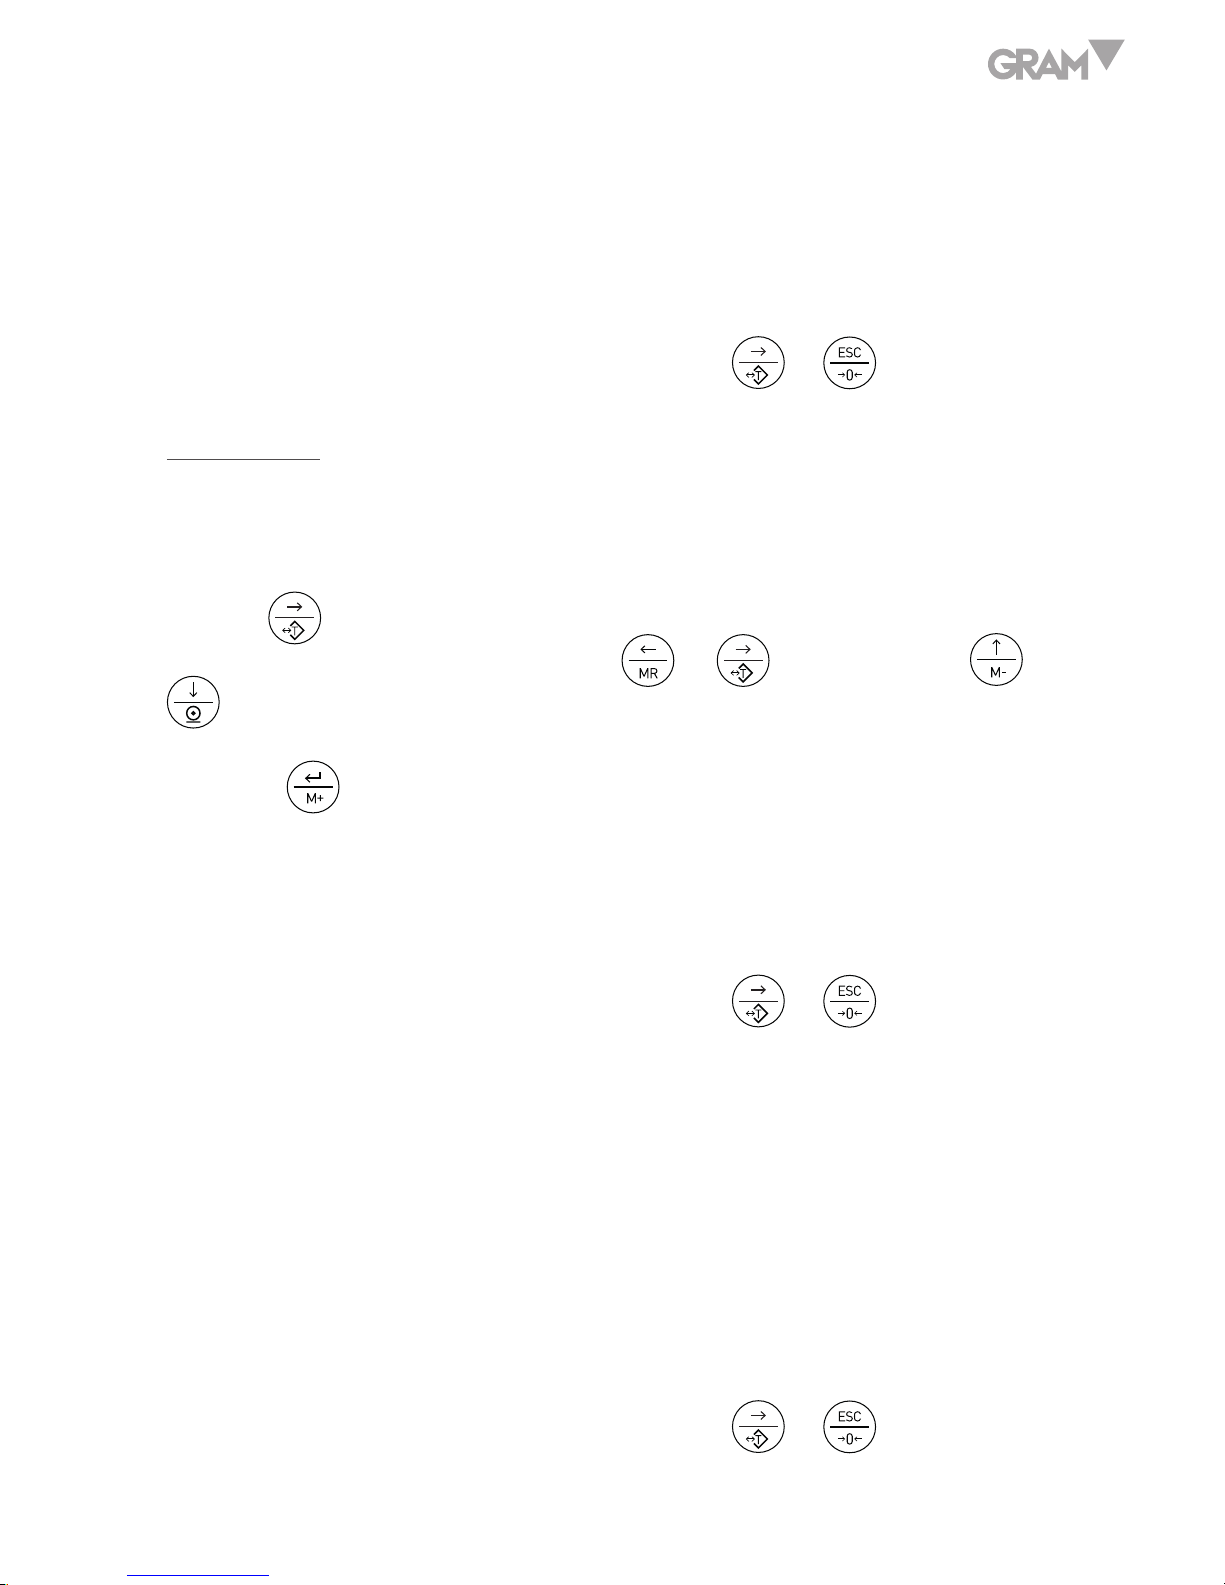
Note: If you need to change the value, do as the following: Press key
to enter the value setting. Press key or to move leftwards or
rightwards. Press key or to modify the value (or via numeric keys).
Press key to save.
4. Put the corresponding weight on the weighing pan, and then press to
complete the first point calibration.
18
Note: After the first point calibration, the window can display the weight
value. If no need for the other point calibration, move to Step 6 to finish the
calibration procedure.
5. Add another weight 500g to the current weight. The window will show the
total weights value. Press to complete.
Repeat this step to complete the calibrations of on3, on4 and on5.
6. Press to save. After the window displays “
PASS
”, It will return to
normal weighing mode.
Note: the window displays
PASS
automatically when on5 is finished. It will
be saved and return to the normal weighing.
OPERATION
Weighing
Put item to be weighed on the scale. The Weight window shows 1.00kg (Gross
Weight).
Tare
When weighing a sample that must be held in a container, tare and store the
container weight into memory.
1. Under the weighing mode, put the container on the scale.
Press the key to complete tare action.
The symbol appears and the window displays as shown on the right
19
2. Put the item into the container, then the window displays the net weight.
3. Clear the pan. The window displays the taring weight, that is the weight
of container.
4. To cancel tare action, clear the pan and press or
Preset Tare
Method 1:
1. Press for three seconds, it enters to preset tare setting.
Preset-tare value setting: Press key or to shift and key or
to to modify the value (or via numeric keys).
Press key to save and return to weighing mode.
2. Put the items into the container and the weight of container will be tared
automatically from the total weight.
3. To cancel tare action, clear the pan and press or
Method 2:
1. Enter the tare value by pressing the numeric botton, the screen will show
the tare value,then press
2.Put the items into the container and the weight of container will be tared
automatically from the total weight.
3. To cancel tare action, clear the pan and press or
20
Checking function
Upper weight limit
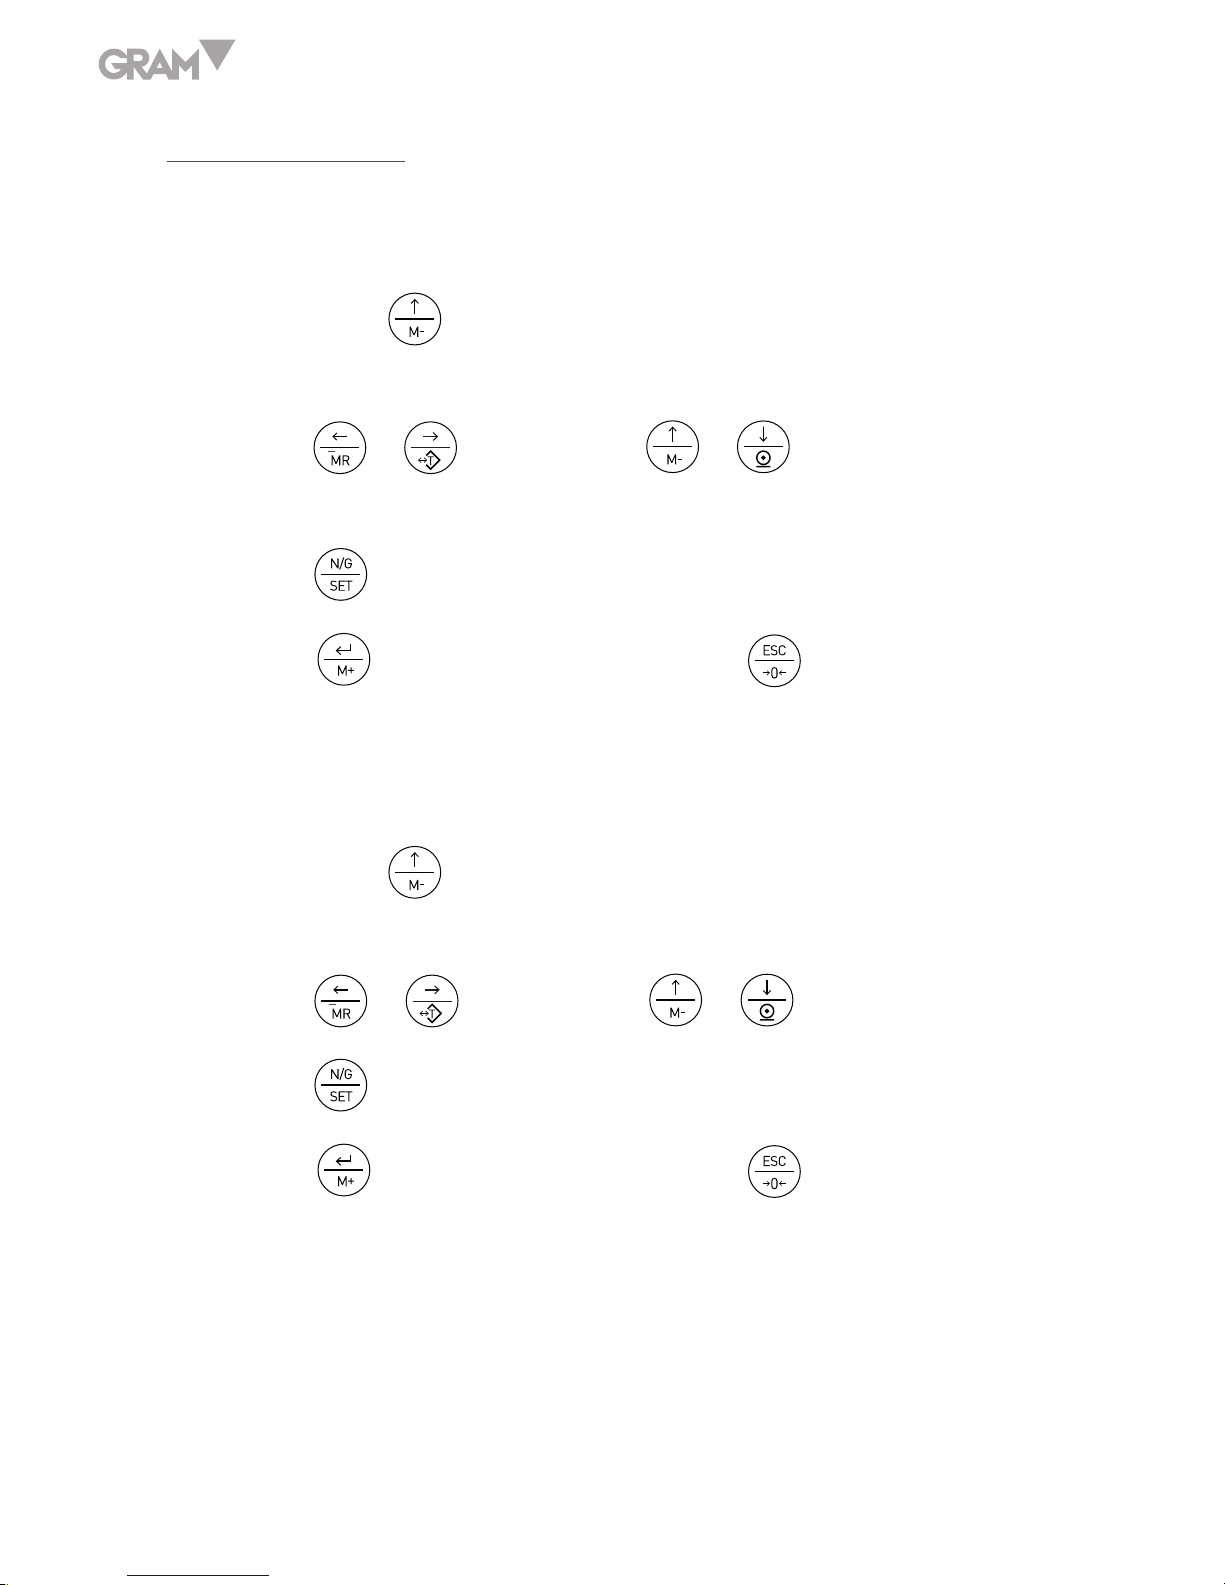
1. Long press key under the weighing mode. The number leftmost is
blinking.
2. Press key
or to shift and key or to modify the value (or
via numeric keys)
3. Press key to start or close weighing checking
4. Press key to confirm and save. Press key to return to weighing
mode without saving.
Lower limit weight
1. Long press key under the weighing mode. The number leftmost is
blinking.
2. Press key
or to shift and key or to modify the value.
3. Press key to start or close weighing checking.
4. Press key to confirm and save. Press key to return to weighing
mode without saving.
Put the sample on the weighing pan.
HI indication appears, when the item on the weighing pan is greater than the
upper limit
21
OK indication appears, when the item on the weighing pan is between upper
and lower limits.
LO indication appears, when the item on the weighing pan is smaller than
lower limit
Note: the item on the weighing pan should be more than or equal to 20e.
When changing the Hi-Lo value, the scale will activate the weighing checking
function automatically. If the Lo value is higher than Hi value, then the Hi
value will become the same value as Lo data.
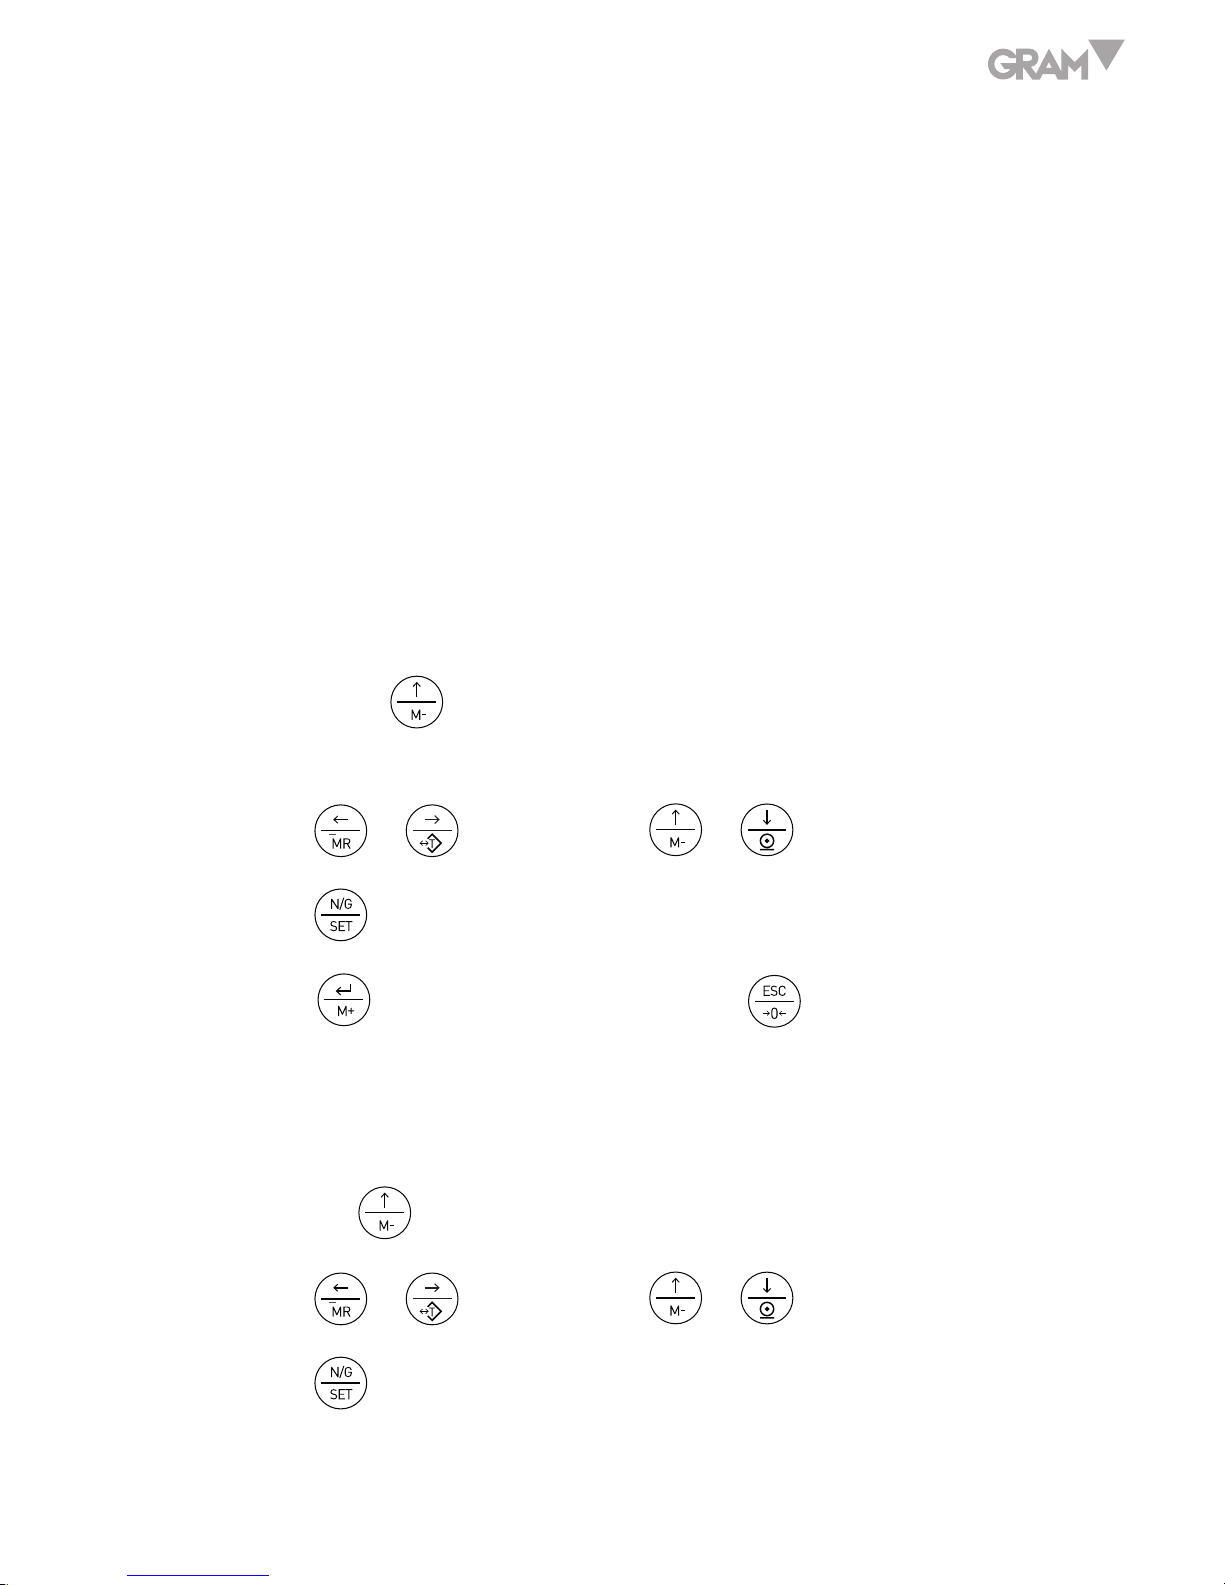
Upper Quantity Limit
1. Long press key under the weighing mode, the number leftmost is
blinking.
2. Press key
or to shift and key or to modify the value.
3. Press key to start or close weighing checking.
4. Press key to confirm and save. Press key to return to weighing
mode without saving.
Lower Quantity Limit
1. Long press key under the weighing mode. The number leftmost is blinking.
2. Press key
or to shift and key or to modify the value.
3. Press key to start or close weighing checking.

22
4. Press key to confirm and save. Press key to return to weighing
mode without saving.
Put the sample on the weighing pan.
HI indication appears, when the item on the weighing pan is greater than the
upper limit
OK indication appears, when the item on the weighing pan is between upper
and lower limits.
LO indication appears, when the item on the weighing pan is smaller than
lower limit
Note: the item on the weighing pan should be more than or equal to 20e.
When changing the Hi-Lo value, the scale will activate the weighing checking
function automatically. If the Lo value is higher than Hi value, then the Hi
value will become the same value as Lo data.
Basic counting
Entering a Known Unit Weight
1. Under the weighing mode, use the numeric keys together with key to
input unit weight value, and then press .
2. Put the items on the weighing pan , the scale starts counting.
Note: Symbol “ ” points at “UW” when entered unit weight is lower than 4/5
of scale division.
Unit weight Memory
1. When there is one unit weight on the screen, and press key.
23
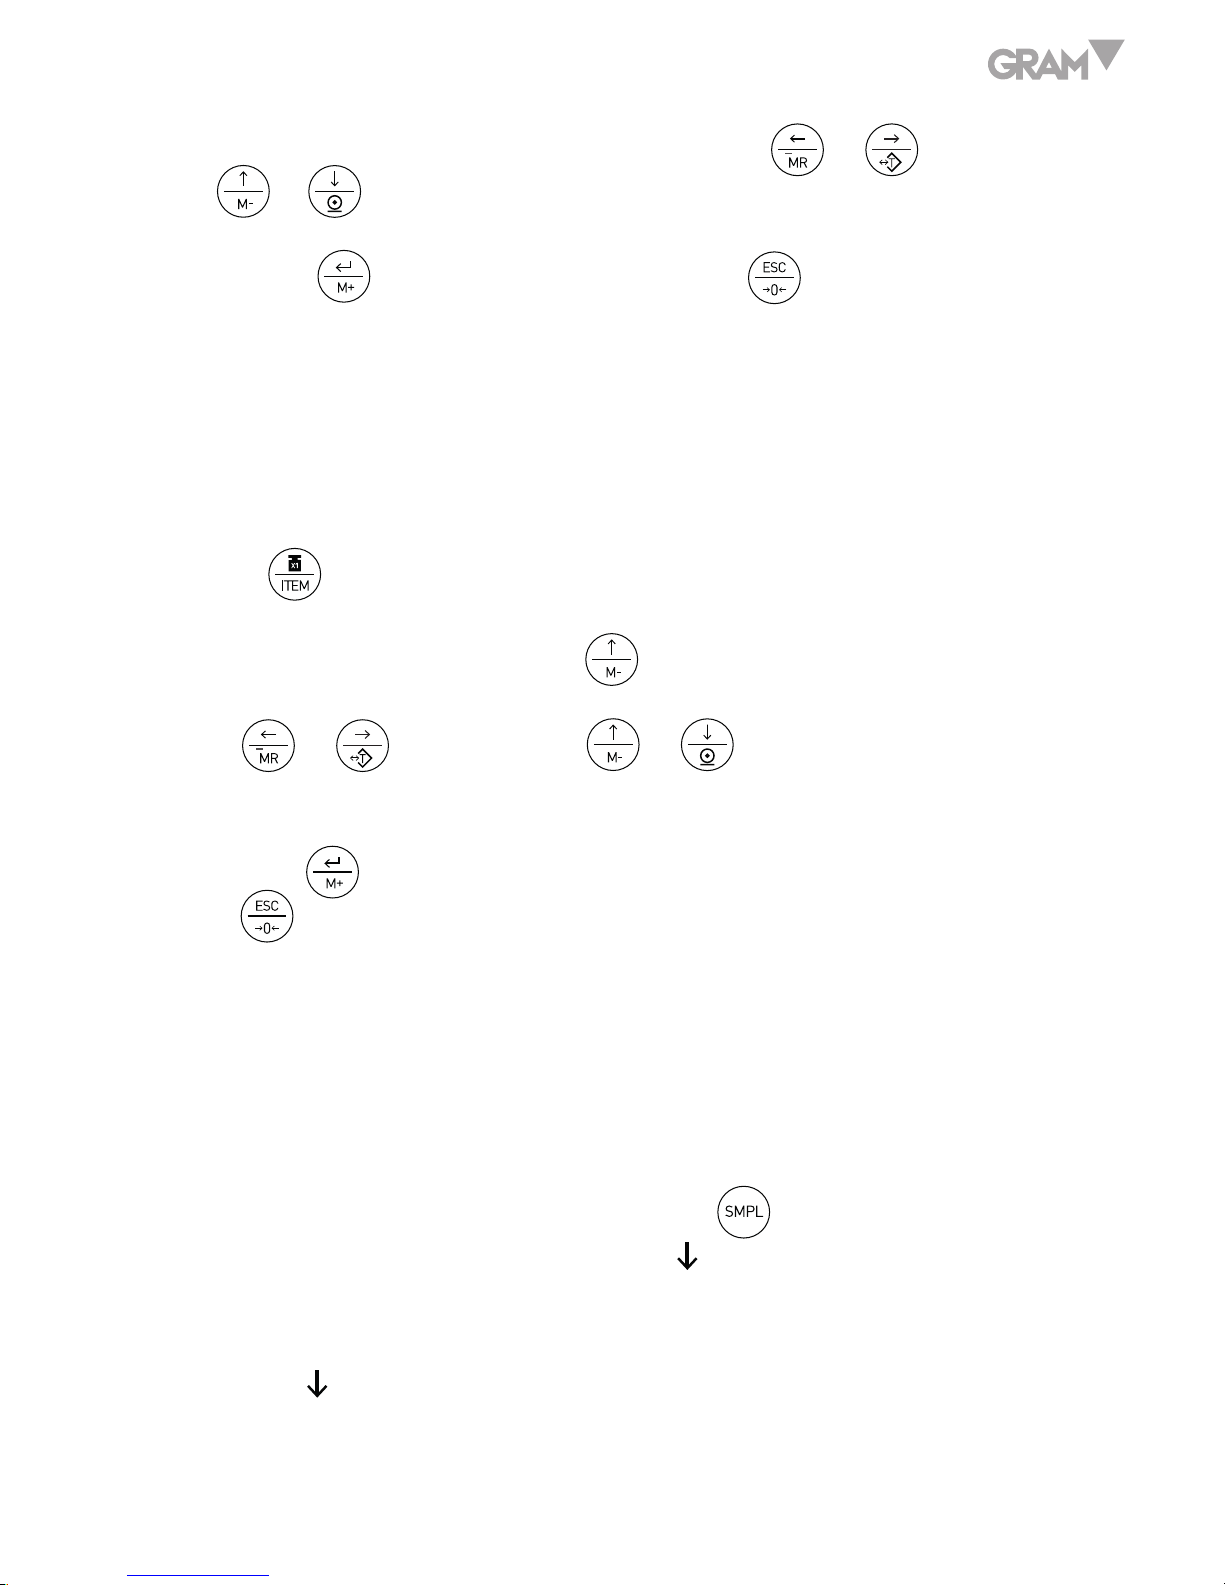
2. Then enter a number for each unit weight. Use
or key to shift
and or key to modify the value (or via numeric keys).
3. Press key to confirm and save. Press key to return to weighing
mode without saving.
Note: the maximum unit weight memory could up to 20pcs (00-19).
Unit weight Calling-out
1. Press key. The window displays as shown on the right
2. Input the number of unit (Press to clear the value in the unit price
screen firstly)..weight.
Press
or key to shift and or key to modify the value (or
via numeric keys).
3. Press key to confirm called-out weight and return to the weighing mode.
Press key to exit and return to weighing mode.
Sample Counting and ACAL
Sample Counting
1. Place samples onto the weighing pan (or into a tared container) and input
the quantity with numeric keys, then press key .
The unit weight is calculated, with Symbol “ ” pointing at “ACAI”.
Note:
)The larger the sample size, the more accurate unit weight.
)Symbol “ ” points at “SMPL” when calculated unit weight is lower than
)4/5 of scale division or the quantity of sample is less than 10 pieces.

24
2. Remove the samples and put the load on, the scale begins to count.
3. Press key to exit and return to the weighing mode.
ACAI
Automatic Counting Accuracy Improvement (ACAI) results in a more
accurate count by increasing the reference weight without the need to
count additional parts. A higher reference weight is important when there
is a risk of inconsistent piece weights or if the reference weight is close to
the minimum. ACAI uses an initial averaging unit weight to count additional
pieces that are placed on the scale. After a few seconds, the scale gives a
beep as the new higher reference weight is used to recalculate the averaging
unit weight. The process can be repeated as long as the additional weight is
less than the previous reference weight. Once this limit is exceeded, ACAI is
turned off.
Manual ACAI closing: ACAI acts automatically after sampling when ACAI
indication appears.
Long press key to turn off ACAI when ACAI indication disappears. ACAI
re-acts when sampling again.
25
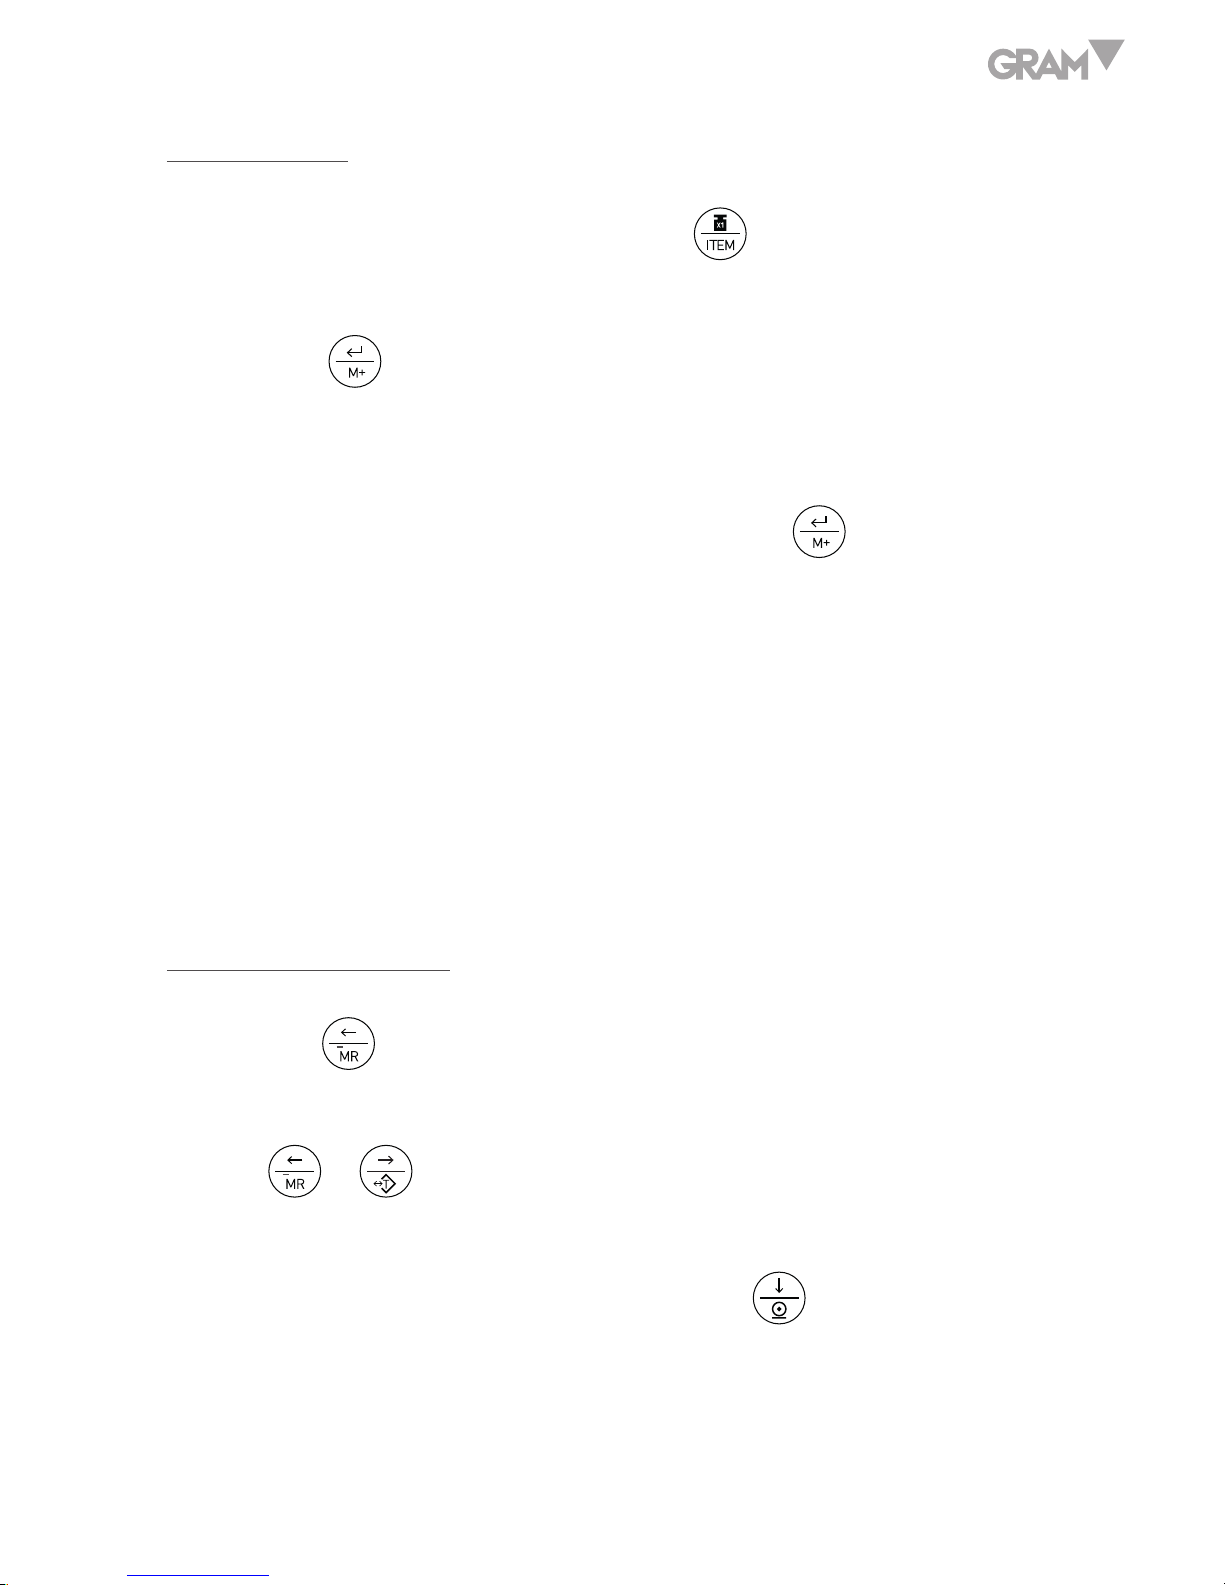
Accumulation
1. Enter the indicated unit weight, press key and put first piece of load
on the weighing pan (or into a tared container). (Refer to 7-4-1 and 7-4-2)
2. Press key , the first accumulation event is displayed momentarily
before Symbol “ ” pointing at “M+”. The display reverts to normal
weighing mode in a second .Remove the first piece
3. Put the second piece of load on, and then press key to add the second
accumulation event into memory. Repeat step 2-3 till accumulation actions
are finished.
Note: Maximum is 99 pieces. It is able to calculate the second deal when
returning to zero after the first one under the condition of more than (or equal
to) 20d with stability. Minus weight and gross weight can’t be accumulated.
After resetting the sample value or unit weight, the quantity accumulated
will be adjusted automatically according to the new setting value.
Accumulation display
1. Press key
to displays the total accumulation data (weight, quantity
and number of weighments)
2. Press
or key to check the total events and
the first 10 accumulation events in detail.
3. When connecting PC, printer DMP or CK, press to output the events
Note: T XX=total accumulation events) K XX=the single accumulation

26
Accumulation clear
To clear the total accumulation data or the first 10 accumulation events,
press key
or to shift the events and then press key to clear.
Symbol “ ” disappears when the total accumulation data is deleted.
Step 1
Press key while powering on or long press key
in the weighing mode to enter parameter setting. Press
key
or to circle the parameters and select SET08
PERI
)
Step 2
Press to enter the external equipment choosing.
Press key
or to select the type of printers.
Press to start initialization. The window of unit
weight displays the type of printer. And the window of total
amount displays UNSU or init))
Step 3
When UNSUP appears, it means the printer can’t be
initialized. Press key
to return to the printer choosing. It needs to be initialized
when init? appears. Press key to start initialization
or press key to return to the printer choosing without
initialization. It displays ok when initialization is finished
and shows the type of printer after one second. Go further
to other parameter setting or press key
to return to weighing mode.
27
THE CONTROL FROM PC TO SCALE (OPTIONAL)
Step 1 Connect the indicator and computer.
Step 2
Open the serial port to modify. Input the letters Z, T, C , R
and P in the sending window and press key Send again.
The scale can conduct the responding function. Z= Zero,
T=Tare, R and P=Printer, C=Cancel Tare.
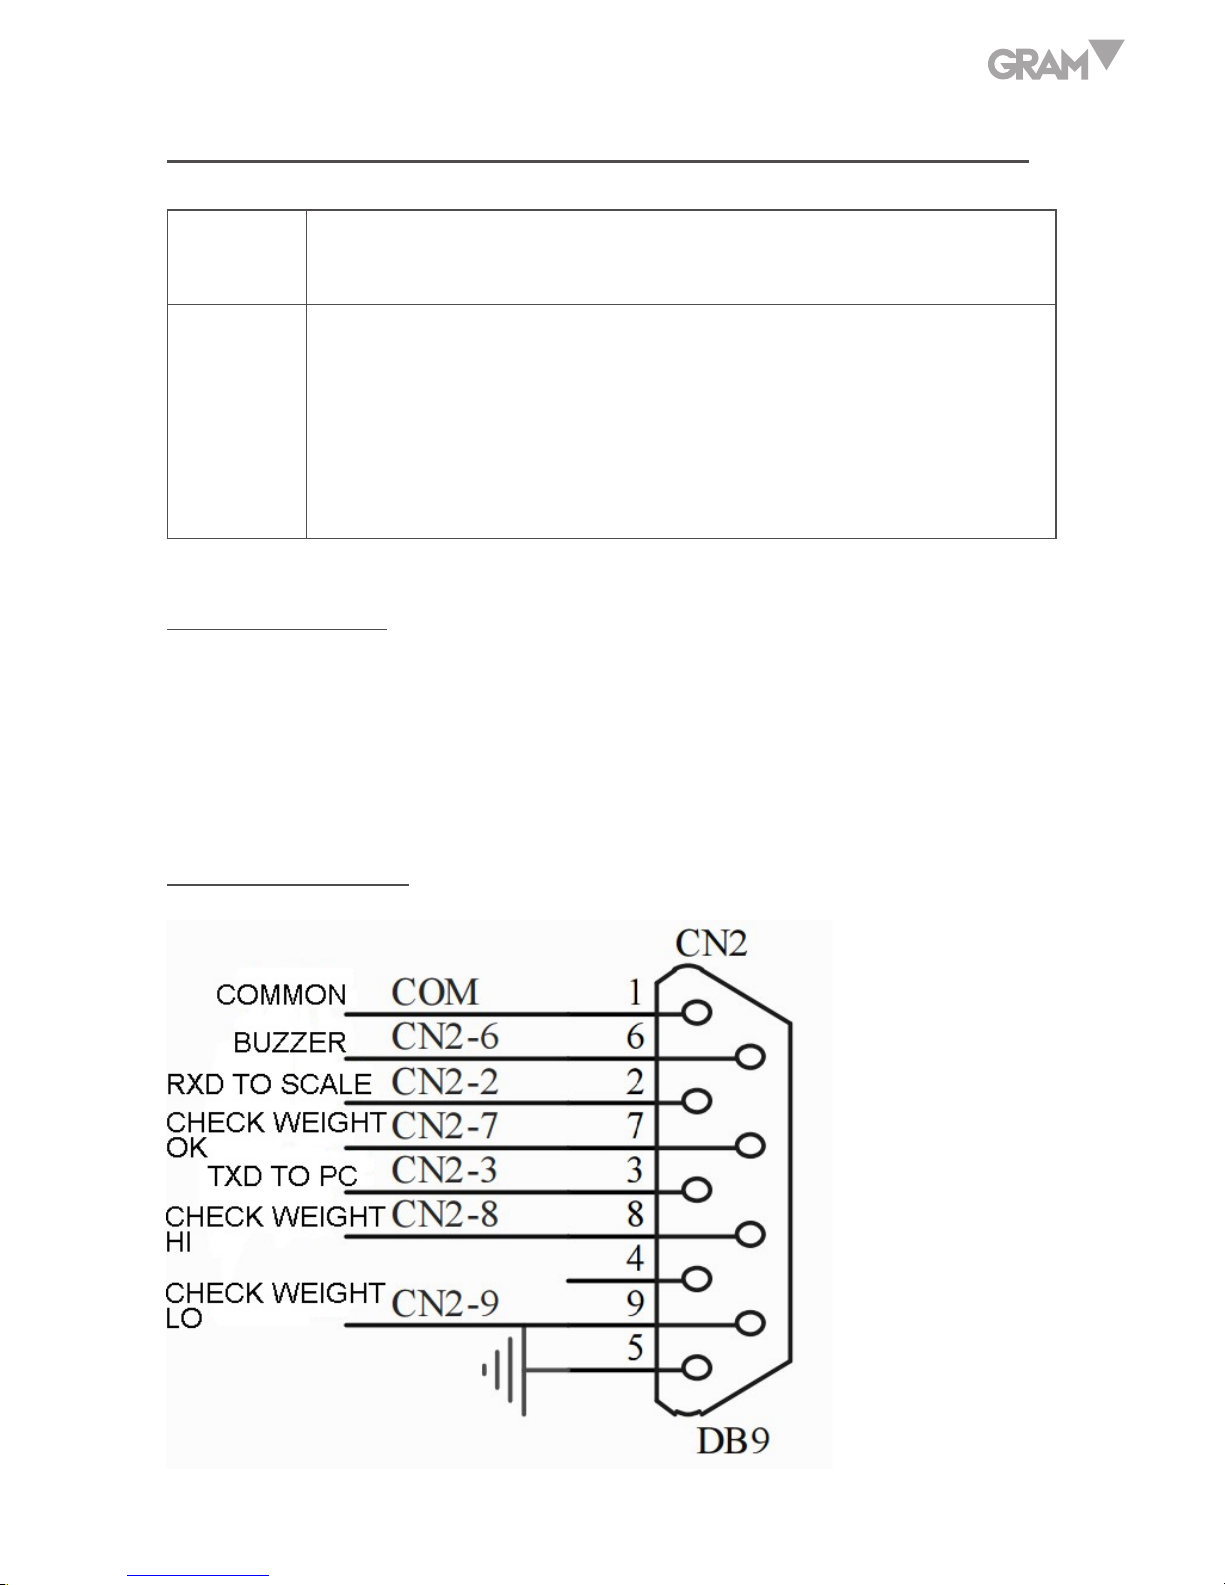
Serial Interface
If external interface is needed, please select the proper RS 232 board firstly,
and only when this board is adopted, the functions can be enabled.
Note: RTC is unavailable.
RS-232 connector
28
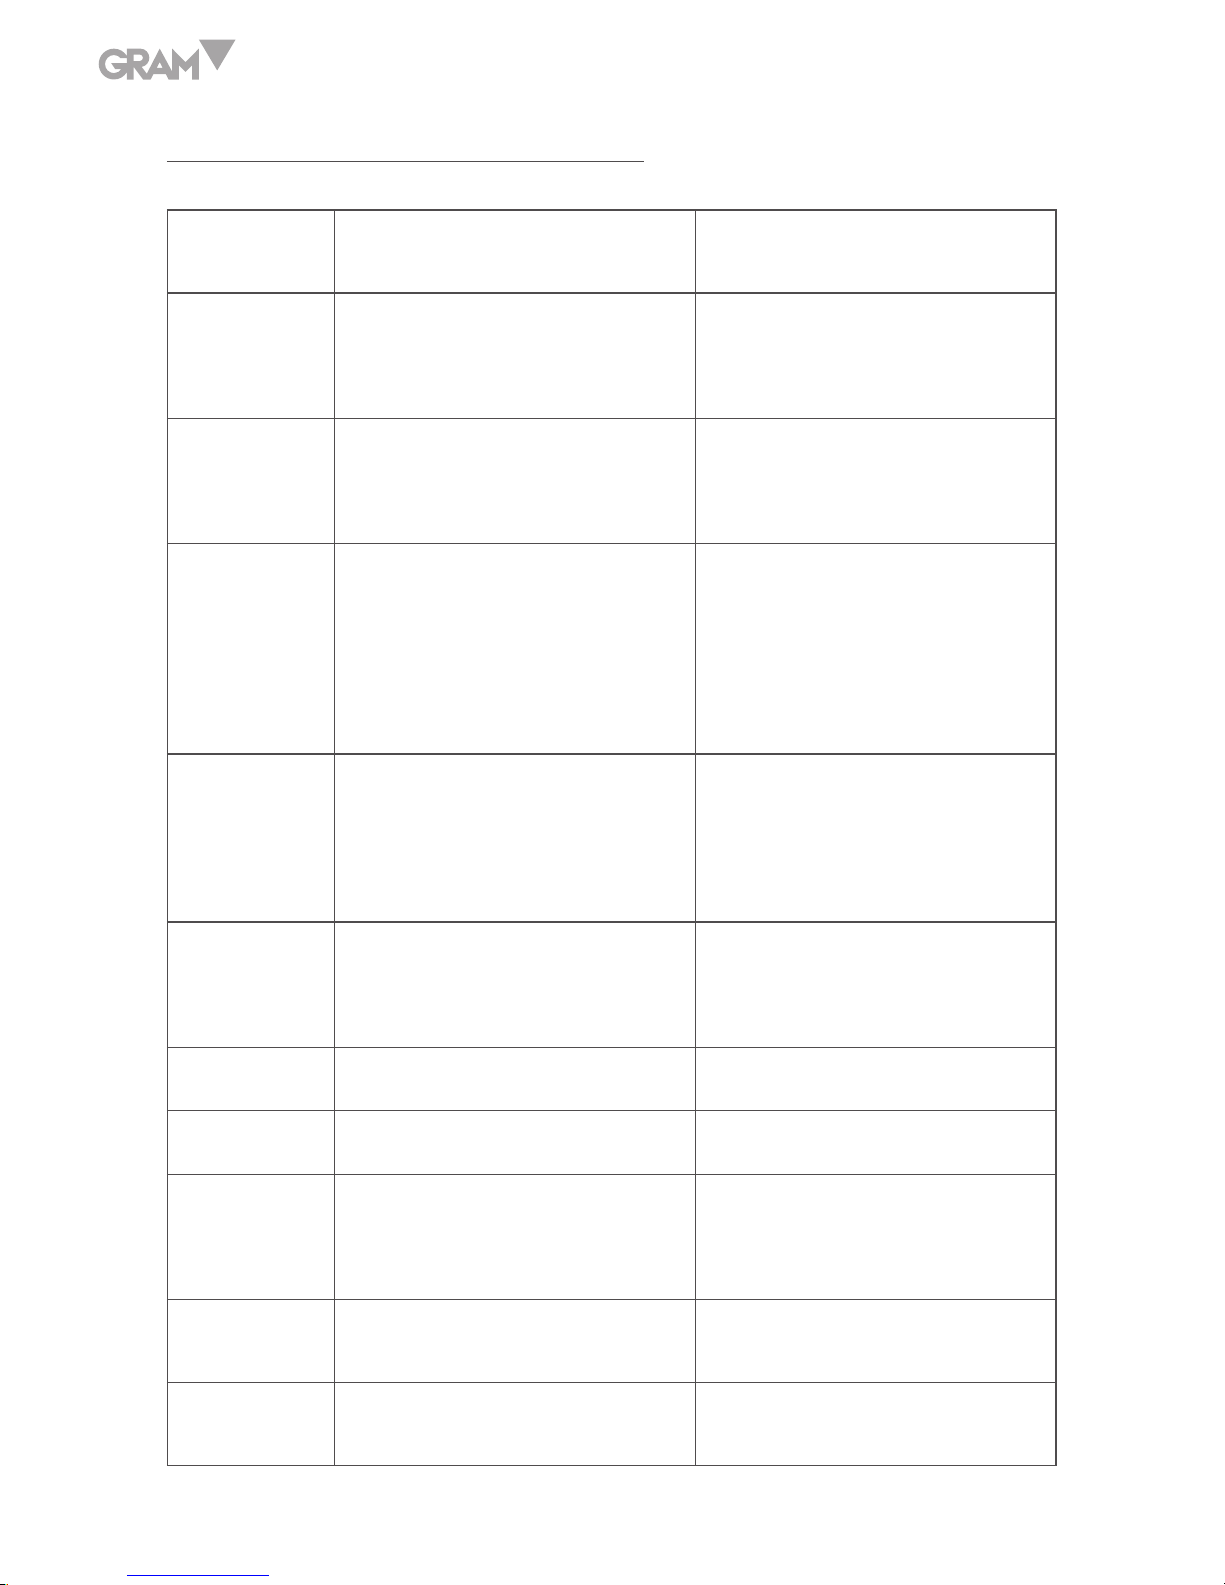
Troubleshooting and Error message
Error
Message
Problem Solution
ERR0 Exceed the zero range
The item on the pan
should be within 2﹪ of
full load.
ERR1
Model setting error.
Resolution should be
within 300-300000
Adjust or reset the
capacity first then adjust
resolution
ERR2
Initial zero point exceeds
30﹪ of full load
1.Remove the obstacle
article under the pan
2.Replace the load cell or
contact the maintenance
department.
ERR3
Exceed the A/D resolution
range
1. Replace A/D
2..Replace the load cell or
contact the maintenance
department.
ERR4 EEPROM Chksum failure
Re-weld EEPROM or
contact the maintenance
department.
ERR5 Overload condition Remove the overload item
ERR6 Exceeds the display range ----------------------------
ERR7
Accumulated number of
weighments exceeds the
display range
Delete the exceeding
weights
ERR8
Weight limit value is higher
than the full load value
Reset the weight limit value.
ERR9
Exceed tare or pre-tare
range
0<Tare value≤ full load

29
ERR10 Wrong calibration weights
Place the right test weights
and the calibration value
should be below full load.
EXPORTING DATA TO PC IN THE FORM OF EXCEL
Introduction
Connect the scale with PC and set the parameter of external device as
“EXCEL” on the scale, then you could export the weighing data to PC in the
form of EXCEL. With this function, you could record/accumulate/average/
data statistical analysis the testing data, which we could call it as scale-
computer data management function.
Note: pls enable “Use Serial Keys” function in the computer.
Hardware connection and settings
1. Use transmitting serial wire or USB wire to connect scale and pc.
Note: pls install usb driver first, if you use usb wire.
2. Parameter settings in scale:
“PERI” = “EXCEL” (external device)
“BAUD” = “2400”/”4800”/”9600” (baud rate)
“PRT.M”= “KEY”/”STABLE” (printing model)
“PRT.F” = “PRT.F01” (printing format)
30
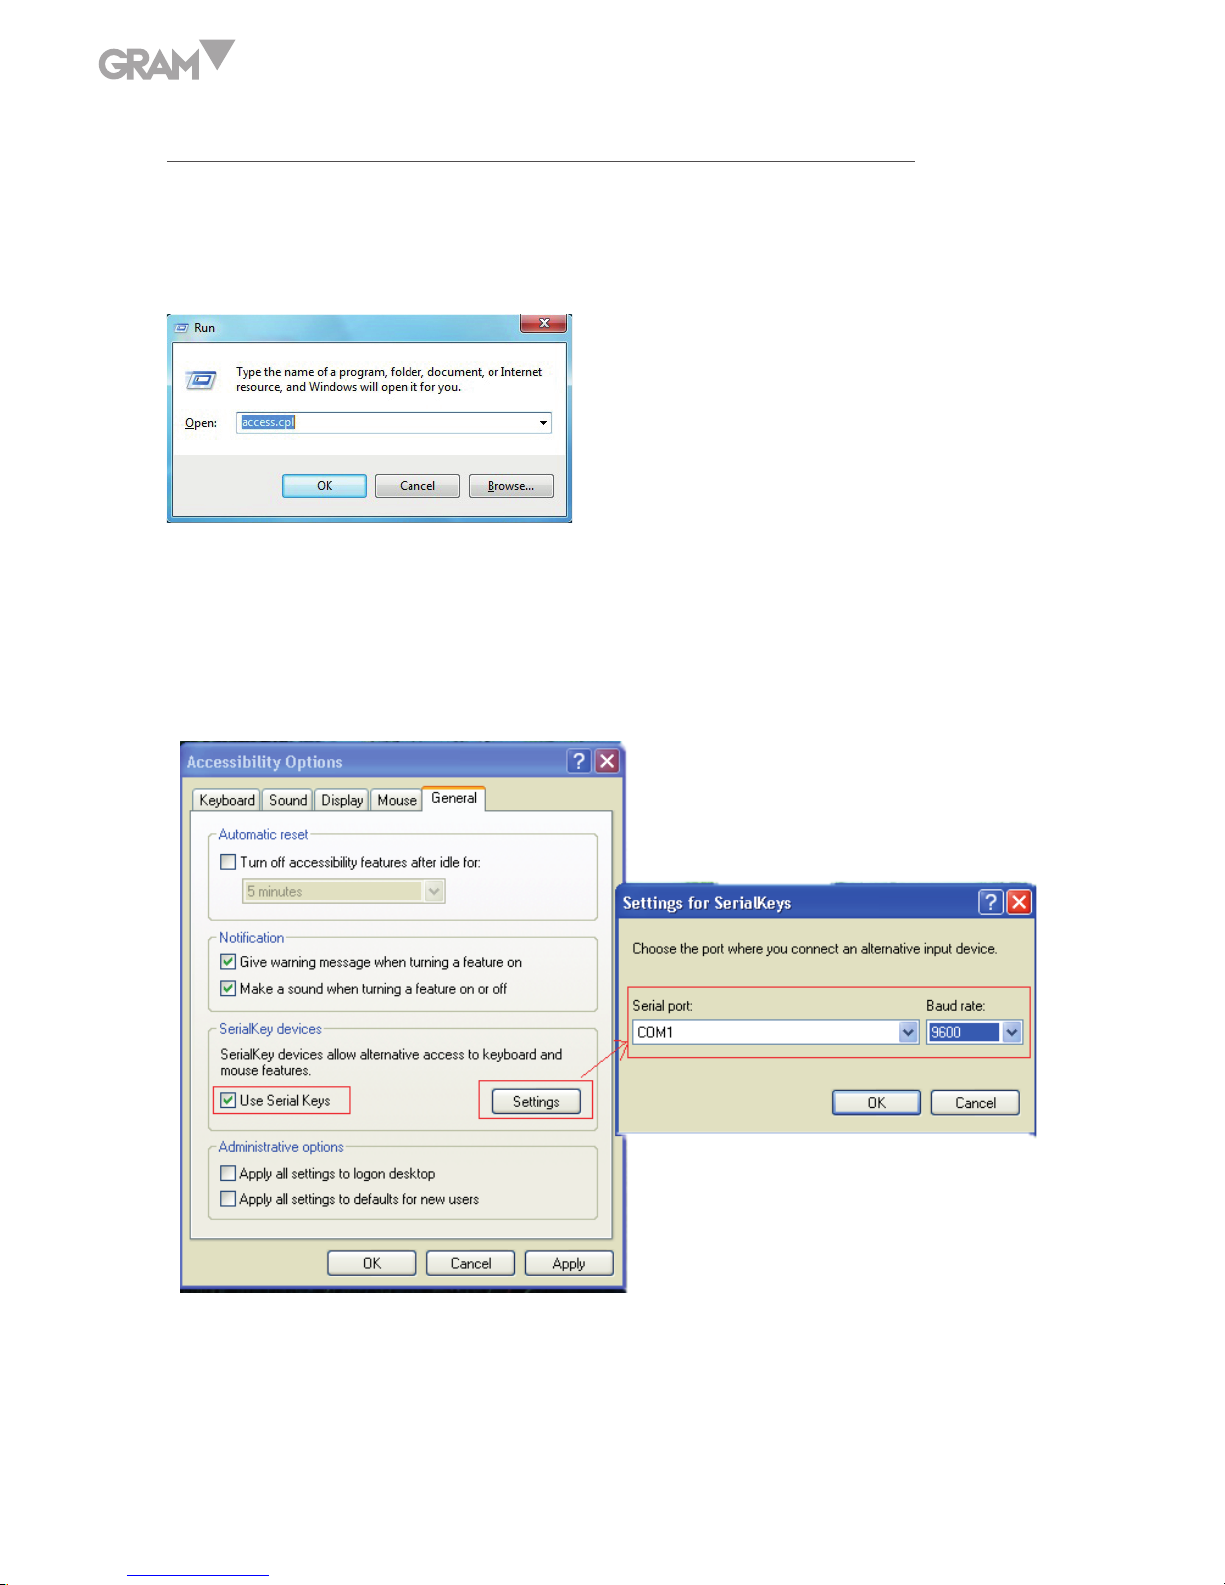
Enable the function of “Use Serial Keys” in the computer
Set Windows XP as a example:
1. Press “Start” ->”Run”, and enter “access.cpl” ->”OK”.
2. In the dialog box ”Accessibility Options”, enter General option, choose
“Use Serial Keys” and press “Settings”.
In the dialog box ”Settings for SerialKeys” , set the corresponding Serial port
and Baud rate, which should be same as Baud rate in scale.
3. Test if Serial Keys works well.
Open a Text Document, and press the Print buotton on the scale. The Serial
Keys works well, if pc exports the weighing data to Text.
 Loading...