

Gram Precision K2N Series, K2EN Series Operation Manual
SERIES / SERIE / SÉRIE / SERIEN
K2N / K2EN
OPERATION MANUAL
MANUAL DE UTILIZACION
MANUEL D´UTILISATION
BENUTZERHANDBUCH
2
INDEX English
Specifications 6
Power 6
Before using 6
System power consumption 7
Connect the loadcell to the indicator 7
Display description 8
Basic function operation 8
Basic parameter setting 10
A/D count 10
High / Low limits setting 10
Auto-power off 11
Backlight setting 11
HOLD function 12
RS-232 Output 12
RS232 Baud rate 12
Communication Protocol 13
RS-232 Speed setting 16
Zero average 16
G Value setting 16
Advanced function setting 16
Check weighing (SPAN) 17
Zero Calibration 17
Guarantee 18

3
ÍNDICE Español
Especificaciones 19
Alimentación 19
Antes de su utilización 19
Consumo 20
Conexión de la célula de carga al indicador 20
Descripción del display 21
Operación básica 21
Configuración de parámetros 23
Cuentas internas (A/D) 23
Configuración de los límites de peso (superior e inferior) 23
Auto desconexión automática 24
Configuración de la iluminación del display 24
Función HOLD 25
Salida de datos RS-232 25
RS232 Velocidad de transmisión 26
Protocolo de comunicación 26
Configuración de la velocidad RS-232 29
Promedio del cero 29
Configuración de la gravedad 29
Configuración de funciones avanzadas 30
Calibración de peso (SPAN) 30
Calibración de cero 30
Garantía 31
4
SOMMAIRE Français
Caractéristiques 32
Alimentation 32
Avant utilisation 32
Consommation 33
Connexion de la cellule de charge a l’indicateur 33
Description de l’écran 34
Fonctions de base 34
Configuration des paramètres 36
Compte A/D 36
Configuration des limites de poids (supérieure ou inférieure) 37
Auto-déconnexion automatique 37
Configuration de l’éclairage de l’écran 38
Fonction HOLD 38
Sortie de données RS-232 39
Vitesse de transmission RS232 39
Protocole de communication 39
Configuration de la vitesse RS-232 42
Moyenne du zéro 43
Configuration de la gravité 43
Configuration de fonctions avancées 43
Calibrage de poids (SPAN) 43
Calibrage du zéro 44
Activation de la fonction compte piece 44
Utilisation de la fonction compte piece 46
Fonction compte pieces 46
Introduction de l’échantillon pour compte-pièces 46
Garantie 47
5
INHALT Deutsch
Spezifikationen 48
Stromversorgung 48
Vor der benutzung 48
Verbrauch 49
Anschluss der wägezelle an das anzeigegerät 49
Beschreibung des displays 50
Grundfunktionen 50
Konfiguration der parameter 52
Interne Teilung (A/D) 52
Wägen mit Toleranzbereich (obere und untere Grenze) 53
Automatische Abschaltung 53
Konfiguration der Hintergrundbeleuchtung des Displays 54
Data-Hold Funktion 54
Datenausgang RS-232 55
RS232 Übertragungsgeschwindigkeit 55
Kommunikationsprotokoll 56
Konfiguration der Geschwindigkeit RS-232 58
Nullstellung 59
Konfiguration der Schwerkraft 59
Konfiguration der erweiterten funktionen 59
Gewichtskalibrierung (SPAN) 60
Nullpunktjustierung 60
Garantie 61

6
ENGLISH
SPECIFICATIONS
Accuracy: Class III
Loadcell sensitivity range: 1.5 ~ 3.0mV/V
Nonlinear: ≤ 0.01% F.S
System working voltage: DC: 5V
Division value: 1/2/5 auto setting
Large display connector: Sampling serial output way.
Sample rate: 20 times per second (can select)
Internal resolution: 300000~600000
POWER
Input: 120~240V
Output: 12V/1A
Rechargeable battery: 6V/4AH
BEFORE USING
1. Place this product on a firm and smooth place, don´t place it in vibration
or shaking, use bench for use on four only adjust foot, adjust the balance
using the bubble level.
2. Use independent source, avoid other electrical disturbance.
3. Don´t put any object on the platter when turn on the balance.
4. Please, turn on 2-3 minutes before using.
5. Avoid temperature change too large and air flow strenuous sites.
7
6. Don´t overload the balance, don´t exceed the maximal capacity.
SYSTEM POWER CONSUMPTION
Main system power consumption: About 12mA
Main system power consumption (with backlight): About 36mA
Main system power consumption (with backlight and RS-232): About 48mA
Battery life: None backlight, about 320 hours.
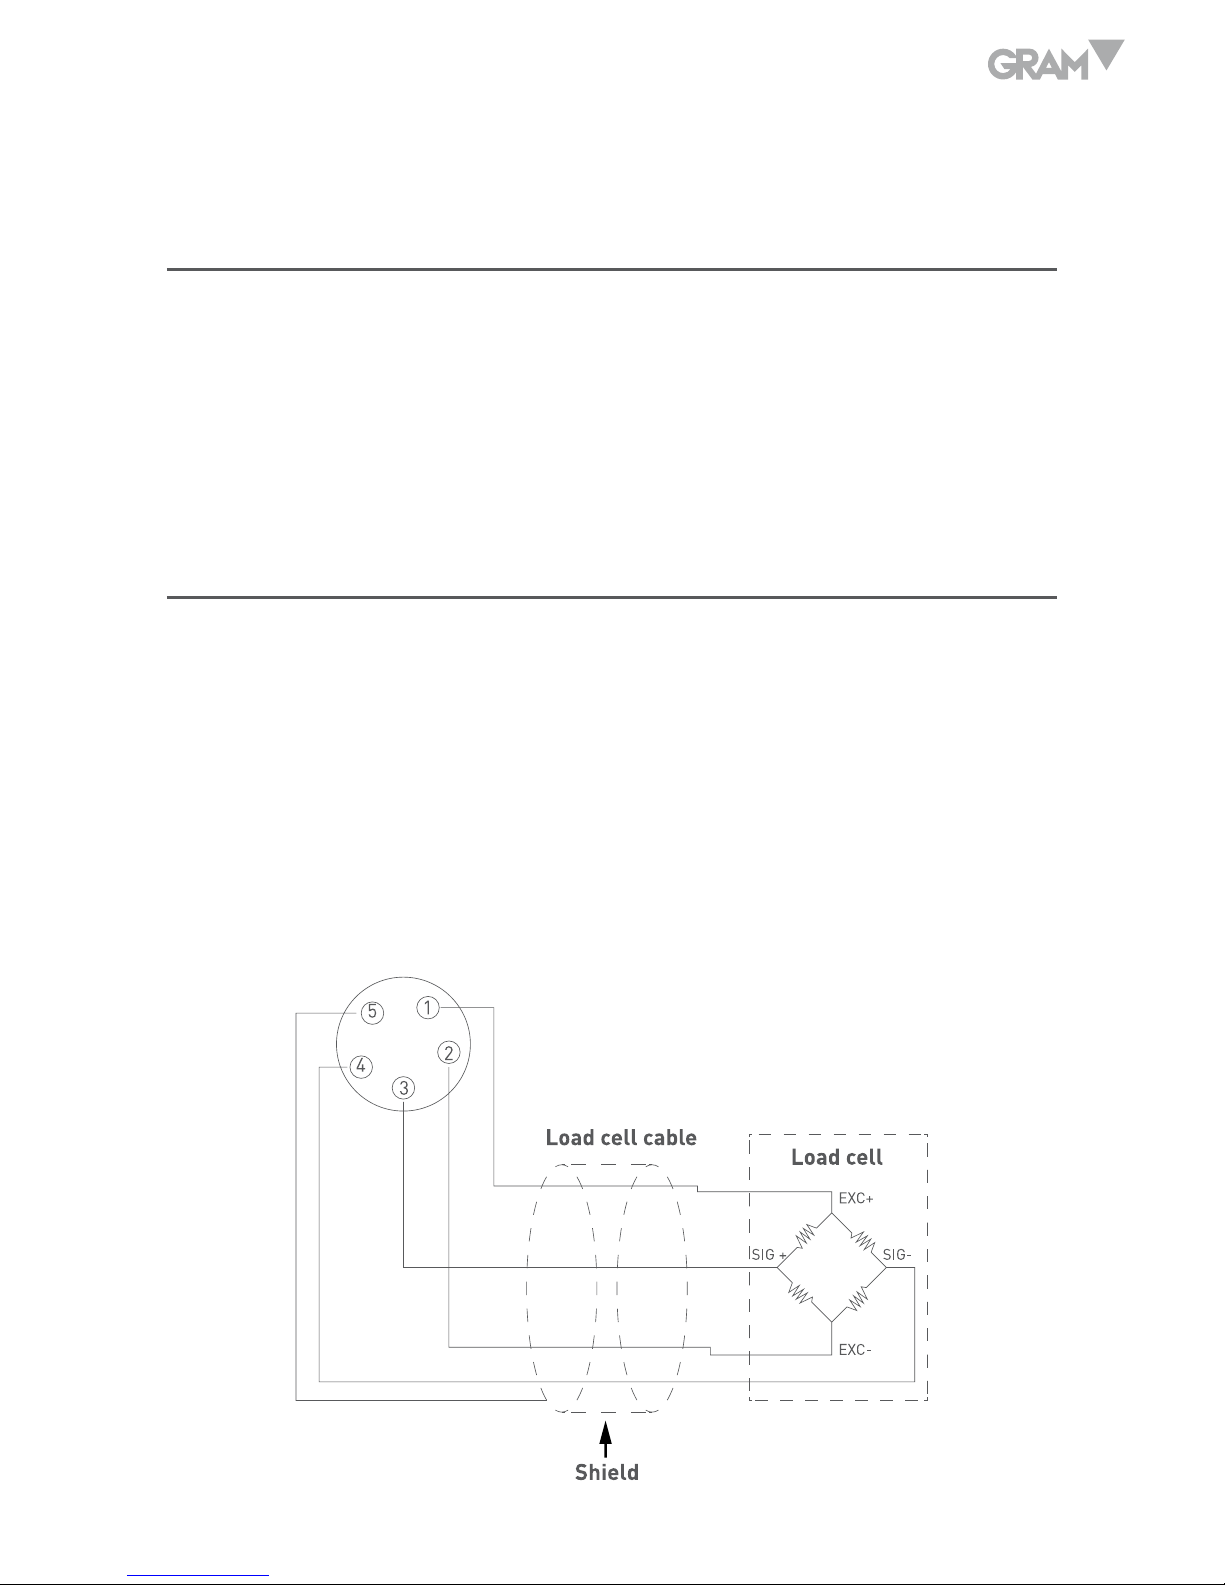
CONNECT THE LOADCELL TO THE INDICATOR
1. The loadcell connector is 5 pins.
2. When the indicator in power, it is forbidden that take off the loadcell
plug, if take off the plug, the indicator maybe be damaged.
3. It is forbidden that weld the indicator, when there is thunder storm,
please make solution for avoiding the thunder, in this way, it can protect
the safe of scales and stuff.
8
PIN 1: E+
PIN 2: E-
PIN 3: S+
PIN 4: S-
PIN 5: GND
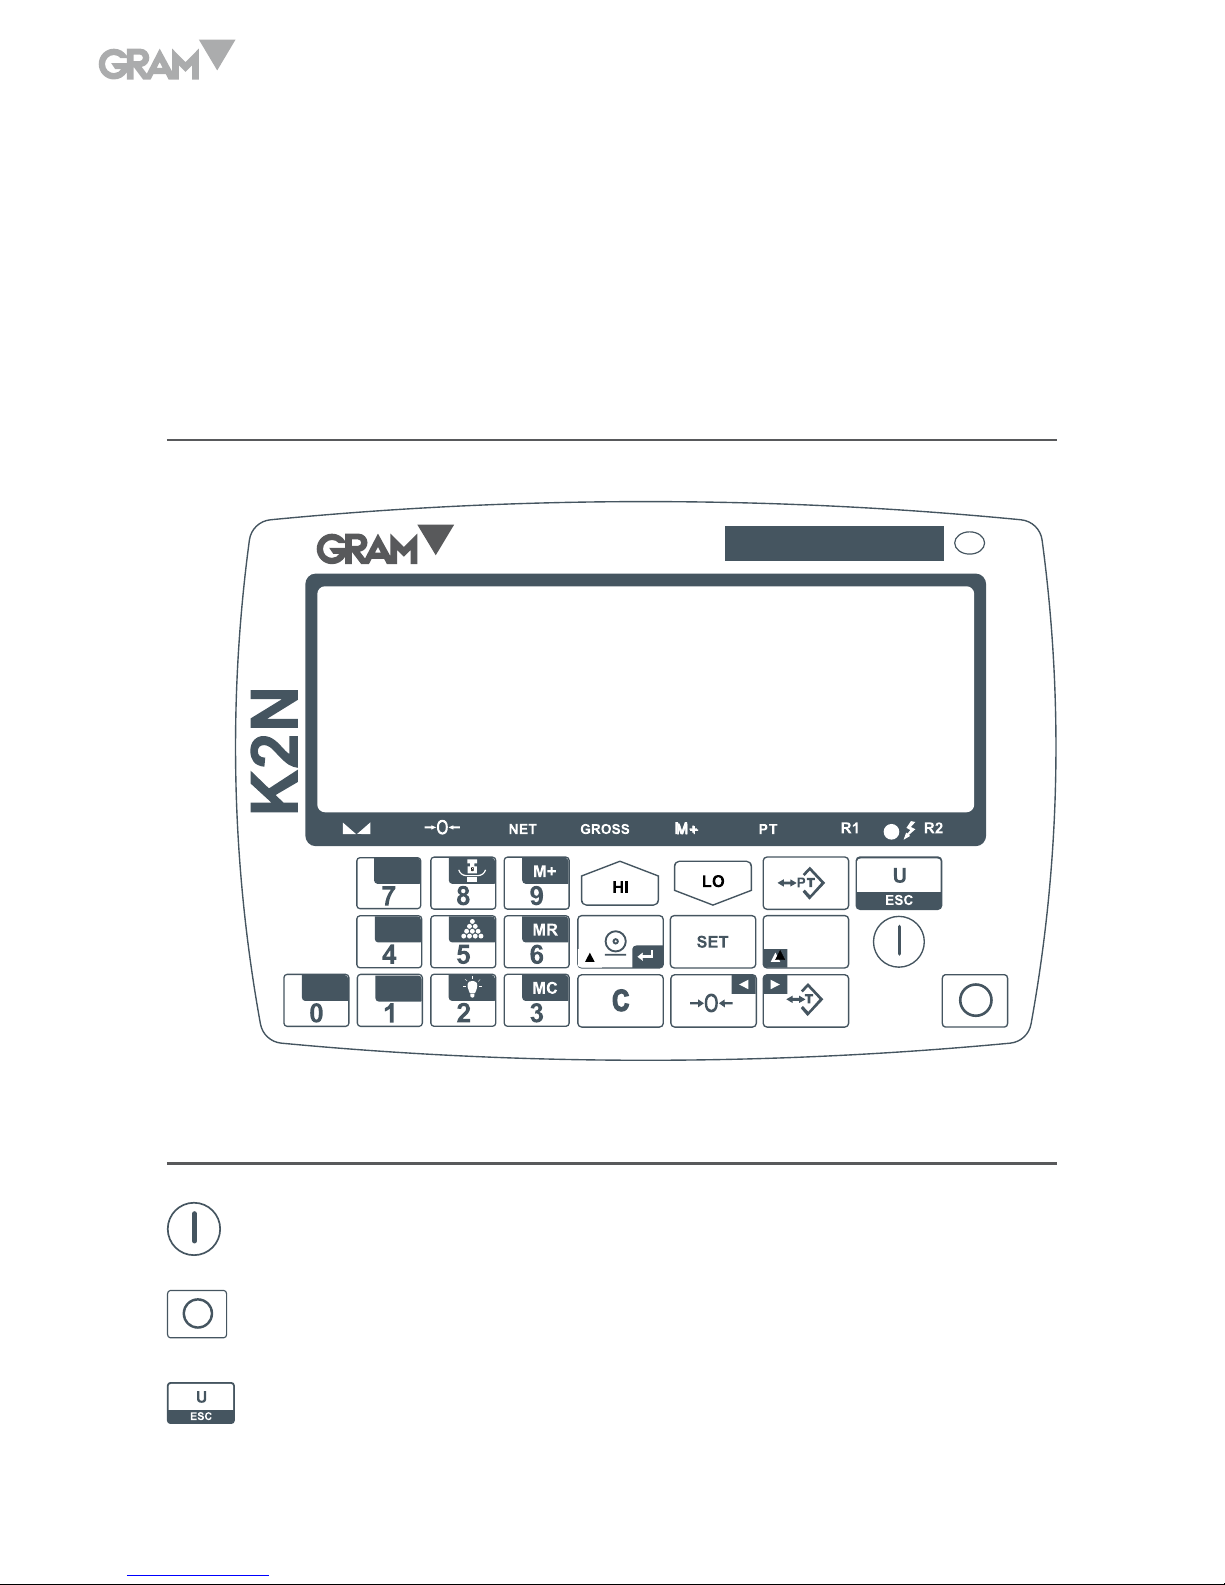
DISPLAY DESCRIPTION
III
N/G
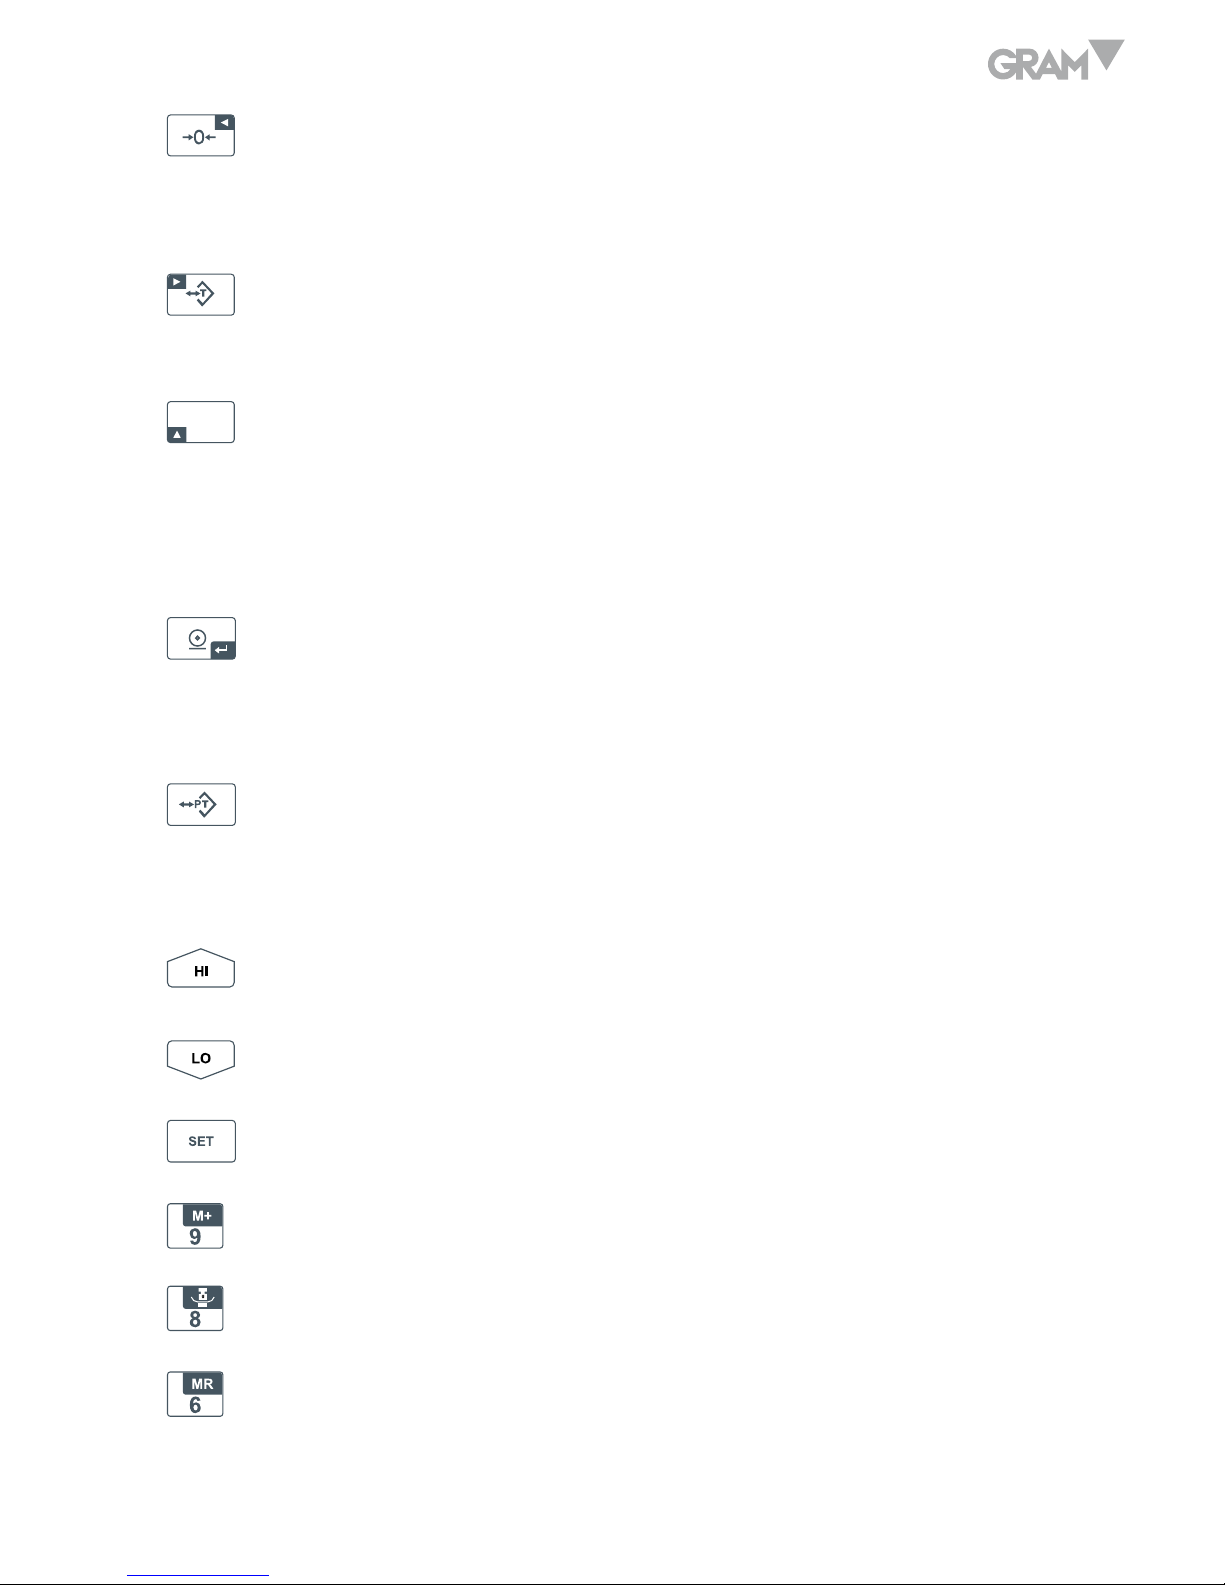
BASIC FUNCTION OPERATION
Press and hold this key for 2 seconds to turn off the balance.
Press this key to turn on the balance
Function 1. To select the desired weight unit.
Function 2. To exit from setup mode.
9
Function 1. To reset the weight to zero “0”, but the display value has to
be lower than ± 2% of maximum capacity.
Function 2. To move one space to the left or downward in setup mode.
Function 1. To subtract the container´s weight.
Function 2. To move one space to the right or upward in setup mode.
N/G
Function 1. To view gross or net weight when the balance is on tare
status. All other keys will be disabled when gross weight
is activated.
Function 2. To increase values upward in setup mode.
Function 1. Key of confirmation in setup mode.
Function 2. Manually transmitting data through RS232 to computer or
printer.
If you know the weight of the container, press this key and input the
container weight value, then put the goods into the container, the
display will show the net weight only.
To set the value of high limit
To set the value of low limit.
To program check weighing High / Low conditions (remark -)
To accumulate weights, the max of the weight times is 9999
To introduce sample value.
To recall accumulations
10
To enter in counting pieces function.
To view the total accumulation weighing
Backlight
To clear data
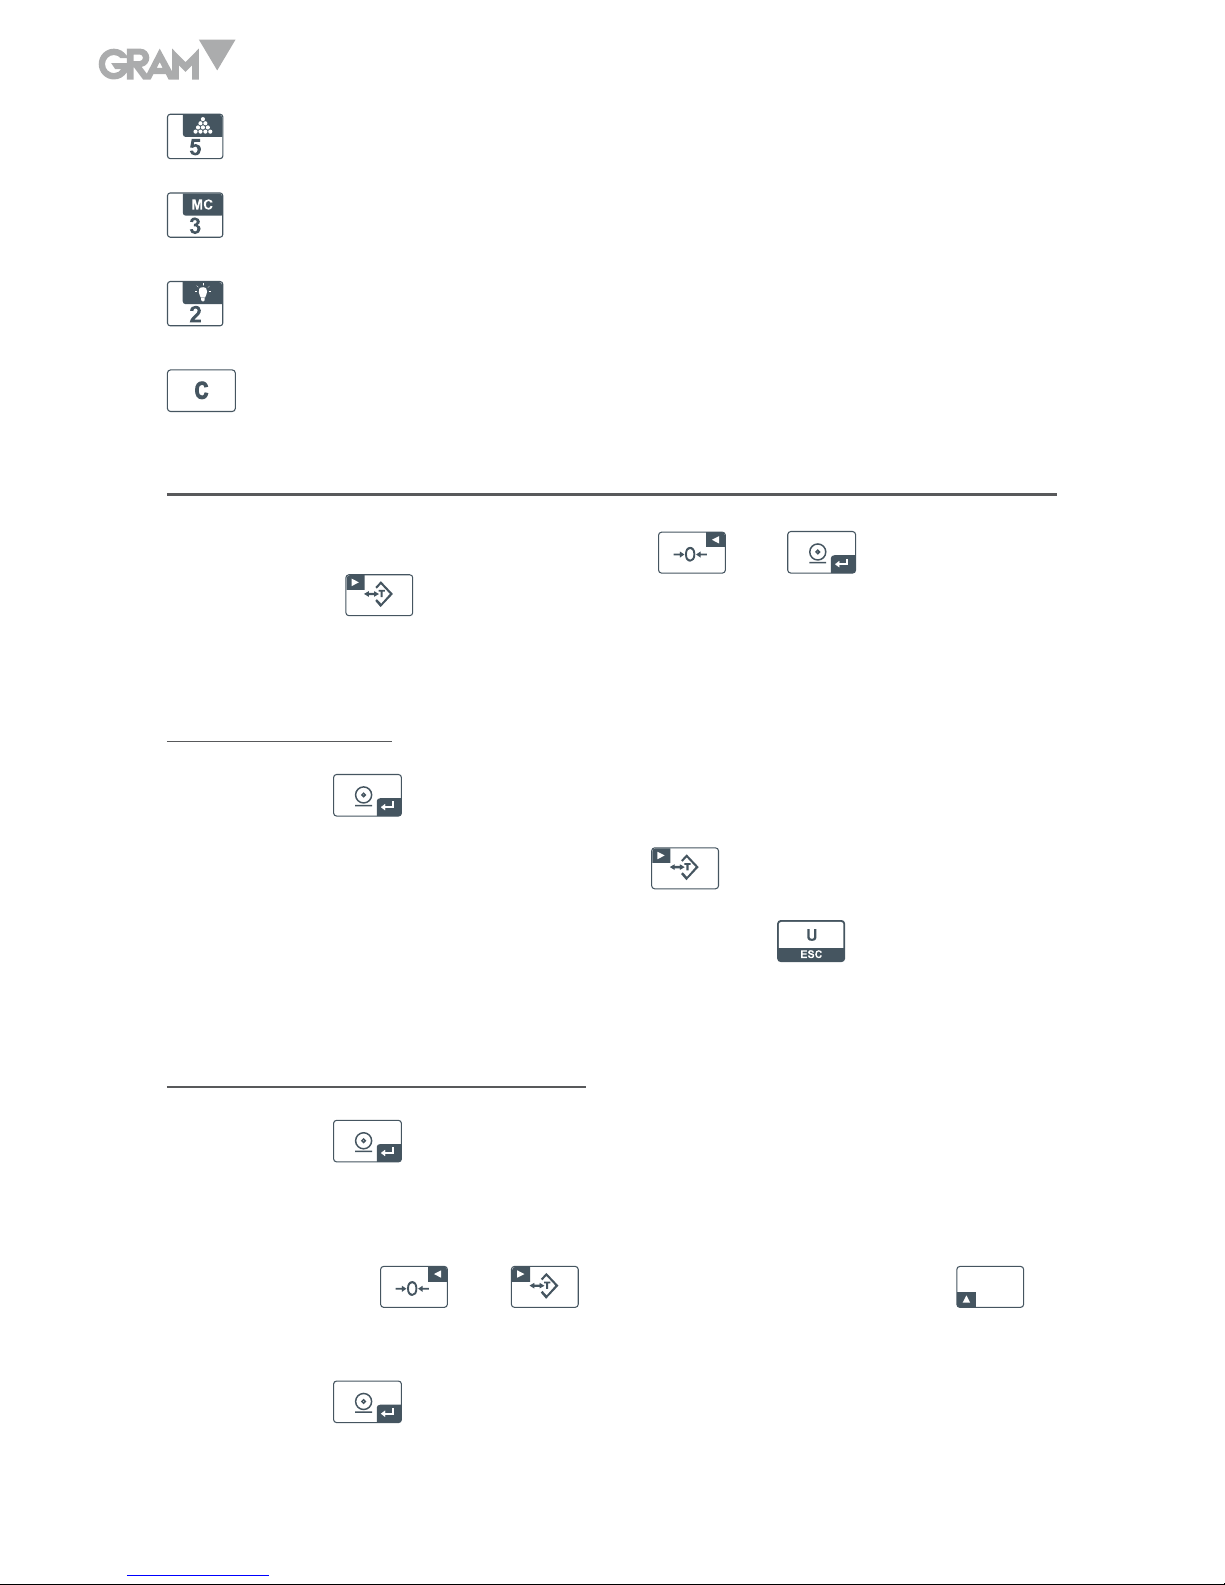
BASIC PARAMETER SETTING
To access to functions setting, press the
and
key at the same
time.Press the
to select the parameter (UF-1 ~ UF-9).
UF-1 A/D count
1. Press the
key to view the A/D count.
2. To move to next parameter press the key.
3. To exit and return to normal weighing press the
key.
UF-2 High / Low limits setting
1. Press the
key to enter.
2. The display will show the message “000000L”.
3. Use the keys
and
to move cursor and press the
N/G
to
select number.
4. Press the
key to confirm.
11
5. The display will show “00000H”.
6. Use the keys
and
to move cursor and press the
N/G
to select
number.
7. Press the
key to confirm.
8. Buzzer beep see remark ( - ).
UF-3 Auto-power off
Modes:
AoFF 00. Auto-turn off disable.
AoFF 01. The balance will automatically turn off after 1 minute of non use.
1. Press the
key to access to auto-power configuration.
2. Use the keys
and
to move from one digit to other and the key
N/G
to select the desired mode.
3. Press the
key to confirm.
UF-4 Backlight setting
Modes:
A. Automatic
ON. Backlight on
OFF. Backlight off
1. Press the
to access to backlight configuration.
2. Use the
N/G
key to select the desired mode.
3. Press the
key to confirm.
12
UF-5 HOLD function (keeps the reading fixed on display for few seconds
after removing the load from the platter)
Modes:
HOLD 0. Disable.
HOLD 1. Weighing animals mode.
1. Press the
key to access to HOLD function configuration.
2. Use the
N/G
key to select the desired mode.
3. Press the
key to confirm.
UF-6 RS-232 Output
232 0 - RS-232 disable
232 1 - Stable output – Format 1
232 2 - Stream output – Format 1
232 3 - Manual output – Format 1
232 4 - Stable output – Format 2
232 5 - Stream output – Format 2
232 6 - Manual output – Format 2
RS232 Baud rate
b 1200 Baud rate 1200
b 2400 Baud rate 2400
b 4800 Baud rate 4800
b 9600 Baud rate 9600
b 19200 Baud rate 19200
b 38400 Baud rate 38400
13
1. Press the
to enter.
2. Press the
N/G
to select the baud rate.
3. Press the
key to confirm.
Communication Protocol
UART signal of EIA-RS232 C
Format:
1. Serial output: 1200/2400/4800/9600/19200/34800 BPS
2. Data bits: 8 bits
3. Parity bits: None
4. Stop bits: 1 bit
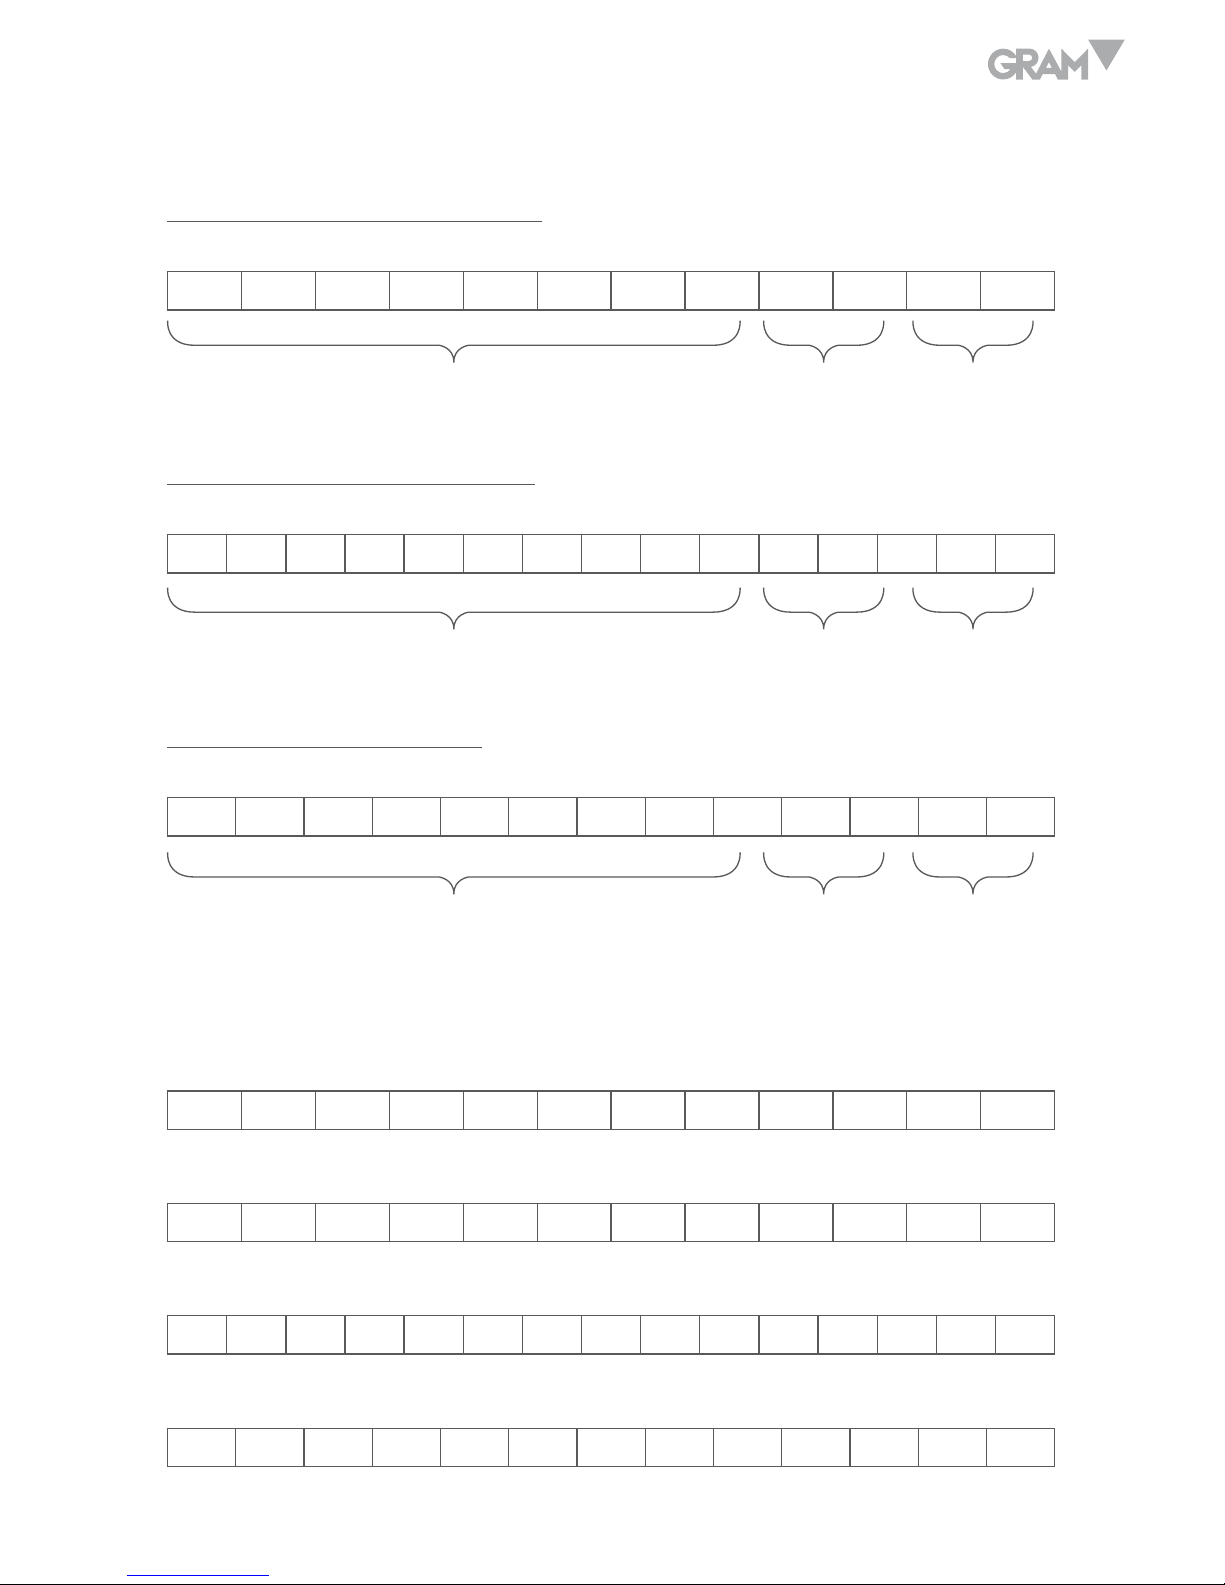
Start-Bit Data bits Stop-Bits
Format 1 (232 1 – 3)
HEAD1 (2 BYTES) HEAD2 (2 BYTES)
OL – Overload
ST – Stable NT – Net weight
US – Unstable GS – Gross weight
14
Fix 18 BYTES ASCII (kg g t lb)
1 2 1 1 2 1 1 2 3 4 5 6 7 8 1 2 1 2
Head 1 Head 2 Data Unit CR LF
Fixed 21 BYTES ASCII (tl.T lboz)
1 2 1 1 2 1 1 2 3 4 5 6 7 8 9 1 2 3 4 1 2
Head 1 Head 2 Data Unit CR LF
Fix 19 BYTES ASCII (pcs)
1 2 1 1 2 1 1 2 3 4 5 6 7 8 1 2 3 1 2
Head 1 Head 2 Data Unit CR LF
1. Example +0.876 kg Stable net weight
S T , N T , + 0 0 0 . 8 7 6 k g 0D 0A
2. Example -1.568 lb unstable gross weight
U S , G S , - 0 0 1 . 5 6 8 l b 0D 0A
3. Example -20. 5.40 lb oz unstable gross weight
S T , G S , - 1 0 . 0 5 . 4 0 l b o z 0D 0A
4. Example +1000 pcs stable net weight
S T , N T , + 0 0 0 1 0 0 0 p c s 0D 0A
15
Format 2 (232 4 ~ 6)
Fixed 12 BYTES ASCII (kg g t lb)
1 2 3 4 5 6 7 8 1 2 1 2
Data Unit CR LF
Fixed 15 BYTES ASCII (tl.T lboz)
1 2 3 4 5 6 7 8 9 1 2 3 4 1 2
Data Unit CR LF
Fixed 13 BYTES ASCII (pcs)
1 2 3 4 5 6 7 8 1 2 3 1 2
Data Unit CR LF
Output examples
1. Example +0.876 kg stable net weight
+ 0 0 0 . 8 7 6 k g 0D 0A
2. Example -1.568 lb unstable gross weight
- 0 0 1 . 5 6 8 l b 0D 0A
3. Example -20. 5.40 lb oz unstable gross weight
- 1 0 . 0 5 . 4 0 l b o z 0D 0A
4. Example +1000 pcs stable net weight
+ 0 0 0 1 0 0 0 p c s 0D 0A
16
UF-7 RS-232 Speed setting
1. Press the key
to enter.
2. Press the key
N/G
to select the desired mode.
Mode 1. Normal
Mode 2. Fast
Mode 3. Slow
3. Press the key
to confirm.
UF-8 Zero average
1. Press the key
to enter.
2. Press the key
N/G
to select.
3. Press the key
to confirm.
UF-9 G Value setting
1. Press the key
to display the G value of manufacture place.
2. If set the G value of local press the
key and then the
or
keys and key
N/G
to input the new G value.
ADVANCED FUNCTION SETTING
1. In weight mode, press the
and
keys, the display will show ECF
– 1.
2. Press the
or
keys to select ECF-1, ECF-2 or ECF-3.

17
ECF-1 Check weighing (SPAN)
1. Press the
to enter, display will show CALZ.
2. Press the
to zero the display.
3. Use the keys
and
to select the digit.
4. Press
N/G
key to input the weight value.
5. Put the calibration weight on the platter and press the
key to calibrate.
ECF-2 Zero Calibration
1. Press the
key to enter.
2. The display will show CALZ.
3. Press the
key to zero.
4. Press the
key to calibrate.

18
GUARANTEE
This scale is guaranteed for one year from the delivery date. The guarantee
covers any fabrication defect of the material.
During this period GRAM PRECISION, SL, covers the manpower and the
spare parts necessary for the reparation of the scale.
This guarantee does not cover the failures caused by an inappropriate use
or overcharge.
The guarantee does not cover the freight cost (transport) necessary to
repair the scale.

19
ESPAÑOL
ESPECIFICACIONES
Precisión: Clase III
Rango de sensibilidad de la célula de carga: 1.5 ~ 3.0mV/V
Nonlinear: ≤ 0.01%F.S
Voltaje: DC: 5V
División: 1/2/5 (seleccionable)
Conector del display: Modo de salida en serie
Frecuencia de muestreo: 20 veces por segundo (seleccionable)
Resolución interna: 300000~600000
ALIMENTACIÓN
Entrada: 120~240V
Salida: 12V/1A
Batería recargable: 6V/4AH
ANTES DE SU UTILIZACIÓN
1. Situar la balanza sobre una superficie firme y llana, no exponerla en
ambientes con vibraciones, nivelar la plataforma utilizando el nivel de
burbuja.
2. Utilizar una fuente eléctrica independiente, evitar perturbaciones
eléctricas.
3. No colocar ningún objeto sobre la plataforma en el momento de poner
en marcha el indicador.
4. Por favor, permita que la balanza se precaliente durante 2-3 minutos

20
antes de su utilización.
5. Evitar cambios de temperatura muy bruscos y corrientes de aire.
6. No sobrecargar la balanza, nunca exceder la capacidad máxima.
CONSUMO
Consumo normal: Aprox. 12mA
Consumo con la retroiluminación: Aprox. 36mA
Consumo con la retroiluminación y salida RS-232: Aprox. 48mA
Vida de la batería: Sin la retroiluminación, aprox. 320 horas.
CONEXIÓN DE LA CÉLULA DE CARGA AL INDICADOR
1. El conector de la célula de carga es de 5 pins.
2. Cuando el indicador está trabajando, no quitar el tapón de la célula de
carga, este acto podría dañar el equipo.
 Loading...