

Page 1
Graham-Field and Labtron are registered trademarks, and Wallmax is
a trademark, of GF Health Products, Inc.
Packaging, warranties, products, and speci cations are subject to
change without notice. GF Health Products, Inc. is not responsible for
typographical errors.
USA Corporate Headquarters:
GF Health Products, Inc.
2935 Northeast Parkway
Atlanta, Georgia 30360
telephone: 770-368-4700
fax: 770-368-2386
www.grahamfi eld.com
222-INS-LAB-RevB11
© 2011, GF Health Products, Inc.
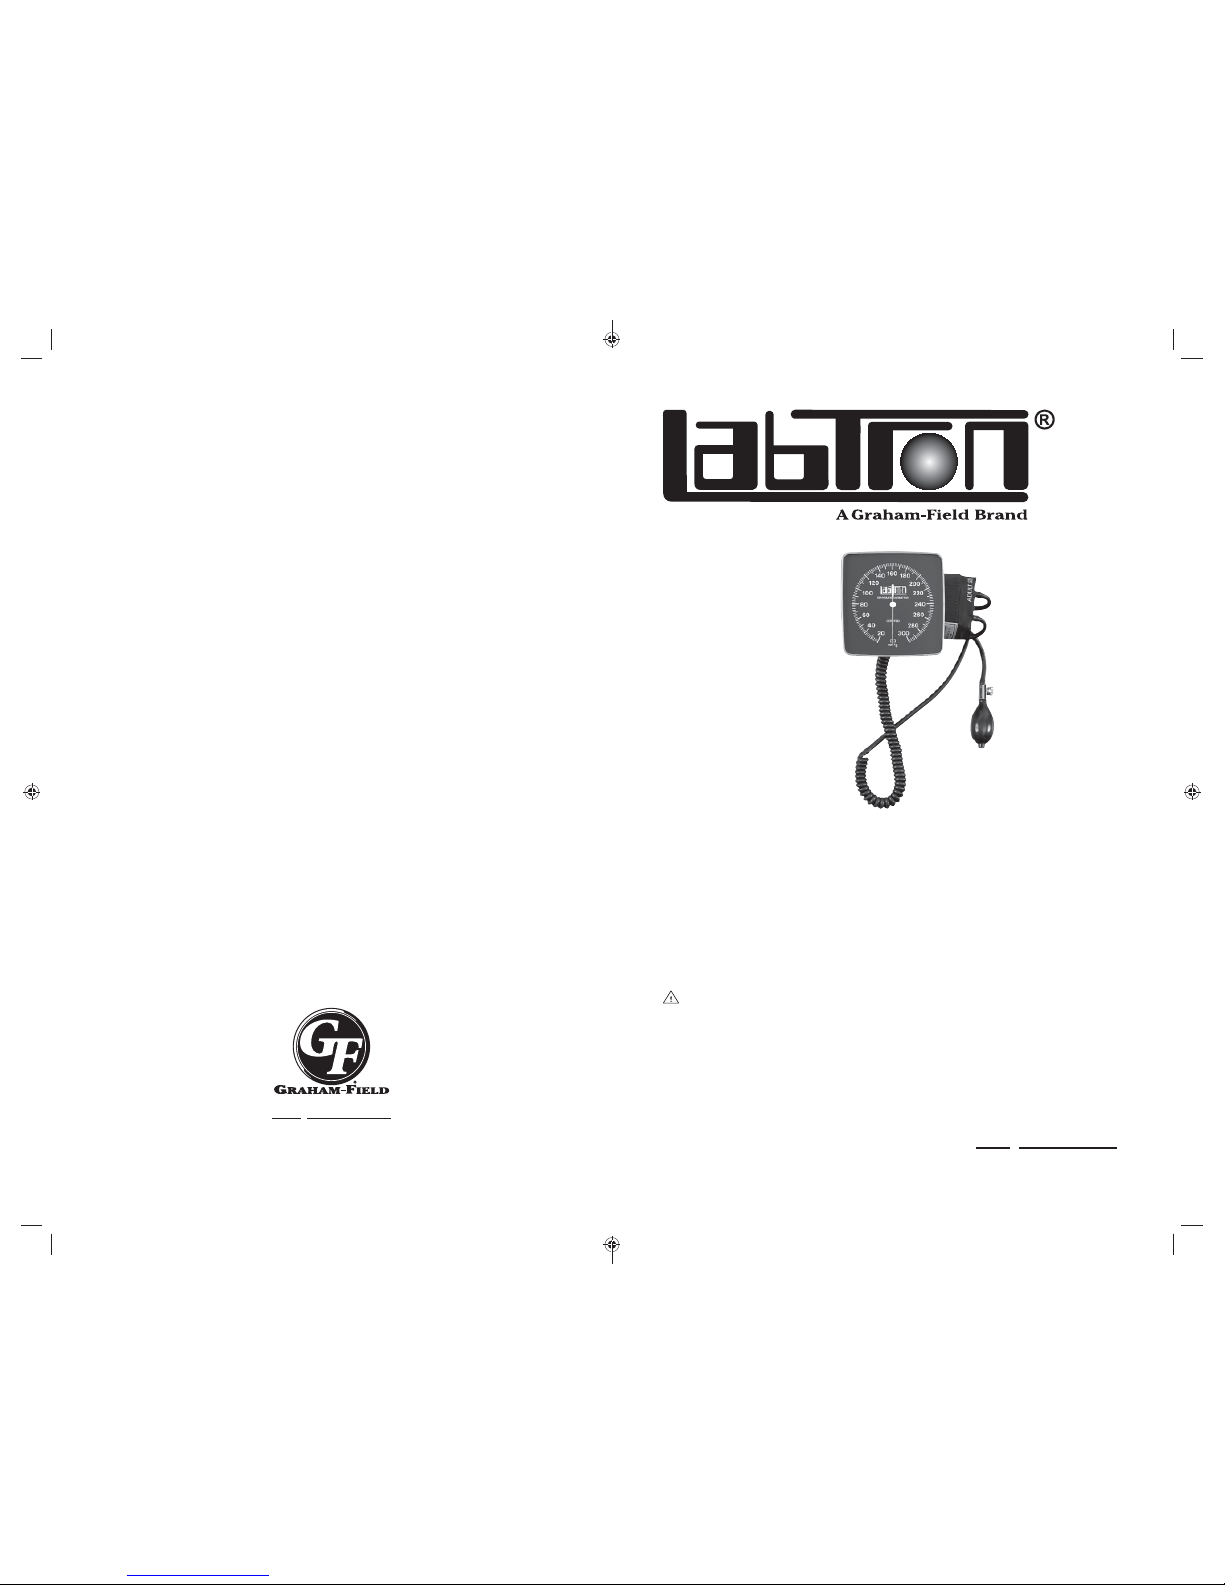
Wallmax™ Professional
Aneroid Sphygmomanometer
Model 222
User Manual
CAUTION:
This product contains natural rubber
latex, which may cause allergic reactions.
Read this manual before operating the Wallmax
Professional Aneroid Sphygmomanometer.
Save this manual for future reference.
The latest version of this manual can be found at www.grahamfi eld.com.
222-INS-LAB-RevB11
Page 2

Labtron 222 Wallmax Professional Aneroid Sphygmomanometer 2
Tools needed for installation: Drill with 3/16" drill bit
Info: A stethoscope is necessary to perform the auditory
component of blood pressure readings.
SAFETY GUIDELINES - PLEASE READ BEFORE USE
Important! Read and understand these instructions
before installing or using the Labtron Wallmax Aneroid
Sphygmomanometer. If you do not understand any part of
these instructions, contact your medical professional or
authorized Graham-Field distributor for direction in the use
of this product.
WARNING: If components are damaged or missing, contact
your Graham-Field dealer immediately. DO NOT use
substitute parts.
WARNING: GF Health Products, Inc. assumes no
responsibility for any damage or injury caused by improper
installation or use of this product.
INTENDED USE
The Labtron Aneroid Sphygmomanometer, shown on the
next page, is intended to measure arterial blood pressure.
CONTENTS
SAFETY GUIDELINES - PLEASE READ BEFORE USE ............................................2
INTENDED USE ............................................................................................................2
INSTALLA TION .............................................................................................................3
BLOOD PRESSURE .....................................................................................................5
MAINTENANCE ............................................................................................................7
WARRANTY ..................................................................................................................7
Labtron 222 Wallmax Professional Aneroid Sphygmomanometer 7
MAINTENANCE
NOTICE: To prevent product damage, please follow these
recommended care and maintenance instructions:
Do not drop or pull excessively on the sphygmomanometer components.
Never infl ate beyond 300mmHg.
Do not expose the cuff to direct sunlight.
Do not put the sphygmomanometer in contact with sharp objects which could
pierce the material and cause damage.
Do not dismantle or disassemble.
Cleaning Wipe off manometer and bulb with a clean, damp cloth. Wash cuff
with soap and cold water, rinse, and air dry. Do not iron cuff.
Sterilization
Do not use steam, heat, or liquid disinfectants to sterilize cuff,
infl ation system, or manometer. Gas sterilization may be used
on cuff only, if necessary.
Storage Always defl ate the cuff completely before storage.
WARRANTY
GF Health Products, Inc. ("Graham-Field") warrants the
Labtron Wallmax Professional Aneroid Sphygmomanometer
Model 222 for a period of one year for defects in
workmanship and materials. If a product is deemed to be
under warranty, GF Health Products, Inc. shall provide, at
its option, (1) replacement of any defective part or product
or (2) a credit of the original selling price made to GF Health
Products, Inc.’s initial customer. The warranty does not
include any labor charges incurred in replacement part(s)
installation or any associated freight or shipping charges to
GF Health Products, Inc.
The warranties contained herein contain all the
representations and warranties with respect to the
subject matter of this document, and supersede all prior
negotiations, agreements and understandings with respect
thereto. The recipient of this document hereby acknowledges
and represents that it has not relied on any representation,
assertion, guarantee, warranty, collateral contract or other
assurance, except those set out in this document.
Page 3

Labtron 222 Wallmax Professional Aneroid Sphygmomanometer 6
Infl ating the cuff: Close the bulb’s air valve by turning
the air release valve clockwise. Squeeze the in ation
bulb at a steady rate until the gauge’s needle points at
approximately 30mmHg above the individual’s normal
systolic pressure value. If the individual’s normal blood
pressure is not known, it is recommended to in ate to
200mmHg.
Systolic blood pressure reading: Open the air release
valve slowly by turning it counter-clockwise while holding
the diaphragm of the stethoscope over the brachial artery.
Proper de ation rate is vital for an accurate reading. The
recommended de ation rate is 2-3mmHg per second, or a
drop of one to two marks on the pressure gauge with each
heartbeat. Do not keep the cuff infl ated any longer than
necessary. As the cuff begins to de ate, listen carefully
with the stethoscope. Note the reading on the gauge as
soon as a faint, rhythmic tapping or thumping sound is
heard. The rst sound is the systolic pressure reading.
Always check with your health care provider to ensure
readings are performed correctly.
Diastolic blood pressure reading: Allow the pressure to
continue dropping at the same de ation rate. Note the
reading on the gauge when the last audible thumping,
swishing, or blowing sound is heard; this is the diastolic
blood pressure reading. After a few seconds have passed
and no audible thumping, swishing, or blowing sounds
are heard, de ate the cuff using the air release valve
completely. Remove the cuff and stethoscope from the
arm.
Record the systolic and diastolic readings. Repeat the
measurement two or more times to ensure accuracy. Only
a patient’s physician is quali ed to analyze blood pressure.
Labtron 222 Wallmax Professional Aneroid Sphygmomanometer 3
I\SI
]HS]L
J\MM
NH\NL
222 Wallmax Professional
Aneroid Sphygmomanometer
INSTALLATION
The Wallmax Aneroid Sphygmomanometer wall mount
is packaged complete with gauge, swivel bracket, and
mounting screws.
Info: Mount the gauge at the intended users' eye level to
facilitate easy measurement reading.
WARNING: The wall bracket mounts on two screws which
are installed in the wall. You must mount these screws in
a wall stud; otherwise, the sphygmomanometer could fall,
resulting in damage to the sphygmomanometer and/or
personal injury.
Page 4

Labtron 222 Wallmax Professional Aneroid Sphygmomanometer 4
1. Mount the bracket using the two center holes. Swivel
the sphygmomanometer on its bracket to expose the
mounting holes, as shown below.
THUVTL[LY
ZJYL^
TV\U[PUN
WVZP[PVU
VU^HSS
IYHJRL[
Installation,
222 Wallmax Professional
Aneroid Sphygmomanometer
2. Locate the wall stud where you will mount the bracket.
DANGER—risk of electrocution! Ensure that there is no
electrical wiring at the location where you will mount the
bracket.
3. Hold the bracket up to the wall at the desired mounting
height. Place the two center mounting holes directly
over the wall stud. Ensure that the manometer's face is
correctly oriented and that the bracket is level. Mark on
the wall in the center of both holes. Remove the bracket.
4. Drill a 3/16" hole approximately 7/8" deep at each of the
two marked locations.
5. Hold the bracket up to the wall at the mounting location,
ensuring that the manometer's face is correctly oriented
and that the bracket is level.
6. Install the two mounting screws through the bracket
center mounting holes into the wall stud. Do not
overtighten.
Labtron 222 Wallmax Professional Aneroid Sphygmomanometer 5
BLOOD PRESSURE
Blood Pressure is a measure of the blood’s pressure in
the circulatory system, which changes constantly during
the course of the cardiac cycle. Blood pressure readings
report two values. The higher reading (systolic pressure)
shows the highest pressure in the arteries occurring when
the heart contracts. The lower reading (diastolic pressure)
shows the lowest pressure in the arteries, which occurs
right before the heart contracts. Blood pressure readings
are written with the highest value rst, then the lowest
value. Readings of 120/80 are considered to be normal,
with high blood pressure being de ned as a systolic
pressure which is 140mmHg or more at rest and a diastolic
pressure which is 90mmHg or more at rest. Only a patient’s
physician is quali ed to determine whether the readings
obtained are normal for that person.
Measuring blood pressure: Have the patient, while relaxed
and in a sitting position, extend the arm from which the
blood pressure will be taken to the front or laterally with
the palm of the hand up.
Attach the cuff and diaphragm: Hold the end of the cuff
containing the in ation bag rmly against the inside of the
bare upper arm with the artery symbol positioned over the
brachial artery. Never place the cuff over clothing. Pull
the opposite end of the cuff snugly around the arm and
secure the hook and loop fastener strips. The range lines,
indicated by the arrows, show the correct cuff size when
the cuff is placed on the arm. If the index line on the end
of the cuff falls between the two range lines, the cuff is the
proper size. If the index line falls outside the range lines, a
larger or smaller cuff should be used. The cuff should be
snug, but not too tight. If one or two ngers can t between
the cuff and the arm, the cuff is properly secured. Place
the diaphragm of the stethoscope over the brachial artery
inferior to the cuff.
 Loading...