

Page 1

Deutsch
Seite 1 von 2
Betriebs- und Montageanleitung
1. Vorbereitung
Plazieren Sie die Handschwengelpumpe in der Nähe der Zisterne auf einem Betonsockel (mit
Aussparung für den Saugschlauch). Bitte Beachten: Max. 6 m. Ansaugstrecke dürfen nicht
überschritten werden. Es sollte, wenn möglich, bei der Verlegung des Saugschlauchs darauf
geachtet werden, dass keine oder wenige 90° Bögen v erlegt werden.
Falls Sie noch eine elektrische Pumpe installieren wollen, sollten Sie auf jeden Fall für beide
Pumpen ein separates Ansaugset verwenden. Bei Verwendung eines Ansaugsets kann es
zur Luftansaugung durch die sich nicht im Betrieb befindliche Pumpe kommen und somit zum
Leistungsabfall.
2. Aufstellen der Pumpe
- Befestigen Sie zuerst den Brunnenständer auf einem Betonsockel mittels der
vorgegebenen Bohrungen (4 Bohrungslöcher).
- Ziehen Sie den Schlauch vom Ansaugset durch ein Leerrohr bis zum Brunnenständer
hindurch.
- Schrauben Sie den Anschluss-Nippel am
Pumpenkörper an (Teflonband verwenden, Achtung:
Sobald ein mit Teflonband versehenes Gewinde
auch nur in geringem Umfang in sich öffnende
Richtung gedreht wird, muss das Band neu
aufgetragen werden).
- Um den Schlauch an dem Anschluss-Nippel korrekt
anzubringen sollten Sie noch einen Schlauchstutzen
1 ¼“ (Art.-Nr. 330014) montieren.
- Hinweis: Schlauch nicht zu kurz abschneiden um
den Anschluss durch den Brunnenständer nicht zu
erschweren.
- Der Schlauch wird dann mittels einer
Schlauchklemme befestigt.
- Achtung: Bevor Sie den Saugschlauch am
Schlauchstutzen befestigen ist es notwendig den
Saugschlauch mit Wasser zu befüllen.
- Dann kann der Pumpenkörper auf den Brunnenständer mittels der 4 beiliegenden
Schrauben befestigt werden.
3. Wartung
Falls die Pumpe nach mehreren Jahren nicht mehr Ihre Leistung bringt, sollten evtl. die
Dichtungen ausgetauscht werden (Art.-Nr. 356502).
Um die Pumpe vor Frostschäden im Winter zu schützen, ist es notwendig den Pumpenkörper
komplett abzuschrauben und frostsicher einzulagern.
Wenn sie die Pumpe im nächsten Frühjahr wieder aufstellen, sollten Sie das Befüllen der
Ansaugleitung nicht vergessen.
für Handschwengelpumpe
Art.-Nr. 356010
Englisch
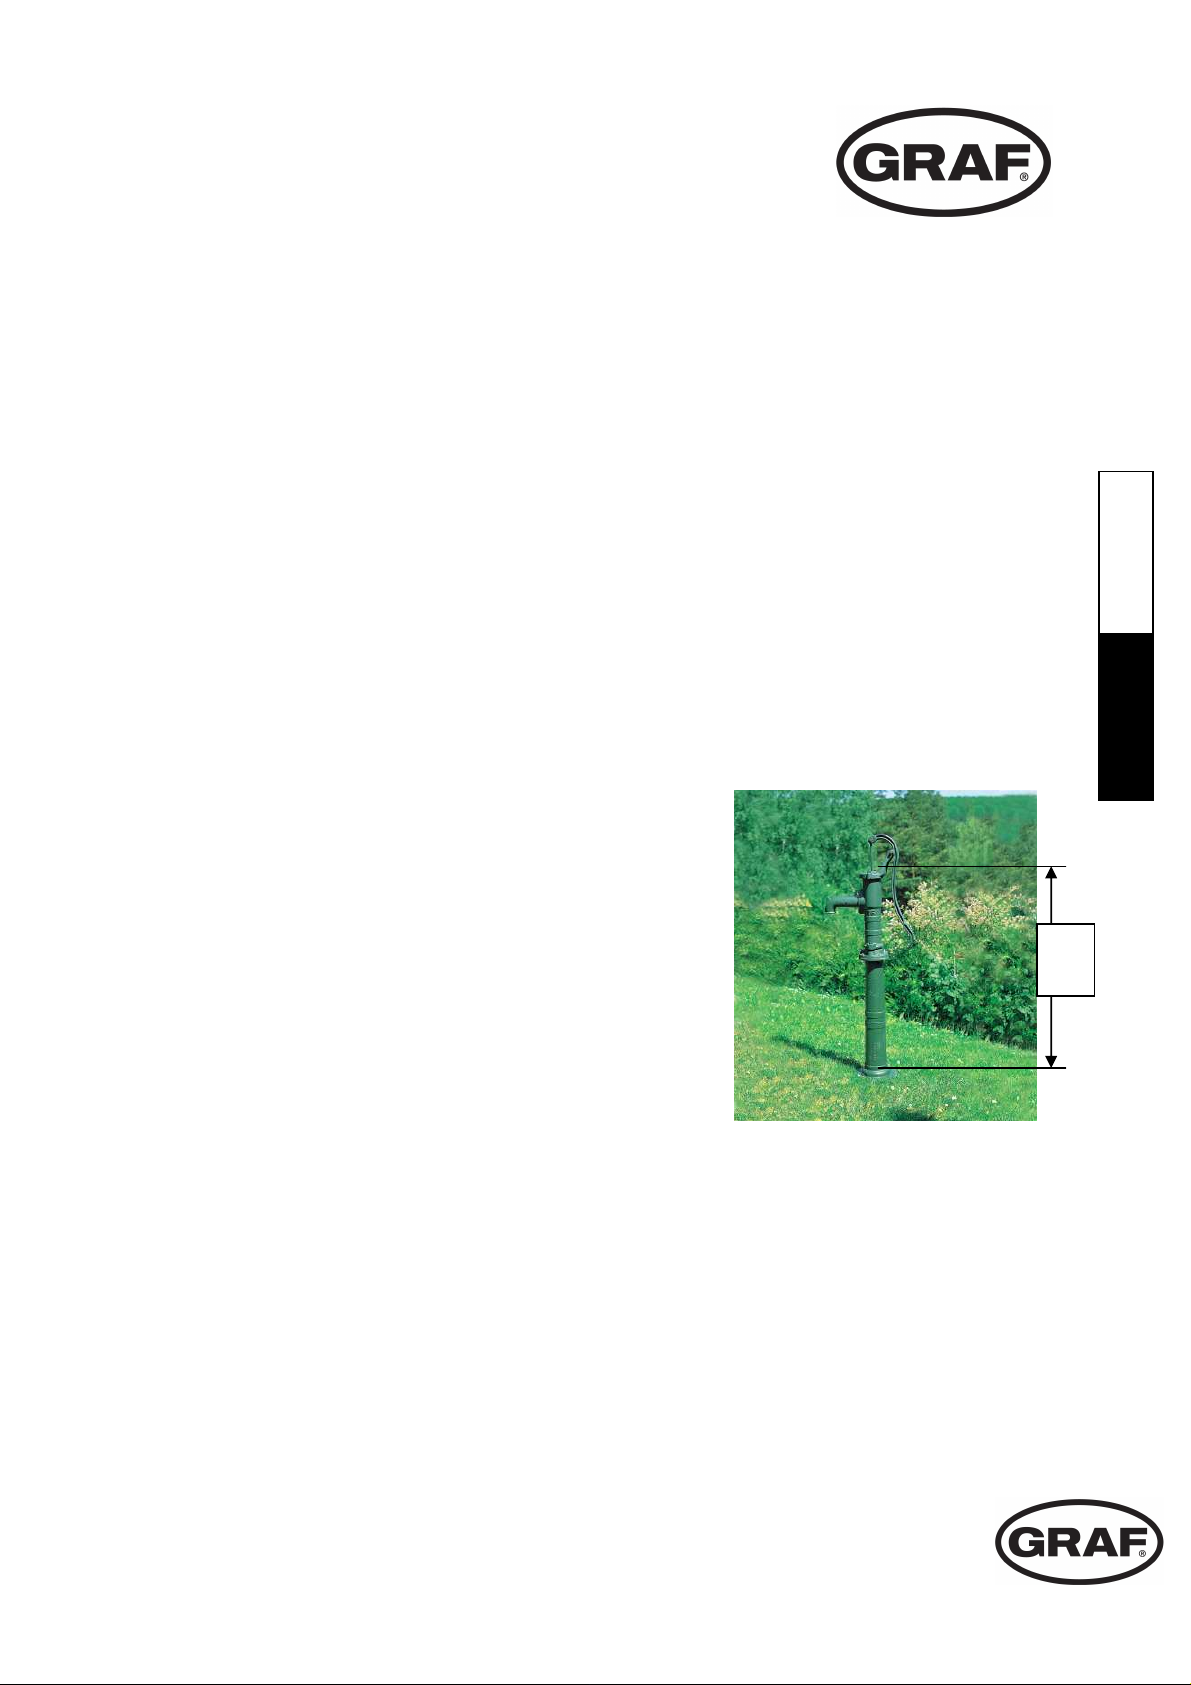
115 cm
Page 2
Englisch
Page 2 of 2
Operation and assembly instructions
for the hand operated pump
Model No.: 356010
1. Preparation
The hand pump should be positioned close to the cistern and mounted on a cement base with
a recess to accommodate the hose. Please note: A maximum 6 m suction height may not be
exceeded. When planning and laying the suction hose it ought to be clear that as few 90°
bends as possible should occur and if feasible, no 90° bends at all.
If the installation of an electrical pump is also intended, then it is important to ensure that this
has been planned with its own separate suction system. If the two pump systems are both
connected to one suction system, then there is the probability that air will be drawn through
the pump that is not in operation and this will lead to a loss of performance.
2. Installation of the pump
- Secure the pump stand to the cement base by means of the 4 fixing holes at the bottom.
- Draw the hose of the suction system through the empty conduit and up through the pump
stand.
- Screw the connection nipple onto the pump body
(Teflon tape must be used. Attention: When using
Teflon tape around a thread, then even the smallest
counter-clockwise (screwing out) movement will
damage the seal, if this occurs then the old tape
must be removed and new tape applied).
- To connect the hose correctly to the connection
nipple, a 1 ¼“ hose connection (Type.-Nr. 330014)
should be used.
- Note: The hose should not be cut too short as this
will make the connecting through the pump stand
more difficult.
- The hose is then secured using a hose clamp.
- Attention: Before the suction hose is secured to the
hose connection it is necessary to fill the suction
hose with water (primed).
- When this has been completed the pump body can be mounted and secured to the pump
stand using the 4 fixing screws.
3. Service
If after a period of years the pump no longer delivers its full performance then it may be
necessary to replace the seals (Type.-Nr. 356502).
To prevent frost damage during the winter months, it is necessary to dismount the complete
pump body and store in a frost-free environment.
Don’t forget: When re-mounting the pump the following spring that the suction hose must be
re-filled with water (primed).
Otto GRAF GmbH, Carl-Zeiss-Straße 2-6, D- 79331 Teningen – Tel.: 0049/(0)7641/589-0, Fax: 0049/(0)7641/589-50
www.graf.info, info@graf-online.de, Stand: 04/08
GRAF Distribution SARL 45, route d'Ernolsheim, F- 67120 Dachstein-Gare – Tel.: 0033/388497310, Fax: 0033/388493280
www.graf.info, info@graf.fr, Version: 04/08
GRAF IBERICA Tecnología del Plástico S.L.
www.graf.info, info@grafiberica.com, Versión: 04/08
– Sant Miquel 37 – ES-17003 Girona – Tel.: 0034/972913767 – Fax: 0034/972913766
Deutsch
115 cm
 Loading...