

Page 1
INSTRUCTIONS–PARTS LIST
Important Safety Instructions
Read all warnings and instructions
in this manual. Save these
instructions.
To find your local Graco authorized service
center:
Call us at 1–800–690–2894
Visit our website at www.graco.com
309445
Rev. E
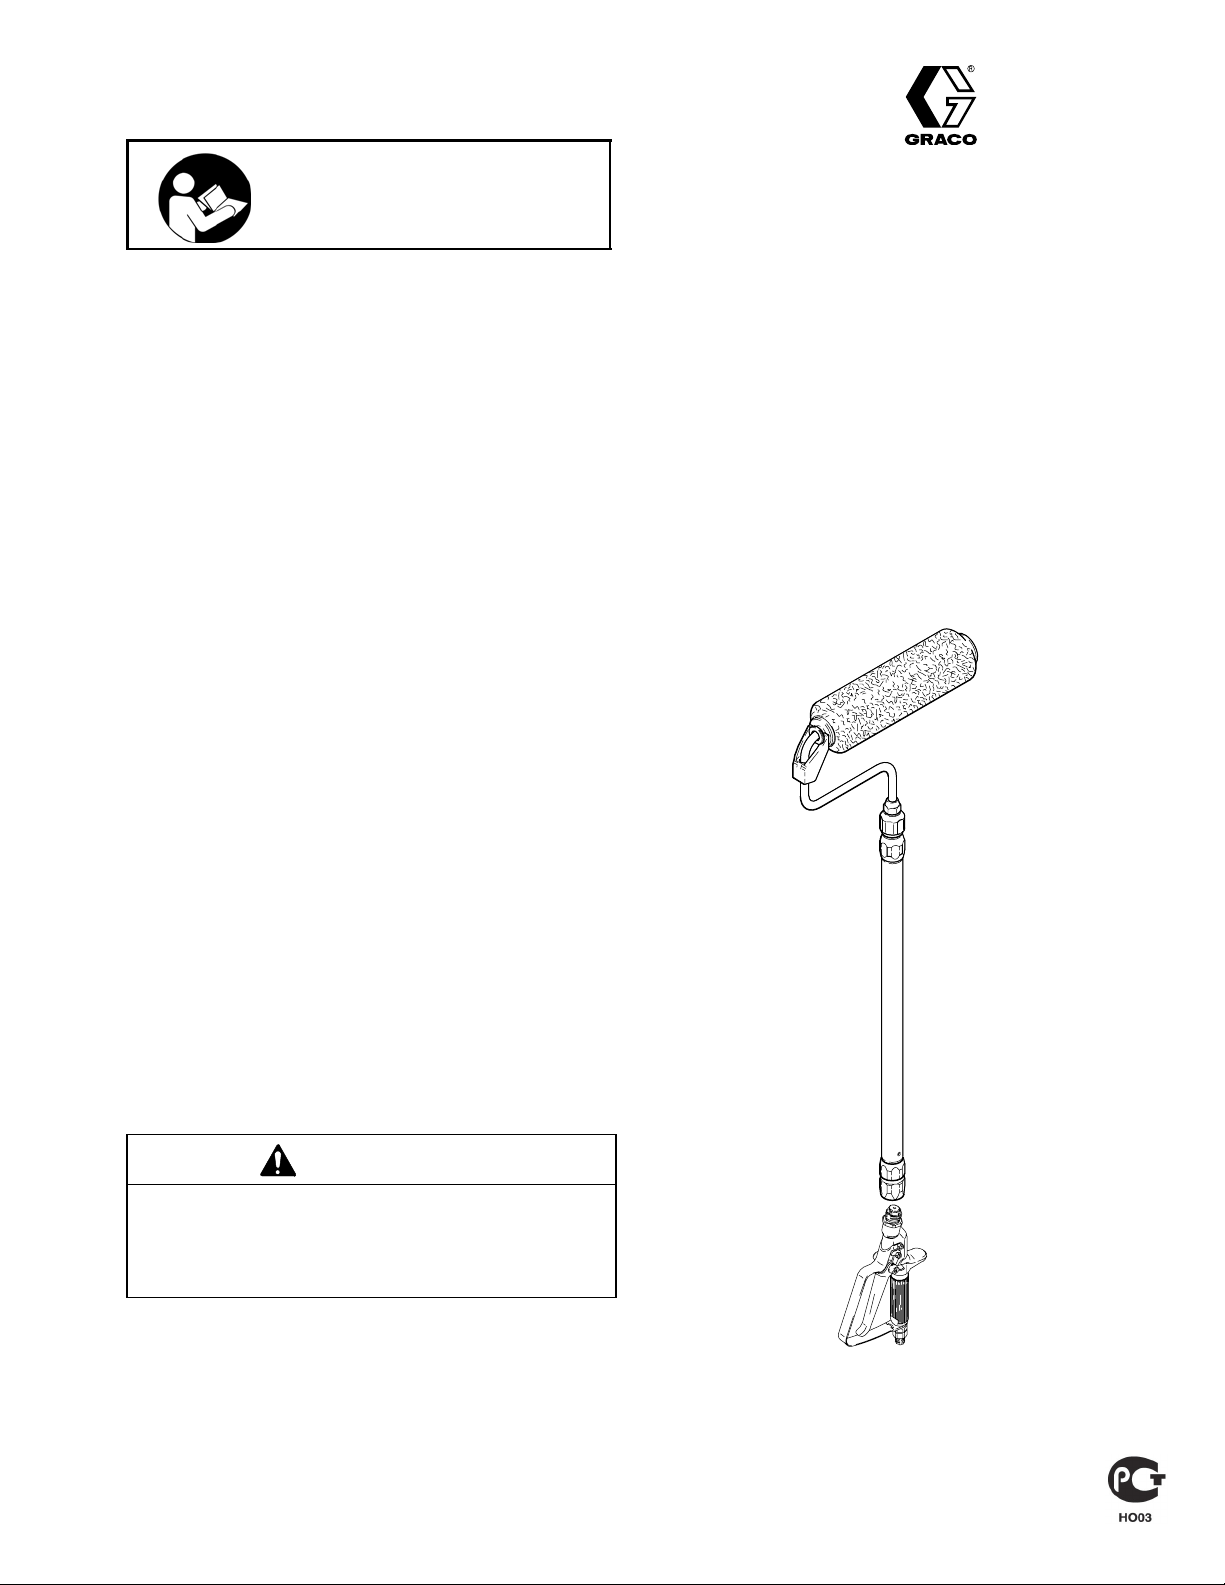
Pressure Roller with 20”
Heavy Duty Extension, EvenFlowt Roller
Frame and Contractort Inline Valve
– For the rolled application of architectural paints and
coatings –
Model 245397, Series C
20 in. (50 cm) Heavy-Duty Extension
9 in. (23 cm) EvenFlow Roller Frame
1/2 in. (13 mm) Nap Roller Cover
Contractor Inline Valve
3600 psi (24.8 MPa, 248 bar) Maximum Fluid Inlet Pressure
The best operating pressure is the lowest pressure that provides
*
an even paint supply to the roller and typically does not exceed
300 psi (2.1 MPa, 21 bar).
CAUTION
Never leave water in the pump, inline valve, or roller frame.
Doing so could cause corrosion and damage from freezing.
For storage, flush the system with Graco Pump Armor or
mineral spirits/paint thinner.
*
GRACO INC.ąP.O. BOX 1441ąMINNEAPOLIS, MNą55440-1441
COPYRIGHT 2001, GRACO INC.
Graco Inc. is registered to I.S. EN ISO 9001
Page 2
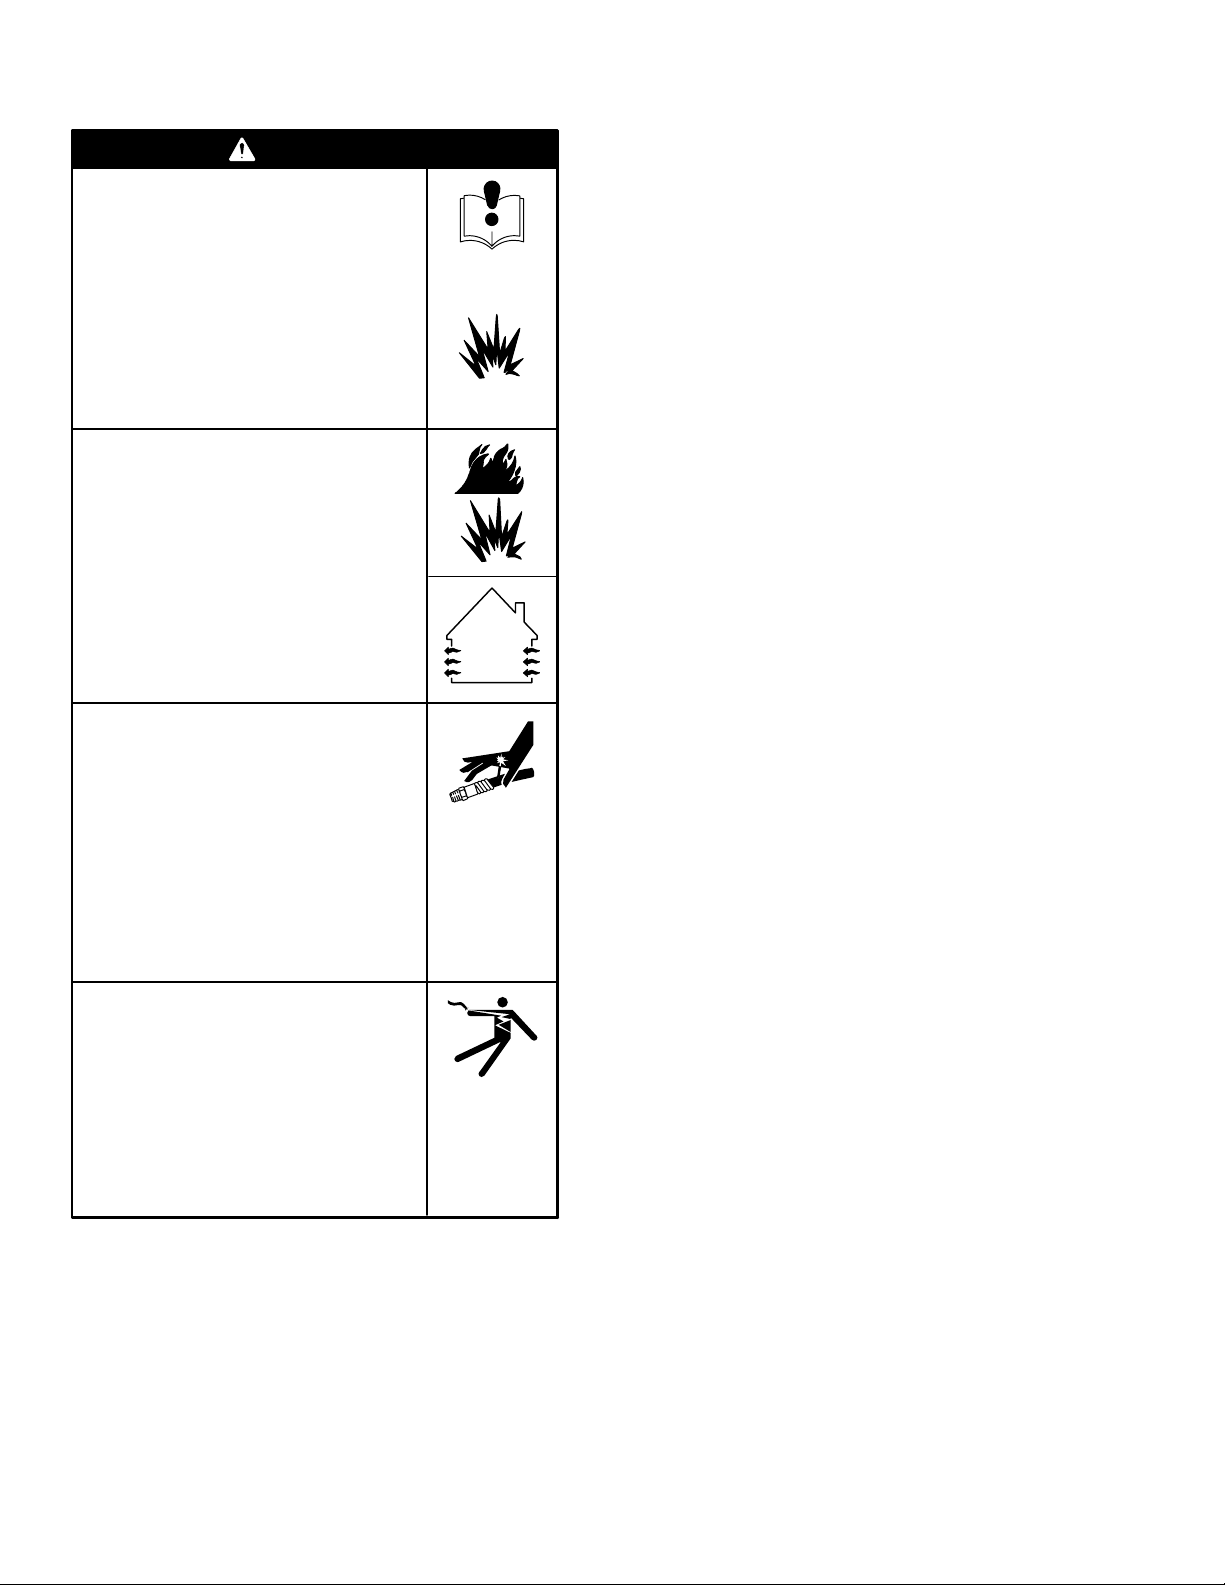
Warnings and Cautions
WARNING
EQUIPMENT MISUSE HAZARD
Misuse can cause the equipment to rupture or
malfunction and result in serious injury.
To help prevent injury
Do not modify the extension tube or roller
frame or use parts not designed for this
equipment.
Do not use 1,1,1–trichloroethane, methylene
chloride, other halogenated hydrocarbon solvents or fluids containing such solvents in this or
any other pressurized aluminum equipment.
Such use could result in a chemical reaction,
with the possibility of explosion.
FIRE AND EXPLOSION HAZARD
Improper grounding, poor ventilation, open
flames or sparks can cause a hazardous
condition and result in a fire or explosion and
serious injury.
To help prevent injury from fire or explosion
Provide fresh air ventilation to avoid the
buildup of flammable fumes from flushing
fluids or the coating being applied.
Keep the application area free of debris,
including solvent, rags, and gasoline.
INSTRUCTIONS
SKIN INJECTION HAZARD
If high-pressure fluid pierces your skin, the injury
might look like “just a cut”. But it is a serious
wound. Get immediate surgical treatment.
To help prevent injection
Keep your hands and body away form the
roller frame when flushing. High pressure
fluid emitted from the holes in the frame
could cause an injection injury.
Always relieve pressure before you check or
repair leaks and when you turn off pump or stop
painting.
Never use components rated less than system
Maximum Working Pressure.
ELECTROCUTION HAZARD
Failure to observe the electrical hazards described
below could result in serious injury, including burns
or electrocution.
To help prevent harmful electrical shock
Avoid contact with power lines.
Follow all grounding instructions in your
separate pump instruction manual, and
comply with all local, state, and national fire,
electrical, and safety regulations.
Use only Graco paint hoses.
2 309445
Page 3

Installation
Assemble pressure roller as shown in Parts Drawing,
page 7. Attach pressure roller assembly to inline
valve.
Pressure Relief Procedure
WARNING
To help prevent injection injuries,
follow this procedure whenever
you stop painting.
psi/MPa/bar
1. Put inline valve trigger safety in SAFETY ON
position (Fig. 1).
2. Shut off power to pump.
When connecting EvenFlow roller frame to the
Contractor Inline Valve, use a wrench to tighten.
3. Turn prime/spray valve to PRIME position to
relieve pressure in system.
4. Put inline valve trigger safety in SAFETY OFF
position, and trigger inline valve to relieve any
pressure in hose.
5. Put inline valve trigger safety in SAFETY ON
position, and keep pump prime/spray valve in
PRIME position until you paint again.
309445 3
Page 4

Operation
WARNING
SKIN INJECTION HAZARD
To reduce the risk of a fluid injection
injury, do not operate the inline valve with
the tip guard or trigger guard removed.
The Contractor Inline Valve can be used as an
airless spray gun by attaching a Handtite Guard
and RAC5 Switchtip.
1. Follow pump priming instructions using lowest
pressure setting at which pump primes.
2. Turn prime/spray valve to SPRAY position.
In-Line Valve Trigger Safety Lever
For SAFETY ON position, rotate trigger safety lever so
it is in line with trigger. For SAFETY OFF position, flip
safety lever so it is 90 to trigger. Fig. 1.
NOTE: In the SAFETY ON position the lever sits in a
detent which holds it in place.
SAFETY ON SAFETY OFF
Fig. 1
Startup
NOTE:
3. Disengage inline valve safety latch, trigger the
inline valve, and roll the surface until paint comes
to roller.
NOTE: Trigger the inline valve briefly only when
you need more paint. Determine how often you
must trigger the inline valve to maintain an even
paint supply to the roller.
4. Increase pump pressure only if triggering inline
valve cannot supply enough paint for your rolling
speed.
Relieve pressure, page 3,
5.
Flush pump, inline valve, and roller frame immediately
after each use to prevent paint from drying in roller
frame and damaging it.
whenever you stop painting.
Elevate roller end of
extension tube to prevent
paint from draining out.
Cleaning
NOTE: Follow this procedure to flush the roller frame
and inline valve. The pump you are using may have
additional flushing steps, such as cleaning filters and
screens. See the pump flushing instructions.
Leave the roller frame attached to the inline valve for
this procedure.
4 309445
Cleaning the EvenFlow Roller Frame
1.
2. Remove roller cover (19) and diffuser (23) from
roller frame as follows (see Parts Drawing):
a. Using your thumb, press down on clip (5) to
release end caps (2 &4), diffuser (23) and
roller cover (19) into a pail.
b. Remove roller cover (19) from diffuser (23).
c. Pull end caps (2 & 4) off diffuser (23).
3. Clean roller cover (19), caps (2 & 4) and diffuser
(19) with water or a compatible fluid for oil–based
materials.
4. Place roller frame (1) in paint pail. Be sure the
holes in roller frame (1) are facing inside the paint
pail.
Relieve pressure, page 3.
Page 5

5. Prime pump with water or flushing fluid for oil–
based materials. Use the lowest pump priming
pressure setting.
6. Turn prime/spray valve to SPRAY.
NOTE: Perform Step 7 at the lowest pressure possible.
7. Trigger inline valve until flushing fluid begins to
dilute the paint.
8. Place roller frame (1) in another bucket and continue flushing until fluid coming out of the roller frame
(1) is clear.
Storage
If you are going to store the airless equipment for an
extended period of time after flushing with water-base
fluid, flush again with Graco Pump Armor or mineral
spirits/paint thinner. Leave this fluid in the system
during storage.
Cleaning Contractor Inline Valve
1.
2. Push up on bottom of trigger guard and swing it
away from trigger.
3. Unscrew inline valve handle from housing. Remove filter and clean it in compatible solvent.
NOTE: Do not soak entire inline valve in solvent.
Prolonged exposure to solvent can ruin packings.
4. Apply lithium–based grease to threads of inline
valve handle and reassemble inline valve.
Relieve pressure, page 3.
309445 5
Page 6

Notes
6 309445
Page 7

Parts List
ti10642a
23
4
1
5
2
12
14
19
Model 245397, Series A
Ref.
No. Part No. Description Qty.
1 244271* FRAME, roller 1
2 245999 CAP, end (includes seal and retainer) 1
4 246277 CAP, end (includes seal, retainer, and
o–ring) 1
5 197106 CLIP, roller 1
7 15H622 GASKET 1
12 115524 GASKET 1
14 232122 EXTENSION, 20 in. (50 cm) 1
19 107590 ROLLER, cover, 9 inch,
1/2 in. (13 mm) nap 1
23 15B065 DIFFUSER 2
*244271 Frame includes 1, 2, 4, 5, 12, 19, 23.
7
Pressure Roller
Additional Roller Covers
The following pressure roller covers are available at
your local distributor:
107589 9 in. (23 cm); 3/8 in. (9.5 mm) nap
107590 9 in. (23 cm); 1/2 in. (13 mm) nap
107591 9 in. (23 cm); 3/4 in. (19 mm) nap
107592 9 in. (23 cm); 1-1/4 in. (32 mm) nap
Additional Heavy Duty Extensions
The following extensions can be mixed and matched to
create any length pressure roller needed and are
available at your local distributor:
232121 10 in. (25 cm)
232122 20 in. (50 cm)
232123 40 in. (100 cm)
232124 60 in. (150 cm)
232125 80 in. (200 cm)
309445 7
Page 8

119
Parts List
101
108
111
103
110
113
107
102
114
112
105a
120
106
105b
105
105c
105d
TI0667
104
8 309445
Page 9

Contractort In–line Valve
Model 244161
Parts List
Ref.
No. Part No. Description Qty.
101 218070 NEEDLE–DIFFUSER/SEAT KIT 1
102 244193 TRIGGER, valve, In–line
(includes 107) 1
103 196869 GUARD, trigger 1
104 238817 KIT, swivel 1
105 218131 FLUID FILTER ASSEMBLY 1
(standard 50 mesh) includes
replacement parts 5a, 5b, 5c, 5d
105a 179722 RETAINER, spring 1
105b 179731 ELEMENT, strainer 1
105c 179763 SPRING, compression 1
105d 179750 RETAINER, spring 1
106 179733 SEAL, sleeve 1
Ref.
No. Part No. Description Qty.
107 107110 LOCKNUT 1
108 197052 ADAPTER, RAC 1
110 197058 BRACKET, stem 1
111 197568 HOUSING, fluid 1
112 113409 RETAINER, guard 1
113 195788 HANDLE, valve 1
114 104938 PACKING, o–ring 1
119 177538 STUD, trigger 2
120 105334 LOCKNUT 2
Keep these items on hand to reduce down time.
The Contractor Inline Valve contains a paint filter
(218131) inside handle. The primary function of the
paint filter is to prevent clogging of spray tips.
The paint filter may be removed for rolling applica-
tions.
Remove and clean filters after each use.
309445 9
Page 10

Graco Standard Warranty
Graco warrants all equipment manufactured by Graco and bearing its name to be free from defects in material and workmanship on the
date of sale to the original purchaser for use. With the exception of any special, extended, or limited warranty published by Graco,
Graco will, for a period of twelve months from the date of sale, repair or replace any part of the equipment determined by Graco to be
defective. This warranty applies only when the equipment is installed, operated and maintained in accordance with Graco’s written
recommendations.
This warranty does not cover, and Graco shall not be liable for general wear and tear, or any malfunction, damage or wear caused by
faulty installation, misapplication, abrasion, corrosion, inadequate or improper maintenance, negligence, accident, tampering, or substitution of non–Graco component parts. Nor shall Graco be liable for malfunction, damage or wear caused by the incompatibility of
Graco equipment with structures, accessories, equipment or materials not supplied by Graco, or the improper design, manufacture,
installation, operation or maintenance of structures, accessories, equipment or materials not supplied by Graco.
This warranty is conditioned upon the prepaid return of the equipment claimed to be defective to an authorized Graco distributor for
verification of the claimed defect. If the claimed defect is verified, Graco will repair or replace free of charge any defective parts. The
equipment will be returned to the original purchaser transportation prepaid. If inspection of the equipment does not disclose any defect
in material or workmanship, repairs will be made at a reasonable charge, which charges may include the costs of parts, labor, and
transportation.
THIS WARRANTY IS EXCLUSIVE, AND IS IN LIEU OF ANY OTHER WARRANTIES, EXPRESS OR IMPLIED, INCLUDING BUT
NOT LIMITED TO WARRANTY OF MERCHANTABILITY OR WARRANTY OF FITNESS FOR A PARTICULAR PURPOSE.
Graco’s sole obligation and buyer’s sole remedy for any breach of warranty shall be as set forth above. The buyer agrees that no other
remedy (including, but not limited to, incidental or consequential damages for lost profits, lost sales, injury to person or property, or any
other incidental or consequential loss) shall be available. Any action for breach of warranty must be brought within two (2) years of the
date of sale.
Graco makes no warranty, and disclaims all implied warranties of merchantability and fitness for a particular purpose in connection
with accessories, equipment, materials or components sold but not manufactured by Graco. These items sold, but not manufactured
by Graco (such as electric motors, switches, hose, etc.), are subject to the warranty, if any, of their manufacturer. Graco will provide
purchaser with reasonable assistance in making any claim for breach of these warranties.
In no event will Graco be liable for indirect, incidental, special or consequential damages resulting from Graco supplying equipment
hereunder, or the furnishing, performance, or use of any products or other goods sold hereto, whether due to a breach of contract,
breach of warranty, the negligence of Graco, or otherwise.
FOR GRACO CANADA CUSTOMERS
The parties acknowledge that they have required that the present document, as well as all documents, notices and legal proceedings
entered into, given or instituted pursuant hereto or relating directly or indirectly hereto, be drawn up in English. Les parties reconnaissent avoir convenu que la rédaction du présente document sera en Anglais, ainsi que tous documents, avis et procédures judiciaires
exécutés, donnés ou intentés à la suite de ou en rapport, directement ou indirectement, avec les procedures concernées.
TO PLACE AN ORDER, contact your Graco distributor, or call this number to identify the distributor closest to you:
1–800–690–2894 Toll Free
All written and visual data contained in this document reflect the latest product information available at the time of publication.
Graco reserves the right to make changes at any time without notice.
10 309445
This manual contains English. MM 309445
Graco Headquarters: Minneapolis
International Offices: Belgium, Korea, China, Japan
GRACO INC.ąP.O. BOX 1441ąMINNEAPOLIS, MNą55440-1441
www.graco.com
9/2001, Revised 9/2007
 Loading...