

Page 1
Instructions
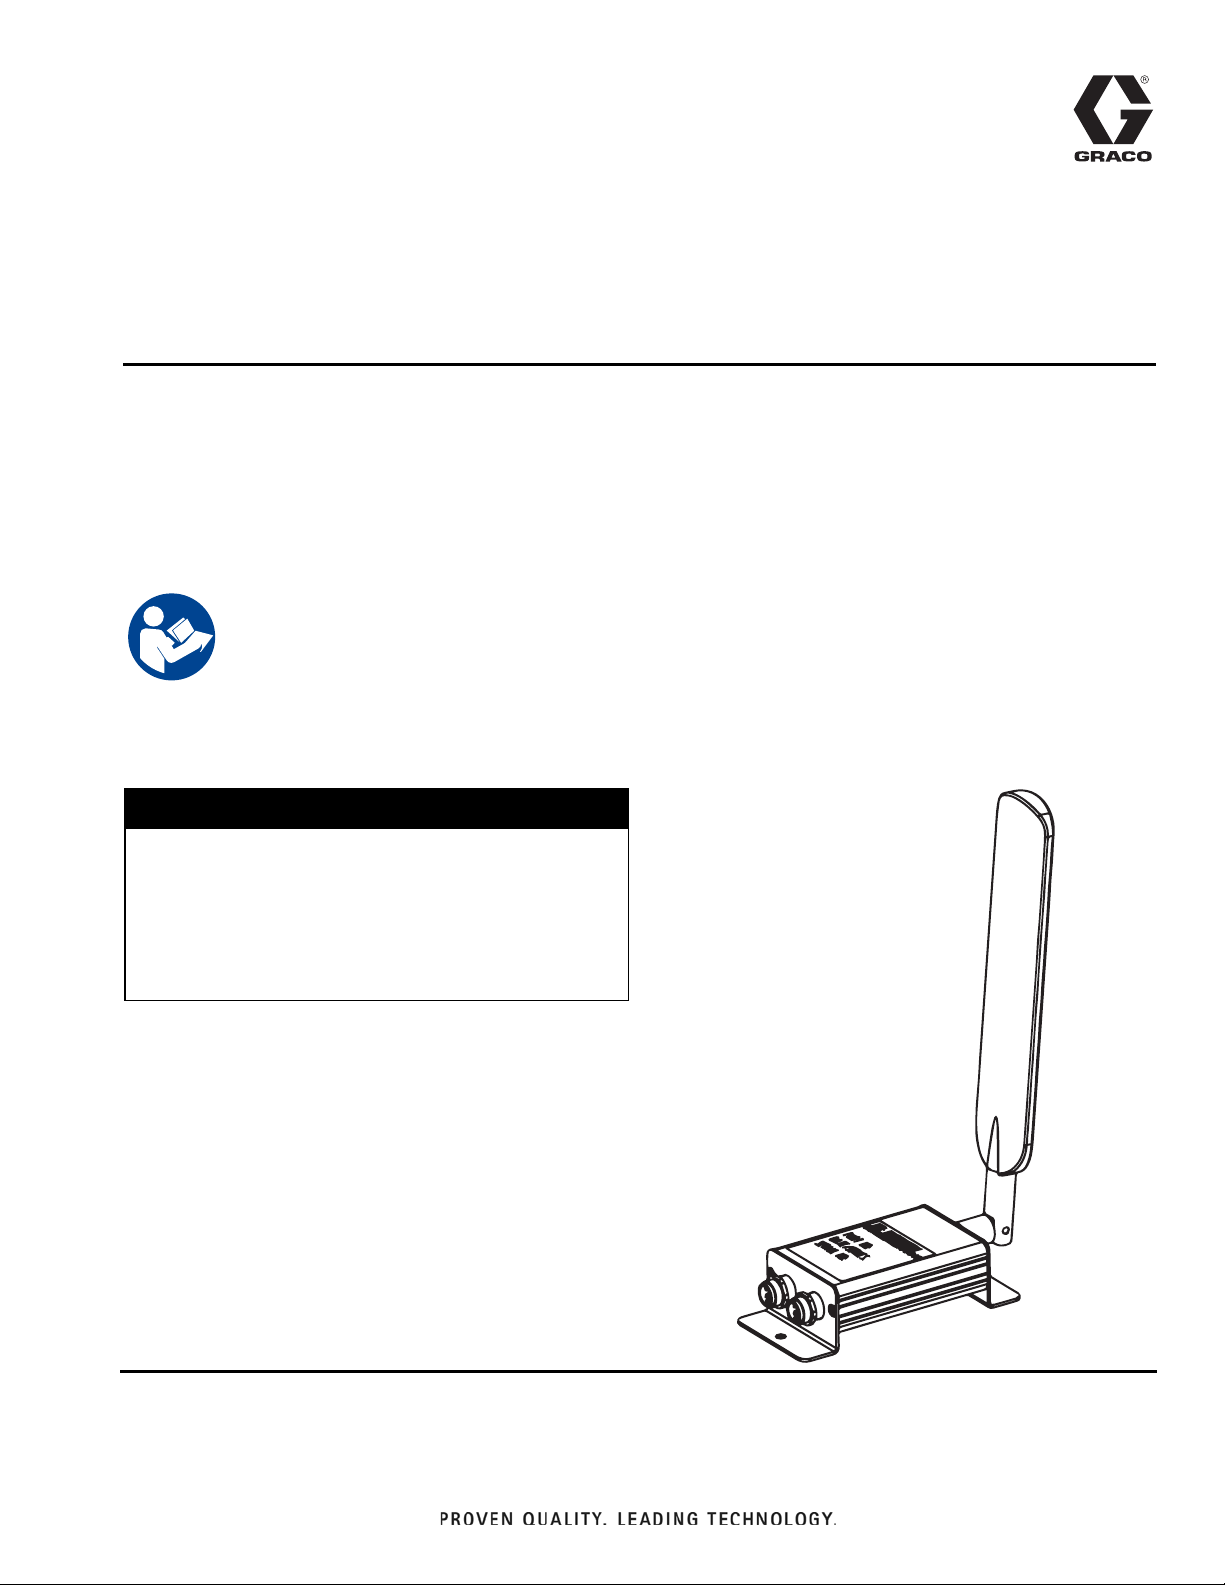
Reactor® Connect
3A5538F
For Reactor 2 Electric and Hydraulic Systems
For remotely changing system settings on Graco Reactor 2 E-30, E-XP2, H-30, H-40, H-50,
H-XP2, and H-XP3 systems. For professional use only.
Model 25M777
Model 25P159
Important Safety Instructions
Read all warnings and instructions in this manual
and in the Reactor
By operating your Reactor 2 system with the cellular
module installed, you are accepting the Graco Reactor
Connect Terms and Conditions and Software License
Agreement (“Terms”).
®
2 manual. Save all instructions.
IMPORTANT
EN
To review the Terms, install the Reactor Connect on
your mobile device or visit www.graco.com.
Page 2
Models
Contents
Models . . . . . . . . . . . . . . . . . . . . . . . . . . . . . . . . . . . 2
Related Manuals . . . . . . . . . . . . . . . . . . . . . . . . . . . 2
Agency Approvals . . . . . . . . . . . . . . . . . . . . . . . . . . 2
Warnings . . . . . . . . . . . . . . . . . . . . . . . . . . . . . . . . . 4
Typical Installation . . . . . . . . . . . . . . . . . . . . . . . . . 5
Reactor 2 Electric . . . . . . . . . . . . . . . . . . . . . . . . 5
Reactor 2 Hydraulic . . . . . . . . . . . . . . . . . . . . . . 6
Overview . . . . . . . . . . . . . . . . . . . . . . . . . . . . . . . . . . 7
Installation . . . . . . . . . . . . . . . . . . . . . . . . . . . . . . . . 7
Mount Cellular Module . . . . . . . . . . . . . . . . . . . . 7
Setup . . . . . . . . . . . . . . . . . . . . . . . . . . . . . . . . . . . . . 8
Connect App to Reactor . . . . . . . . . . . . . . . . . . . 8
Operation . . . . . . . . . . . . . . . . . . . . . . . . . . . . . . . . . 9
Reactor Connect . . . . . . . . . . . . . . . . . . . . . . . . . 9
Cellular Screen . . . . . . . . . . . . . . . . . . . . . . . . . . . . 10
View Cellular Screen . . . . . . . . . . . . . . . . . . . . . 10
Reset Reactor Key . . . . . . . . . . . . . . . . . . . . . . 10
Troubleshooting . . . . . . . . . . . . . . . . . . . . . . . . . . . 11
Disconnect Cellular Module . . . . . . . . . . . . . . . . 11
Parts . . . . . . . . . . . . . . . . . . . . . . . . . . . . . . . . . . . . 12
Cellular Module and Antenna . . . . . . . . . . . . . . 12
Accessories . . . . . . . . . . . . . . . . . . . . . . . . . . . . 12
Technical Specifications . . . . . . . . . . . . . . . . . . . . 13
Graco Standard Warranty . . . . . . . . . . . . . . . . . . . 14
Graco Information . . . . . . . . . . . . . . . . . . . . . . . . . 14
Models
Included
Kit
25M777 25M720 3G cellular module, operational worldwide
25P159 25N372 LTE CAT-1 (4G) cellular module, only operational in the United States and Canada
Cellular Module Description
Related Manuals
Manual in
English Description
333023 Reactor 2 E-30 and E-XP2 Proportioning Systems (Operation)
333024 Reactor 2 E-30 and E-XP2 Proportioning Systems (Repair-Parts)
334945 Reactor 2 Hydraulic Proportioning Systems (Operation)
334946 Reactor 2 Hydraulic Proportioning Systems (Repair-Parts)
Agency Approvals
NOTE: Cellular module kit 25M833 contains Part 25M720. Cellular module kit 25E658 contains Part 25N372.
2 3A5538F
Page 3
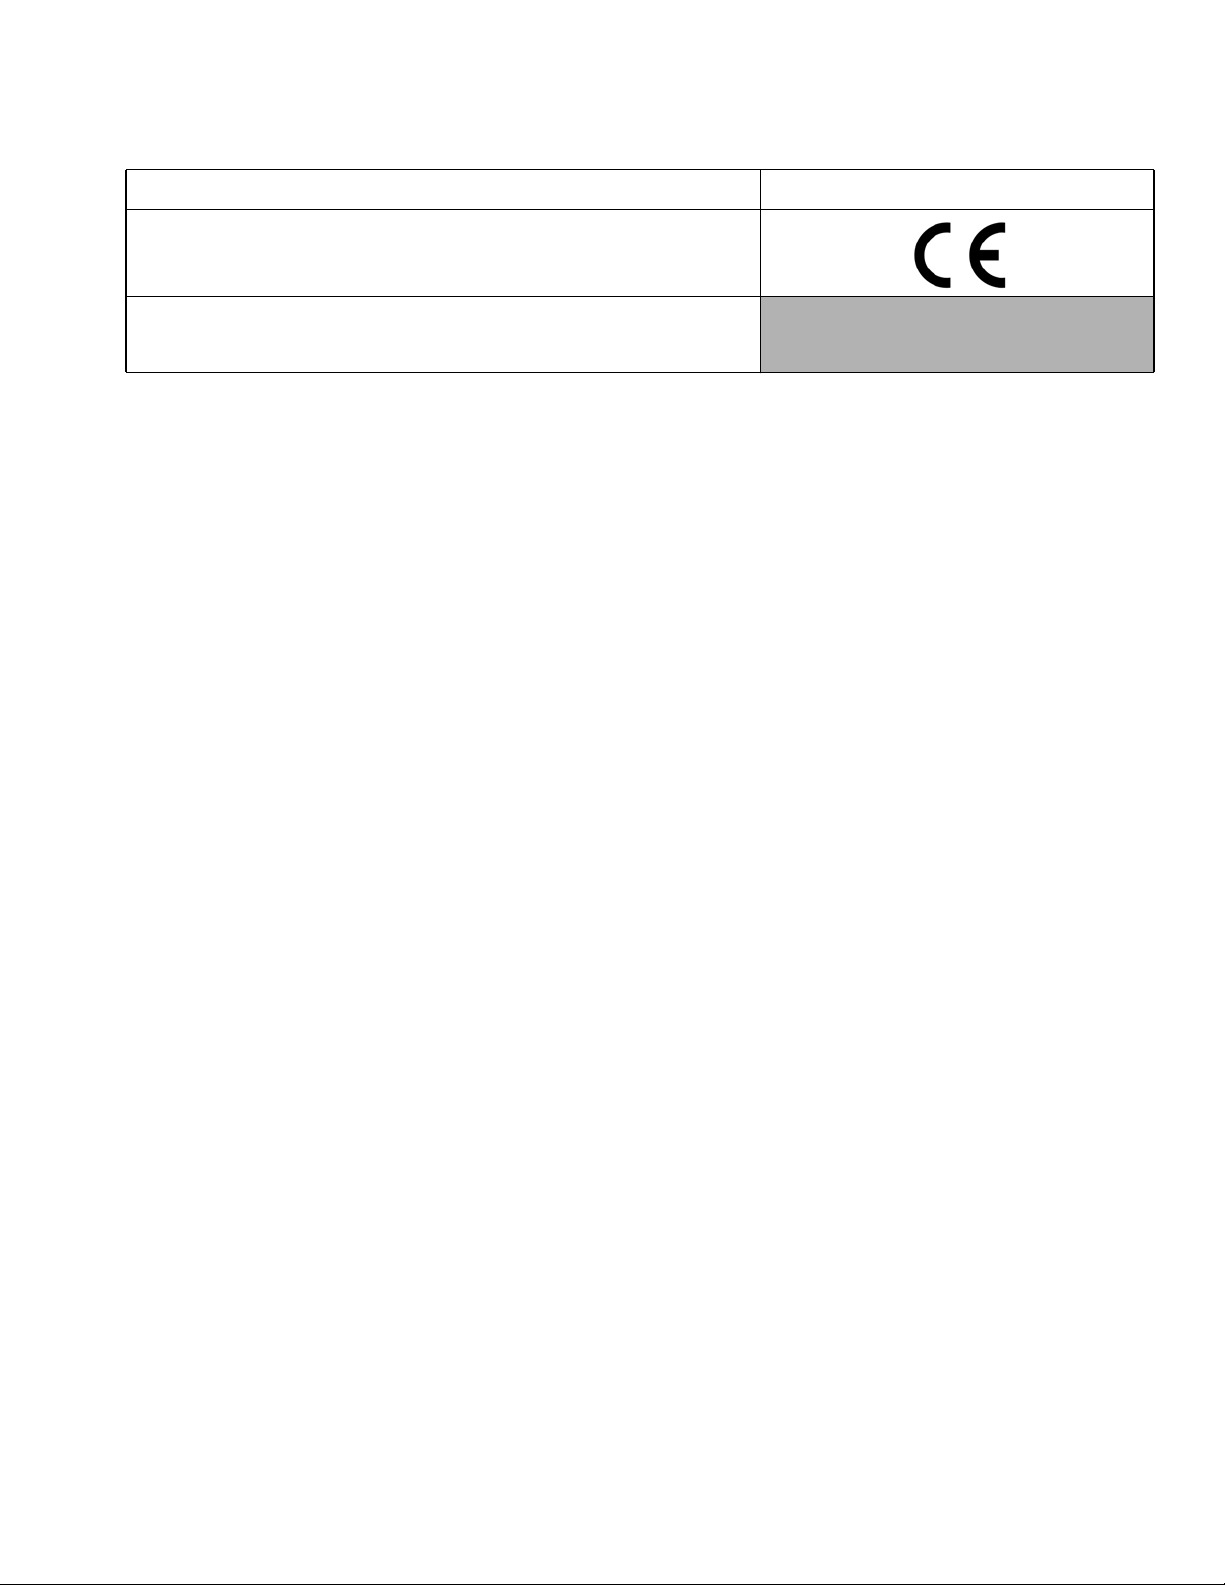
Description Approvals
MODULE, cellular, worldwide (25M720)
MODULE, cellular, United States and Canada only (25N372)
Agency Approvals
3A5538F 3
Page 4

Warnings
Warnings
The following warnings are for the setup, use, grounding, maintenance, and repair of this equipment. The
exclamation point symbol alerts you to a general warning and the hazard symbols refer to procedure-specific risks.
When these symbols appear in the body of this manual or on warning labels, refer back to these Warnings.
Product-specific hazard symbols and warnings not covered in this section may appear throughout the body of this
manual where applicable.
WARNING
ELECTRIC SHOCK HAZARD
This equipment must be grounded. Improper grounding, setup, or usage of the system can cause
electric shock.
• Turn off and disconnect power at main switch before disconnecting any cables and before servicing
or installing equipment.
• Connect only to grounded power source.
• All electrical wiring must be done by a qualified electrician and comply with all local codes and
regulations.
EQUIPMENT MISUSE HAZARD
Misuse can cause death or serious injury.
• Do not operate the unit when fatigued or under the influence of drugs or alcohol.
• Do not exceed the maximum working pressure or temperature rating of the lowest rated system
component. See Technical Specifications in all equipment manuals.
• Use fluids and solvents that are compatible with equipment wetted parts. See Technical
Specifications in all equipment manuals. Read fluid and solvent manufacturer’s warnings. For
complete information about your material, request Safety Data Sheets (SDSs) from distributor or
retailer.
• Do not leave the work area while equipment is energized or under pressure.
• Turn off all equipment and follow the Pressure Relief Procedure when equipment is not in use.
• Check equipment daily. Repair or replace worn or damaged parts immediately with genuine
manufacturer’s replacement parts only.
• Do not alter or modify equipment. Alterations or modifications may void agency approvals and
create safety hazards.
• Make sure all equipment is rated and approved for the environment in which you are using it.
• Use equipment only for its intended purpose. Call your distributor for information.
• Route hoses and cables away from traffic areas, sharp edges, moving parts, and hot surfaces.
• Do not kink or over bend hoses or use hoses to pull equipment.
• Keep children and animals away from work area.
• Comply with all applicable safety regulations.
MOVING PARTS HAZARD
Moving parts can pinch, cut or amputate fingers and other body parts.
• Keep clear of moving parts.
• Do not operate equipment with protective guards or covers removed.
• Pressurized equipment can start without warning. Before checking, moving, or servicing
equipment, follow the Pressure Relief Procedure and disconnect all power sources.
4 3A5538F
Page 5
Typical Installation
Reactor 2 Electric
Typical Installation
C
MCM
F
D
A
E
B
WLD
FIG. 1: Typical Reactor Connect Cell Module Installation (Reactor 2 Electric)
Ref. Description
A Cellular Module
B Antenna Cable
C Antenna
D* Power Supply Cable
3A5538F 5
Ref. Description
E* Antenna Bulkhead
F CAN Cable
MCM* Motor Control Module
* Included with Reactor 2 proportioner.
Page 6

Typical Installation
Reactor 2 Hydraulic
+&0
)
' $
&
(
%
WLD
FIG. 2: Typical Reactor Connect Cell Module Installation (Reactor 2 Hydraulic)
Ref. Description
A Cellular Module
B Antenna Cable
C Antenna
D* Power Supply Cable
6 3A5538F
Ref. Description
E* Antenna Bulkhead
F CAN Cable
HCM* Hydraulic Control Module
* Included with Reactor 2 proportioner.
Page 7

Overview
Overview
To avoid injury due to unexpected machine operation
initiated by remote controller, disconnect the cellular
module from the system prior to troubleshooting. See
Disconnect Cellular Module, page 11.
The Reactor Connect allows the Graco Reactor 2 to be
monitored and operated remotely. The Reactor 2 is
intended to be controlled by an on-site operator. In any
lock-out, tag-out procedure, take into consideration the
potential for changes to the Reactor 2 settings due to
remote operation.
Installation
Mount Cellular Module
1. Shut down the system. See your Reactor 2
operation manual for shutdown instructions.
2. Disconnect incoming power at the source.
3. Open the top and bottom door latches to the
electrical cabinet.
4. Open the electrical cabinet.
5. Install the cellular module (A) at the top of the
electrical enclosure using screws (7) and nuts (5).
6. Attach the antenna cable (B) to the cellular module
(A) and the antenna bulkhead (E). Tighten by hand.
7. Remove the power supply cable (D) from the motor
or hydraulic control module (MCM or HCM). Attach
the cable to the cellular module.
8. Attach the CAN cable (F) to the cellular module (A)
and the motor or hydraulic control module (MCM or
HCM).
9. Close and lock the electrical cabinet door with the
door latches.
10. Install the antenna (C) onto the antenna bulkhead
(E) on top of the electrical cabinet. Tighten by hand.
3A5538F 7
Page 8

Setup
Setup
Download the Graco Reactor Connect on the Apple App
Store® or the Android Google Play™ store.
1. Open the Reactor Connect on your smartphone.
2. Read and accept the Terms of Use and data usage
notification.
3. Review the app tutorial.
Connect App to Reactor
1. On the Reactor ADM, press to enter the
setup mode.
2. Press to go to the Cellular screen (see FIG.
4).
NOTE: Before connecting the Reactor to an app for the
first time, Reset Reactor Key. See page 10.
3. To connect the app to the Reactor, scan the code.
a. Select the Scan code button on the app. (See
FIG. 3.)
b. Using the app and your smartphone camera,
scan the code displayed on the ADM Cellular
screen.
4. If you have trouble scanning the code, type in the
IMEI and the key instead.
a. Select Type in IMEI and key. (See FIG. 3.)
b. Enter the Reactor IMEI found on the ADM
Cellular screen.
c. Enter the Reactor key found on the ADM
Cellular screen.
FIG. 3: Connect Screen in App
d. Select the Connect button on the app.
8 3A5538F
Page 9

Operation
Reactor Connect
Operation
H
G
J
K
L
M
N
P
R
S
W
Ref. Description
G Reactor Status
H Reactor Name
J Menu
K Reactor Power Switch
L Heat Zone Settings
M Heat Zone On/Off
N Heat Zone Actual Temperature
P Heat Zone Temperature Setpoint
Y
T
V
U
Ref. Description
R Proportioner Start/Stop Switch
S Proportioner Mode (Spray, Jog, Park)
T Pump Pressure
U Pump Pressure Setpoint
V Material Usage
W Cycle Count
Y Reset Cycle Count
3A5538F 9
Page 10

Cellular Screen
Cellular Screen
FIG. 4: ADM Cellular Screen
Use this screen to connect the Reactor Connect to the
Reactor, determine the cellular signal strength, or reset
the Reactor Key.
View Cellular Screen
1. On the Reactor ADM, press to enter the
setup mode.
2. Press to go to the Cellular screen.
Reset Reactor Key
Resetting your Reactor Key prevents other users from
remotely changing or viewing Reactor settings without
first reconnecting to the Reactor.
1. On the Reactor ADM Cellular screen, press
to reset the Reactor key.
2. Press to confirm resetting the Reactor key.
3. Reconnect your app to the Reactor. See Connect
App to Reactor, page 8.
NOTE: After resetting your Reactor key, all operators
using the Graco Reactor Connect must reconnect to the
Reactor.
NOTE: For security of wireless control, change the
Reactor key on a regular basis and whenever there is a
concern about unauthorized access.
10 3A5538F
Page 11

Troubleshooting
For information on troubleshooting a Reactor, refer to
the Reactor repair manual.
Troubleshooting
Disconnect Cellular Module
NOTE: Before troubleshooting the Reactor, disconnect
the cellular module (A) from the ADM. The Reactor
Connect cannot change Reactor 2 settings while the
cellular module is disconnected.
1. Shut down system. See your Reactor 2 operation
manual for shutdown instructions.
2. Disconnect incoming power at the source.
3. Open the top and bottom door latches to the
electrical cabinet.
4. Open the electrical cabinet.
5. Disconnect the CAN cable (F) from the cellular
module (A) and the motor or hydraulic control
module (MCM or HCM).
6. Disconnect the power supply cable (D) from the
cellular module. Connect the loose end of the power
supply cable (D) to the motor or hydraulic control
module (MCM or HCM).
7. Close and lock the electrical cabinet door with the
door latches.
Problem Cause Solution
No module status LEDs are
illuminated.
No network connection. Still establishing cellular connection. Wait a few minutes for the unit to
Network is connected, but there is no
server connection.
No power to cellular module. Turn Reactor proportioner on.
Ensure cellular module is properly
installed. See Installation, page 7.
establish a connection.
Unable to establish cellular
connection.
Cellular module software is incorrect. Go to ADM Advanced Software
Server is not responding. Wait a few minutes for the unit to
To establish cellular connection, move
system to a location with cellular
service.
Mount accessory antenna 25D878 on
the outside of your trailer.
screen and confirm that software is
correct. If it is not, update the ADM
software.
establish a connection.
3A5538F 11
Page 12

Parts
Parts
Cellular Module and Antenna
Ref. Part Description Qty.
1 25M833 KIT, cellular module, worldwide 1
25E658 KIT, cellular module, United States
and Canada only
2 25M830 CABLE, antenna 1
4 25M828 ANTENNA, paddle 1
5 127158 NUT, 8-32 2
6 123422 CABLE, can 1
7 16X129 SCREW, phillips, 8-32, 3/2 long 2
1
WLD
Accessories
Part Description
25D878 KIT, antenna, external use (not shown)
12 3A5538F
Page 13

Technical Specifications
Technical Specifications
Cellular Module (25M720)
FCC/IC
Contains FCC ID XPY1CGM5NNN
Contains IC ID (Industry Canada) 8595A-1CGM5NNN
The enclosed device complies with Part 15 of the FCC Rules and with Industry Canada license-exempt RSS
standard(s). Operation is subject to the following two conditions:(1) this device may not cause harmful
interference and (2) this device must accept any interference received, including interference that may cause
undesired operation.
Changes or modifications not expressly approved by the party responsible for compliance could void the
user’s authority to operate the equipment.
Cellular Radio Data
Cellular Radio u-blox SARA-U201
Band 19 (800 MHz)
Band 5 (850 MHz)
Band Support
WCDMA/HSDPA/HSUPA Power Class Power Class 3 (24 dBm) for WCDMA/HSDPA/HSUPA mode
Band 8 (900 MHz)
Band 2 (1900 MHz)
Band 1 (2100 MHz)
Cellular Module (25N372)
FCC/IC
Contains FCC ID
Contains IC ID (Industry Canada)
The enclosed device complies with Part 15 of the FCC Rules and with Industry Canada license-exempt RSS
standard(s). Operation is subject to the following two conditions:(1) this device may not cause harmful
interference and (2) this device must accept any interference received, including interference that may cause
undesired operation.
Changes or modifications not expressly approved by the party responsible for compliance could void the
user’s authority to operate the equipment.
Cellular Radio Data
Cellular Radio Telit LE866
Band Support
MCQ-XB3C1
RI7XE866A1NA
1846A-XB3C1
5131A-XE866A1NA
Band 12 (700 MHz)
Band 4 (1700 MHz)
Band 2 (1900 MHz)
3A5538F 13
Page 14

Graco Standard Warranty
Graco warrants all equipment referenced in this document which is manufactured by Graco and bearing its name to be free from defects in
material and workmanship on the date of sale to the original purchaser for use. With the exception of any special, extended, or limited warranty
published by Graco, Graco will, for a period of twelve months from the date of sale, repair or replace any part of the equipment determined by
Graco to be defective. This warranty applies only when the equipment is installed, operated and maintained in accordance with Graco’s written
recommendations.
This warranty does not cover, and Graco shall not be liable for general wear and tear, or any malfunction, damage or wear caused by faulty
installation, misapplication, abrasion, corrosion, inadequate or improper maintenance, negligence, accident, tampering, or substitution of
non-Graco component parts. Nor shall Graco be liable for malfunction, damage or wear caused by the incompatibility of Graco equipment with
structures, accessories, equipment or materials not supplied by Graco, or the improper design, manufacture, installation, operation or
maintenance of structures, accessories, equipment or materials not supplied by Graco.
This warranty is conditioned upon the prepaid return of the equipment claimed to be defective to an authorized Graco distributor for verification of
the claimed defect. If the claimed defect is verified, Graco will repair or replace free of charge any defective parts. The equipment will be returned
to the original purchaser transportation prepaid. If inspection of the equipment does not disclose any defect in material or workmanship, repairs
will be made at a reasonable charge, which charges may include the costs of parts, labor, and transportation.
THIS WARRANTY IS EXCLUSIVE, AND IS IN LIEU OF ANY OTHER WARRANTIES, EXPRESS OR IMPLIED, INCLUDING BUT NOT
LIMITED TO WARRANTY OF MERCHANTABILITY OR WARRANTY OF FITNESS FOR A PARTICULAR PURPOSE.
Graco’s sole obligation and buyer’s sole remedy for any breach of warranty shall be as set forth above. The buyer agrees that no other remedy
(including, but not limited to, incidental or consequential damages for lost profits, lost sales, injury to person or property, or any other incidental or
consequential loss) shall be available. Any action for breach of warranty must be brought within two (2) years of the date of sale.
GRACO MAKES NO WARRANTY, AND DISCLAIMS ALL IMPLIED WARRANTIES OF MERCHANTABILITY AND FITNESS FOR A
PARTICULAR PURPOSE, IN CONNECTION WITH ACCESSORIES, EQUIPMENT, MATERIALS OR COMPONENTS SOLD BUT NOT
MANUFACTURED BY GRACO. These items sold, but not manufactured by Graco (such as electric motors, switches, hose, etc.), are subject to
the warranty, if any, of their manufacturer. Graco will provide purchaser with reasonable assistance in making any claim for breach of these
warranties.
In no event will Graco be liable for indirect, incidental, special or consequential damages resulting from Graco supplying equipment hereunder, or
the furnishing, performance, or use of any products or other goods sold hereto, whether due to a breach of contract, breach of warranty, the
negligence of Graco, or otherwise.
FOR GRACO CANADA CUSTOMERS
The Parties acknowledge that they have required that the present document, as well as all documents, notices and legal proceedings entered into,
given or instituted pursuant hereto or relating directly or indirectly hereto, be drawn up in English. Les parties reconnaissent avoir convenu que la
rédaction du présente document sera en Anglais, ainsi que tous documents, avis et procédures judiciaires exécutés, donnés ou intentés, à la suite
de ou en rapport, directement ou indirectement, avec les procédures concernées.
Graco Information
For the latest information about Graco products, visit www.graco.com.
For patent information, see www.graco.com/patents.
TO PLACE AN ORDER, contact your Graco distributor or call to identify the nearest distributor.
Phone: 612-623-6921 or Toll Free: 1-800-328-0211 Fax: 612-378-3505
All written and visual data contained in this document reflects the latest product information available at the time of publication.
GRACO INC. AND SUBSIDIARIES • P.O. BOX 1441 • MINNEAPOLIS MN 55440-1441 • USA
Copyright 2021, Graco Inc. All Graco manufacturing locations are registered to ISO 9001.
Graco reserves the right to make changes at any time without notice.
2ULJLQDOLQVWUXFWLRQV This manual contains English. MM 3A5538
Graco Headquarters: Minneapolis
International Offices: Belgium, China, Japan, Korea
www.graco.com
Revision F, February 2021
 Loading...