

Page 1

Instructions–Parts List
Turbine Alternator
Repair Kits
For repair of turbine alternator used with PRO Series Electrostatic
Spray Guns, with PRO Pulse Electronic Fluid Meter, and with
SuperCatt, Xtreme Mixt 185, ProMixt Easy, and ProMixt I
Proportioners. For professional use only.
Important Safety Instructions
Read all warnings and instructions in this manual.
Save these instructions.
308034F
ENG
Part No. 223688 Bearing Repair Kit
223688
TI1884A
Page 2
INSTRUCTIONS
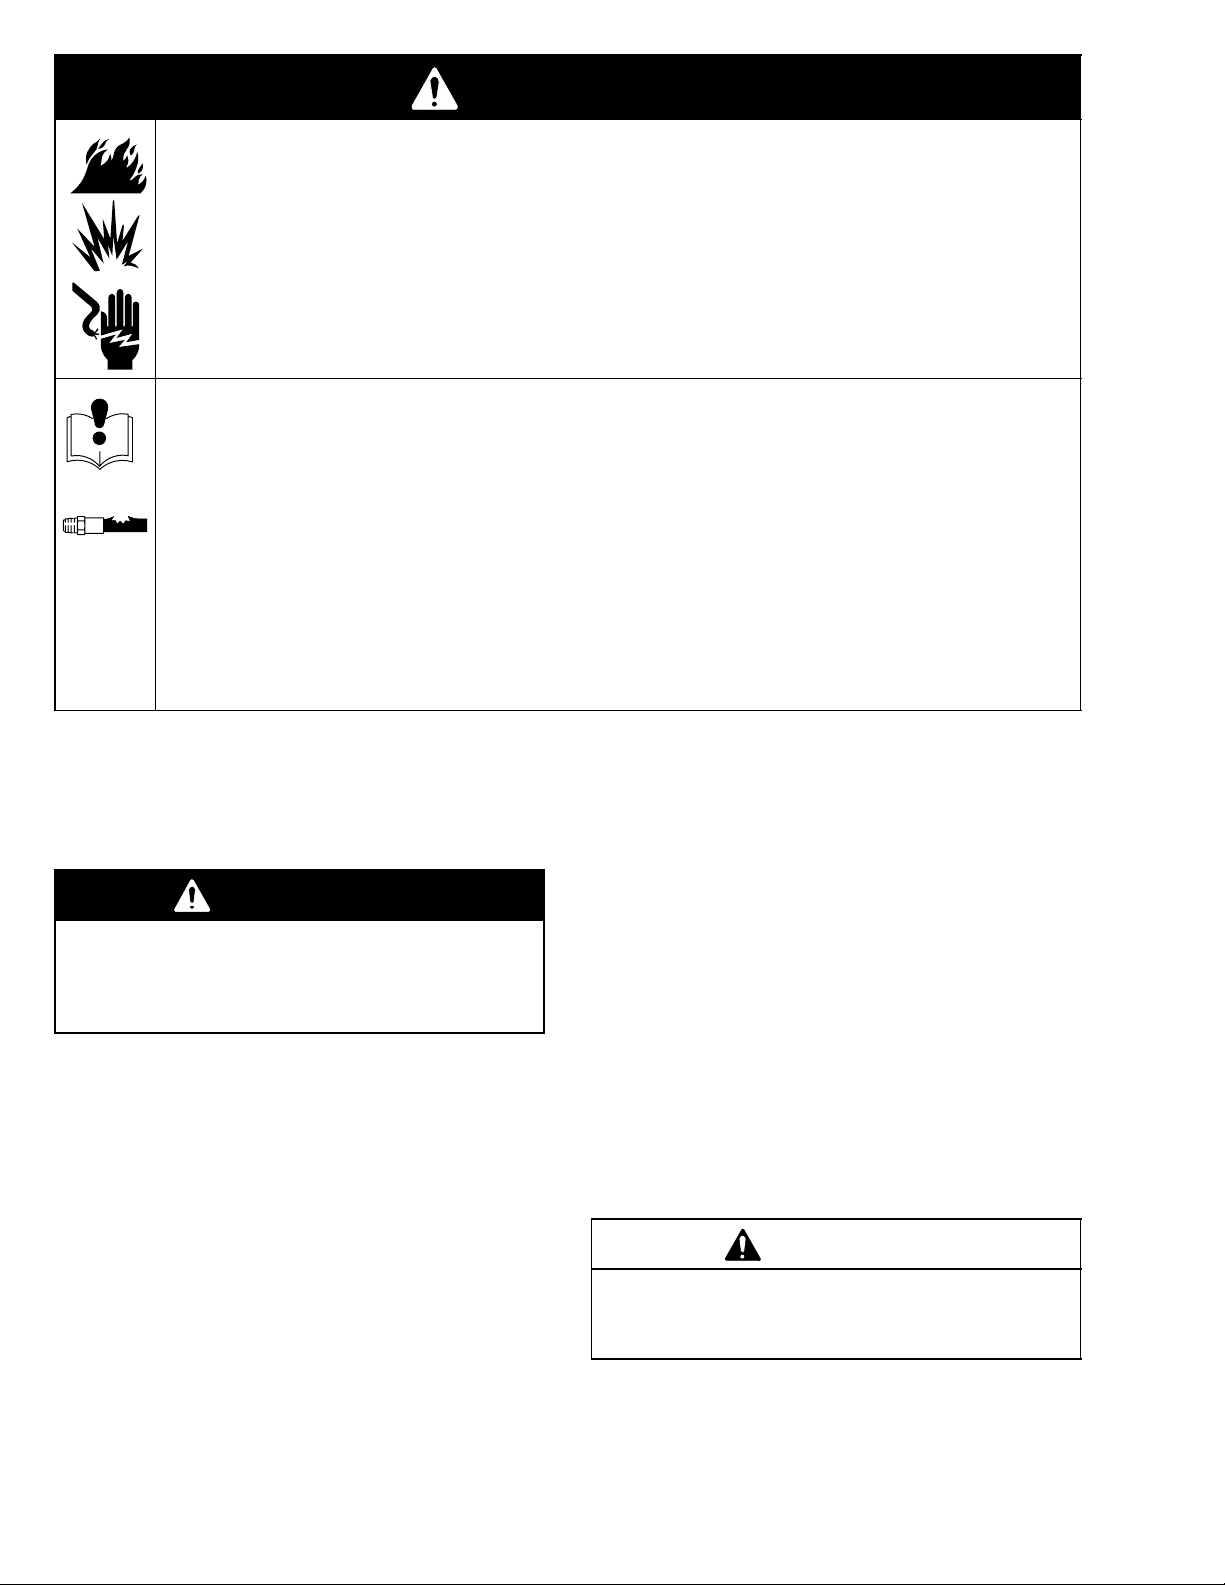
WARNING
FIRE, EXPLOSION, AND ELECTRIC SHOCK HAZARD
Improper grounding, poor air ventilation, open flames, or sparks can cause a hazardous condition and
result in a fire, explosion, or electric shock.
D Electrostatic equipment must be used only by trained, qualified personnel who understand the
requirements stated in this instruction manual and in the spray gun instruction manual.
D Read all the instruction manuals, tags, and labels before operating the equipment.
EQUIPMENT MISUSE HAZARD
Equipment misuse can cause the equipment to rupture, malfunction, or start unexpectedly and result
in a serious injury.
D Do not alter or modify this equipment. Use only genuine Graco parts and accessories.
D Check the equipment daily. Repair or replace worn or damaged parts immediately.
D Do not exceed the maximum working pressure of the lowest rated system component.
D Use fluids that are compatible with the equipment wetted parts. See the Technical Data section of
all the equipment manuals. Read the fluid manufacturer’s warnings.
D Comply with all applicable local, state, and national fire, electrical, and other safety regulations.
Turbine Alternator Service
Pressure Relief Procedure
WARNING
To reduce the risk of serious injury whenever you
are instructed to relieve pressure, always follow the
Pressure Relief Procedure in your spray gun
manual or in the SuperCat instruction manual.
Disassembly
1. Relieve the pressure.
2. See your spray gun manual to remove the power
cartridge. For the SuperCat alternator, remove six
screws, open the housing, and remove the power
cartridge.
3. Remove the turbine alternator.
4. Test the Coil: Measure the resistance between the
two outer terminals of the 3-pin connector (101a).
The resistance should be 2–5 ohms. Measure the
resistance between each outer terminal of the
3-pin connector and the turbine alternator housing
(B). The resistance should be infinite. If the readings vary from these values, replace the coil.
5. Remove the plastic plug (A).
6. Pro Xs Models only: Remove the retaining ring
(H) from the turbine alternator housing (B).
7. Insert a center punch or small metal shaft into the
hole in the back of the turbine alternator housing
(B). Hold the housing and lightly tap out the turbine
assembly (G).
8. Remove the larger bearing (2).
9. Slide the coil assembly (101) off the armature (D).
Inspect the coil for wear or damage and replace if
necessary.
NOTE: If only replacing the coil (101), continue by
following steps 5 through 11 on page 3.
10. Using a drift punch or small metal shaft, tap the
armature (D) out of the bearing (1) and fan (3).
CAUTION
To avoid demagnetization of the armature (D), never
place it in contact with, or in close proximity to, any
other armature or other ferromagnetic objects.
11. Clean the armature (D) shaft with a soft cloth.
Inspect the shaft for wear or damage. Replace the
armature (part no. 217590) if necessary.
2ą308034
Page 3

Turbine Alternator Service
KEY
A Plug
B Turbine Alternator Housing
D Armature
E O-Ring
G Turbine Assembly
H Retaining Ring (Pro Xs only)
1 Bearing
2 Bearing
3 Fan
101 Coil
101a 3-Wire Connector
PRO 3500 / 4500 / 5500, PRO Pulse,
and SuperCat, Xtreme Mix 185, ProMix Easy,
and ProMix I Proportioners
E
A
B
Exhaust Port
G
D
101
2
101a
H
PRO Xs
only
Fig. 1
Assembly
1. Remove the bearings (1 & 2) from the package
and wipe the excess oil off with a soft cloth. Do not
use solvent or air to wipe or blow off the excess oil.
2. Place the smaller bearing (1) [marked 197906] on
the long end of the armature (D), with the machined groove in the bearing facing the armature.
3. Install the fan (3) on the long end of the armature
(D), with the machined groove in the fan facing
away from the armature.
4. Insert the spacing tool (4) between the fan (3) and
bearing (1). Lightly tap on the end of the armature
(D) until the fan is pressed up against the spacing
tool and bearing. Remove the spacing tool. When
properly installed, the bearing (1) should spin
freely on the armature shaft.
5. Install the coil assembly (101) over the armature
(D), with the 3-wire connector (101a) facing away
from the fan (3).
3
1
B
PRO Xs Models
NOTE: The items referenced with
numbers are included with a kit.
6. Place the larger bearing (2) [marked 197907] on
the end of the armature (D), with the machined
groove in the bearing (2) facing in toward the
armature. Align the legs of both bearings with each
other.
NOTE: When installed, the bearing legs must not block
the exhaust ports of the turbine alternator housing (B)
or the gun will not operate properly.
7. Carefully slide the turbine alternator housing (B)
over the turbine assembly (G), aligning the bearing
legs between the exhaust ports of the housing.
Push the turbine alternator housing onto the
turbine assembly until the assembly is seated
firmly in the turbine alternator housing.
8. Pro Xs Models only: Install the retaining ring (H)
in the turbine alternator housing (B).
9. Press the plastic plug (A) onto the back of the
turbine alternator housing (B).
10. Install the turbine alternator on the power cartridge
as instructed in your spray gun manual.
11. Install the power cartridge and assemble the gun.
E
A
TI15230a
308034 3
Page 4

Parts
Part No. 223688
Turbine Alternator Bearing Repair Kit
Ref
No. Part No. Description Qty
1 197906 BEARING 1
2 197907 BEARING 1
3 179397 FAN 1
4 180064 SPACER TOOL 1
PRO 3500 / 4500 / 5500,
PRO Xs, PRO Pulse,
and SuperCat, Xtreme Mix 185, ProMix Easy,
and ProMix I Proportioners
3
1
2
Part No. 223750
Turbine Alternator Coil Repair Kit
(PRO 3500 / 4500 / 5500)
Ref
No. Part No. Description Qty
101 218166 COIL 1
101
Part No. 244577
Turbine Alternator Coil
(PRO Xs)
Ref
No. Part No. Description Qty
101 244577 COIL 1
101
4
TI1884A
Graco Information
For the latest information about Graco products, visit www.graco.com.
TO PLACE AN ORDER, contact your Graco distributor or call to identify the distributor closest to you:
Phone: 612–623–6921 or Toll Free: 1–800–328–0211 Fax: 612–378–3505
All written and visual data contained in this document reflects the latest product information available at the time of publication.
Graco reserves the right to make changes at any time without notice.
4ą308034
Original instructions. This manual contains English. MM 308034
Graco Headquarters: Minneapolis
International Offices: Belgium, China, Japan, Korea
GRACO INC. P.O. BOX 1441 MINNEAPOLIS, MN 55440–1441
Copyright 1990, Graco Inc. is registered to ISO 9001
www.graco.com
Revised 02/2010
 Loading...