

Grace Medical 990-001, 990-002 Quick Start Manual
Cartilage
Simple
MICROTOME
Accurate
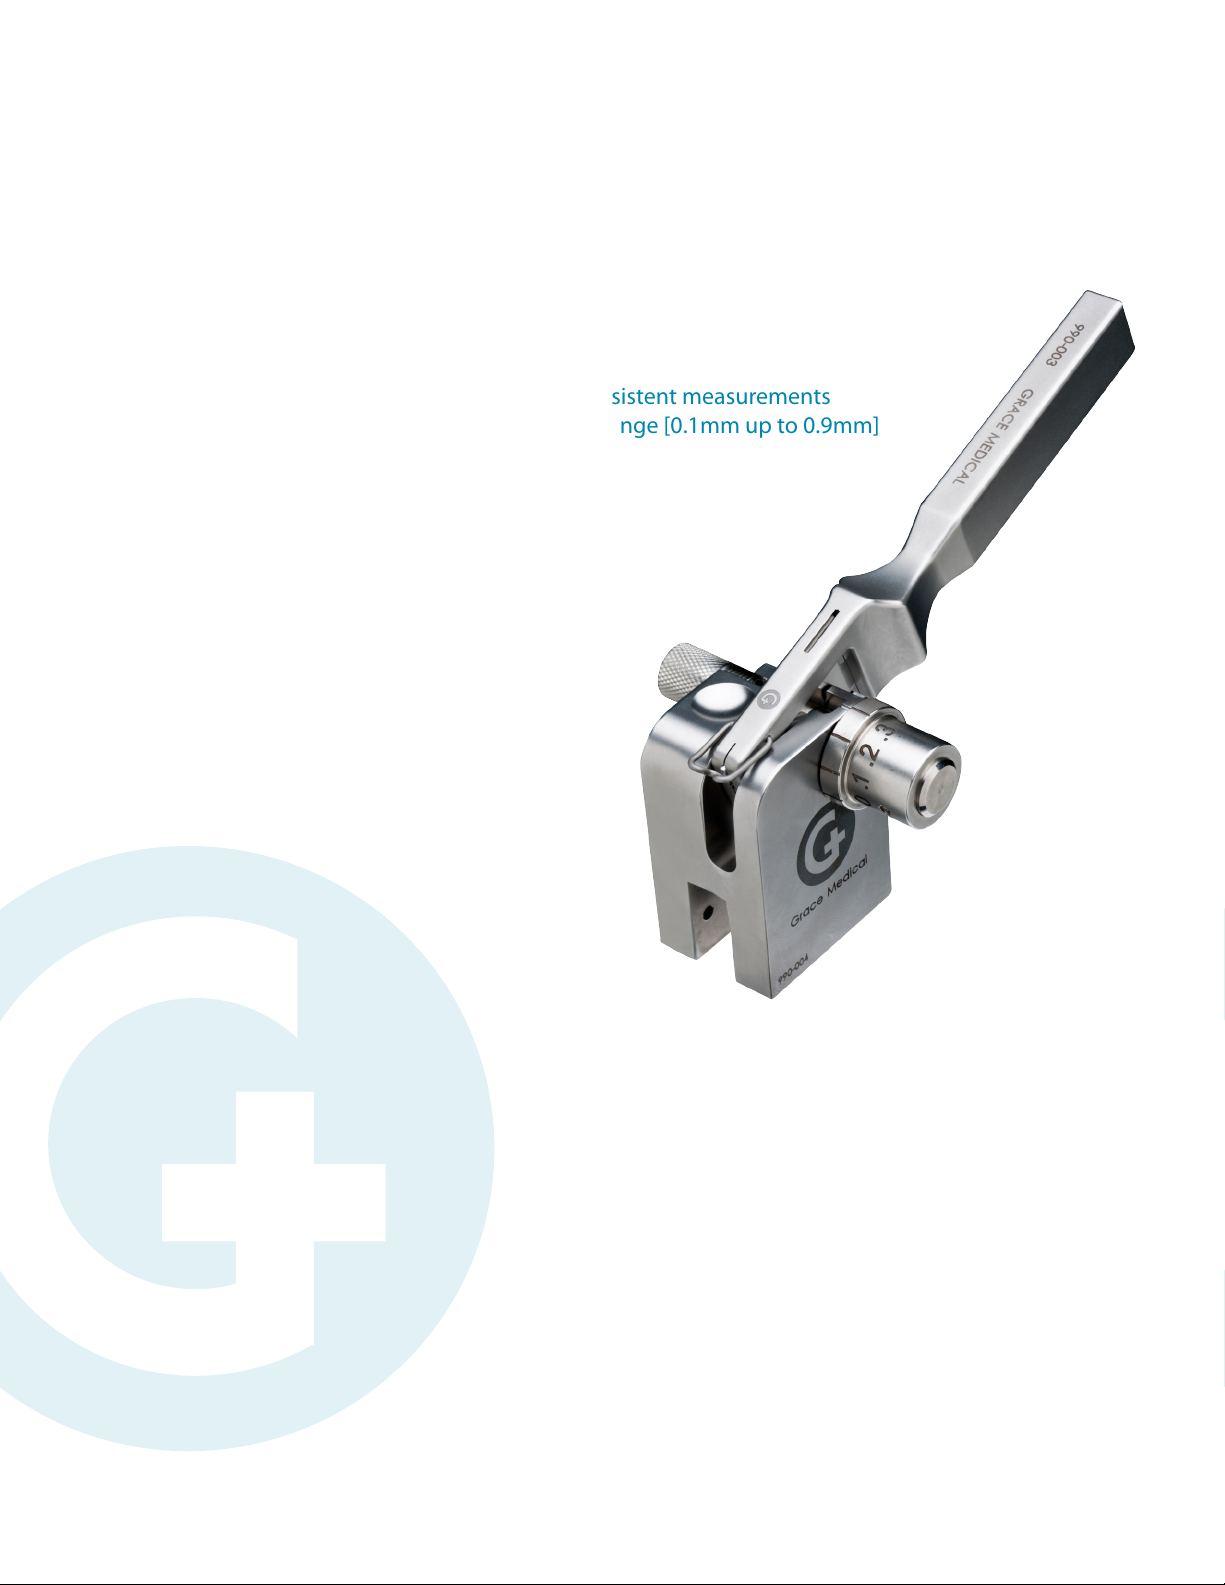
Accurate and consistent measurements
Broad thickness range [0.1mm up to 0.9mm]
Simple to assemble and operate
Eliminates need for distance plates
Safe
Safeguard for hands and ngers
Stability to safely guide cutting motion
990-001 Cartilage Microtome
990-002 Cartilage Microtome Blades (6/box)
8500 Wolf Lake Drive, Suite 110 • Memphis, TN 38133 • USA Toll Free 1.866.472.2363 • www.gracemedical.com
LIT0129 CID3387

A. Blade
B. Cartilage Knife
C. Measuring Dial
D. Base
E. Cartilage Support
E
A
C
1. Insert blade (A) into cartilage knife (B) and rotate lock to secure.
Lock
2. Insert measuring dial (C) into base (D) and rotate clockwise until
measuring dial (C) stops at 0.1mm.
3. Rotate measuring dial (C) counter-clockwise to desired thickness.
B
D
6. Tilt blade-end of cartilage knife (B) downward slightly and insert
into guide slot of base (D).
Guide Slot
7. Press downward on handle-end of cartilage knife (B) to cut
cartilage specimen into desired thickness. IMPORTANT! To
avoid difculty in removal of blade (A) from cartilage knife (B),
do not use excessive force when pressing downward.
4. Insert cartilage specimen into holding cavity of base (D).
Holding Cavity
5. Insert cartilage support (E) into base (D) and rotate clockwise to
secure cartilage specimen. IMPORTANT! To avoid crushing
cartilage specimen, stop rotating when cartilage specimen rests
snugly between measuring dial (C) and cartilage support (E).
8. Rotate measuring dial (C) and cartilage support (E) counter clockwise to reduce pressure on cartilage specimen before
removing cartilage knife (B) from base (D).
9. Remove measuring dial (C) and cartilage support (E) completely
from base (D) and extract cartilage specimen with desired
thickness.
Excess
Desired
 Loading...