

Page 1
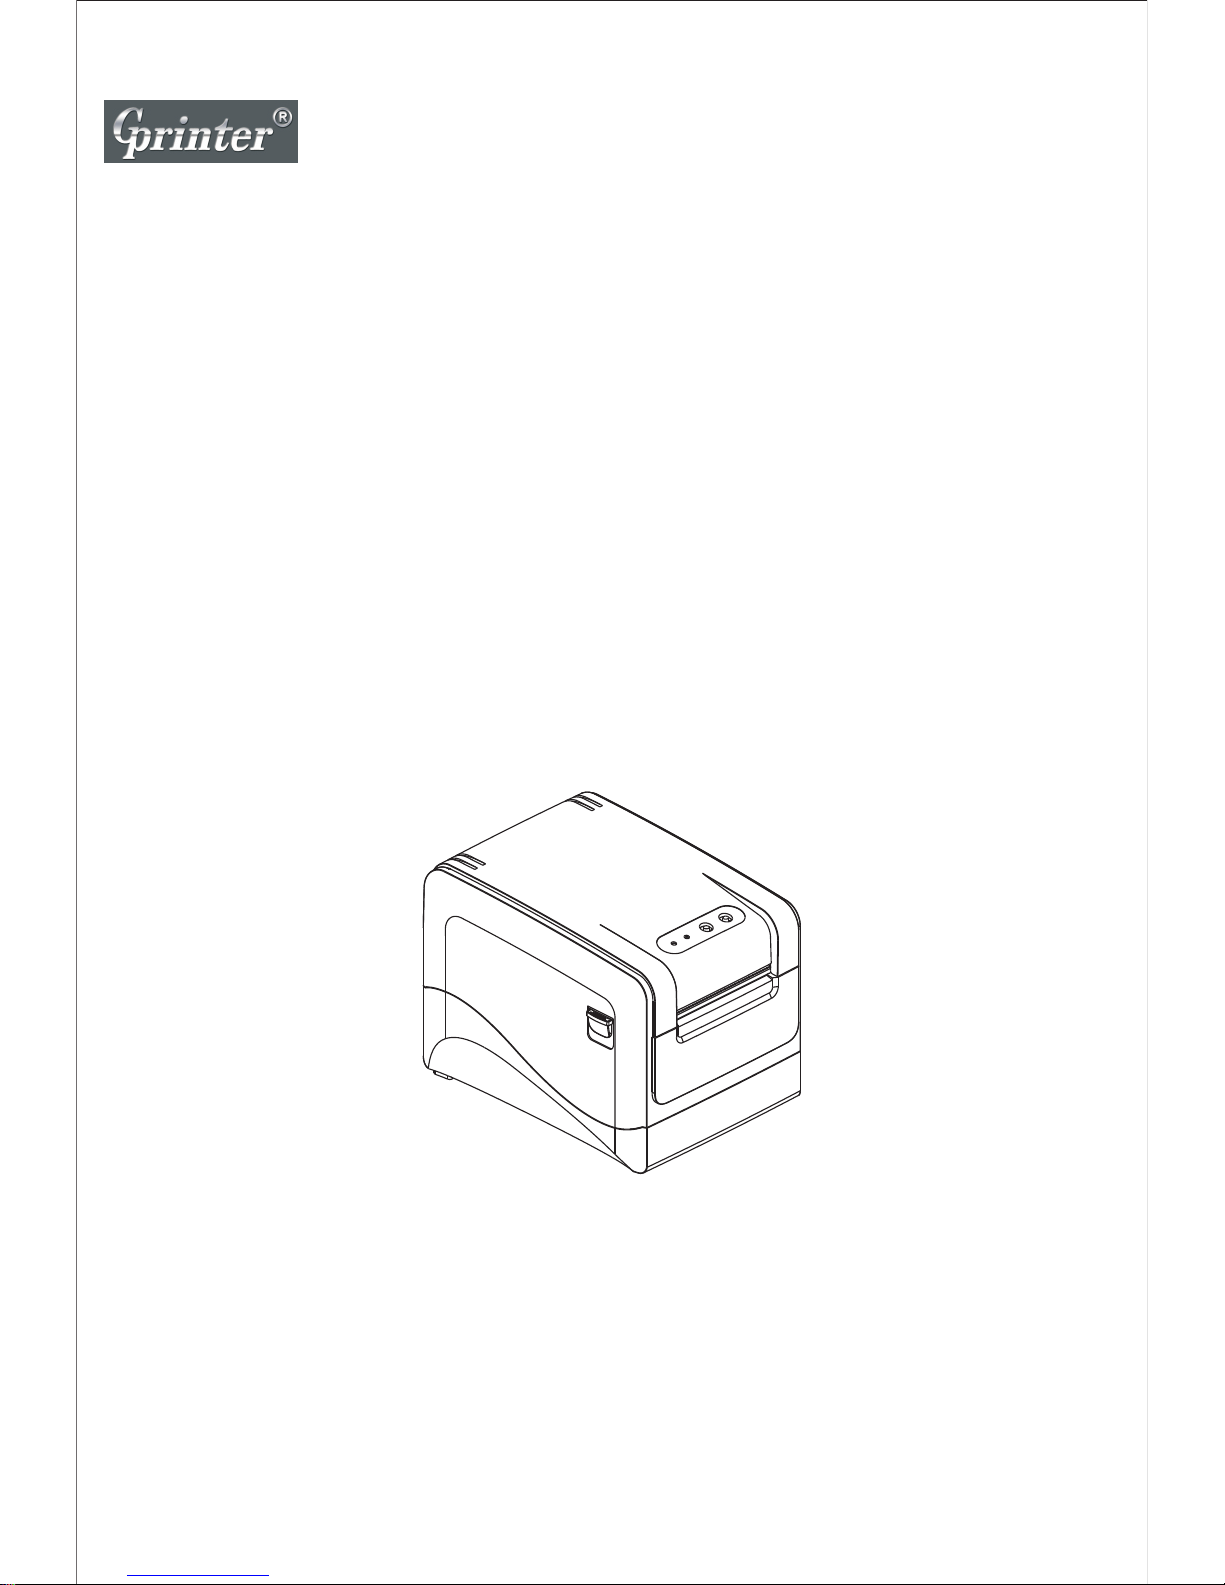
Proficient in Commercial POS Receipt Printers
THERMAL RECEIPT PRINTER
User’s Manual
GP-H80300I
Page 2

Line Thermal Print ers
1
1.Safety Notice:
* Install the printer on stable place, choose a firm, level surface where avoid vibration.
* Do not use and store the printer under high temperature, humid or seriously polluted environment.
* Connect AC power adapter to a proper power outlet. Avoid to use the same outlet with other large
electric machines which generate voltage fluctuation.
* Do not let water or conducting material (eg. metal) into the printer.
* Do not print when it is out of paper, which will seriously damage the printer head and rubber roller.
* We recommend that you unplug the printer from the power outlet whenever you do not plan to use it
for a long period.
* Do not try to disassemble, repair or remodel the printer by yourself.
* Only use the power supply that is come along with the printer.
* We recommend that you use good paper to deliever high quality receipts and to ensure
the printer's lifespan.
* Make sure that printer is off when connecting or disconnecting the plug, always hold the
plug - notthe cord.
* Please keep this manual for your reference.
2. Applications:
* POS system Receipts
* EFT POS system Receipts
* Gym, post, hospital, civil aviation system Receipts
* Inquiry, Service system Receipts
* Instrument test Receipts
* Tax, Tab Receipts
3. Unpacking
After unpacking the unit, check that all the necessary accessories are included in the package.
User's Manual 1 PCE
Printer 1 PCE
Serial interface cable 1 PCE
Power Adapter (include power cord) 1 SET
Page 3
300mm/sec high printing speed
OP O
S
Line Thermal Print ers
2
4. Features
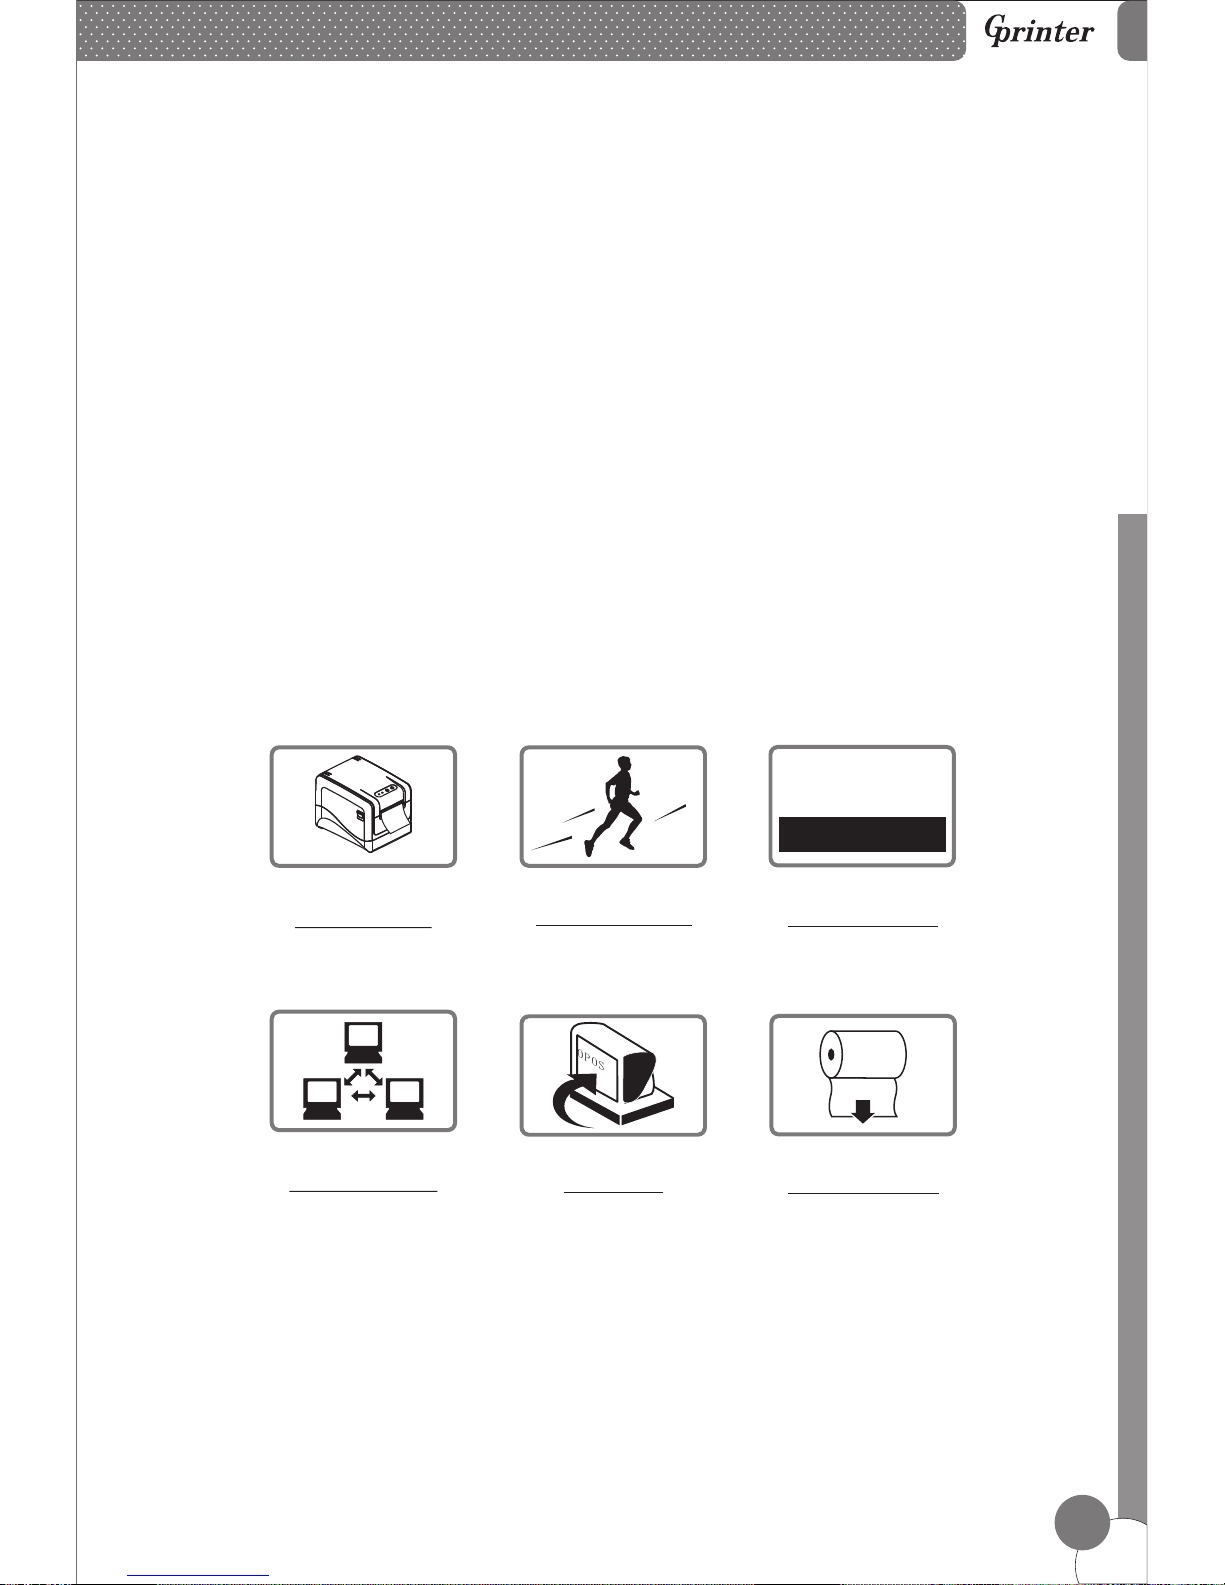
High Speed Printing
Bar Code Printing
Network Printing
OPOS Driver
120mm Large Roll
Front Paper Exit
*
* Support kitchen printing and network printing
* Support front paper dispensing and auto cutter, stopping paper from jamming
* Support bar code printing
* 120mm large paper roll
* Support 43mm, 58mm, 70mm, 80mm, 82mm paper width printing
* Rational construction, easy maintenance
* Various interfaces including Serial, USB and Ethernet
* Built in data buffer which can receive new task when printing is in progress.
* Characters can be enlarged, bonded, underlined, line space and character space can be adjusted.
* Support different density NV logo and download printing
* Low power consumption and low operation cost
* Compatible with EPSON ESC/POS and Star command sets. Choose character and columns per line
by using DIP switches.
* Support network printing status monitoring, OPOS driver
* Support printer identification, software bundle, high speed driver printing mode
* Support a variety of international characters
2010M06D18
BA RC OD E
%&
*
×
@#
+
÷
Page 4

2
300mm/sec
Line Thermal Print ers
3
Printing speed
Dot density
512/576/600/640 dots/line
Character size
ANK Character,
Font A: 12×24dots,
Font B: 9×17dots,
Chinese Character: 24×24dots
DC 24V/2A
DC 24V/1A
156×217×160mm(W×D×H)
Dimension
Powersupply
Power adapter
Input: AC110V 220V, 50~60HZ
Output: DC 24V/2A
~
Cash drawer
Work environment
Temperature: 0~45℃, Dampness: 10~80%
Storage environment
Temperature: -10~60℃, Dampness: 10~90%
UPC-A/UPC-E/JAN13(EAN13)/JAN8(EAN8)/
CODE39/ITF/CODABAR/CODE93/CODE128
Print command
Interface
Compatible with EPSON ESC/POS
and Star command sets
Serial/Ethernet/USB
Barcode mode
Reliability
Paper thickness
0.06~0.08mm
100Km
Auto cutter
Partial
Paper roll
Paper Width:43/58/70/80/82mm
Paper Diameter:1 0mm max.
Roller diameter: Inside: 12mm
Outside: 18~26mm
Model
5.Specification
GP-H80300I
Page 5
Line Thermal Print ers
4
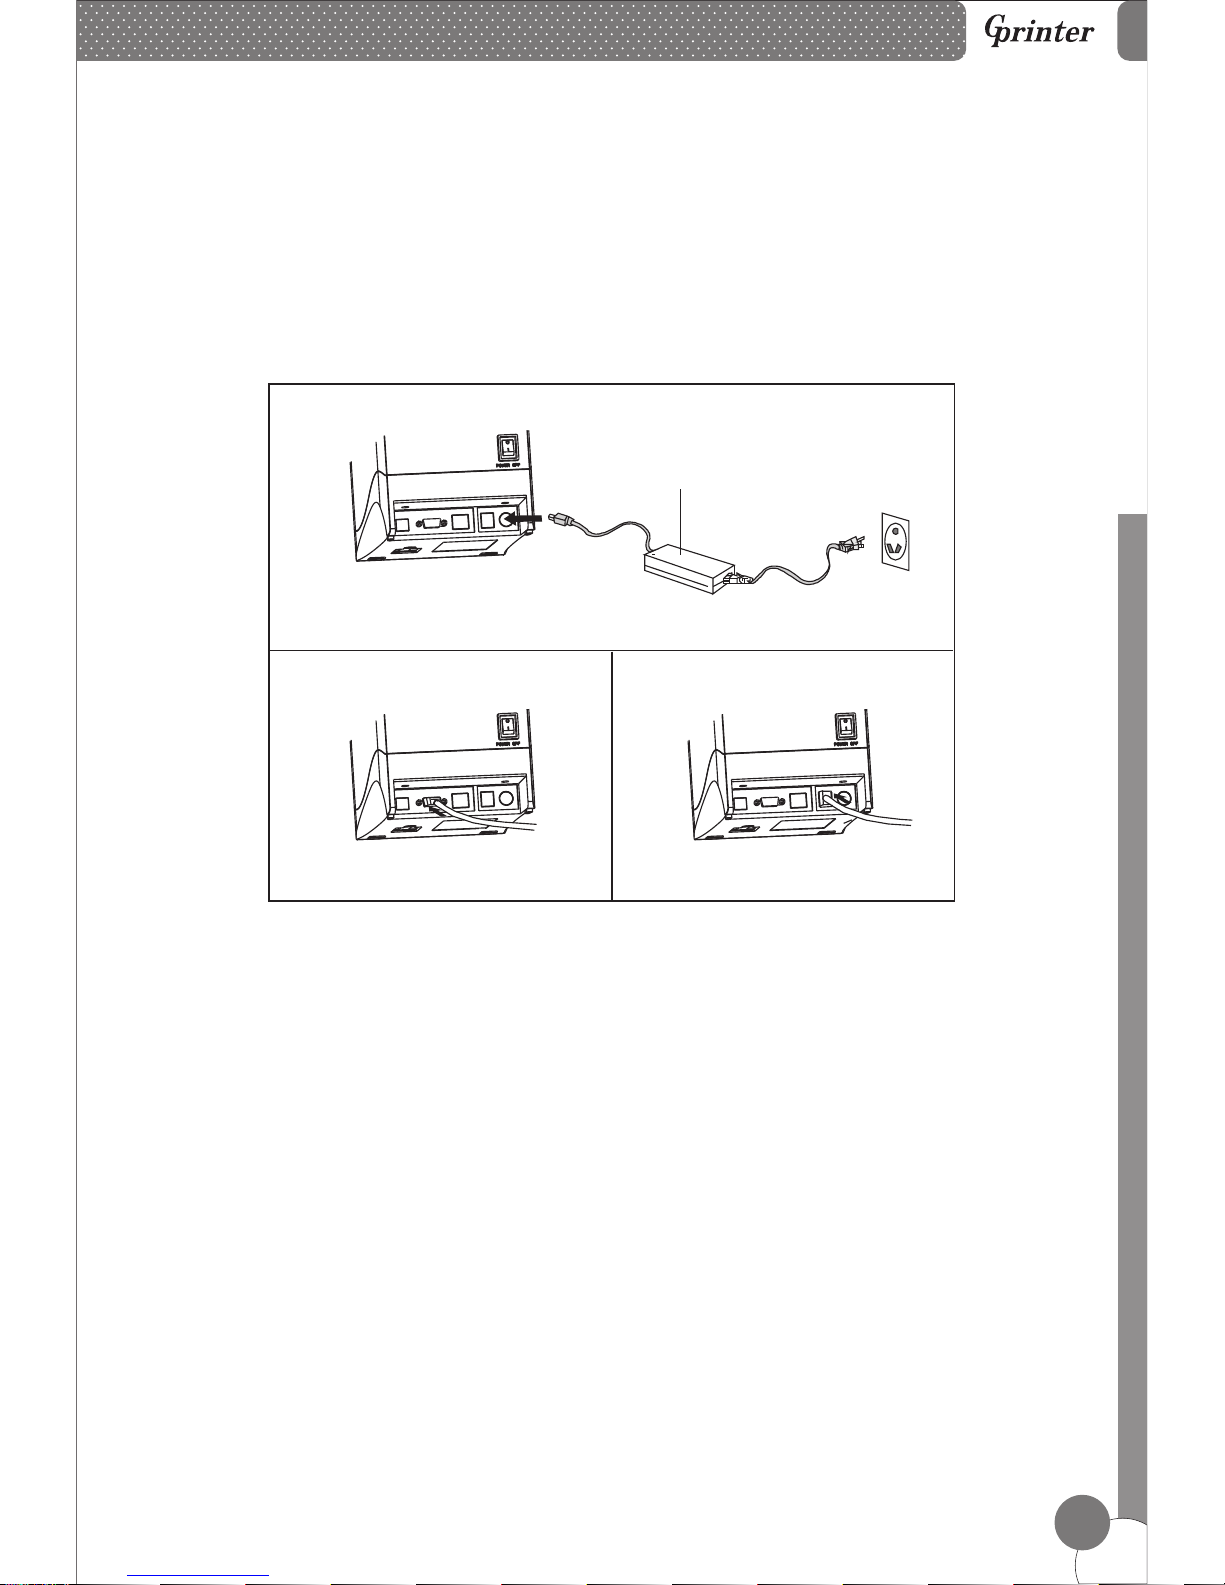
6. Printer Connection
Power Adapter
7. Paper Installation
a. Plug the power adapter cable into the printer’s power port.
b. Plug the interface cable securely into the printer’s Serial/USB/Ethernet port.
c. Plug the cash drawer’s RJ-11 phone jack into the printer RJ-11 socket.
a. Press the button to open the printer cover.
b. Put the paper roll into the hollow ( pay attention to the paper direction).
c. Pull the leading edge of the roll outside of the printer and then close the cover.
d. Press the center of printer cover firmly to prevent paper misloading, then tear
off the paper outside.
a
b
c
Page 6

1 2 3 4 5 6 7 8
Line Thermal Print ers
5
8. Print Mode (DIP switches)
Users can select the auto cutter, language, printing speed, beep, print density by
using DIP switches to set the printer.
Setting
1. Remove the DIP switches cover
on the bottom of the printer.
2. DIP switches setting.
a
b
c
d
Page 7
10. Cutter Maintenance
Line Thermal Print ers
6
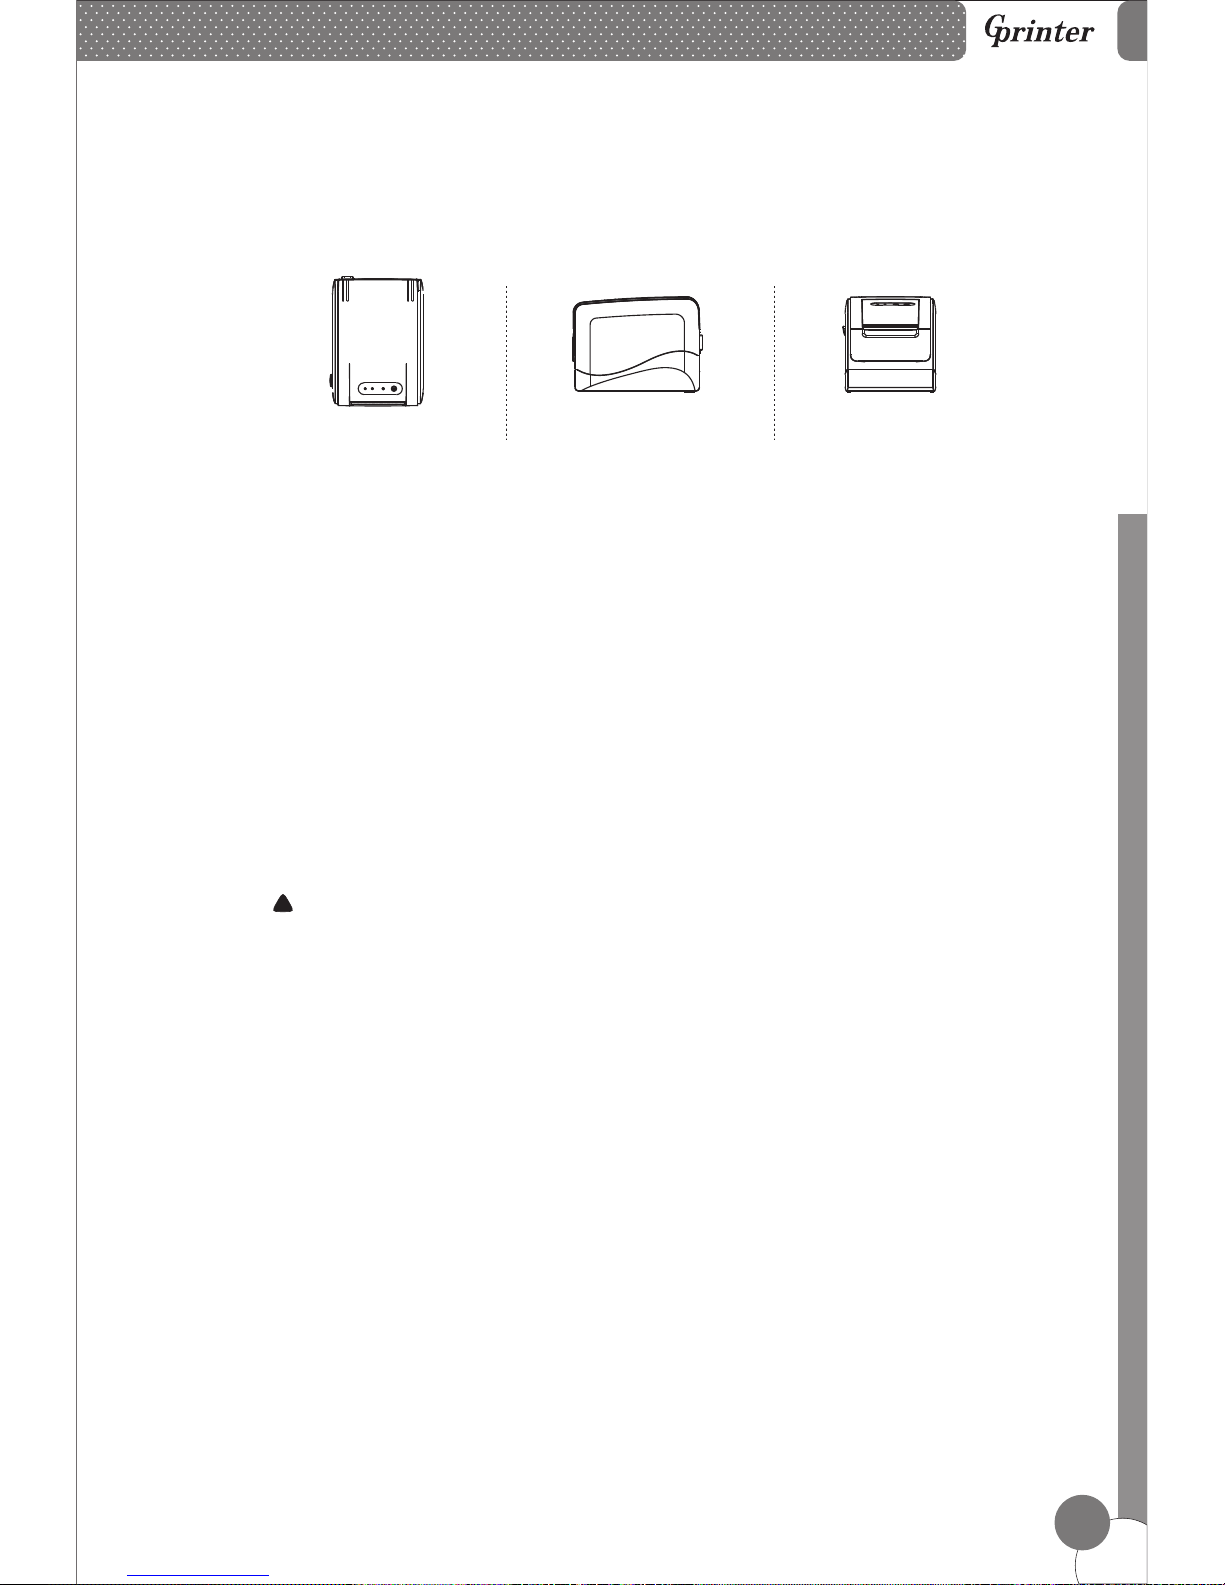
9. Three-view Drawing
Top view
Side view
Front view
Step 1
Turn off the printer and restart it, the printer will initialize and reset the cutter.
Step 2
If step 1 failed, pull out the front cover caref ul ly, manually adjust the gear wheel
on the cutter to make the cutter back to its home position. Then open the top cover
and re-install the roll paper correctly, printer will work normally.
Attention: Do not use force to sep arate the top cover from printer, in case of the
print head and cutter damaging.
!
Page 8

12. Function of button and indicators
Line Thermal Print ers
7
Feed Button
Paper Indicator
Power Indicator
Error Indicator
11. Button and Indicators
(1).
ON indicates printer power is on
OFF indicates printer power is off.
(2).
ON may indicate paper out, cutter error, print head overheated.
OFF indicates normal status
(3).
PAPER & ERROR are both ON, indicating printer is out of paper;
PAPER & ERROR are both OFF, indicating printer is in normal status.
(4).
Press the FEED button to feed the paper roll.
POWER Indicator
ERROR Indicator
PAPER Indicator
FEED Button
POWER ERROR
FEED
PAPER
Page 9
300mm/sec high printing speed
Line Thermal Print ers
8
13. Professional Performance
a.
b. Support front paper exit and auto cutter
c. Support bar code printing
d. 120mm large roll paper
e. Support various paper width printing
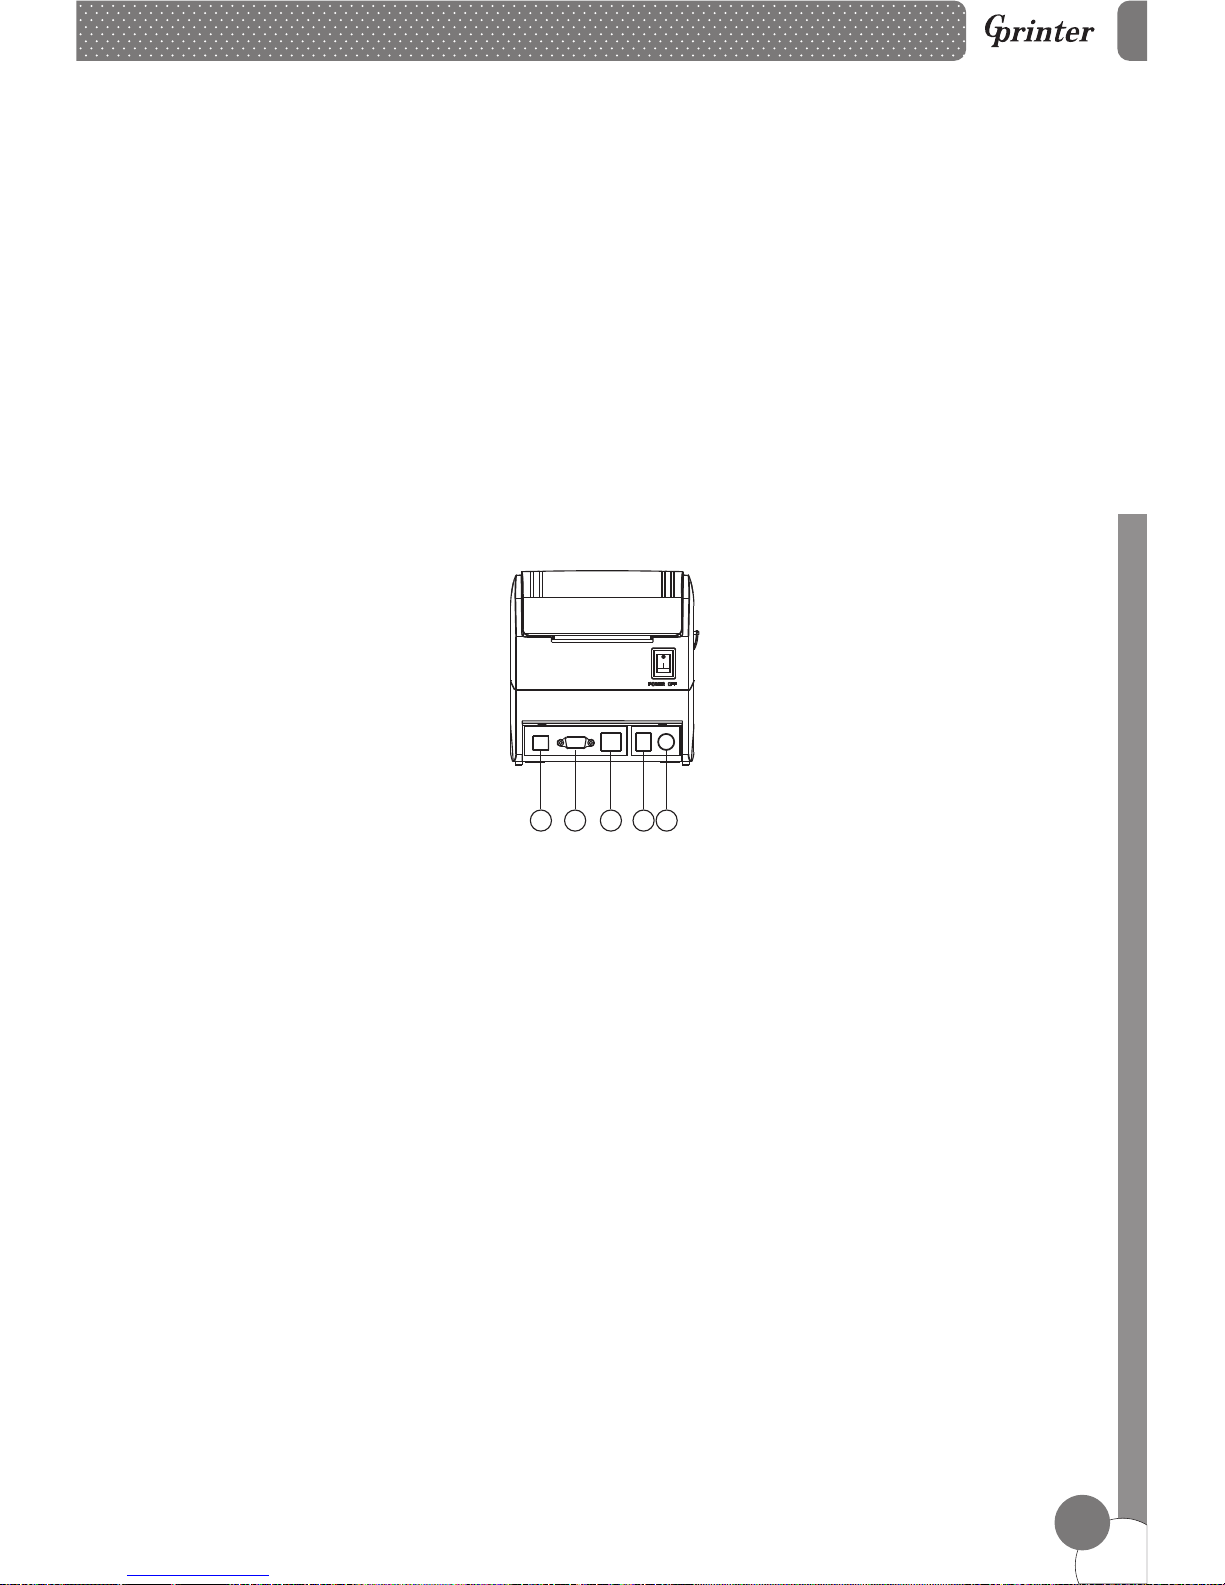
14. Printer Port
1. USB port
2. Serial port
3. Ethernet port
4. Cash drawer port
5. Power port
1 2
3
4
5
Page 10

 Loading...