

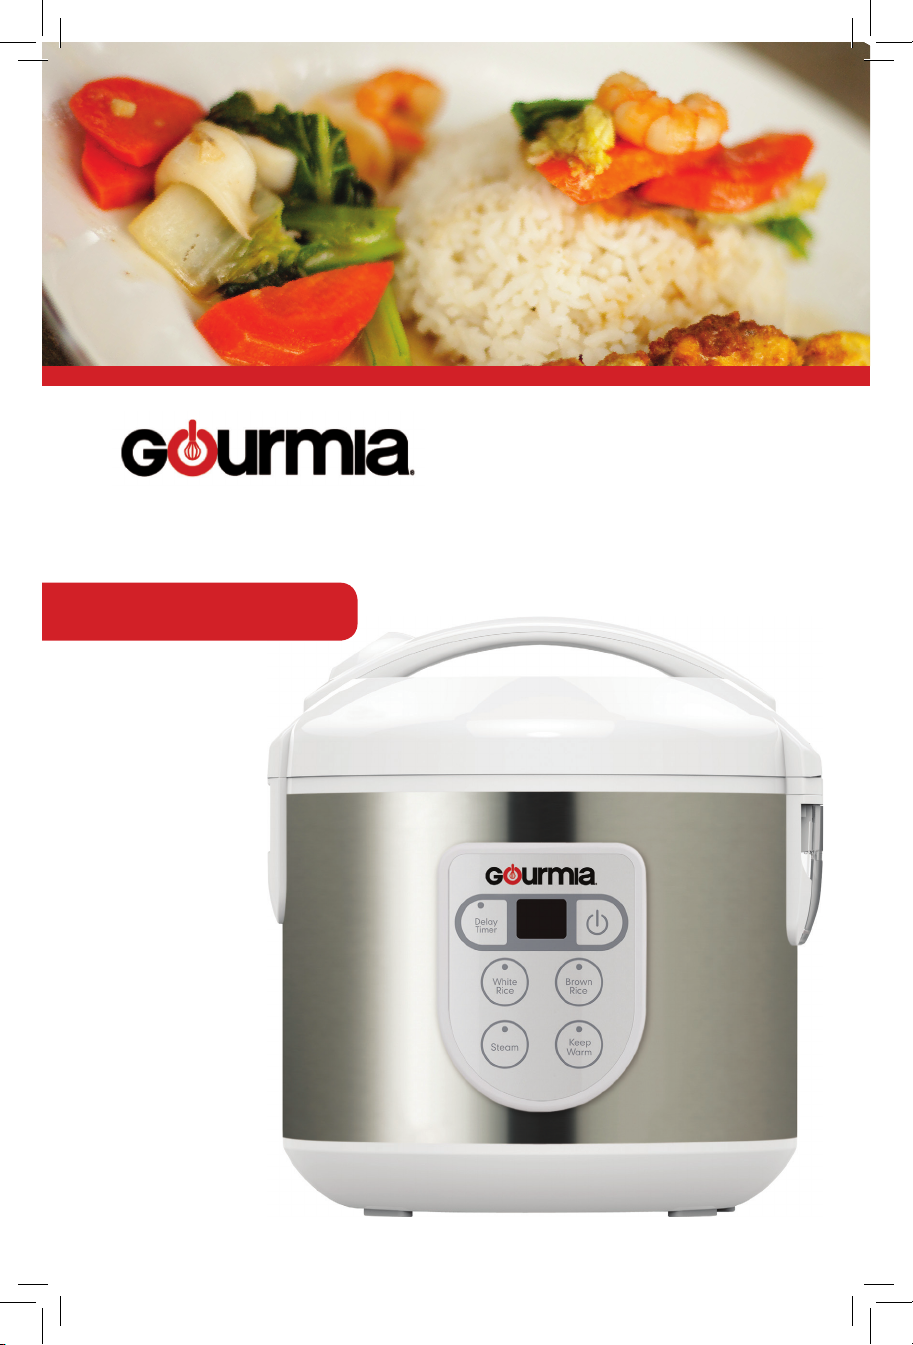
Rice Cooker
Model# GRC-670
USER
MANUAL

Read this manual thoroughly
before using and save it for
future reference
Model: GRC-670
© 2017 Gourmia
www.gourmia.com
The Steelstone Group
Brooklyn, NY
All rights reserved. No portion of this manual may be reproduced by any means
whatsoever without written permission from The Steelstone Group, except for the
inclusion of quotations in a media review.
Although every precaution has been taken in the preparation of this manual, The
Steelstone Group assumes no responsibility for errors or omissions. Nor is any
liability assumed for damages resulting from the use of the information contained
herein. Although every eort has been made to ensure that the information
contained in this manual is complete and accurate, The Steelstone Group is not
engaged in rendering professional advice or services to the individual consumer;
further, The Steelstone Group shall not be held responsible for any loss or damage
allegedly arising from any information or suggestion in this manual.
2

Welcome to the Convenience of
Rice Cookers from Gourmia
Congratulations on your purchase of the Gourmia Rice Cooker! Dinner has
never been so easy! With your new Gourmia Rice Cooker you can prepare
restaurant quality rice cooked to perfection with just the press of a button. It
is designed to cook all dierent kinds of rice, including white rice and whole
grain brown rice.
The Gourmia Rice Cooker includes various features that ensure convenient and
safe use of the appliance. Some safety features include a “keep warm” mode,
and the “delay timer” function, which allows you to put the ingredients into the
pot and have it ready at a later time. It’s as simple as lling the pot with rice,
adding the right amount of water and pressing a button.
The pages of this manual oer full and comprehensive insturctions to guide
you through the functions and features of the Gourmia Rice Cooker. In this
guide, you will also nd information on its modes of operation, complete stepby-step instructions on assembly, cleaning and maintenance of your appliance.
Please read all safety instructions thoroughly to ensure safe usage at all times.
Thank you for your purchase! We sincerely hope you will enjoy this is as well as
many innovative products brought to you by our family at Gourmia.
3

IMPORTANT SAFEGUARDS
4
Important Safety Instructions
1. Read all instructions before using.
2. Do not use the inner pot in a gas oven or on any heated
surface.
3. To protect against re, electric shock or injury, do not immerse
cord, plug or unit in water or any other liquid.
4. Never leave appliance unattended when in use.
5. Unplug when not in use.
6. Do not use a base unit, cord or any accessory attachements that
are not provided by the manufacturer, as this may result in re,
electric shock or injury.
7. Do not use outdoors.
8. Do not let cord hang over edge of table or counter, or touch hot
surfaces.
9. Rice Cooker must be operated on a at surface. Do not place on
or near a hot gas or electric burner, in a heated oven or on top
of other electric appliances.
10. The bottom and edge of the inner pot should be cleaned
before use. Do not allow loose rice or particles to fall into the
base of the cooker. The inner pot must be inserted into the base
fully to ensure proper cooking.
11. Do not stand near the steam vent or touch it when in use.
Hot steam and bubbles will be escaping from the vent.
12. Do not cover the lid with a cloth as it may become deformed.
13. Do not operate the appliance with a damaged cord or after
the appliance malfunctions. Return appliance to the nearest
authorized service facility for examination and repair.
14. Do not use appliance for uses other than intended.
15. Allow appliance to cool down before putting on or taking o
parts, and before cleaning the appliance.
16. Close appliance before removing the plug.
17. Keep away from children when appliance is in use.
18. If cord is broken, it should be replaced by certied technicians
only.
19. For household use only.
SAVE THESE INSTRUCTIONS

TABLE OF CONTENTS
Know Your Rice Cooker.................. .........6
Using Your Rice Cooker...........................7
Cleaning & Maintenance ......................10
Warranty & Services.............................11
TABLE OF CONTENTS
5

KNOW YOUR RICE COOKER
Delay
Timer
Cooking
Brown
Rice
Keep
Warm
White
Rice
Steam
Lid Release
Button
KNOW YOUR RICE COOKER
Delay Timer
Button
Digital
Screen
Display
White Rice
Button
Steam
Button
Delay
Timer
Cooking
White
Rice
Steam
Indicator
Light
Steam Release
Vent
Handle
Water
Collector
Brown
Rice
Keep
Warm
Power
Button
Brown Rice
Button
Keep Warm
Button
Removable
Steaming
Lid
Tray
Lid
7
0
3.5
3
0
4
2
0
2
1
Inner
Pot
Spatula
Measuring
Cup
Water
Collector
6

Delay
Timer
Cooking
Brown
Rice
Keep
Warm
White
Rice
Steam
USING YOUR RICE COOKER
3.5
0
7
4
3
0
0
2
1
2
Clean all parts with lukewarm water and soap.
Dry thoroughly before using.
Do not immerse the appliance in water!
BEFORE COOKING RICE:
• Rinse the rice before cooking.
• Place equal amounts of rice and
water into the pot. i.e. Add one
cup of rice then ll with water till
the one line.
• The lines in the pot indicate how
many cups of water are in the pot.
• The maximum amount of rice is
4 cups of raw rice and 8 cups of
cooked rice.
REMOVABLE LID:
USING YOUR RICE COOKER
7
0
3.5
3
0
4
2
0
2
1
• Detach the removable inner lid from the
rice cooker by gently pulling it outward.
WATER COLLECTOR:
• Always make sure the
water collector is in place
before cooking.
• To remove the water collector,
Water
Collector
hold the sides and pull outward.
LID RELEASE BUTTON:
• To open the rice cooker
lid - press rmly down
on the cover release button
while holding the handle.
Delay
Timer
Pull the cover upwards.
Cooking
White
Rice
Brown
Rice
Steam
Keep
Warm
7

USING YOUR RICE COOKER
Delay
Timer
White
Rice
Cooking
Brown
Rice
Keep
Steam
Delay
Timer
White
Rice
Cooking
Brown
Rice
Keep
Steam
Cooking White Rice
1. Plug in the appliance.
2. Press the power button to turn on the Rice Cooker.
3. Press “white rice” to start the cooking
process.
4. After ve seconds the “cooking”
indicator light will turn on.
5. The display screen will display a chasing light
pattern and will begin cooking. The cooking
USING YOUR RICE COOKER
process takes from 45 minutes to an hour.
6. Twelve minutes before the cooking is
complete, the display screen will countdown
the nal minutes of cooking time.
6. After the countdown is complete, the alarm
will ring ten times and a zero will be displayed.
7. Once the cooking is done, the “keep warm”
option can be used for up to 10 hours.
Delay
Timer
Cooking
White
Rice
Brown
Rice
Steam
Keep
Warm
Cooking Brown Rice
1. Plug in the appliance.
2. Press the power button to turn on the Rice Cooker.
3. Press “Brown Rice” to start
the cooking process.
4. After ve seconds the “cooking” indicator
light will turn on.
5. The display screen will show a chasing light pattern
and will begin cooking. The cooking process
takes from 45 minutes to an hour.
5. 25 minutes before the cooking is complete,
the display screen will countdown the nal
minutes of cooking time.
6. After the countdown is complete, the alarm
will ring ten times and a zero will be displayed.
7. Once the cooking is done, the “keep warm”
Delay
Timer
Cooking
White
Rice
Brown
Rice
Steam
Keep
Warm
option can be used for up to 10 hours.
8

Steaming
Delay
Timer
Cooking
Brown
Rice
Keep
Warm
White
Rice
Steam
Delay
Timer
White
Rice
Cooking
Brown
Rice
Keep
Warm
Steam
Delay
Timer
White
Rice
Cooking
Brown
Rice
Keep
Warm
Steam
Delay
Timer
White
Rice
Cooking
Brown
Rice
Keep
Warm
Steam
1. Plug in the appliance.
2. Press the power button to turn on the
appliance.
3. Press the “steam” button - the number 5 will
appear on the display screen - indicating the
amount of steaming time.
4. For additional cooking time - press the
“steam” button to add more minutes to
the steaming time.
5. The maximum amount of steaming time
is 30 minutes.
Delay Timer
• Brown and white rice can be cooked using a slow cooking
process using the delay timer option.
• The rice can be kept in the pot for up to 15 hours.
• Brown rice needs to be cooked for a minimum of two hours.
• White rice needs to be cooked for a minimum of one hour.
USING YOUR RICE COOKER
To use the delay timer function:
1. Press the power button.
2. Press “delay timer” button - 1 hour will
appear on screeen. For each additional
hour press the “delay timer” button.
3. Press the “Brown Rice” or “White Rice” button.
After ve seconds the cooking process will begin.
4. Twelve minutes before the cooking is nished, the display
screen will countdown the nal minutes of cooking time.
5. Once the countdown is complete - the alarm will ring.
Keep Warm
Once the rice is cooked, it can
be left in the Rice Cooker to
serve later. Press the “keep
warm” button and two lines will
appear on the display screen and the
indicator light will turn on. The keep warm
function automatically turns o after ten hours.
Cancel Function
Within ve seconds
after selecting a
speci c mode, you
can change it by
pressing a di erent
button.
9
9

Cleaning and Maintenance
• Unplug the appliance before cleaning.
• Cool down the appliance before cleaning.
• The inner pot must be cleaned after each use.
• Do not use abrasive cleaners or steel wool
to wash the inner pot - as they can scratch
the non-stick coating.
• Do not immerse any parts in water other
than the inner pot, and water collector.
CLEANING AND MAINTENANCE
• Detach the inner pot and removable lid.
Soak or wash in a dishwasher.
• Wash the inside and outside of the appliance
with a damp cloth.
• Do not immerse the appliance in water.
WARNING:
7
0
3.5
3
0
4
2
0
2
1
Delay
Timer
Cooking
White
Rice
Brown
Rice
Steam
Keep
Warm
10
• The appliance is very hot during use.
• Never leave the Rice Cooker unattended.
• Do not open the lid while in use.
• Do not immerse the base in water or any liquids - it may cause
damage to the appliance.
STORAGE
Clean and dry all parts before storing. Store the Rice Cooker in
its box or in a clean, dry place.

WARRANTY & SERVICE
This Limited Warranty is for one full year from the date
of purchase. It is applicable to the original purchaser
only and is not transferable to a third party user. Repair
or replacement of defective parts is solely at the seller’s
discretion. In the event that repair isn’t possible, the
seller will replace the product/part. If product repair/
replacement won’t suce, the seller has the option of
refunding the cash value of the product or component
returned.
Product defects not covered under the Warranty
provisions include normal wear and damage incurred
from use or accidental negligence, misuse of instruction
specications or repair by unauthorized parties.
The manufacturing company is not liable for any
incidental or consequential damages incurred by such
circumstances.
WARRANTY & SERVICES
11

FOR CUSTOMER SERVICE
QUESTIONS OR COMMENTS
VISIT US @ GOURMIA.COM
INFO@GOURMIA.COM
OR CALL 888.552.0033
 Loading...