

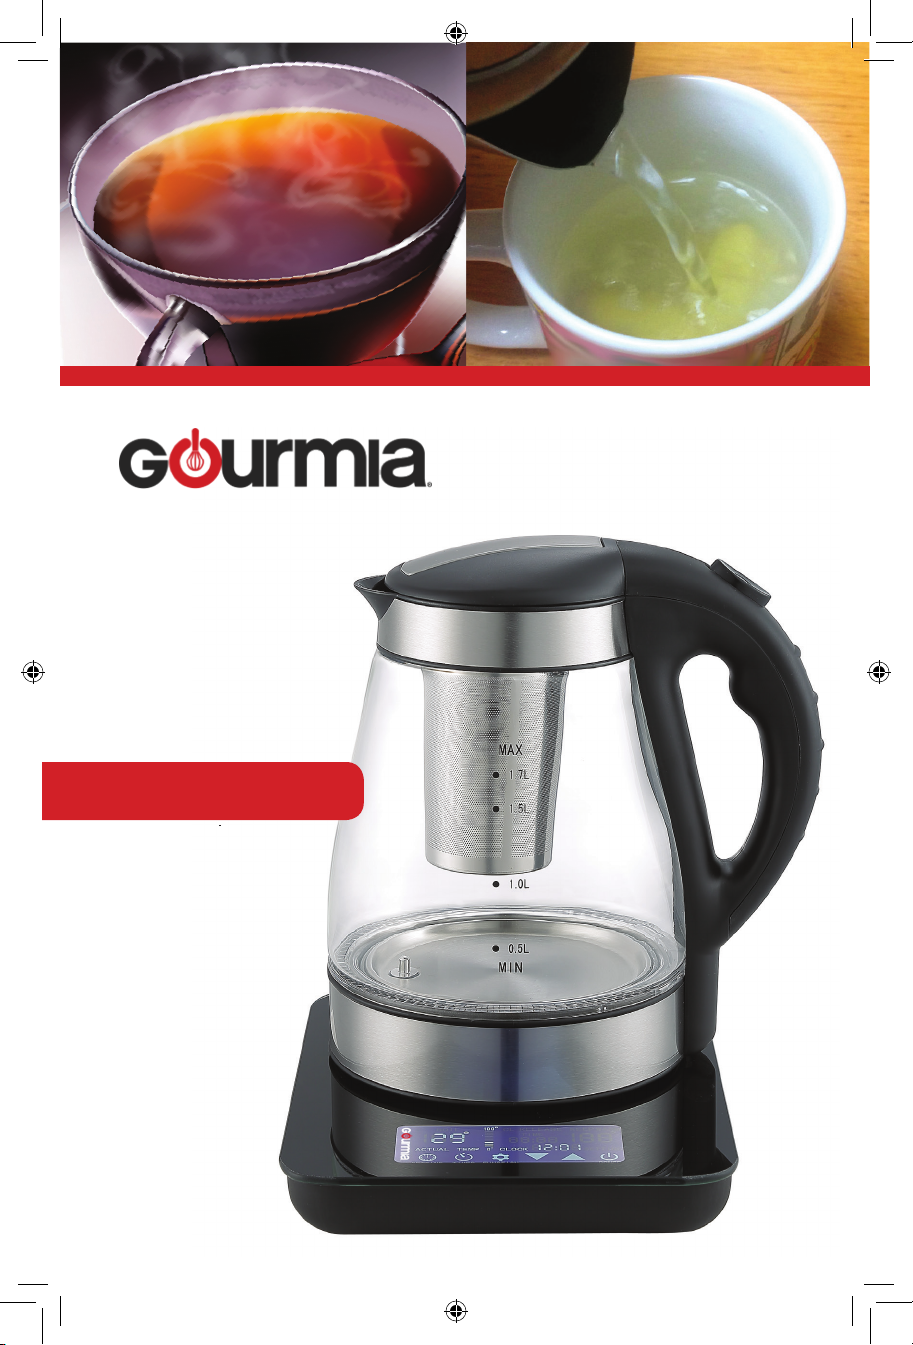
Electronic
Kettle
WITH TEA
INFUSER
Model# GDK385
USER
MANUAL

Read this manual thoroughly
before using and save it for
future reference
Model: GDK385
© 2017 Gourmia
www.gourmia.com
The Steelstone Group
Brooklyn, NY
All rights reserved. No portion of this manual may be reproduced by any means
whatsoever without written permission from The Steelstone Group, except for the
inclusion of quotations in a media review.
Although every precaution has been taken in the preparation of this manual, The
Steelstone Group assumes no responsibility for errors or omissions. Nor is any
liability assumed for damages resulting from the use of the information contained
herein. Although every eort has been made to ensure that the information
contained in this manual is complete and accurate, The Steelstone Group is not
engaged in rendering professional advice or services to the individual consumer;
further, The Steelstone Group shall not be held responsible for any loss or damage
allegedly arising from any information or suggestion in this manual.
2
Welcome to the Exciting World of the
Electronic Kettle with Tea Infuser
from Gourmia
Congratulations on your purchase of the Electronic Kettle with removeable Tea
Infuser from Gourmia, exclusively designed for the discerning consumer!
If you are one of those individuals who look forward to a warm gentle start to the
day, a soothing mid-afternoon break, or a comfortable way to unwind and relax each
evening - you’ve made the right choice.
Our new Gourmia Electronic Kettle, oers more options when preparing your
fresh tea or coee, then ever before. The unit in loaded with rich features and
settings that allow you to take full control over every aspect of a “warm” drinking
experience. Time settings; temperature settings; and keep warm settings are just
a few of the many options and conveniences that await you.
We’re condent that you’ll nd your new Electronic Kettle a practical and versatile appliance, which you will use over and over again!
The pages of this manual oer full and comprehensive instructions to guide you
through the functions and features of the Gourmia Electronic Kettle. Inside this
guide you will also nd information on its modes of operation, complete stepby-step instructions for the operation, assembly, cleaning, and maintenance of
your appliance.
Please read all safety instructions thoroughly to ensure safe usage at all times.
Thank you for your purchase! We sincerely hope you will enjoy this as well as all
the many innovative products brought to you by our family at Gourmia.
3
WARRANTY & SERVICE
This Limited Warranty is for one full year from the date of
purchase. It is applicable to the original purchaser only
and is not transferable to a third party user.
Repair or replacement of defective parts is solely at the
seller’s discretion. In the event that repair isn’t possible,
the seller will replace the product/part.
If product repair/replacement won’t suce, the seller has
the option of refunding the cash value of the product or
component returned.
Product defects not covered under the Warranty provisions
include normal wear and damage incurred from use
or accidental negligence, misuse of instruction
specications or repair by unauthorized parties.
The manufacturing company is not liable for any incidental
or consequential damages incurred by such circumstances.
4

TABLE OF CONTENTS
Inportant Safegaurds ....................6
Before Using The Kettle .................7
Know Your Kettle ...........................8
Using Your Kettle ...........................9
Making Your Kettle ......................10
The Art of Steeping Tea ................11
TABLE OF CONTENTS
Cleaning & Maintenance .............. 11
5

ATTENTION: Please read these instructions carefully to avoid damage
due to incorrect use. Please pay particular attention to the safety guide.
If you pass the device on to a third party, these Operating Instructions
must also be handed over.
IMPORTANT SAFEGUARDS
6
SAFETY GUIDE
• Incorrect operation and improper
use can damage the appliance and
cause injury to the user.
• The appliance must be used
only for its intended purpose. No
responsibility can be taken for any
possible damage caused by incorrect use or improper handling.
• Before plugging in the appliance,
check that the current and power
match those given on the rating
plate.
• Do not put the appliance or the
plug in water or any other liquid.
This could cause a fatal electric
shock. If the appliance or plug
should accidentally become wet,
unplug the appliance immediately
and have it checked by an electrician before using it again.
• Do not place any kind of object
into the inside of the kettle.
• Do not use the appliance with wet
hands, on a damp oor or when
the appliance itself is wet.
• Do not touch the plug with wet or
damp hands.
• Check the cable and the plug
regularly for any possible damage.
If the supply cord is damaged, it
must be replaced by the manu-
facturer or its service agent or a
similarly qualied person in order
to avoid the hazard.
• Do not use the appliance if it is
dropped or otherwise damaged
or if the cable or plug are damaged. In case of damage, take the
appliance to an electrical repair
shop for examination and repair if
necessary.
• Never attempt to open the
appliance or repair the appliance
yourself. This could cause an electric shock.
• Do not allow the cable to hang
over sharp edges and keep it well
away from hot objects and open
ames. Remove the plug from the
socket only by holding the plug.
• For extra protection it is possible
to t the electric household installation with a fault current breaker
with a rated breaking current of
not more than 30mA. Ask your
electrician for advice.
• Make sure there is no chance the
cable or extension cable inadvertently be pulled or cause anyone
to trip over it when in use.
• If an extension cord is used it must
be suited to the power consumption of the appliance, otherwise

IMPORTANT SAFEGUARDS
overheating of the extension cord
or plug may occur.
• Place the appliance on a rm,
level and heatproof surface away
from open ames (e.g. gas oven)
• This appliance is neither suitable
for commercial or outdoor use.
• The cordless kettles should only
be used with the provided stand.
• Remove the plug from the socket
when the appliance is not in use
and before it is cleaned.
• As long as the appliance is
connected to the mains socket, a
small amount of current continue to ow to the appliance even
when it’s not in use.
• Never use the cable to carry the
appliance.
• This appliance is not iintended
for use by persons with reduced
phycial, sensory or mental capabilities, or lack of experience and
knowledge, unless they have been
given supervision or instruction
concerning use of the appliance
b a person responsible for their
safty.
ADDITIONAL
SAFETY INFORMATION
• Use the kettle only with the base
supplied, and do not use the base
for any other purposes.
• Check the level marks (MAX) when
lling. Do not overll the kettle
scalding water could boil over.
• Take care to close the lid properly
before switching on. Otherwise,
hot water may overow.
• The kettle is for heating water
only, and is not to be used for any
other liquid.
• CAUTION! Danger of burns! The
kettle becomes very hot during
use. So hold it by the handle only.
• WARNING! Escaping steam!
Do not remove the lid while the
water is boiling.
• Allow the water to cool down in
a safe place out of the reach of
children and disabled people.
• Keep out of the reach of children.
• Chiildren should be supervised to
ensure that they do not play with
the applicance.
7

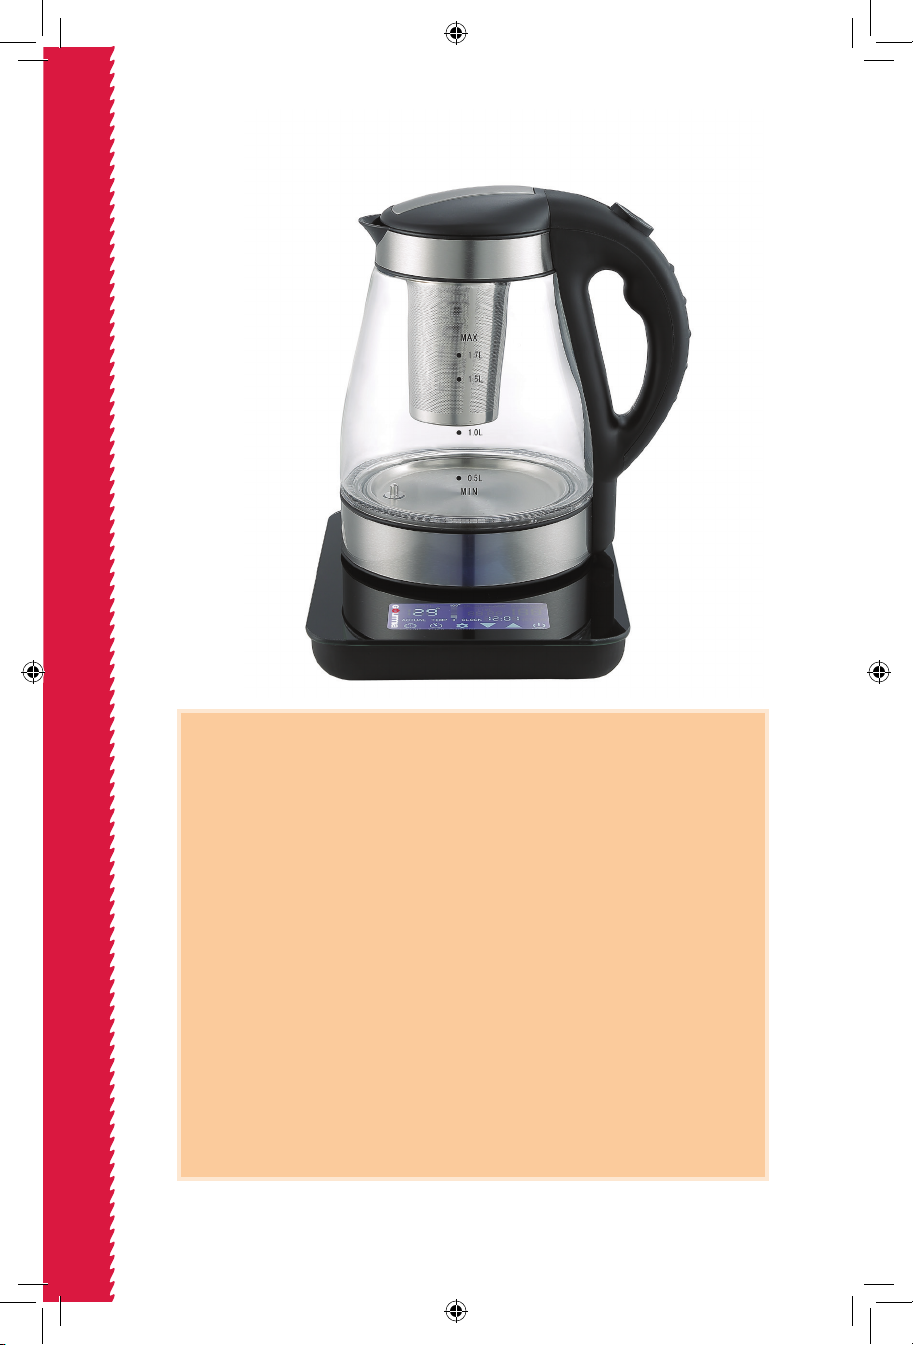
Large & Comfortable
HEAT RESISTANT
MOLDED HANDLE
KNOW YOUR ELECTRONIC KETTLE
for easy pouring
KNOW YOUR
ELECTRONIC
KETTLE
With Tea Infuser
and maximum
control
FILTER RING
Holds the lter in place
Detachable for easy
cleaning
POURING
SPOUT
Can be used
even while lid
is closed
Removeable
Stainless Steel
TEA INFUSER
With convenient
handle for easy
removeal
AUTOMATIC
SWITCH
for opening
the lid
CORDLESS
KETTLE
Under the Floor
Stainless Steel Heating
Elements
LED TOUCH SCREEN
CONTROL CENTER
Is activated as the unit is
pugged into an outlet
8

USING YOUR
POWER
CLOCK
ACTUAL
SETTIME TIMER FUNCTION
POWER
TEMP CLOCK
POWER
CLOCK
32
o
212
o
ACTUAL
SETTIME TIMER FUNCTION
POWER
TEMP CLOCK
32
o
212
o
ACTUAL
SETTIME TIMER FUNCTION
POWER
TEMP CLOCK
POWER
CLOCK
BOIL
32
o
212
o
ACTUAL
SETTIME TIMER FUNCTION
POWER
TEMP CLOCK
32
o
212
o
ACTUAL
SETTIME TIMER FUNCTION
POWER
TEMP CLOCK
POWER
CLOCK
BOIL
ACTUAL
SETTIME TIMER FUNCTION
POWER
TEMP CLOCK
BOIL
KEEP WARM
32
o
212
o
32
o
212
o
ELECTRONIC
KETTLE
With Tea Infuser
The Electronic Kettle
is controlled by its
LED TOUCH SCREEN
CONTROL CENTER.
Please take a few moments to
undersatnd how it works.
By following the easy
instructions below you will be
able access and enjoy the many
cutting edge features that this
exciting product oers.
USING YOUR ELECTRONIC KETTLE
Fill the Kettle with fresh water
making sure not to exceed the
“MAX” line on kettle.
Place the kettle on the base and
plug in a power outlet.
The control panel will light up.
Press the “Power” button; and it
will beep once and the complete
LED panel will becomes activated.
The kettle is now in standby
mode ready for your instructions.
1. BOILING WATER
Press the ” FUNCTION” button one time,
to activate the “BOIL” mode.
It will boil the water until it reaches 212º
degrees and then will automatically shift
into standby mode.
2. BOILING AND KEEP WARM
Press the “ FUNCTION” button twice, to
activate the “BOIL” and “Keep Warm”
mode. After the water reaches 212º
degrees the unit will automatically
shift to “Keep Warm” mode. The “Keep
9

USING YOUR ELECTRONIC KETTLE
ACTUAL
SETTIME TIMER FUNCTION
POWER
TEMP CLOCK
32
o
212
o
ACTUAL
SETTIME TIMER FUNCTION
POWER
TEMP CLOCK
POWER
CLOCK
BOIL
ACTUAL
SETTIME TIMER FUNCTION
POWER
TEMP CLOCK
BOIL
KEEP WARM
ACTUAL
SETTIME TIMER FUNCTION
POWER
TEMP
CLOCK
CL RELEASE
BOIL
TIME
32
o
212
o
32
o
212
o
32
o
212
o
Warm” temperature can be increased
by pressing the up arrow and decreased
by pressing down arrow. “Keep Warm”
mode will remain active up to 6 hours,
and shut o if no other action is taken.
3. CLEAN AND DESCALE
Fill kettel half ways with equal parts water and vinegar or with descale solution
according to manufaturers instructions.
Press “FUNCTION” button three times,
kettle will go into “CL Release” mode.
After the water reaches 212º degrees,
it will keep boiling for 5 minutes at
low power. After “descale” function is
nished, the kettle will shift to standby
mode. Empty content and rinse kettle
thoughrouly. Fill with fresh water, boil
once and discard.
4. KEEP WARM
This function will heat the water the the
set temperature and keep it warm for
up to 6 hours. Press the “ FUNCTION”
button four times, to activate the “Keep
Warm” mode. The “Keep Warm” temperature can be increased by pressing
the up arrow and decreased by pressing
the down arrow. The “Keep Warm”
mode will remain active up to 6 hours.
5. PRESET MODE
All of the above functions can be set to
a timer which will autmatically activate
it at a later time.
SETTING TIME:
Press ” SET TIME” button one time.
“Mintues” will beging to ash.
Press the up or down arrows to adjust
mintues.
Press SET TIME” button a 2nd time and
“Hours” will ash. Press the up or down
arrows to adjust hour.
Press “SETTIME” a 3rd time to conrm
the setting. Or, if you wait 3 seconds the
unit will automatically conrm.
SETTING FUNCTION START TIME:
Press ” TIMER” button one time.
CLOCK appears and “Mintues” will ash.
Press the up or down arrows to adjust
mintues.
Press “TIMER” button a 2nd time and
“Hours” will ash. Press the up or down
arrows to adjust hour.
Press TIMER a 3rd time to conrm the
setting. Or, if you wait 3 seconds, the unit
will automatically conrm.
Press FUNCTION button to choose
desired function. The function will start
at the pre-set time.
To cancel PRESET MODE
power o the kettle and restart.
10
TIPS:
• You can pour the water out without opening the lid.
• To stop the water boiling or interrupt it briey, press the power button
• Note: This appliance comes with a safety device, which automatically switches
o the heater element if the appliance is inadvertently switched on while empty,
or if it boils dry. If this happens, let the appliance cool down completely, before
lling with water again.

ACTUAL
SETTIME TIMER FUNCTION
POWER
TEMP CLOCK
32
o
212
o
ACTUAL
SETTIME TIMER FUNCTION
POWER
TEMP CLOCK
POWER
CLOCK
BOIL
ACTUAL
SETTIME TIMER FUNCTION
POWER
TEMP CLOCK
BOIL
ACTUAL
SETTIME TIMER FUNCTION
POWER
TEMP
SETTING
KEEP WARM
KEEP WARM
ACTUAL
SETTIME TIMER FUNCTION
POWER
TEMP
CLOCK
CL RELEASE
BOIL
TIME
32
o
212
o
32
o
212
o
32
o
212
o
32
o
212
o
THE ART of STEEPING TEA
True tea lovers take great care when preparing their choice of tea. Acheiving a
specic tea’s unique character in each cup is a true art. The temperature needs
to be just right. The amount of tea needs to be just right. And the steeping time
needs to be just right. When the temperature is matched to a particular tea, and
steeping is done correctly, tea lovers will savor and appreciate all of that tea’s
naturally aromatic avors and health benets. Refer to the chart below for our
recommendations. But remember, tastes and teas vary; you can always adjust
them to your personal preference. Enjoy!
1. To acheive the inital Steeping Tempera-
2. Set desired Steeping Temperature by
3. While waiting for the water to reach
3. When desired temperature is reached
The most accepted formula for most teas is to add 1 teaspoon or bag of tea per cup
of water. However some herbal blends can benefit from a bit more tea.
When making a full pot, an extra teaspoonful is recommended.
CLEANING & MAINTENENCE
• Always remove the plug from the mains socket before cleaning the base.
• Let the kettle cool down completely.
• Clean the outside of the kettle and the base with a soft damp cloth,
• Dry the kettle before plugging into the mains again.
• Descale the appliance regularly. Preferrably use a special detergent, which can be
obtained from specialist shops, and follow the instructions given.
• To store kettle; wind the cord in the cord compartment on the underside of the base.
ture, press the “FUNCTION” button 4
times to activate the WARM mode.
using the UP or Down arrows. The left
side of the screen will display the actual
temperature.
desired temperature, fill the Steeping Basket with the amount of tea
indicated.
you may begin Steeping.
Press the Automatic Switch button on
the handle to open the lid. Keep hands
away from opening as the vapor could
be very hot. Carefully insert Steeping
Basket into the opening on the Kettle.
CLEANING & WARRANTY
(Padded gloves may be indicated as
the vapor around the opening could
be very hot). Close the lid.
4. Allow the tea to Steep as indicated on
the chart below.
5. Remove Steeping Basket.
TEA TYPE TEMP STEEPING TIME
Delicate 160º 1 - 2 Minutes
Geen 175º 2 - 3 Minutes
White 185º 2 - 4 Minutes
Oolong 190º 3 - 4 Minutes
Herbal 200º 2 - 4 Minutes
Black 212º 3 - 5 M inutes
11

FOR CUSTOMER SERVICE
QUESTIONS OR COMMENTS
VISIT US @ GOURMIA.COM
OR CALL 888.552.0033
 Loading...