


© 2016 Gourmia
www.Gourmia.com
The Steelstone Group
Brooklyn, NY
All rights reserved. No portion of this manual may be reproduced by any means whatsoever
without written permission from The Steelstone Group, except for the inclusion of quotations in a
media review.
Although every precaution has been taken in the preparation of this manual, The Steelstone
Group assumes no responsibility for errors or omissions. Nor is any liability assumed for damages
resulting from the use of the information contained herein. Although every eort has been made
to ensure that the information contained in this manual is complete and accurate, The Steelstone
Group is not engaged in rendering professional advice or services to the individual consumer;
further, The Steelstone Group shall not be held responsible for any loss or damage allegedly
arising from any information or suggestion in this manual.
10 9 8 7 6 5 4 3 2
1
Printed in China

Welcome to Freshly Brewed Espresso!
With the purchase of the Espresso Maker, your enjoyment of rich and delicious
espresso is about one minute away! The art of making espresso can be a fairly
complicated one. But, now you have the Espresso Maker at your ngertips and,
with the touch of a button, you are ready to make exceptional espresso and a host
of specialty coee beverages. In addition to the versatile single serve system, the
Espresso Maker oers the Automatic Milk Frother. With one-touch technology, your
espresso now becomes extra-special!
The automatic brewing system of the Espresso Maker contains a distinctive
system using espresso capsules to accommodate all your specialty coee beverages its
like having your own coee bar at home! From your early-morning Cafe Americano to
your afternoon Aogato and your after-dinner Cappuccino, all your favorites are right
here. With variable settings for serving sizes of your choice, and the frothing function
that accompanies hot espresso, you can now experience espresso at its nest. It is so
easy to change capsules; you’ll be able to serve everyone’s favorite brew by switching
capsules in a simple 1-2-3 process.
The following pages of this manual oer full and complete instructions for all
the functions and features of your Espresso Maker. Please read all safety instructions
and complete directions carefully for safe usage at all times. Thank you for your
purchase! We hope you will enjoy all the innovative products brought to you by our
family at Gourmia.

SAFETY FIRST p. 6
FEATURES & FUNCTIONS p. 8
BEFORE FIRST USE & ASSEMBLY p. 10
STEP-BY-STEP ESPRESSO MAKING p. 12
MAINTENANCE & SERVICE p. 14
TABLE OF CONTENTS
5

IMPORTANT SAFEGUARDS
When operating this electric appliance, basic safety instructions should always be
followed. Refer to the following for these instructions.
1. READ ALL SAFETY & USAGE INSTRUCTIONS BEFORE USING THE ESPRESSO
MAKER
2. EXERCISE EXTREME CAUTION: AVOID ELECTRICAL SHOCK. DO NOT
immerse cord, plug or the Espresso Maker in water or other liquid.
SAFETY FIRST
3. Caution: Hot liquids can cause burns. Do not open cartridge system while
4. Children should never use the Espresso Maker; close supervision is required
5. Never operate the Espresso Maker with a damaged cord or plug or one that
brewing or operating system is in use. Hot steam or water may burn or scald.
Do not operate without using a cup to catch espresso after brewing and do not
hold hands or ngers under the liquid as it streams from the Espresso Maker.
when appliance is used near children.
has malfunctioned or been damaged in any way. Contact Customer Service for
analysis. Do not use extension cords.
6

SAVE THESE INSTRUCTIONS
FOR HOUSEHOLD USE ONLY
This Espresso Maker has a polarized
plug (one blade is wider than the other).
To reduce the risk of electrical shock, the
plug is intended to be used by inserting
it into the electrical outlet only one way.
If the plug does not t securely into the
outlet, turn the plug and re-insert. Do
not modify this plug. If the plug does
not t the outlet securely, call a qualied
electrician for assistance. DO NOT use
this plug with extension cords of
any kind.
SAFETY FIRST
7

B
H
E
F
D
C
G
A
FEATURES & FUNCTIONS
A. Espresso Maker Base- The Espresso Maker Base houses the automatic cartridge
system that holds capsules, the Lift Lever, the Dual Position Cup Platform and the
superior 19 Bar Extraction System. The Automatic Milk Frother connects to the Base.
The Espresso Maker Base also houses the Control Panel with LED Display for easy
operation.
B. Lift Lever- The Lift Lever moves up and back to click and fully expose the capsule
holder. When positioned in the holder, the capsule will be ready for use. See Step-by-
Step Instructions following.
C. Dual Position Cup Platform- The Cup Platform can be adjusted to two dierent
positions to hold cups of various sizes:
1. Position A – Large cups (10-12 oz) can be accommodated in this position.
8

2. Position B – Small (demitasse) cups (1-4 oz) can be accommodated in this
position.
D. Removable Drip Tray and Grate- The Grate sits on top of the Drip Tray/Used
Pod Container. The Grate allows any liquid that drips or spills to be captured. It can
easily be removed for cleaning.
E. Used Capsule Container- Attached to the Drip Tray, the Used Capsule Container
holds 10 used capsules. Because liquid can drain from the capsules after use, it is
recommended that the Container be emptied regularly and liquid drained out and
cleaned. The empty Container can be dried with a paper towel.
F. Removable Water Reservoir- The Water Reservoir holds a generous quantity
of water, enough for several shots of espresso. Clean as needed for optimal
performance. Refer to the Maintenance section for further information.
G. Automatic Milk Frother- The Automatic Milk Frother attaches to the Espresso
Maker and produces frothed milk automatically when various espresso selections
are made. Add enough milk to reach the MAX Fill Line or at least 4 ounces milk
minimum. If no froth is needed, the Frother Tank need not be attached.
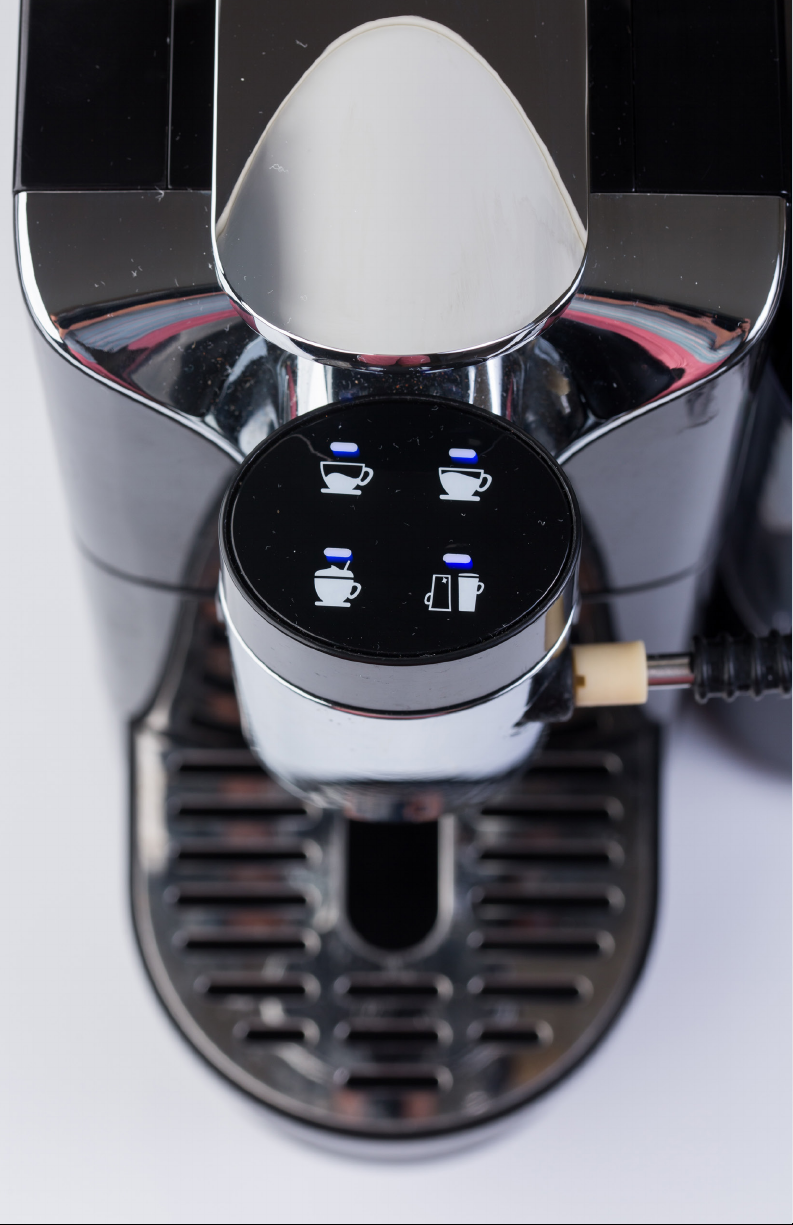
H. Control Panel with LED Display- The LED Display indicates two sizes of
espresso, 1.5 ounces and 3.5 ounces, and two sizes of espresso with froth, 4 ounces
and 6 ounces. The icons are easy to use and illuminated to make your process even
easier.
1. Espresso Shot (1.5 oz)
2. Lungo (Extra Long ) Espresso Shot (3.5 oz)
3. Cappucino Style – espresso shot; froth on top (4 oz)
4. Latte Macchiato – froth; espresso on top (6 oz
FEATURES & FUNCTIONS
1
3
2
4
9

2
3
5
4
10

BEFORE FIRST USE:
1. Using a soft, damp cloth, clean the Espresso Maker Base, including
accessories, and dry thoroughly with a soft cloth. Do not immerse the
Base, cord or plug in water.
2. Place the Espresso Maker on a at counter surface.
3. Plug the Espresso Maker into a wall outlet.
4. Fill the Removable Water Reservoir to the MAX Fill Line (or above the
MIN Fill Line, as desired) and install onto the Espresso Maker (g 1,2).
ASSEMBLY
1. Fill Automatic Milk Frother with milk up to the MAX Fill Line. Place
the frothing tube in the Frother and secure the Lid on top. Attach the
Frother to the Espresso Maker (g 3).
2. Install the Milk Frother by sliding it onto the Espresso Maker. The slot side of
the lid ts into the portal on the Espresso Maker.
3. Attach the Frother Tube to the Espresso Maker and the Milk Frother
(g 4, 5).
BEFORE FIRST USE & ASSEMBLY
11
11

6 7
8
12

Espresso Making:
» Place cup on the Cup Platform of your choice (g 6, 7).
» Move the Lift Lever up and back until it clicks into place.
» Install an espresso capsule into the open portal. (g 8).
» Close the Lift Lever until it is completely at.
» Press the Power button ON. The icons on the Control Panel will begin to
ash, indicating the water is heating.
» When the icons stop ashing, the Espresso Maker is ready to make
espresso.
» Press the desired icon. The Espresso Maker will begin to operate;
machine will automatically brew the espresso (and froth, if using), and
turn OFF when done.
Using the Automatic Milk Frother:
With a super-easy 60 second frothing system, this Automatic Frother produces
the results every espresso acionado loves! Follow the easy steps below to
produce perfect froth every time:
STEP-BY-STEP ESPRESSO MAKING
» When your Espresso Maker is assembled and ready, select either the
Cappuccino Style or Latte Macchiato to add froth to your espresso.
» Depending on the selection you choose, the Espresso Maker will either
add froth to your espresso (Cappuccino Style) or espresso to the froth
(Latte Macchiato).
» After making your selection, experiment with other enjoyable avors
and add-ins to your espresso. Create your own barrista-style espresso
beverages!
13

14

MAINTENANCE
ALWAYS allow the Espresso Maker to cool completely before cleaning.
Unplug the Espresso Maker before cleaning.
After each use, clean and dry the Cup Platforms. Use a damp cloth to clean the
exterior of the Base as needed; however, do not immerse the Base in water.
Remove used capsules as needed; rinse and dry the Used Capsule Container.
Wash the Milk Frother Tank in warm, sudsy water, including the plastic tubing
and connector. Rinse and dry thoroughly. Do not place in dishwasher.
Clean the Water Reservoir as needed; de-calcify regularly using tablets or
solutions. DO NOT immerse the Base in water. Use non-abrasive soap only.
WARRANTY & SERVICE
This Limited Warranty is for one full year from the date of purchase. It is
applicable to the original purchaser only and is not transferable to a third party
user. Repair or replacement of defective parts is solely at the seller’s discretion.
In the event that repair isn’t possible, the seller will replace the product/part. If
product repair/replacement won’t suce, the seller has the option of refunding
the cash value of the product or component returned.
MAINTENANCE & SERVICE
Product defects not covered under the Warranty provisions include normal wear
and damage incurred from use or accidental negligence, misuse of instruction
specications or repair by unauthorized parties. The manufacturing company
is not liable for any incidental or consequential damages incurred by such
circumstances.
For Customer Service or Questions, Please call: 888-552-0033
www.gourmia.com
15

www.gourmia.com
 Loading...