

POUR OVER
POURISTA
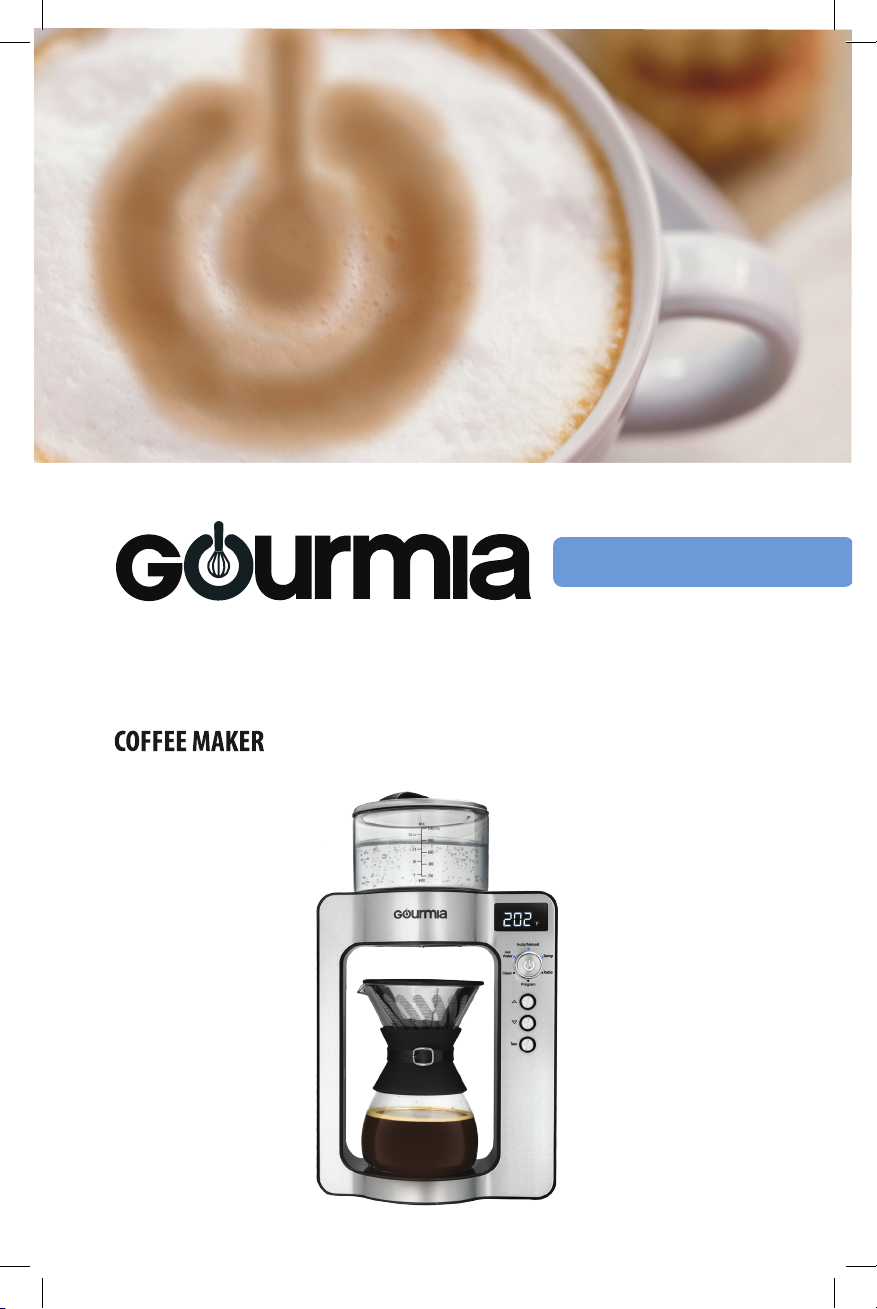
COFFEE MAKER
MODEL#GCM3350

Read this manual thoroughly
before using and save it for
future reference.
FOR CUSTOMER SERVICE
QUESTIONS OR COMMENTS
VISIT US @GOURMIA.COM
INFO@GOURMIA.COM
OR CALL 888.552.0033
Model GCM-3350
© 2018 Gourmia
www.Gourmia.com
The Steelstone Group
Brooklyn, NY
All rights reserved. No portion of this manual may be reproduced by any
means whatsoever without written permission from The Steelstone Group,
except for the inclusion of quotations in a media review.
Although every precaution has been taken in the preparation of this manual,
The Steelstone Group assumes no responsibility for errors or omissions. Nor
is any liability assumed for damages resulting from the use of the information
contained herein. Although every eort has been made to ensure that the
information contained in this manual is complete and accurate, The
Steelstone Group is not engaged in rendering professional advice or services
to the individual consumer, further, The Steelstone Group shall not be held
responsible for any loss or damage allegedly arising from any information or
suggestion in this manual.

Welcome to the
Gourmia Experience
Witnessing the Pourista in action is a work of art. Once the grinds
are placed in lter and the water reaches the ideal temperature,
the bloom pour begins. Our unique system pours the ideal
amount of water in a planetary pour pattern, ensuring that every
grind absorbs just the right amount of water which prepares the
grinds to release their pure avor. After this short pour, the
Pourista pauses for the grinds to release the excess carbon
dioxide that occur naturally and prevent the grounds from
releasing their avor. This process is called the bloom.
After the short pause, the Pourista begins the brew pour. Again
using the planetary pour pattern to ensure even distribution of
water across the grinds, the Pourista pours the ideal amount of
water to insure the grinds release their full avor and not suer
from over- or under-saturation. The precision is built into the
Gourmia Pour Over Pourista, but all you’ll notice is a delicious
cup of pour over coee at the touch of a button.
The tantalizing aroma of freshly coee grounds is just moments
away! Join us on the journey toward the cup you’ve been
craving. The secret to pour over perfection is precision, and the
Gourmia Pour Over Pourista is designed for precision throughout
every stage of the coee brewing process.
Every detail - from a nely calibrated heating system that
maintains the ideal water temperature throughout the brewing
and pouring process, the built-in scale that determines the ideal
water: grinds ratio, the perfect bloom process, and real barista
pour over action – has been designed to provide the best, most
authentic pour over experience.
The Gourmia Pour Over Pourista not only automates the entire
process, it also oers a manual mode that provides the exibility
to customize the most important settings impacting coee avor;
heat and the grinds-to-water ratio. With both an automatic and
manual mode, you’re assured a perfect pour over coee.
The pages of this manual oer a comprehensive set of
instructions to guide you through the functions and features
of the Gourmia Pour Over Pourista. You will nd information
regarding the assembly, operation, cleaning and
maintenance of your appliance. Please read all instructions
thoroughly before the rst use to ensure your safety.
If you have any questions, don’t hesitate to email (info@
gourmia.com) or call us (888.552.0033). Thank you, and
welcome to the Gourmia Family!

SAFETY FIRST
IMPORTANT SAFEGUARDS IMPORTANT SAFEGUARDS
SAFETY FIRST
SAFETY FIRST
SAFETY FIRST
1. Read all instructions.
2. Do not touch hot surfaces. Use handles or knobs.When the cooler / warmer is
in it's HOT function, use care when handling hot items to avoid burns.
3. Make sure that your outlet voltage corresponds to the voltage stated on the
rating label of the coee maker.
4. To protect against re, electric shock, and injury do not immerse cord, plug
or unit in water or other liquid.
5. Close supervision is necessary when any appliance is used by or near
children.
6. Unplug from outlet when not in use and before cleaning. Allow to cool
before putting on or taking o parts and cleaning the appliance.
7. Do not operate any appliance with a damaged cord or plug, after the
appliance malfunctions, or has been damaged in any manner. Return
appliance to an authorized service facility for examination, repair or
adjustment.
8. The use of an accessory not recommended by the appliance manufacturer
may cause injury.
9. Do not use outdoors.
10. Do not let cord hang over edge of table or counter or touch hot surfaces.
11. Do not place on or near a burner or in a heated oven.
12. Only ll the water reservoir with clean and cold water. Never ll it with
mineral water, milk or other liquids.
13. Do not let the coee maker operate without water to avoid damaging the
heating elements.
14. Do not use appliance for other than it's intended use. This appliance should
only be used for coee.
15. Some parts of appliance are hot when operated - do no touch.
16. Do not leave the appliance unattended while in use.
17. Always operate the appliance with cover in place.
18. To disconnect, turn o the unit then remove plug from wall outlet. Scalding
may occur if the lid is removed during the brewing cycles.
19. Cleaning and maintenance should not be done by children without
supervision.
20. The glass container is designed for use with this appliance. It must never be
used on a range top.
21. Do not set the hot glass container on a wet or cold surface.
22. Do not use a cracked glass container or a container having a loose or
weakened handle.
23. Do not clean glass container with cleansers, steel wool pads, or other
abrasive material.
This appliance has a polarized plug (one blade is wider than the other). To reduce
the risk of electric shock, this plug will t in a polarized outlet only one way. If the
plug does not t fully in the outlet, reverse the plug. If it still does not t, contact a
qualied electrician. Do not modify the plug in any way.
FOR HOUSEHOLD USE ONLY
 Loading...