

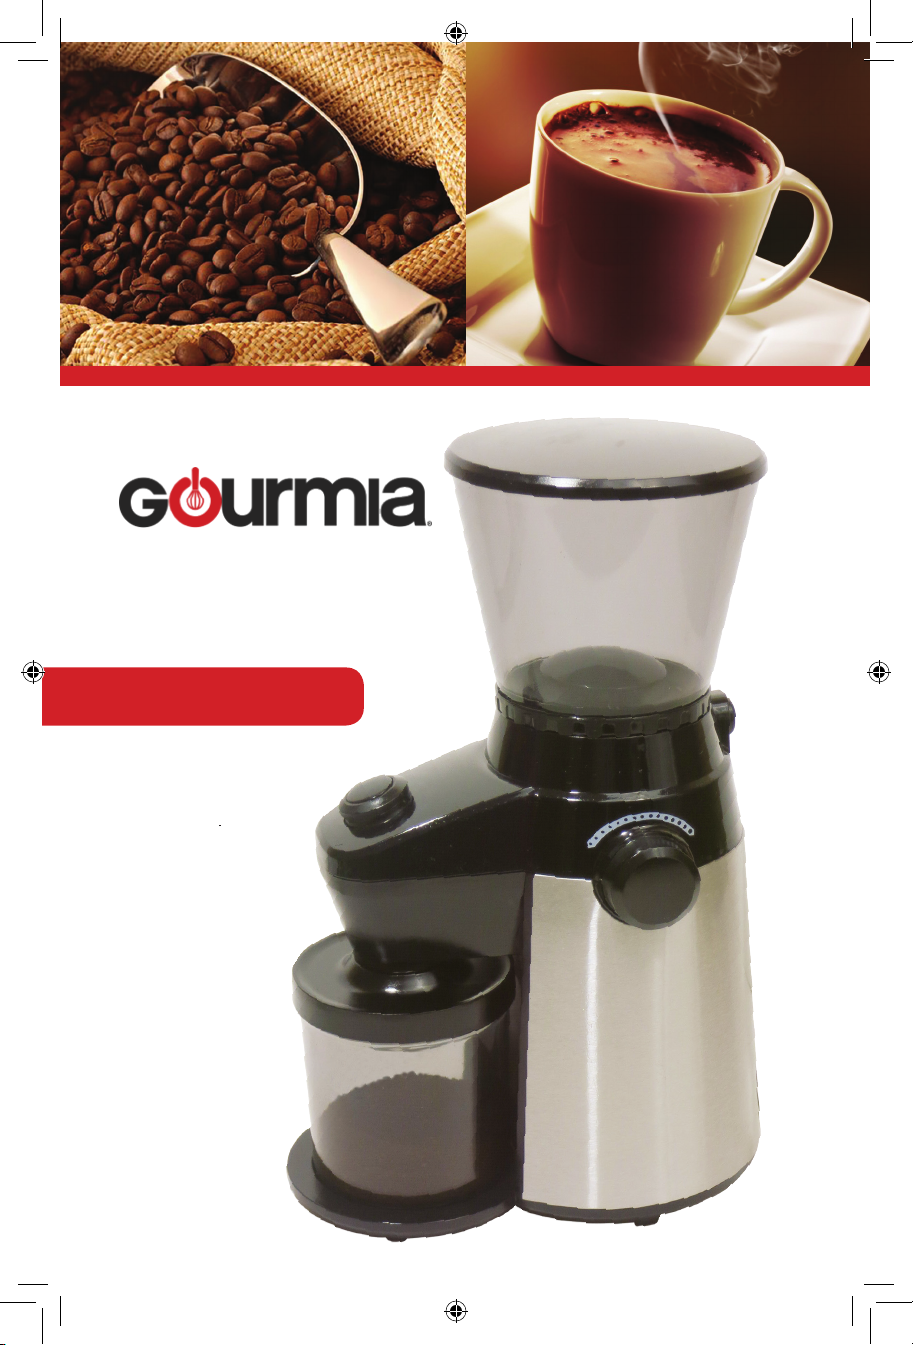
Coffee Grinder
Model# GCG-195
USER
MANUAL

Read this manual thoroughly
before using and save it for
future reference
Model: CG9129-GS
© 2016 Gourmia
www.gourmia.com
The Steelstone Group
Brooklyn, NY
All rights reserved. No portion of this manual may be reproduced by any means
whatsoever without written permission from The Steelstone Group, except for the
inclusion of quotations in a media review.
Although every precaution has been taken in the preparation of this manual, The
Steelstone Group assumes no responsibility for errors or omissions. Nor is any
liability assumed for damages resulting from the use of the information contained
herein. Although every eort has been made to ensure that the information
contained in this manual is complete and accurate, The Steelstone Group is not
engaged in rendering professional advice or services to the individual consumer;
further, The Steelstone Group shall not be held responsible for any loss or damage
allegedly arising from any information or suggestion in this manual.
2
Welcome to the Exciting World of
Fresh Ground Coee from Gourmia
Congratulations on your purchase of the Coee Grinder from Gourmia, exclusively designed for the discerning coee lover!
If you are one the those people who cherishes, or maybe even worships, a good
fresh ground cup of coee – that “pick-me-up” goodness when you walk into the
room and the smell of freshly brewed, real, delicious coee - you’ve made the
right choice.
With your new Gourmia Coee Grinder preparing fresh ground coee, and
exceeding the expectations of your most demanding coee connoisseurs, is
only moments away. We’re condent that you’ll nd your new compact Coee
Grinder from Gourmia easy and fun to use, with the end results being is a fresh
full-bodied coee experience that your and your whole family are sure to love
over and over again!
The pages of this manual oer full and comprehensive instructions to guide you
through the functions and features of the Gourmia Coee Grinder. Inside this
guide you will also nd information on its modes of operation, complete stepby-step instructions for the operation, assembly, cleaning, and maintenance of
your appliance.
Please read all safety instructions thoroughly to ensure safe usage at all times.
Thank you for your purchase! We sincerely hope you will enjoy this as well as all
the many innovative products brought to you by our family at Gourmia.
3

IMPORTANT SAFEGUARDS
Before using the electrical appliance, the following basic precautions should
always be followed including the following:
1. Read all instructions.
2. Before use check that the voltage of wall outlet correspond to the one
shown on the rating plate.
3. Do not operate any appliance with a damaged cord or plug or after the
appliance malfunctions, or is dropped or damaged in any manner. Return
appliance to the nearest authorized service facility for examination, repair or
electrical or mechanical adjustment.
IMPORTANT SAFEGUARDS
4. If the supply cord is damaged it must be replaced by the manufacturer or a
authorized agent or a qualied technician in order to avoid a hazard.
5. Unplug from outlet when not in use, before putting on or taking o parts,
and before cleaning.
6. Do not let cord hang over edge of table or hot surface.
7. Do not immerse the motorized base in liquid, or place in dishwasher.
Damage to the unit will occur if submerged in liquid or lling the liquid into
the container. Only the top cover may be immersed.
8. Close supervision is necessary when your appliance is being used near
children or inrm persons.
9. Ensure ngers are kept well away from moving parts.
10. Do not remove cover until blade has completely stopped.
11. Do not attempt operation without the cover being in place.
12. The use of accessory not recommended by the manufacturer may cause
injuries to persons.
13. Check grinding chamber for presence of foreign objects before using.
14. This appliance is not intended for used by persons (including children) with
reduced physical, sensory or mental capabilities, or lack of experience and
knowledge, unless they have been given supervision or instruction concerning use of the appliances by a person responsible for their safety.
15. Children should be supervised to ensure that they do not play
with the appliance.
16. Do not operate the appliance for other than its intended use.
17. Do not use outdoors.
FOR HOUSEHOLD USE ONLY
4

TABLE OF CONTENTS
Know Your Coee Grinder ............... 6
Before Using The Coee Grinder ..... 7
Using Your Coee Grinder ............... 7
Cleaning And Maintenance ..........10
Grinding Tips ...............................11
TABLE OF CONTENTS
5

KNOW YOUR COFFEE GRINDER
1
2
3
4
5
6
7
8
9
10
11
12
13
14
15
Bean Hopper Lid
Bean Hopper
KNOW YOUR COFFEE GRINDER
Grinder Start / Stop
Button
Grinding Timer
Dial
Coee Powder
Outlet
Ground Coer
Container Lid
Container
Holder
Bean Hopper
Holder
Bean Hopper
Release Button
1
15
2
14
3
13
4
12
5
11
6
10
7
9
8
Grinder
Control
Dial
Coee
Grinder
Body
Grinder
Head
Ground Coee Container
6

1
2
3
4
5
6
7
8
9
10
11
12
13
14
15
Before Using The Coee Grinder For The First Time
1
2
3
4
5
6
7
8
9
10
11
12
13
14
15
1. Carefully unpack your coee grinder and remove all packing materials.
2. Remove any dust that may have accumulated during packaging.
3. It is advisable to rst wash all removeable parts: the Bean Hopper, Bean Hopper Lid, Ground Coee Container Lid And Ground Coee Container with warm
soapy water and soft cloth. Rinse and dry thorougly.
3. To detach the Bean Hopper press down the Bean Hopper Release Button and
simultaneously turn the bean hopper counter-clockwise.
4. After use, rinse the Bean Hopper, Bean Hopper Lid, Ground Coee Container
Lid And Ground Coee Container with water and then dry thoroughly.
CAUTION: Never immerse the grinder body in water for cleaning.
Using Your Coee Grinder
1. Place the coee grinder on a at surface.
USING YOUR COFFEE GRINDER
Grinder
Handle
Head
Tab
Grinder
Groove
Blade
2. Check to see if the Grinder Head
is in position insde the Bean Hopper
Holder. If it has been remove simply
take the Grinder Head by its handle,
allign the grove on the Grindind Wheel
with the tab in the grinding chamber.
Rotate the Grinding Wheel clockwise
until it locks into position.
Tab
Groove
3. Attach the Bean Hopper to the
Bean Hopper Holder:
To attach the Bean Hopper, allign
the tab on the bottom of the Bean
Hopper to the groove on the bean
hopper holder and then turn the
Bean Hopper clockwise until it locks
into position.
7

Bean
1
2
3
4
5
6
7
8
9
10
11
12
13
14
15
Hopper
Release
Button
Grinding
Timer
Grinder
Start / Stop
Button
Dial
Grinder
Control
Dial
1
15
2
14
3
13
4
12
5
11
6
10
7
9
8
USING YOUR COFFEE GRINDER
4. To disassemble, press down the
Bean Hopper Release Button and
simultaneously turn the bean hopper
counter-clockwise to remove the Bean
Hopper from Bean Hopper Holder.
NOTE: The Bean Hopper is equipped
with a microswitch to ensure that it
was assembled correctly, or the appliance will not work.
5. Pour appropriate amount of coee
beans into the bean hopper. Do not ll
the hopper with more than 350g.
NOTE: If you run the appliance without
coee beans, the appliance will stop
working after about 5 minutes. The
appliance must rest for 30 minutes if it
is operated for 5 minutes at a time.
6. Close the bean hopper lid.
7. Slide the Ground Coee Container
(with lid) in position (as shown above)
on the Container Holder. Make sure
8
Ground Coee
Container
Container
Holder
Coee Powder
Outlet
the opening on the Ground Coee
Container aligns with the Coee
Powder Outlet.
8. The Grinder Control Dial enables
you to select the texture of your
ground coee. Select from 1 for a
couarse grind, up to 15 for very ne
grind.
Note: When dialing down to a ner
grain, the unit will only allow a maximum of 5 steps at a time. After every
5 steps start and stop the grinder for
a few moments and then continue
dailing down.
9. The amount of coee
dispensed is determined
by the Grinding Timer Dial.
Refer to the handy table
on the opposite page to
select your desired grinding time. When selected,
the indicator of your selected grinding
time will light at 100% brightness.

Indicator (From left to right)
USING YOUR COFFEE GRINDER
The rst
indicator
lights at 100%
brightness (S)
(Default setting)
5 10 20 30 40 50
Grinding time (in seconds)
If you don’t adjust the grinding time, the
appliance will work under the default
grinding time.
10. Connect the appliance to the
power source. The rst indicator (the
default grinding time setting) will light
up at 100% brightness while the other
indicators and the indicator of Start/
Stop button light up at 50% brightness. Select your desired grinding time
based on your needs. Press the Start/
Stop button. The appliance will begin
to grind your coee beans and after a
while, the coee powder will dispense
the ground coees from the coee
powder outlet into the Ground Coee
Container. The indicator Start/Stop
button keeps blinking during grinding
process.
NOTE: The appliance will enter into a
The second
indicator
lights at 100%
brightness (S)
The third
indicator
lights at 100%
brightness(S)
The fourth
indicator
lights at 100%
brightness (S)
sleep state if no operation is selected
within 90 seconds of it being pluged in.
11. When the desired grinding time
has been reached, the coee grinder
will stop working automatically and
go back to standby mode, at that time,
the rst indicator (the default grinding
time setting) lights at 100% brightness
while the other indicators and the
indicator of Start/Stop button light at
50% brightness.
NOTE: The maximum amount of
ground coee in container is 155g.
12. Remove the ground coee container from its holder, remove lid and pour
out the ground coee.
13. Unplug the appliance.
The fth
indicator
lights at 100%
brightness (S)
The sixth
indicator
lights at 100%
brightness (S)
NOTE:
The appliance must rest for 30 minutes if operated for 5 minutes continuously.
It is suggested that you operate this appliance for less than
90 seconds at a time with a minimum 90 seconds rest time between cycles.
You may stop the appliance from running at any time during
the grinding process, by pressing the Start/Stop button.
9

CLEANING AND MAINTENANCE
CAUTION: Make sure to unplug this appliance and let it cool down completely before cleaning. To protect against electrical shock, do not immerse
cord, plug or the appliance body in water or liquid. After each use, always
make sure to rst remove the plug from wall outlet.
1. Disassemble the bean hopper by following the operation mentioned
above (page 8), and then rinse the bean hopper, bean hopper lid, ground
coee container and ground coee container lid with warm soapy water,
and dry them thoroughly.
2. Lift the handle of the Grinding Wheel and rotate it counter-clockwise
to remove it from its base. Clean the grinding blades with a brush, rinse it
CLEANING AND MAINTENANCE
thoroughly with warm water and then dry thoroughly.
To replace the grinding wheel back in position, see page 6 #2.
NOTE: Use extreem caution while handling and cleaning the Grinding
Wheel as the grinding blades are sharp.
3. Wipe the body with wet cloth and then dry it completely.
4. When not in use, store appliance in a secure, dry and cool place.
10

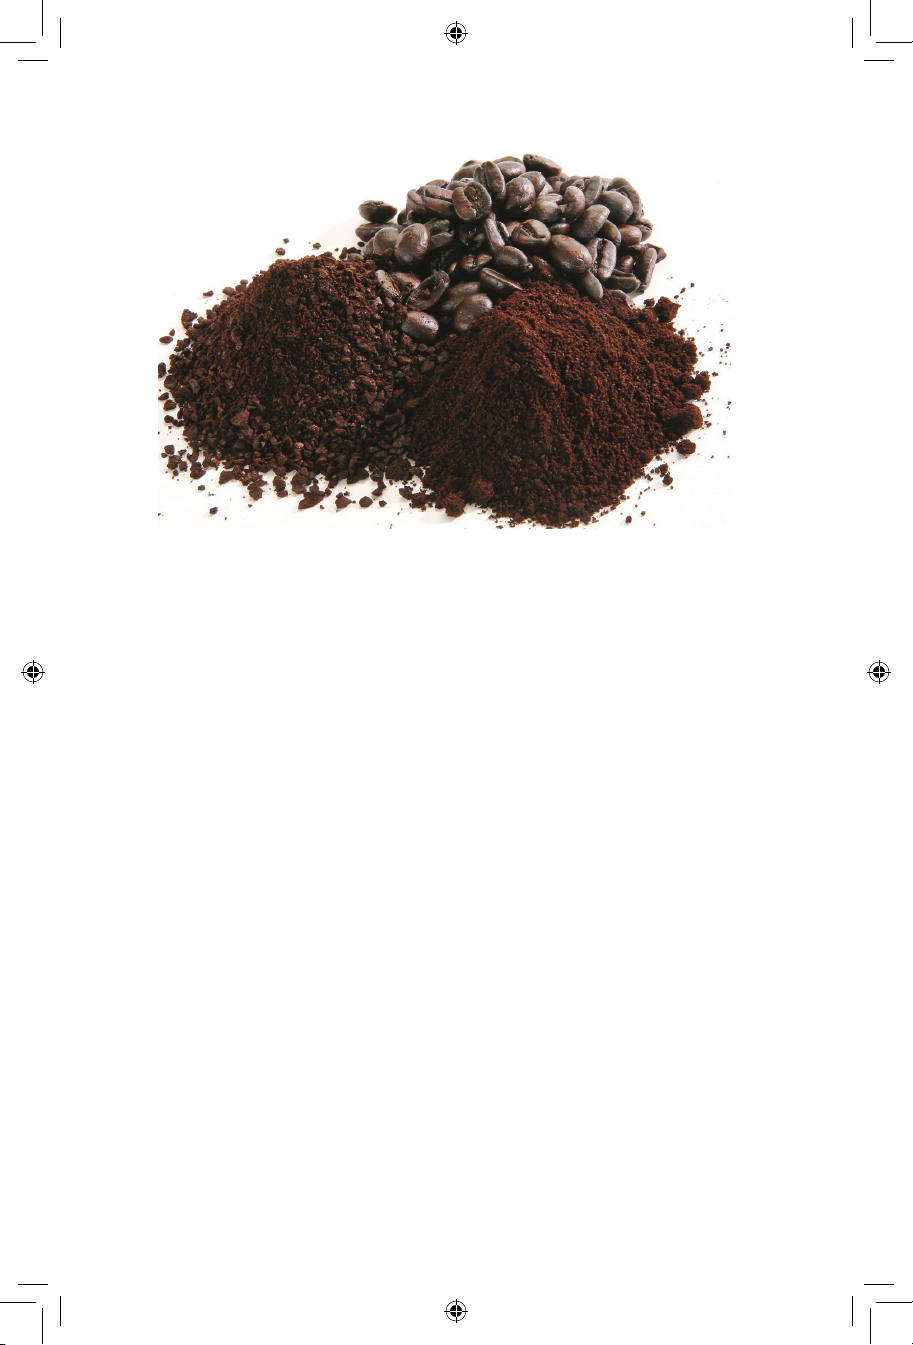
GRINDING
TIPS
1 2 3 4
Coarse ground
coee is generally
used for percolators and coee
urns.
Medium ground
coee is used for
drip coee makers and steamtype espresso
machines.
Fine ground
coee is used
for espresso
machines with an
electric pump.
For the freshest,
most avorful
coee, grind
only enough for
the pot you are
making. Coee
beans keep up
to 2 months in
the freezer in an
airtight container and can be
ground while still
frozen. Coee
grounds left in
your grinder can
become stale and
aect the avor
of freshly ground
coee. Be sure to
clean grinding
chamber, blades
and grinding
wheel after each
use.
This grinder can
only grind dry,
brittle foods. It
will not grind
anything moist,
extremely hard
or gummy,
such as whole
ginger, chocolate,
sesame seeds or
oily spices such as
cinnamon, cloves
or nutmeg. Do
not grind peanuts
or grains such
as wheat, rice,
barley, or dried
corn. Attempting
to grind any of
these foods may
damage the unit.
Never use it to
chop ice cubes.
GRINDING TIPS
Freshly ground
peppercorns
have a strong
aroma and taste
that may aect
the avor of
coee beans
ground later.
You may want
to purchase a
separate grinder
if you plan to
grind a lot of
peppercorns.
11

WARRANTY & SERVICE
This Limited Warranty is for one full year from the date
of purchase. It is applicable to the original purchaser
only and is not transferable to a third party user. Repair
or replacement of defective parts is solely at the seller’s
discretion. In the event that repair isn’t possible, the
seller will replace the product/part. If product repair/
replacement won’t suce, the seller has the option of
refunding the cash value of the product or component
returned.
Product defects not covered under the Warranty
provisions include normal wear and damage incurred
from use or accidental negligence, misuse of instruction
specications or repair by unauthorized parties.
The manufacturing company is not liable for any
incidental or consequential damages incurred by such
circumstances.
FOR CUSTOMER SERVICE
QUESTIONS OR COMMENTS
VISIT US @ GOURMIA.COM
OR CALL 888.552.0033
 Loading...