

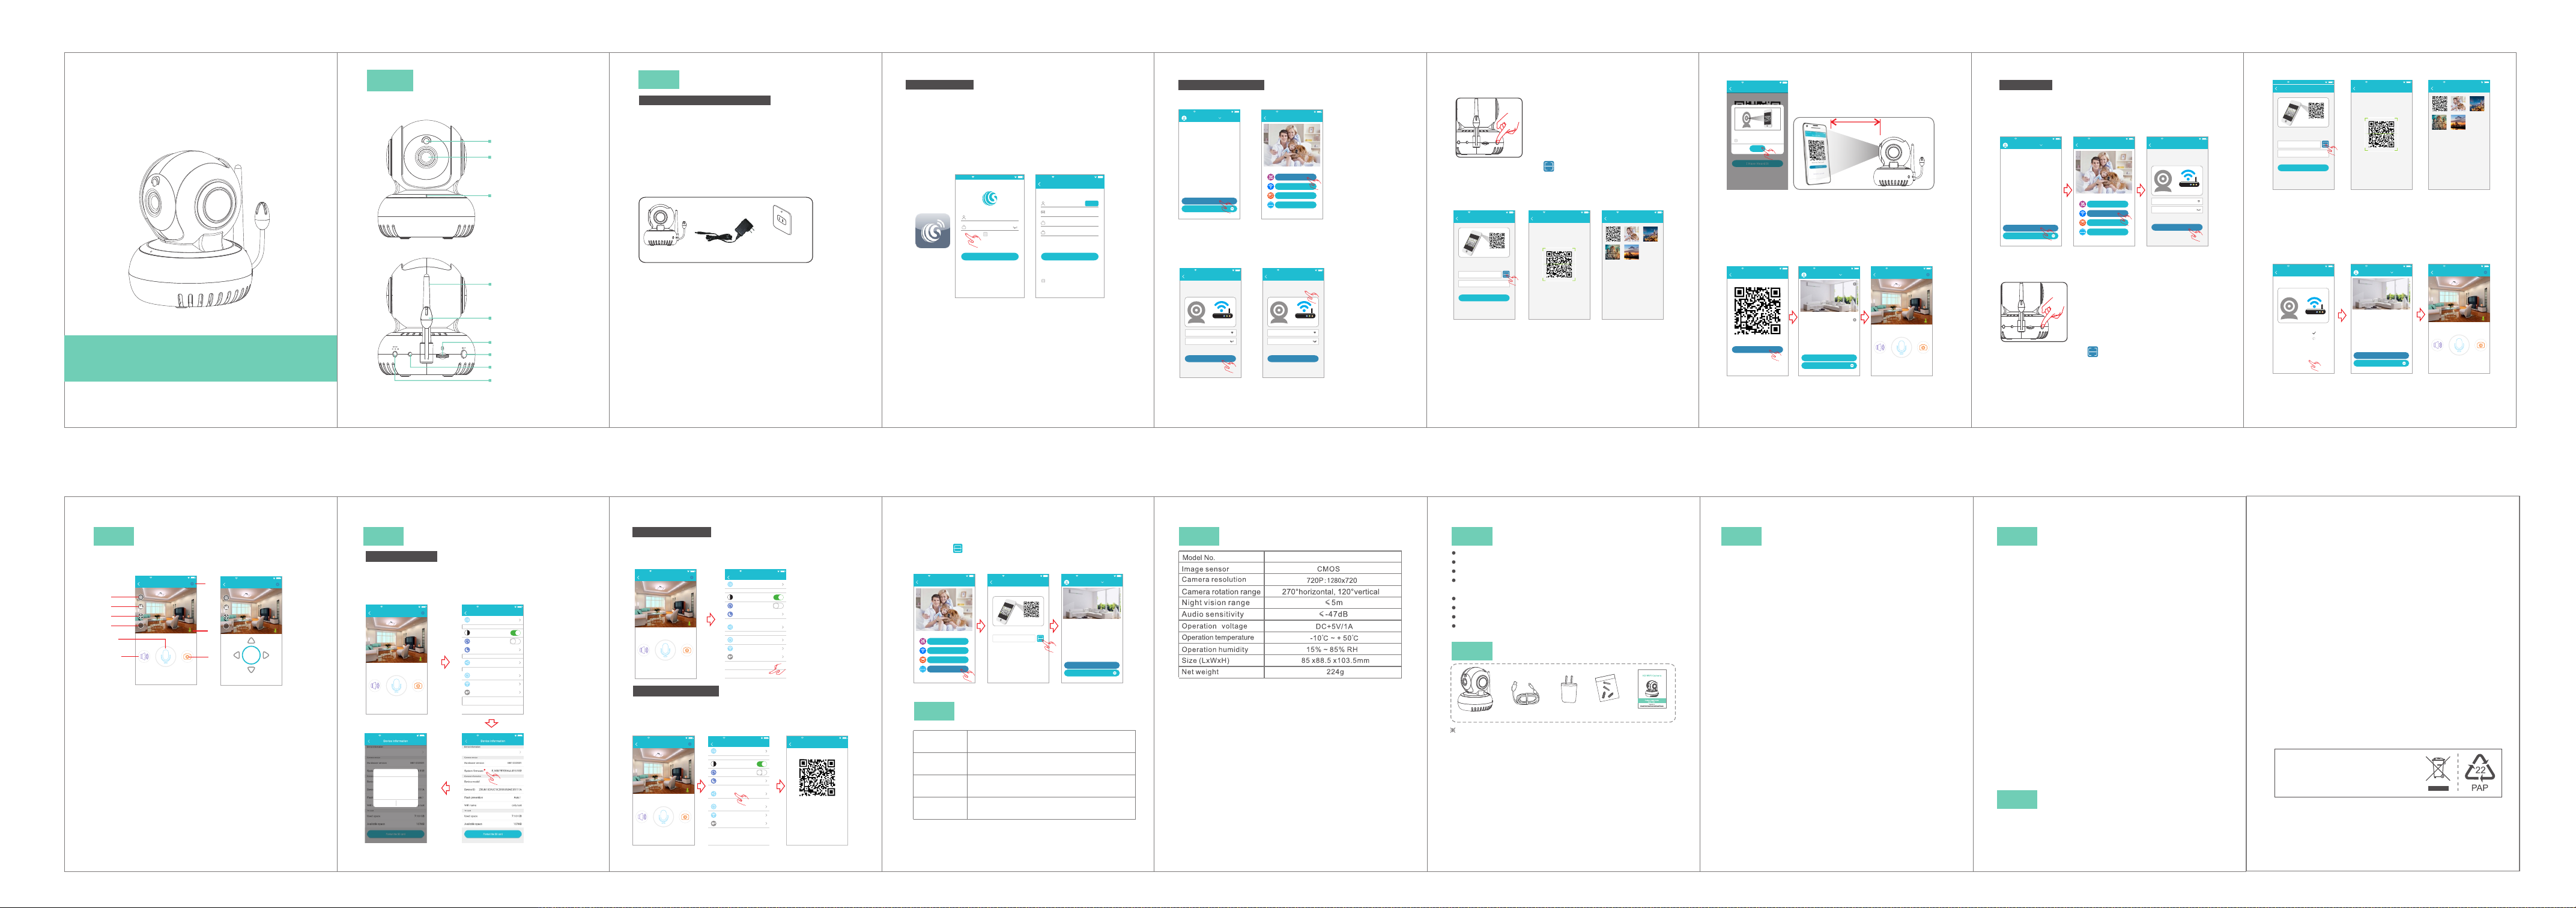
Page 1
HD WiFi Camera
Quick Start Guide
Mode l: T 58 86GAB
Bef or e us ing t he p ro duc t, p le ase r ea d th e gui de c ar efu ll y to a voi d
any dam ag es to t he p ro duc t in v ir tue o f fa ul ty op er at ion o r mi su se.
I
Appeara nce
-1- -2-
Light sensor
Camera Lens
Microphone
Antenna
Thermo sensitive induction
Note: Th ere is no sensor whi ch the
produ ct is without the t emper ature
contr ol inductio n.
Micro SD card slot
SET key
Indicator light
Power adapter port
2
Install ati on
P re par at io n pr io r t o In st al lat io n
1. 2. 4G w ir ele ss r ou ter i s re qu ire d.
2. su pport Andr oi d 4.4 a nd above, i OS 8 .0 an d ab ov e
3. Do wnload an d in sta ll the APP :
A. Op en the App Sto re , s ear ch “ GO SCO M” a nd i nst al l.
B. Op en the Go ogle Play S to re , se ar ch “ GOS CO M” a nd in st al l.
4. He re is an oper at ion e xample of An dr oid APP, and
it ca n se rv e as a re fe re nce f or t he i OS APP.
5. po wer-on Ca me ra an d th er e wil l be p ro mpt s ou nd
ind icati ng power on s uc ceed
Camera
Power Adapter
Wall Socket
R eg ist er /L ogi n
Step 1: Tap the “GOSCOM” APP icon to open it (figure 1);
Step 2: Use email address for user ID registration (figure 2-3);
Step 3: After registration, enter the email address and then
password to log in (figure 2)
(2)
No Servi ce 11:50
(1)
Email
Enter pa sswor d
Regist er
Rememb er pass word
Logi n
Forge t passw ord
TIP : Fo r us er ID r eg is tra ti on , ple as e us e an ef fe cti ve e mail
addre ss , (ex am pl e XXX X@ qq .co m) , in o rde r to r et rie ve t he
passw or d.
(3)
No Servi ce 11:50
Quick Re giste r
Enter ad dress
pleas e enter ve rific ation c ode sen t to
your em ail(c ase sen sitive )
Enter pa sswor d
Enter pa sswor d again
Password f ormat : 8-16 ch aract ers in le ngth, c ontai n at leas t
two kinds a mong nu mbers ,capi tal let ters an d lowerc ase
letters
Regis ter
I have raed this Agreem ent and agree to the
terms and conditi ons User agreeme nt
Get code
-3- -4- -5- -6- -7- -8-
Scan QR C od e to Ad d
1.C lick “Add C am era” → “sc an t he Q R cod e to a dd ”
(fi gu re 5 )
No Servic e 11:50
Devic e List
Add dev ice
Exper ience C enter
(fi gu re 4 ) Click
No Servic e 11:50
Add dev ice
scan the Q R code to a dd
Add by WiF i
Add by net work ca ble
Add frie nds sha re
(4) (5)
2.C onfigur e WI FI, e nt er W iFi n am e an d pas sw or d, an d
“Conf ir m” af te r th at. ( fi gu re 6) P.S: Dev ic e do es no t su pport 5 G
Wi- Fi netw ork; if t hi s is n ot yo ur d es ire d ne tw ork , ta p to t ogg le .
(fi gure 7)
No Servic e 11:50
WiFi se tting
Camera do es not su pport 5 G Wi-Fi ;if thi s is not th e
network y ou want ,clic k to chan ge
Reset
PASSWO RD
please confirm the SSID and password arecorrect,
and SSID matches the WiFi of device
Confi rm
No Servic e 11:50
WiFi se tting
Camera do es not su pport 5 G Wi-Fi ;if thi s is not th e
network y ou want ,clic k to chan ge
Reset
PASSWO RD
please confirm the SSID and password arecorrect,
and SSID matches the WiFi of device
Confi rm
Click
(6) (7)
3.P lease pre ss t he “SET ” ke y for 1 s ec on d, an d th en
you wil l he ar a “B eep” soun d( fig ure 8)
(8)
4.C lick th e QR code ico n (F igu re 9 ) , sw itc h to t he Q R cod e
sca nning mod e, a nd sc an t he I D QR co de
●QR Co de on the cam er a sti ck er ( Fig ur e 10 ) ;
●Or ch oo se t he QR c od e pi ctu re f ro m the a lb um f or ID s ca nn ing
(Fi gu re 11)
No Servic e 11:50
Add Dev ice
Press and hold the SET key for 1 second and then
you will hear Start Configurtion Mode
Scan
ID:
Devic e Name:Ca mera
Next
No Servic e 11:50
Scan QR C ode
Album
No Servic e 11:50
Album
(9) (10) (11)
5.Whe n th e APP Sw it ch to t he p re cau ti on p age b ef or e sca nn in g,
pleas e re ad th e pr om pts c ar ef ull y an d cl ick " Ne xt s tep "( Figur e 12 )
Whe n the mob ile phone s ho ws a QR cod e in ter fa ce , ple as e al ign
the Q R co de t o the c am er a, wi th a d is tan ce o f ab out 1 0 ~ 20 cm
(Fi gu re 1 3); i f sc an nin g su cc eed s, y ou w ill h ea r “B eep ”t wi ce.
No Servic e 11:50
Scan QR C ode
Put this QR c ode at 10 -20cm f rom the
camera, a nd when y ou hear a " beep"
prompt so und, cl ick “I ha ve heard i t”
No prompt s ound
Confi rm
I Have He ard It
10- 20cm
(12) (13)
6. Af ter s can t he QR Cod e, and wh en you he ar "Bee p" twi ce Cl ick “ I
Hav e Heard I t”(Fi gu re 1 4), a nd now th e camer a is conn ecti ng to t he
rou ter WiF i. When y ou see th at the in dicat or on the d evice t urns fr om
bli nking g reen to b e stead y on, it in dicat es that t he devi ce is con necte d
and w ill aut omati cally s kip to th e devic e list. ( Fi gu re 15 )
Cli ck the de vice to e nter th e real- time mo nitor ing int erfac e.(Fi gu re 1 6)
No Servic e 11:50
Scan QR C ode
Did you hea r a “beep” s ound?
I have he ard it
Did not he ar any so und?
No Servic e 11:50
Devic e List
Living Ro om
Add dev ice
Exper ience C enter
No Servic e 11:50
2017/04/ 21 13:00
Sound
Livin g Room
Speak
31°C
Snapsho t
(16)(15)(14)
Add b y WI FI
1.C lick “Add C am era ” → “Ad d by WIFI ”
Fig ure 18)→ Co nf igu re W IF I, en te r Wi Fi na me a nd p ass wo rd ,
and cli ck “ Con fi rm ” aft er t ha t.( Fi gu re 19 )P.S :De vi ce does n ot
sup port 5G Wi- Fi n etw or k; i f thi s is n ot y our d es ir ed ne tw or k,
Click t o to ggl e
No Servic e 11:50
Devic e List
Add dev ice
Exper ience C enter
(Fi gu re 1 7) Clic k (
No Servic e 11:50
Add dev ice
scan the Q R code to a dd
Add by net work ca ble
Add frie nds sha re
Add by WiF i
No Servic e 11:50
WiFi se tting
Camera do es not su pport 5 G Wi-Fi ;if thi s is not th e
network y ou want ,clic k to chan ge
Reset
PASSWO RD
please confirm the SSID and password arecorrect,
and SSID matches the WiFi of device
Confi rm
(17) (18) (19)
2.P le as e pre ss a nd h old t he “ SE T” ke y fo r 1 se con d, a nd t hen
you w ill hear a “B ee p” so un d( Fig ur e 20 )
(20)
3.C lick the QR c od e ico n (Figu re 2 1) , s wit ch t o th e QR co de
sca nning mod e, a nd sc an t he I D QR co de
●QR Co de on the cam er a sti ck er ( Fig ur e 22 ) ;
●Or ch oo se t he QR c od e pi ctu re f ro m the a lb um f or ID s ca nn ing
(Fi gu re 2 3)
No Servic e 11:50
Add Dev ice
Press and hold the SET key for 1 second and then
you will hear Start Configurtion Mode
Scan
ID:
Devic e Name:Ca mera
Next
No Servic e 11:50
Scan QR C ode
Album
No Servic e 11:50
Album
(21) (22) (23)
4.
Aft er y ou c lic k “C on fir m” , wh en yo u wi ll h ear “ Be ep ”tw ic e,
indic at es th at t he c ame ra i s co nne ct in g to th e ro ut er.( Fi gu re 24 )
Whe n you see tha t th e ind ic at or on t he d ev ice t ur ns f rom b li nk ing
green t o be s tea dy o n, i t ind ic at es th at t he d evi ce i s co nne ct ed
and wil l au tom at ic all y sk ip t o the d ev ic e lis t. ( Fi gur e 25 )
Click t he d evi ce t o en ter t he r ea l-t im e mo nit or in g int er face.
(Fi gure 26)
No Servic e 11:50
Add by Wi Fi
It will tak e about 1 -2 minu tes to Wi Fi netw ork,
please wa it
Step 1: Con necti ng
Step 2: Bin ding
Step 3: Con nect su cceed ed
connec ting fa ilde in o ver 2 min utes
No Servic e 11:50
Devic e List
Living Ro om
Add dev ice
Exper ience C enter
No Servic e 11:50
2017/04/ 21 13:00
Sound
Livin g Room
Speak
Snapsho t
(24) (25) (26)
31°C
View Monitorin g and Operate
3
Aft er t he d evi ce i s co nne ct ed , you c an v ie w rea l- ti me
monit or ing , an d ta ke a pi ct ur e, re co rd a v ide o, s pe ak, s et
up and ma ke o the r opera tions on yo ur m obi le p ho ne.
No Servic e 11:50
Livin g Room
2017/04/ 21 13:00
4
5
6
HD
7
2
1
Sound
Snapsho t
Speak
No Servic e 11:50
Livin g Room
9
2017/04/ 21 13:00
HD
31°C
8
31°C
3
Rocker
(27) (28)
1. Voice b ut ton : Cl ic k to cl os e/ dis cl os e the v oi ce
2. Talk ba ck butt on : pre ss a nd h old t hi s bu tto n to t al k wit h th e
cam er a.
3. Ca pture but to n: cl ic k to f ast c ap tu re (s av e in t he se tt in gs
dir ector y Alb um B ook opt io n).
4. Pl ayback bu tt on: C li ck t o ent er t he p lay ba ck p age , yo u ca n
vie w the camer a SD c ard v id eo f ile .
5. Re cord butt on : Cli ck t o st art r ec or din g, c li ck th e bu tt on ag ai n
(st or ed i n the s et t he d ire ct or y of th e al bu m opt io n) .
6. PT Z bu tt on: C li ck t his b ut to n, APP p op -up P TZ c ontro l in terfa ce
for H ea d le vel \ v er ti cal a ng le t o adj us t (F igu re 2 8) .
7. Sh arpness b ut ton : Cl ic k to ad ju st t he Re so lu tio n pi xe l for
rea l-tim e vi de o mon it or ing ( HD /S D)
8.T he rm ome te r: R eal -t im e tem pe ra tur e de te cti on
9.S et butt on : Cl ick t hi s bu tto n to s et t he ca me ra -re la ted fun ct ions.
Feature s
4
Sof tw ar e Upg ra de
1. Cl ick “Se tting s” icon → C li ck “D ev ic e Inf or ma tio n”
(Fi gu re 3 0) Clic k “S yst em F ir mwa re ” (F igu re 3 1) Clic k “U pd ate
Now” (F ig ure 3 2) (I t can o nl y be u pgr ad ed i f the re i s a sm all r ed s po t
on th e top rig ht corn er of the a pplicat io n fir mware)
No Servic e 11:50
2017/04/ 21 13:00
No Servic e 11:50
→ →
Livin g Room
Sound
Speak
Updat e
Can Upd ate to 00. 00.00 .01
1.Optim ize APP n etwor k pairi ng
procedu re
2.Optim ize…
3.Optim ize…
Another T ime
Update No w
(Fi gu re 2 9)
No Servic e 11:50
Settin g
Album
Status in dica tor
Rotate v ideo 18 0 degre es
31°C
Snapsho t
(29) (30)
Night vi sion
Share wi th frien ds
Camera t ime che ck
WiFi sett ing
Device i nform ation
Delet e devic e
No Servic e 11:50
(32) (31)
Devic e Un bin di ng
Click (Fi gure 33) Cl ic k (Fi gure 34)
1. “S et ti ngs ” ic on → “Dele te D evi ce ”
APP w il l aut om at ica ll y sw itc h to c am era l is t, dele te t he came ra y ou
want to U nb und led it from t he AP P
No Servic e 11:50
Livin g Room
2017/04/ 21 13:00
31°C
Sound
Snapsho t
Speak
No Servic e 11:50
Settin g
Album
Status in dica tor
Rotate v ideo 18 0 degre es
Night vi sion
Share wi th frie nds
Camera t ime che ck
WiFi sett ing
Device i nform ation
(33) (34)
Delet e devic e
Add F ri en ds to S ha re
Gen erate a QR co de f or sh ar in g(c an s ha re th is Q R Co de to
multi - us ers )
1. Cl ick”s et ti ng” i co n( Fig ur e 35 ) → Cli ck " sh are wit h fr ie nds"
(Fi gure 36)→ yo u ca n have th e QR c ode (F ig ure 3 7)
No Servic e 11:50
Livin g Room
2017/04/ 21 13:00
Sound
Speak
No Servic e 11:50
Settin g
Album
Status i ndica tor
Rotate v ideo 18 0 degre es
Night vi sion
31°C
Share wi th frie nds
Camera t ime che ck
WiFi sett ing
Snapsho t
Device i nform ation
Delet e devic e
(35) (36) (37)
No Servic e 11:50
share w ith fri ends
Steps to share wi th friends
Step 1:Open“Add Camera”on the mobile phone of
a friend
Step 2:Select the fourth way to add,and scan QR
code
-11-
If ot he r us ers w an t to a dd th e ca me ra, C li ck " Add C am er a" →
se lec t "A dd Fr ie nd s to Sh ar e" m ode (F ig ure 3 8)→ C li ck th e QR
code ic on ( Fig ur e 39 ) , swi tc h to t he QR c od e sc ann in g
mode→ sc an t he QR c od e sh are d by f ri end s→ En te r the D ev ic e
List( Fi gur e 40 )
No Servic e 11:50
Add dev ice
scan the Q R code to a dd
Add by net work ca ble
Add frie nds sha re
Add by WiF i
No Servic e 11:50
Add Dev ice
Scan the QR c ode for s harin g with fr iends
ScanID:
No Servic e 11:50
Devic e List
Living R oom
Add dev ice
Exper ience C enter
(38) (39) (40)
5
Red ind ic ato r
rem ai ns
Red ind ic ato r
fla shes
Gre en
dicat or
in
fla shes
Gre en
in
dicat or
rem ai ns
Camera In dic ator Instr uct ion
Ind icate s that po wer fai lure or n etwor k not
con necte d.
Ind icate s that ca mera is c onnec ting to
net work.
Ind ica
tes t he rout er conn ected
suc cessf ully (n o Inter net).
Ind ica
tes t he came ra is con necte d to serv er
and w orkin g well.
-12--10--9-
6 7
No additional notice will be made in case of any
※
minor change. Our company reserves the right of
final interpretation.
Product S pec ificatio ns
T5886GAB
-13-
Functio n Fea tures
24/7 live vid eo s tr ea mi ng
HD provides e xc el le nt v id eo q ua lity
Smart motio n de te ct io n an d no tification
Advanced vi de o re co rd in g on m ic ro-SD card (Max im al ly
support the c yc li c re co rd in g of 6 4GB micro SD ca rd .)
Motorized P an /Tilt
Night visio n (5 m vi si bi li ty )
Two-way voic e tr an sm it
Quick & easy to s et u p
Packing L ist
8
Cam er a
USB c ab le
Pow er
adapt er
Scr ews
Qui ck Guid e
The p ict ure is on ly for re feren ce and th e real ob ject sh all pre vail
-14-
Tips
9
1.Suggest using qualified micro-SD card to avoid
incompatibility. For ma t mi cr o- SD c ar d be fo re u si ng .
2.Movement detection: when movement is detected
within the scope of camera, the camera will record video
and take photos automatically. Vid eo s an d ph ot os w il l
be saved in micro-SD card.
3.Share your camera to friends: Share QR code of the
device with your friends.
4.The main account to delete the camera, this time friends
to share Will be deleted together.
(You h av e to r e- ad d th e ca me ra t o us e it a ga in )
5.Push message: when movement is detected, alarm
message can be sent to server and pushed to your
phone.
6.Remote monitoring: after the camera is connected to
Internet successfully, app c an v ie w th e mo ni to r vi a
Internet, anytime, anywhere.
7.Temperature alarm: In case that the temperature
detected by the device is higher than the set value,
audible alarm will be activated on cell phone (once
every 2 minutes).
Note: There is no function which the product is without
the temperature control induction
8.Only support the special characters in English mode,
such as: " @, #, &, *, ~, {, }, -, =, +, /, ?, (, )",
Dont support the special characters, such as:"%", "\",
"<>".
9.Whe
his machine h as a c ra sh f au lt o r ot he r abnormal
n t
condition s in fl ue nc in g the usage, it is reco mm en de d to
cut out the pow er a nd r es ta rt ; or p re ss SET key for 10
seconds, wh ic h ca n re st or e fa ct ory settings, and t he n
please reconn ec t th e ro ut er.
-15-
10
1. Wi -Fi ca nnot be conn ect ed
a) Ensure that th e ant enna o f came ra is fi xed we ll.
b) Ensure that ca mer a is in range of ro ute r. Keep th e d ist ance
less t han 40 fts be twe en rou ter and ind oor ca mer a, les s than
65ft s for ou tdo or cam era .
c) Ens ure th at SSI D and pa ssw ord of W i-Fi c ontains n o spec ial
char act ers. Modi fy the SSID an d pass wor d of Wi-Fi wit h only
Engl ish ch ara cte rs, no speci al charac ter s.
d) Ens ure th at SSI D and pa ssw ord ar e no lon ger th an 16 ch ara cter s
e) Ensure t hat SS ID is br oad cast ed.
f ) Ensur e that the DHC P is ena bled on rout er.
g) Ensure t hat Wi- Fi enc ryp tio n meth od is WPA2 -PS K/
WPA-PS K or AES.
h) Ensure that Wi -Fi signa l is 2.4 GHz .
i ) Ensur e tha t ther e is no MAC f ilter on router o r add MAC addr ess
to rou ter wh ite list
j) We sugg est reboo tin g the ro uter, and the "s ecu rit y sett ing s,
encr ypt ion me tho d" of Wi Fi pas sword sho uld ne ver ch oos e
"aut o-s elect".
k) Rese t the ca mer a to set up c onne cti on aga in. Press a nd hol d
SET key f or 5 sec onds .
2. Re d indicat or r ema ins, ne twork con ne cti on i s fa ile d.
a) En su re t hat t he p as swo rd o f Wi -Fi i s co rr ect .
b) En su re t hat t he n et wor k co nn ect s to I nt ern et f reely.
c) En su re t hat t he c am era i s in r an ge of W i- Fi h ots po t.
3. Gre en ind ica tor fl ash es, co nne ctio n to ser ver fa ile d.
a) Ens ure th at Wi-Fi si gnal is stro ng eno ugh a nd
band width is eno ugh for con nect ion . Move n ear to Wi-Fi h otsp ot
or inc reas e the ba ndw idth .
b) Ens ure th at camera i s not under in terf ero n of oth er 2.4 GHz si gna l.
11
NOTE: This equipment has been tested and
Class B digital device, pursuant to part 15 of the FCC Rules.
These limits are designed to provide reasonable protection against harmful
interference in a residential installation.
Troubles hoo ting
FCC/CE C
ertific ati on Informa tio n
found to comply with the limits for a
-16-
This equipment generates uses and can radiate radio frequency energy and, if
not installed and used in accordance with the instructions, may cause harmful
interference to radio communications. However, there is no guarantee that
interference will not occur in a particular installation. If this equipment does
cause harmful interference to radio or television reception, which can be
determined by turning the equipment off and on, the user is encouraged to try to
correct the interference by one or more of the following measures:
- Reorient or relocate the receiving antenna.
- Increase the separation between the equipment and receiver.
- Connect the equipment into an outlet on a circuit different from that to which the
receiver is connected.
- Consult the dealer or an experienced radio/TV technician for help
Changes or modifications not expressly approved by the party responsible for
compliance could void the user's authority to operate the equipment.
This device complies with Part 15 of the FCC Rules. Operation is subject to the
following two conditions:
(1) this device may not cause harmful interference, and
(2) this device must accept any interference received, including interference that
may cause undesired operation.
The Maximum Permissible Exposure (MPE) level has been calculated based
on a distance of d=20 cm between the device and the human body. To maintain
compliance with RF exposure requirement, use product that maintain a 20cm
distance between the device and human body. Hereby, we declares that this
device is in compliance with the essential requirements and other relevant
provisions of Directive 2014/53/EU.
Notice: Observe the national local regulations in the location where the device I
s to be used. This device may be restricted for use in some or all member states
of the European Union (EU)
EU Environmental Provisions
E-wast e cannot be mixe d with househ old
garbag e; corres ponding lo cal govern ment
sector or rec ycling st ations sha ll be
respon sible for cir cular pro cess.
-17-
 Loading...