

Goscam 8203KF User Manual
EU E nv ir on me nt al P ro te ct io n
Please read this user manual carefully before using this product. Failure to
understand operation procedures may result in injury.
Version 1.0
Was te electr ic al p roducts s ho uld
not be disp os ed o f with ho us eh old
waste. Pl ea se recycl e wh er e
facilit ie s exist. Ch ec k wi th your
local aut ho ri ty or ret ai le r for
recycli ng a dv ice.
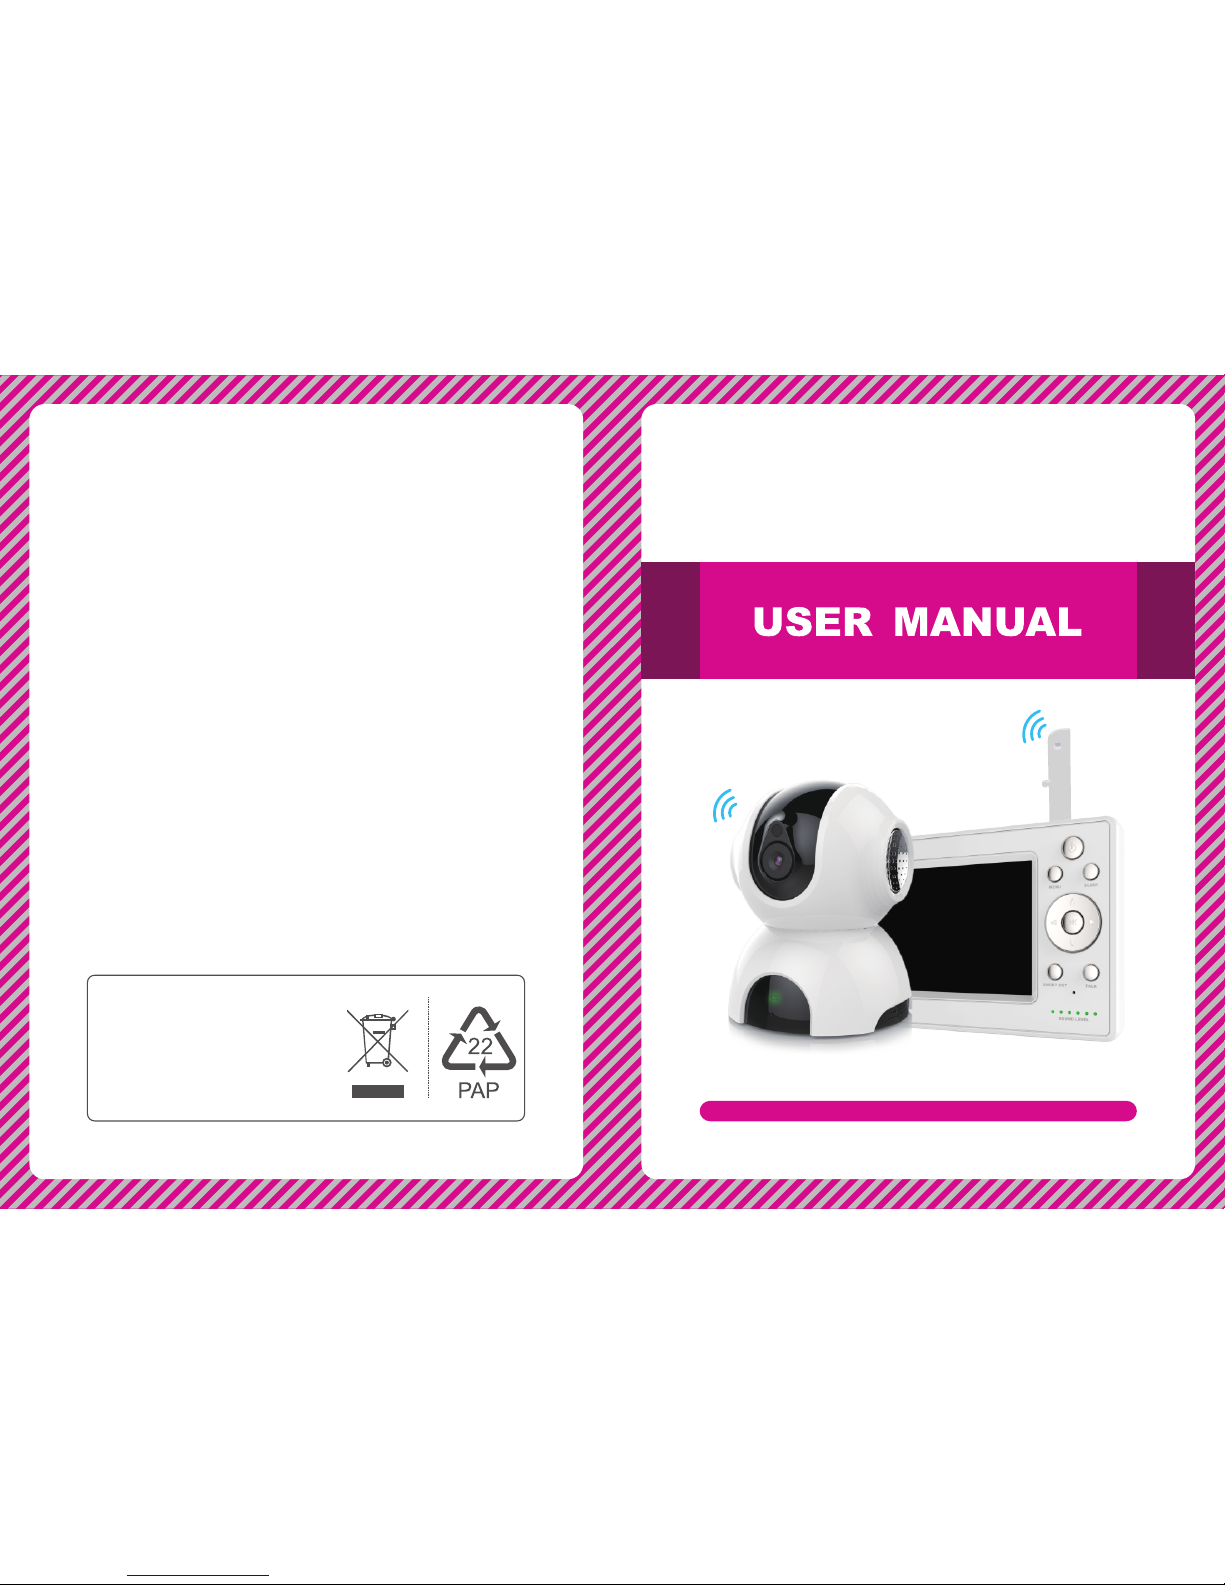
Model No.: 8203KF
720P Digital Color Video Baby
Monitor with 5" HD LCD
720P Digital Color Video Baby
Monitor with 5" HD LCD
Introduction
Than k yo u for choosin g our baby moni tor. Before us in g the
prod uct please re ad t he instruct ion careful ly i n case of damag e
to the p ro duct due to imp roper opera tion.
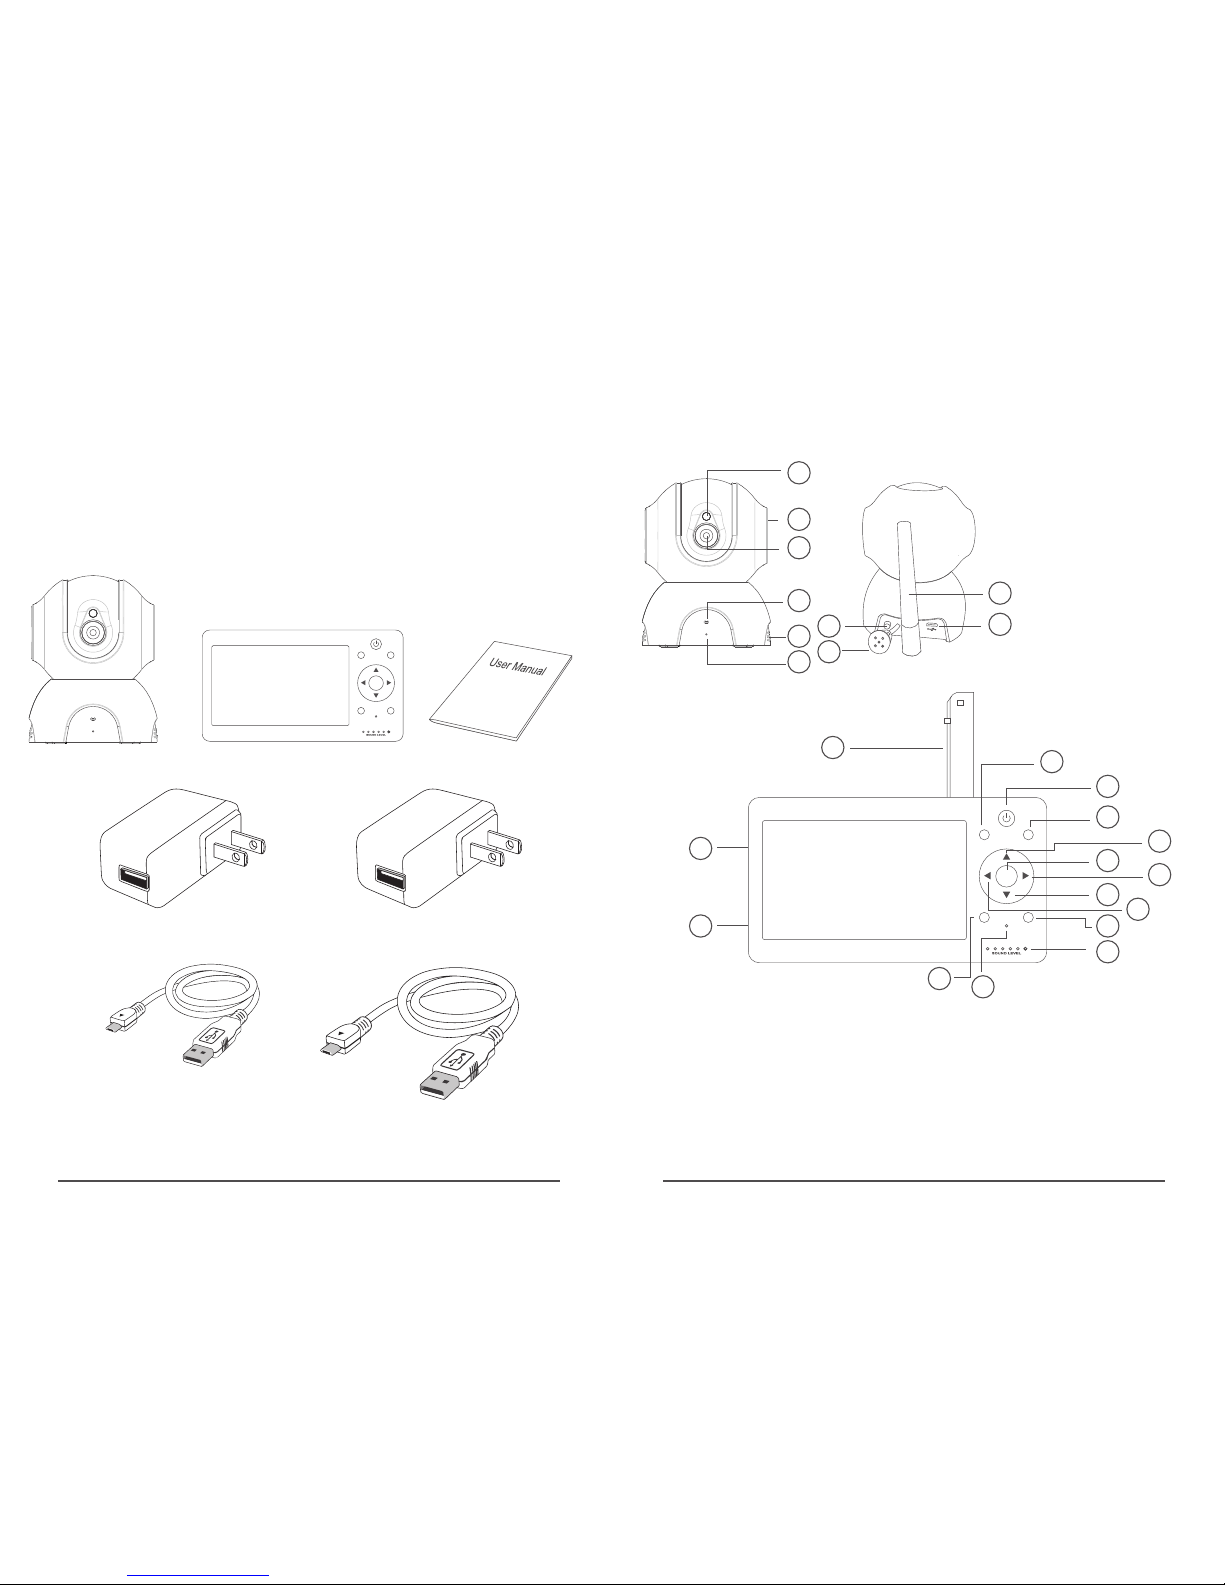
Parts in the package
01 02
product structure
1
2
3
4
5
6
7
8
9
10
1. Phot os ensit iv e senso r
2. Horn
3. Lens
4. Indica tor LED
5. Louv er
6. Micr op hone
7. SET bu tton
8. Temp er ature s en sor
9. Anten na
10. USB i nt erfac e
Camer a
Instr uc tion
Power a da pter (f or c amera , 5V 1 A)
Monit or
OK
MENU
SLEEP
TALKSHORT CUT
Power c ab le for ca me ra (1m) Power c ab le for re ce iver (3 m)
OK
MENU
SLEEP
TALKSHORT CUT
11
12
13
14
15
16
17
18
19
20
21
22
23
24
25
11. Ant en na
12. Men u bu tton/ Re turn
13. On/ off but to n
14. Sle ep b utton
15. Shi ft u p/Bri gh tness +
16. Con fi rmati on b utton /
Zoom bu tt on
17. Shi ft r ight/ Vol ume+
18. Shi ft d own/B ri ghtne ss -
19. Shi ft l eft/Vo lu me-
20. Dia lo gue key
22. Mic ro phone
23. Sho rt cut but to n
24. SET b utton
25. USB i nt erfac e
21. Sta tu s indic at or
Power a da pter (f or m onito r, 5V 2 A)
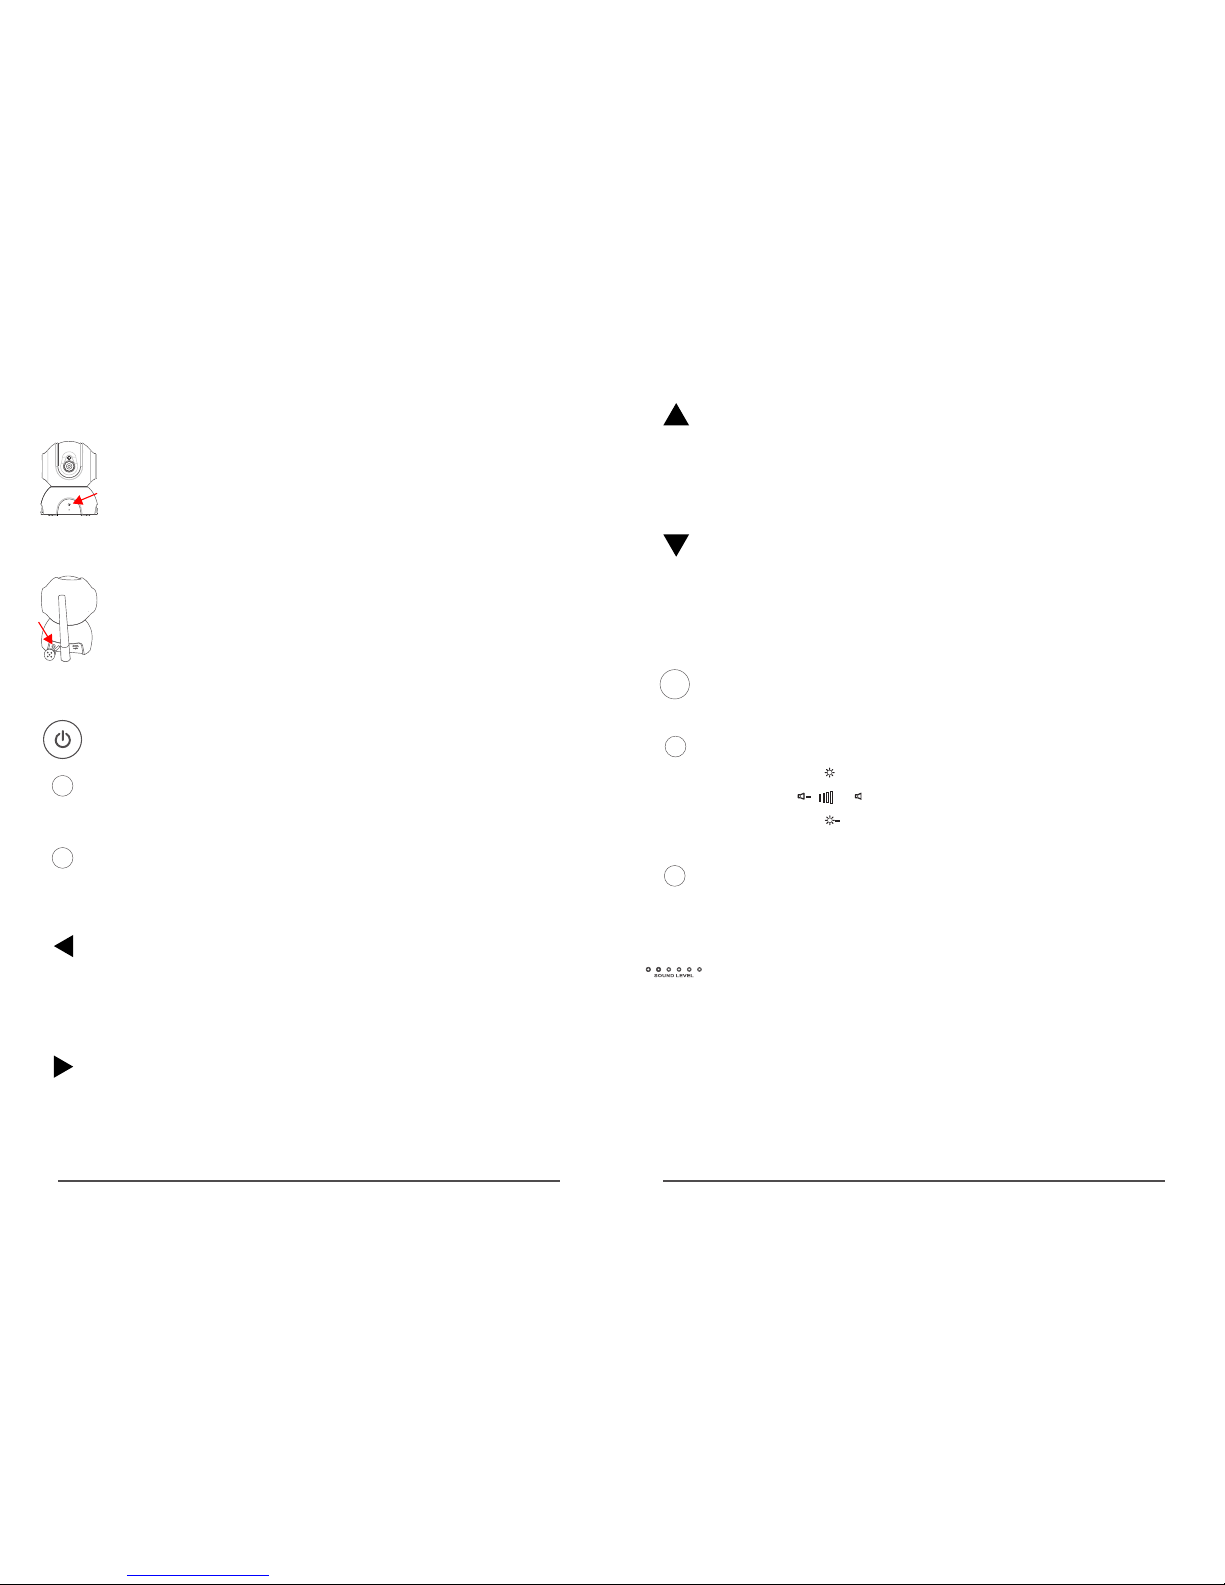
Tur n on/off the displa y (press for 2s )
Slee p button. Press t his button, t he screen is off, pre ss i t
agai n, the screen t ur ns on. (this bu tton does not
infl uence autom at ic sleep setu p. Auto matic sleep sti ll
func ti ons norma ll y.)
In rea l-time view in g, by pressin g this button , th e camera
can be c ontrolled t o tu rn left.
In men u interface, by p ressing thi s button, the men u
curs or shifts left.
In sho rtcut interfa ce, press thi s button to turn do wn
volu me.
In rea l-time view in g, by pressin g this button , th e image
size i s doubled.
In men u interface, pr essing this b utton to confir m.
In rea l-time view in g, by pressin g this button , th e camera
can be c ontrolled t o tu rn upward.
In men u interface, by p ressing thi s button, the men u
curs or shifts upwar d.
In sho rtcut interfa ce, by pressi ng this button, b rightness
of the d isplay is inc re ased
SLE EP
OK
MEN U
Pres s the button to jum p to Menu, pres s the button agai n,
exit f rom Menu. The butto n al so has the func tion of
retu rning to prev io us step.
Function introduction of buttons for monitor
Stat us i ndicator LE D:
03 04
In rea l-time view in g, by pressin g this button , ju mp to
talk back function ; releasing t he button, talk back functi on
is off. The voice fr om camera end c annot be hear d ti ll the
butt on i s released.
TALK
SHO RT CUT
Shor tcut button. By p ressing thi s button, short cut
inte rface pops up, vo lume and brig htness of
the mo nitor can be adju sted.
+
+
In rea l-time view in g, by pressin g this button , th e camera
can be c ontrolled t o tu rn right.
In men u interface, by p ressing thi s button, the men u
curs or shifts right .
In sho rtcut interfa ce, press thi s button to turn up v olume.
In rea l-time view in g, by pressin g this button , th e camera
can be c ontrolled t o tu rn downward .
In men u interface, by p ressing thi s button, the men u
curs or shifts downw ard.
In sho rtcut interfa ce, by pressi ng this button, b rightness
of the d isplay is dec re ased
Function introduction of buttons for camera
Indi cator LED. When g reen LED flas he s slowly,
star tu p is successf ul, or the came ra is disconn ec ted
with t he m onitor. When g reen LED flas he s quickly,
the ca mera and moni to r are being pai red. When
gree n LE D is on constan tly, the came ra a nd monitor
are pa ired succes sf ully.
SET button . Short press it fo r 1s, jump to pai ri ng
mode ; long press for 5s , factory res et .
The fi rs t green LED lig hts constantl y: indicate s that
the ca mera and moni to r are connect ed successf ully
The fi rs t green LED fla shes slowly (on ce per second ):
indi cates that it is st arting, wit ho ut connecti ng the camera
The fi rs t green LED fla shes quickly (3 t imes per
seco nd ): indicate s code matchi ng
From t he s econd to fift h green LEDs flas h from low to
high : Qu antity of fla shing LED ind ic ates sound vo lume
rece ived
From t he s econd to fift h green LED s flash
simu lt aneously (o nce per second) : indicates t hat alert
sign al is receive d.
The si xt h LED constan tly gives off red l ight: indic ates
that t he l ithium batt ery is being ch arged; (it al wa ys be
show n whether it is o n or o ff )
The si xt h LED is off: ind icates that t he b attery is
char ged fully
27
Explanation for icons
Signa l st rengt h be tween t he m onito r an d camer a
No sign al c onnec ti on betw ee n the mon it or and ca me ra
Cradl es ong ena bl ed
Sleep s et up of mon it or enab le d
Show cu rr ent roo m te mpera tu re
Show cu rr ent bat te ry leve l. W hen bat te ry leve l is t oo low,
the ico n wi ll beco me a nd flas h
Sound a la rm enab le d
Tempera tu re alar m en abled
!
Icon of status bar
Camer a is n ot adde d or c amera a nd m onito r ar e disco nn ected
Sound a la rm prom pt
Tempera tu re alar m pr ompt
Icon for message push
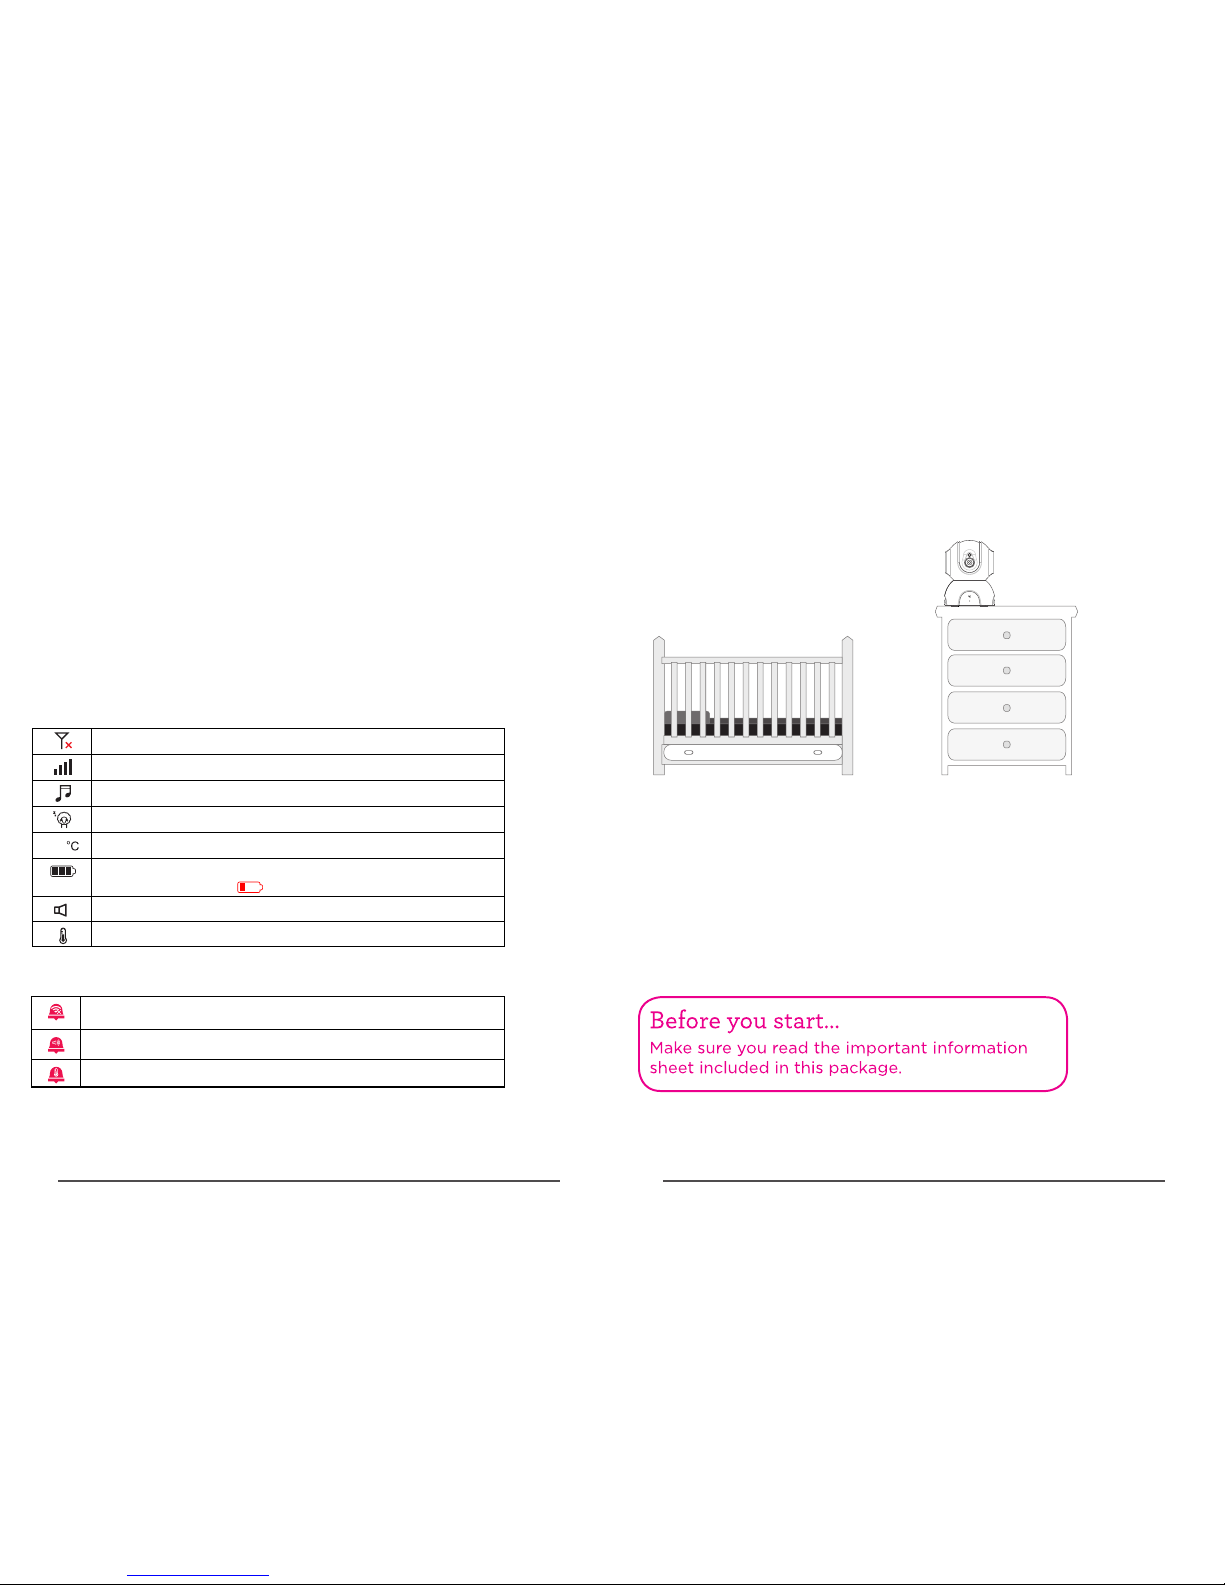
Equipment installation
1.Po si tion the came ra(s)
Find a l ocation for the c amera
that g iv es you the best v iew of
your b aby in his or her c ri b.
Plac e the camera on a f la t surface,l ike a dresser.
IMPO RTANT:N EVER place th e ca mera or cords o f any kind
insi de the crib.N EV ER place the ca mera or cords w ithin reach
of the b aby.
05 06
 Loading...