

Goscam 8104JR, 8105JR, 8107JR User Manual
Model: 8104JR/8105JR/8107JR
Model: 8104JR/8105JR/8107JR
4CH Digital Wireless Security System
Version 1.0
Please read this user manual carefully before using this product.
Failure to understand operation procedures may result in injury.
EU Environmental Protection
Waste electrical products should
not be disposed of with household
waste. Please recycle where
facilities exist. Check with your
local authority or retailer for
recycling advice.
01
02
CONTENTS
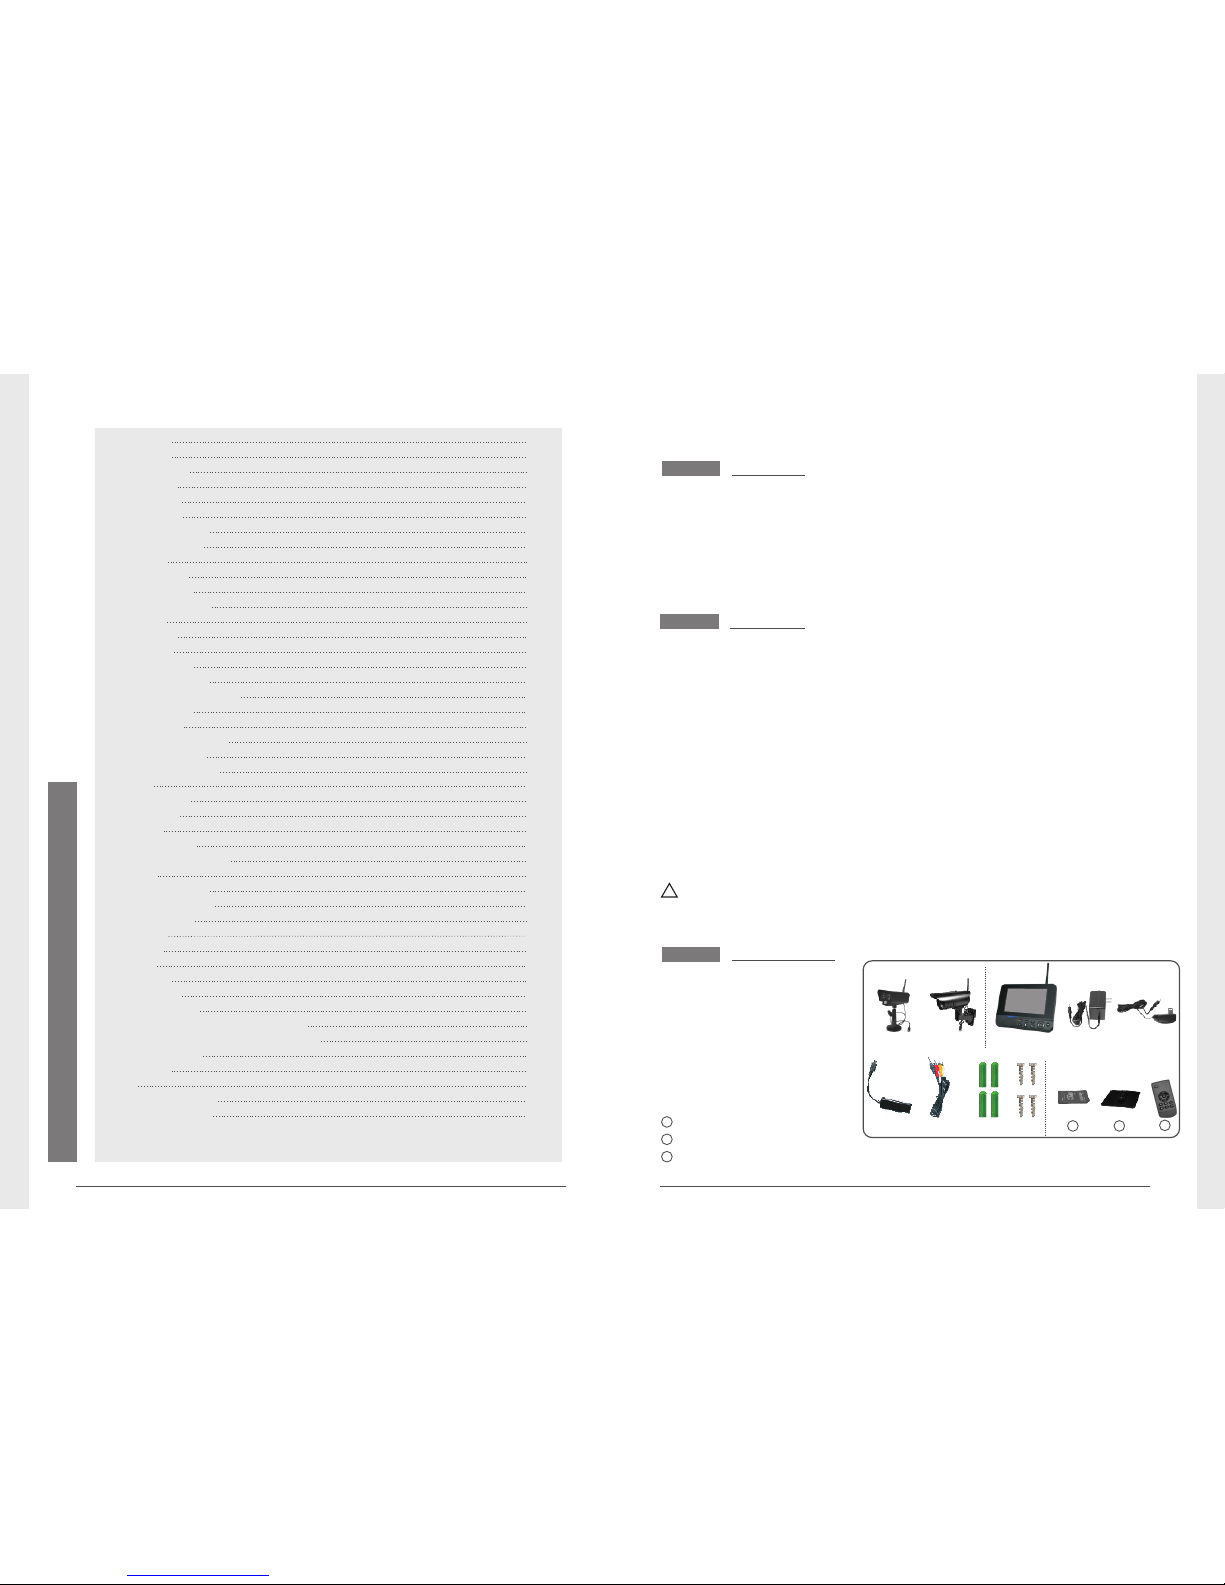
① Camera x (1~4)
② x 1 7"TFT LCD Monitor
③ Adapter for Monitor x 1
④ Adapter for Camera x (1~4)
⑤ Network Adapter x 1
⑥ AV Output Cable x 1
⑦ Wall plug x 4
⑧ Screws x 4
Packing List
Welcome
This product is a household monitoring recording device. It consists
of four cameras installed at entrances/exits of the home and one
DVR receiver with a 7-inch LCD monitor. The four-split screen of
the receiver can display the monitoring pictures of four accessed
cameras. In addition, the infrared sensing alarm function of human
body is available. Thus, a household closed monitoring system is
presented.
* The pictures are for reference only, please refer to real subjects.
* Only one camera included in the package.
(optional)
① ③②
⑤ ⑥
④
Features
● 4CH digital wireless camera & DVR system;
● Simple installation- no cables required;
● Total digital wireless, no interferences, no privacy leak;
● 7” LCD monitor with integrated video recorder;
● Support up to 32GB SD card or external mobile disk by USB2.0
(up to 1TBmobile disk);
● Support 4cameras/24hours/7days non-stop overwrite recording;
● Multiple recording modes: manual, schedule and motion activated;
● 20m night vision range (only for 8107JR);
● Video quality: 4CH VGA 10fps, 1CH VGA 30fps;
● Weather proof outdoor cameras with 300m/1000ft transmission
open range;
● Video output function for bigger monitor;
● IR-cut function (only for 8105JR and 8107JR);
!
Please know that this monitor is not a PC, so some of the memory
devices may not work on this monitor.
11
SD Card x 1
9
Record
● Timer Recording
● PIR Recording
Playback
Camera
● Pairing
● Activation
● PIP Setting
Alarm setting
Specifications
FAQ
FCC Information
15
15
15
16
16
16
17
18
18
28
24
29
Troubleshooting
29
Welcome
Features
Packing List
Structure
Installation
Operations
● Basic operations
● Video recording
● Playback
● Delete Video
● Video Output
System setting
● Date / time
● Language
● Record Mode
● Format SD/USB
● Storage for Recording
● Display Items
● TV System
● System Information
● Scan Mode Period
● Mute
● Load Default
● Brightness
● Volume
● Alarm Volume
● Power Saving Mode
02
02
02
03
04
05
05
07
09
09
10
10
11
11
12
12
12
13
13
13
13
14
14
14
14
● System Update
13
14
14
● Motion Detection
15
Operations for Android Client
Operations for iOS Apple Client
19
20
28
Warnings
30
For 8105JR and 8107JR, the camera has IR-cut function
*
and image effect is better than 8104JR.
● Support the user of Android and iOS Apple client to view video;
● Network
8104/8105JR
8107JR
⑦ ⑧
9
10
Remote control x 1
11
Bracket for Monitor x 1
10
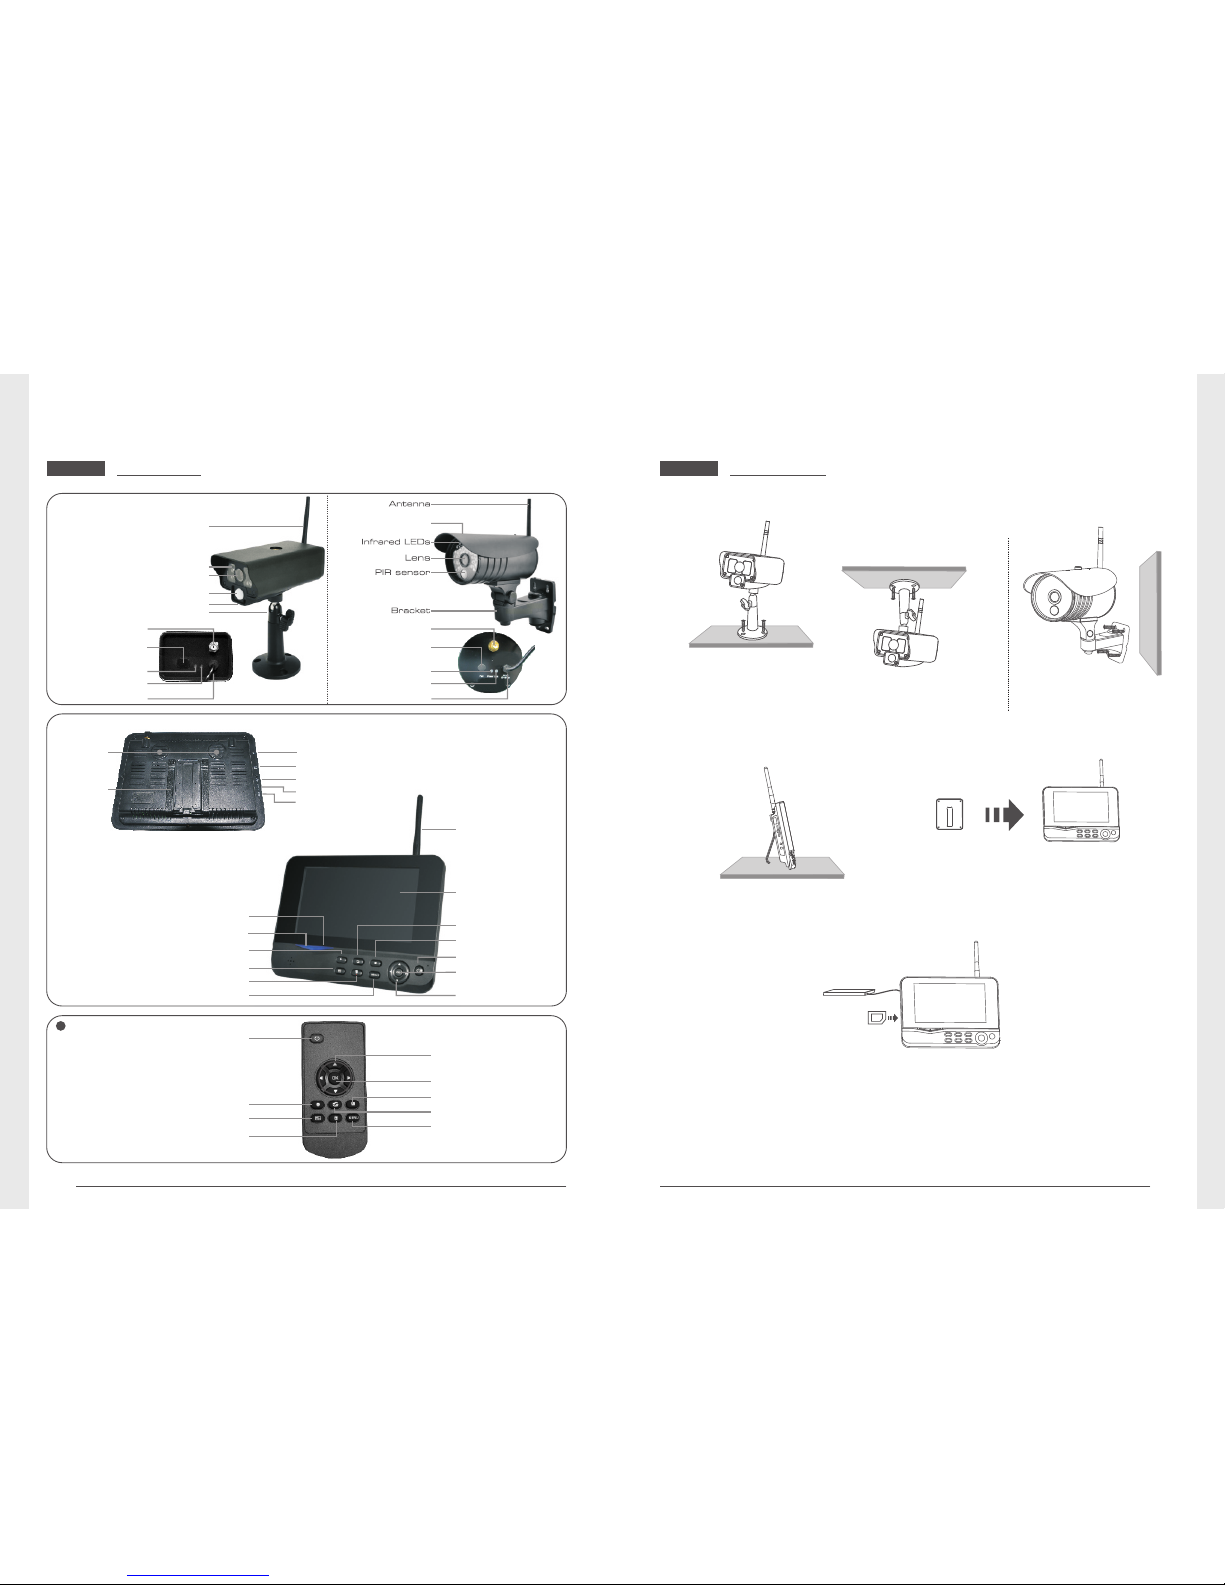
Structure
03
04
Optional
Antenna
7"TFT-LCD
Power on/off
OK Button
Navigate Button
Delete file/LCD、TV Switch
Menu
Record/stop Video
Playback Video
Quarter Display Button
Display Mode
Speaker
Bracket
USB Port
SD Card Slot
AV Output
Power Port
Link Indicator
Power Indicator
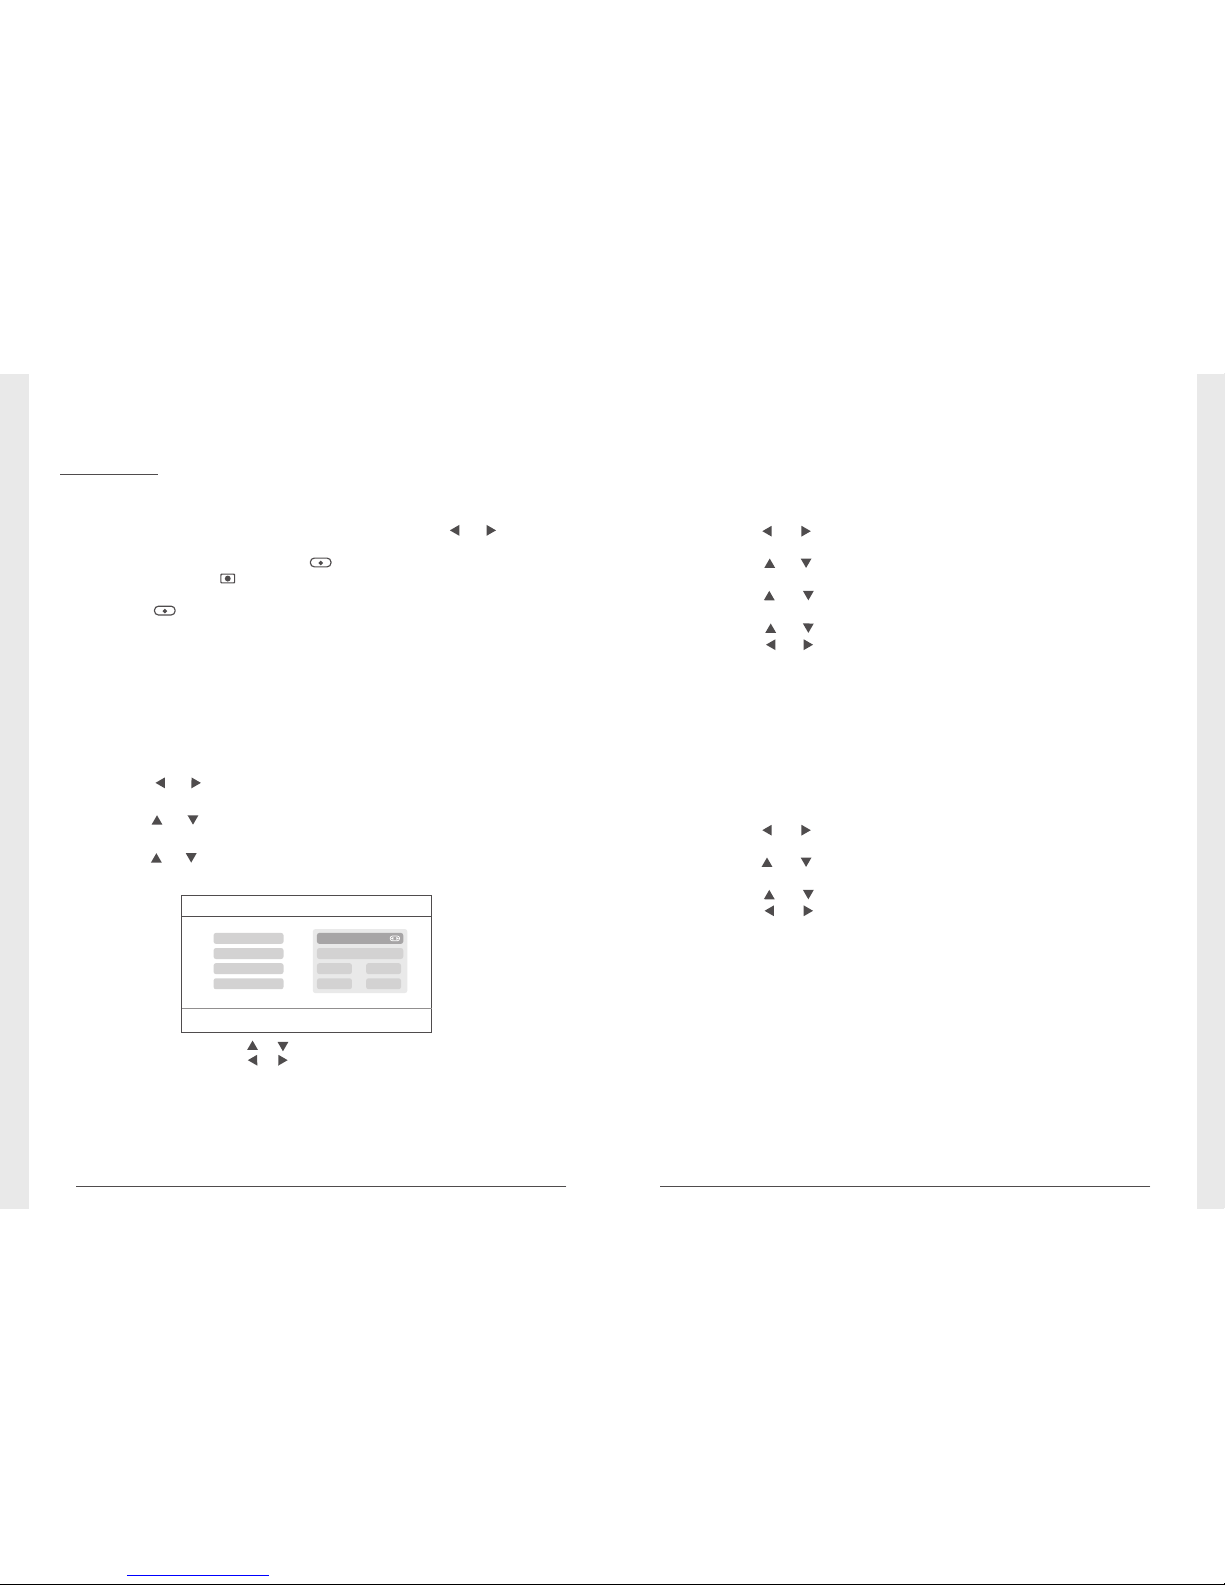
Installation
1. Install the camera at the proper monitoring location. The camera
can be installed in two modes:
① Upright installation:
Install the camera
on a level plane.
② Reverse installation:
Install the camera in
the celilng.
2. Install the receiver at a proper location. This receiver is provided
with two kinds of brackets, so it can be installed in two modes:
① Positioned on a level plane ② Mounted to the wall
Use screws to
fix the bracket
to the wall.
Clamp the
receiver on
the bracket
Record/stop Video
Quarter Display Button
Display Mode
Power on/off
Navigate Button
Menu
OK Button
Delete file/LCD、TV Switch
Playback Video
3. Insert the SD card or connect an external storage device, such
as a mobile hard disk.
Remarks:
1. It doesn’t support hot plugging of SD card or external storage
device.
2. The external mobile disk/SD card should be in format of Fat32.
3. Please format the SD card or external if they have mobile disk
been used on other device.
Antenna
Infrared LEDs
Lens
Bracket
Microphone
PIR infrared sensor
Power Input
Upright installation:
Install the camera
on a level plane.
Antenna Socket
Power Indicator
Pair Button
Link Indicator
The rain cover
Network port
Power Input
Antenna Socket
Power Indicator
Pair Button
Link Indicator
8104/8105JR 8107JR
8104/8105JR 8107JR

Operations
05
06
● Basic operations
1. Connect the camera to the power supply. The power Indicator
on the back is turned on:
3. Press the power switch on the receiver for 2s. or press
the power switch on the rem ote control (direct the rem ote
control toward the receiver).
The power indicator is turned on and the power-on picture
appears.
4. Pair the cameras and receiver respectively (at most four cameras
can b e con necte d at t he same tim e). Pairing i s complete d by
defaul t be for e de liv ery. If pai rin g is not com pleted, comple te
pairing according to “Pairing” on page 17.
2. Connect the receiver to the power supply.
7. Pre ss th e button to ente r cyc lic mo de di spla y. Five cy clic
interv als are a vailabl e: 5s, 10s, 15s, 20s, and 30s and c an
be set under “System”.
6. Press the button to switch between four display modes:
V
2011/11/05/09:30
V
2011/11/05/09:30
C2
C3
C4
2011/11/05/09:30
V
2011/11/05/09:30
Four pictures One picture
One large picture and
three small pictures
One large picture and
three small pictures
V
2011/11/05/09:30
2011/11/05/09:30
2011/11/05/09:30 2011/11/05/09:30
Picture display area Picture display area
Picture display areaPicture display area
Picture display area
Picture display area
Picture display area
Picture display area
5. A ft er suc ce ss ful pa ir in g, t he fo ll owi ng re al -ti me mo nitor in g
picture appears:
Time stamp
V
2011/11/05/09:30
2011/11/05/09:30
2011/11/05/09:30 2011/11/05/09:30
Picture display area Picture display area
Picture display areaPicture display area
2011/11/05/09:30
Picture display area
2011/11/05/09:30
Picture display area
C2
C3
C4
2011/11/05/09:30
Picture display area
2011/11/05/09:30
Picture display area
2011/11/05/09:30
Picture display area
8104/8105JR 8107JR
Meanings of icons on the real-time monitoring picture:
Mobile hard disk inserted
successfully
SD card inserted successfully
Camera name
Signal intensity
Recording status
Current camera
C2
C3
C4
Network connection failure
UPnP
No open router
UPnP
UPnP
Network connection successful
Mute
07
08
Manual Recording:
1. In the r eal -tim e monito ring sta tus, pre ss th e or butt ons
to select the camera for video recording as the current camera.
2. Press the recording/stopping button on the device.
The recording icon is displayed on the screen, indicating that
recording starts.
3. Press the button on the device again to stop recording.
Timer Recording:
Set the recording start/stop time through the “Timer Recording”
men u. Th e de vi ce autom at ic all y r ec ords a cc or ding t o t he set
start/stop time. After recording, it automatically saves the video.
Specific steps are as follows:
1. Press the MENU button to enter setting interface;
2. Pre ss the or button t o sele ct “R ecord ” and p ress the OK
button to enter;
3. Press the or button to select “ Timer Recording” and press
the OK button to enter;
4. Press the or button to select “New Schedule” and press the
OK button to enter:
● Video recording
Press the or button to select;
Press the or button to adjust;
Press the OK button to confirm and exit;
Timer Recording
OK:Options MENU:Quit
Camera
End Time
Date
Start Time
All Cameras
11/6/2012 Tue
:
00:00
0000
5. After setting, the device automatically records according to the
set start/stop time.
Remarks:
1. If the video recording time is longer than 5 minutes, a video file
will be automatically saved every 5 minutes.
2. M ul tiple ch annel s ( four c ha nnels at most) re cordi ng at t he
same time is supported. The recorded videos of each channel
are saved in an independent video folder.
PIR Recording:
If there is human motion detected by any accessed camera, recording
can be triggered. The specific steps are as follows:
1. Press the MENU button to enter the setting interface;
2. Press the or button to select “Record”, press the OK button
to enter;
3. Press the or button to select “PIR Recording”, press the OK
button to enter;
4. Press the or button to select the camera;
5. Press the or button to select “On”;
6. Press the OK button to confirm and exit.
* When “Off” is set, human motion detection function is turned off.
* The infrared sensing distance of PIR is 5m. If the distance exceeds
5m, sensing may fail.
Motion Detection Recording:
If there is object motion detected by any accessed camera, recording
can be triggered. The specific steps are as follows:
1. Press the MENU button to enter the setting interface;
2. Press the or button to select “Record”, press the OK button
to enter;
3. Press the or button to select “Motion Detection”, press the
OK button to enter;
4. Press the or button to select camera;
5. Press the OK button to enter;
6. Press the or button to select item;
7. Press the or button to adjust;
8. Press the OK button to confirm and exit.
* When “Off” is set, object motion detection function is turned off.
◆
◆
◆
◆
◆
◆
◆
◆
 Loading...