

Gorenje G760AX1-246148 Instruction Manual
Instructions for the installation
and advice for the maintenance
G760AX1 - 246148
Instructions Manual
G760AX1 - 246148
COD. 04037GBGOA - 26.01.2009

DESCRIPTION OF THE HOT PLATES
1 Ultra rapid gas burner of 3100 W
2 Rapid gas burner of 2800 W
3 Semirapid gas burner right front of 1400 W
4 Semirapid gas burner left back of 1750 W
5 Auxiliary gas burner of 1000 W
6 Enamelled steel pan support 2F
7 Central enamelled steel pan support
8 Burner n° 1 control knob
9 Burner n° 2 control knob
10 Burner n° 3 control knob
11 Burner n° 4 control knob
12 Burner n° 5 control knob
13 Electric ignition button
Attention: this appliance has been manufactured for domestic use only and it employment by
private person.
2
TYPE:
G760AX1-246148
1) BURNERS
A diagram is screen-printed above each knob on
the front panel. This diagram indicates to which
burner the knob in question corresponds. After
having opened the gas mains or gas bottle tap, light
the burners as described below:
- manual ignition
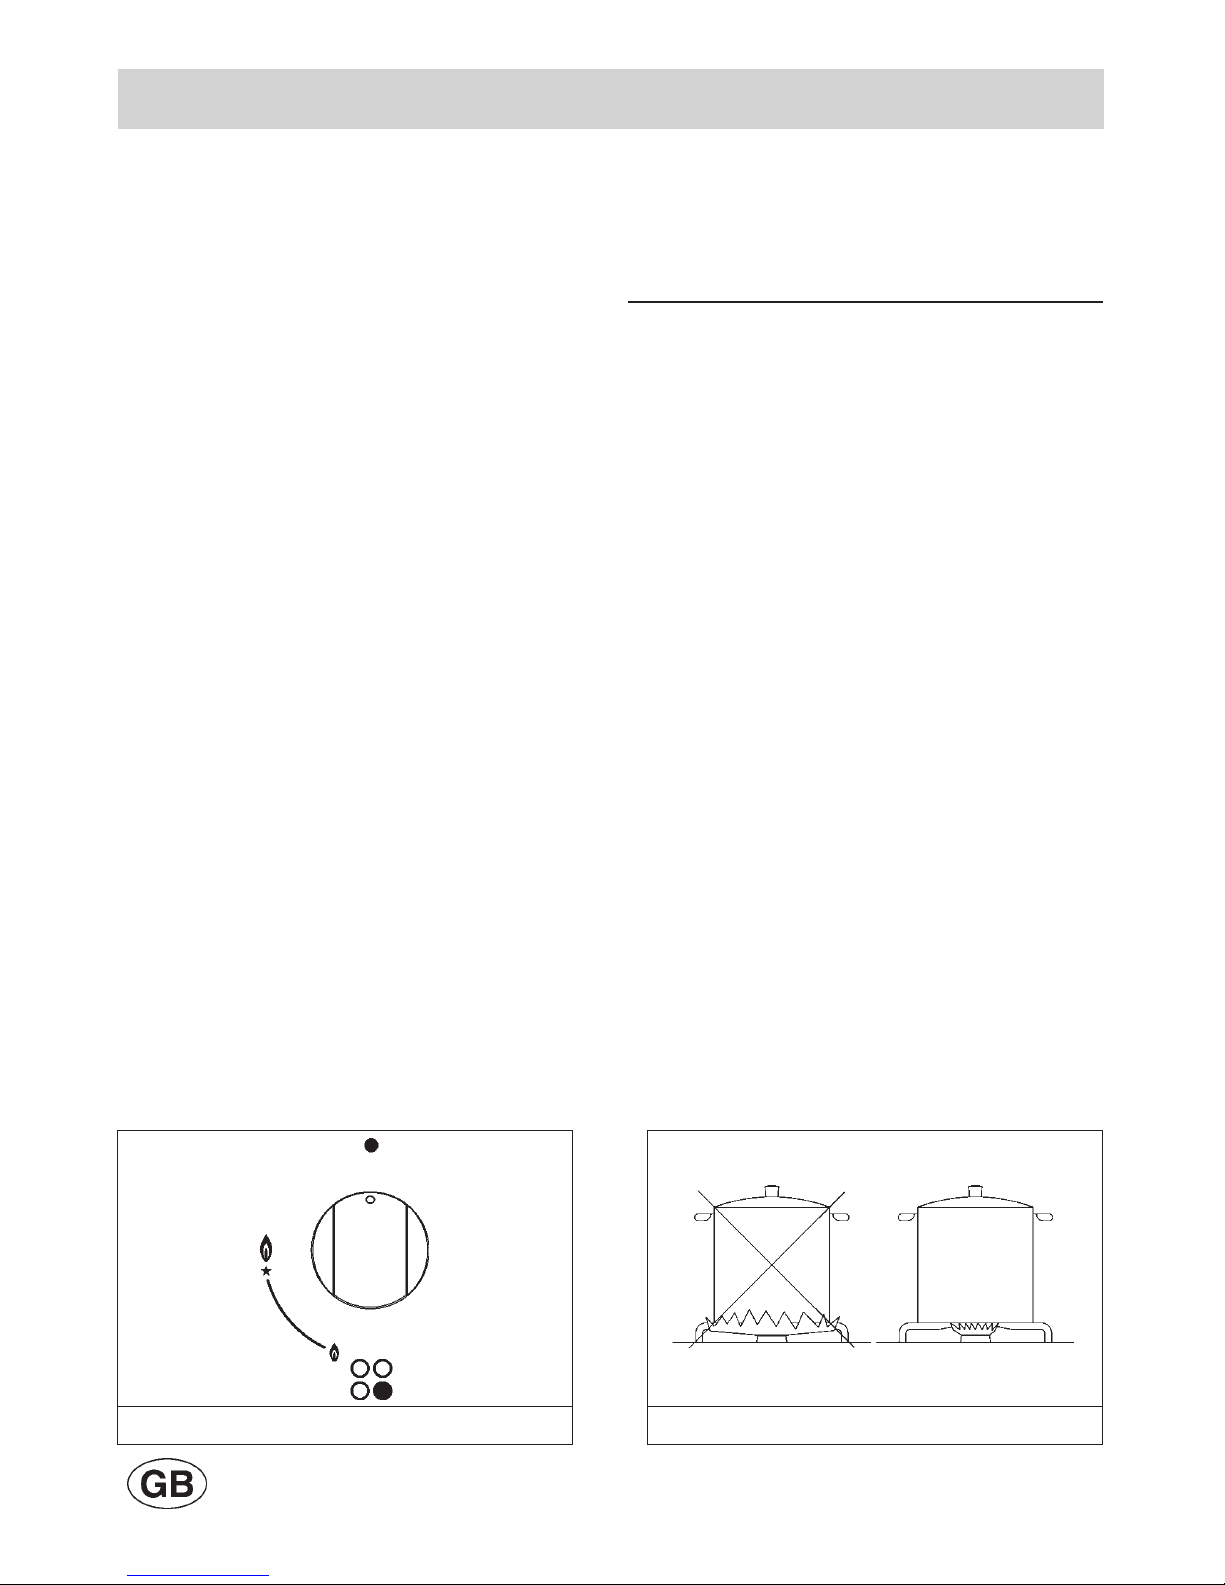
Push and turn the knob corresponding to the
required burner in an anticlockwise direction until it
reaches the full on position (large flame fig. 1), then
place a lighted match near the burner.
- Electrical ignition
Push and turn the knob corresponding to the
required burner in an anticlockwise direction until it
reaches the full on position (large flame fig. 1), then
depress and release the ignition button “E”.
- Automatic electrical ignition
Push and turn the knob corresponding to the
required burner in an anticlockwise direction until it
reaches the full on position (large flame fig. 1), then
depress the knob.
- Lighting burners equipped with flame failure
device
The knobs of burners equipped with flame failure
device must be turned in an anticlockwise direction
until they reach the full on position (large flame fig. 1)
and come to a stop. Now depress the knob in
qu estion an d repeat the previously indicated
operations.
Keep the knob depressed for about 10 seconds
once the burner has ignited.
HOW TO USE THE BURNERS
Bear in mind the following indications in order to
achieve maximum efficiency with the least possible
gas consumption:
- Use adequate pans for each burner (consult the
following table and fig. 2).
- When the pan comes to the boil, set the knob to
the reduced rate position (small flame fig. 1).
- Always place a lid on the pans.
- Use only pan with a flat bottom.
Burners Power ratings Pan Ø in cm
Ultra rapid 3100 24 ÷ 26
Rapid 2800 20 ÷ 22
Semirapid right front 1400 16 ÷ 18
Semirapid left back 1750 16 ÷ 18
Auxiliary 1000 10 ÷ 14
WARNINGS:
- burners with flame failure device may only be
ignited when the relative knob has been set to
the Full on position (large flame fig. 1).
- Matches can be used to ignite the burners in a
blackout.
- Never leave the appliance unattended when
the burners are being used. Make sure there
are no children in the near vicinity. Particularly
make sure that the pan handles are correctly
positioned and keep a chek on foods requiring
oil and grease to cook since these products
can easily catch fire.
- The machine must not be used by people
(including children) with impaired mental or
physical capacities, or without experience of
using electrical devices, unless supervised or
instructed by an expert adult responsible for
their care and safety. Children should not be
allowed to play with the equipment.
- Never use aerosols near the appliance when it
is operating.
- If the built-in hot plate has a lid, any spilt food
should be immediately removed from this
before it is opened. If the appliance has a glass
lid, this could shatter when the hot plate
becomes hot. Always switch off all the burners
before closing the lid.
- Containers wider than t h e unit ar e
recommended.
USE
FIG. 1 FIG. 2
3
USE
Notes:
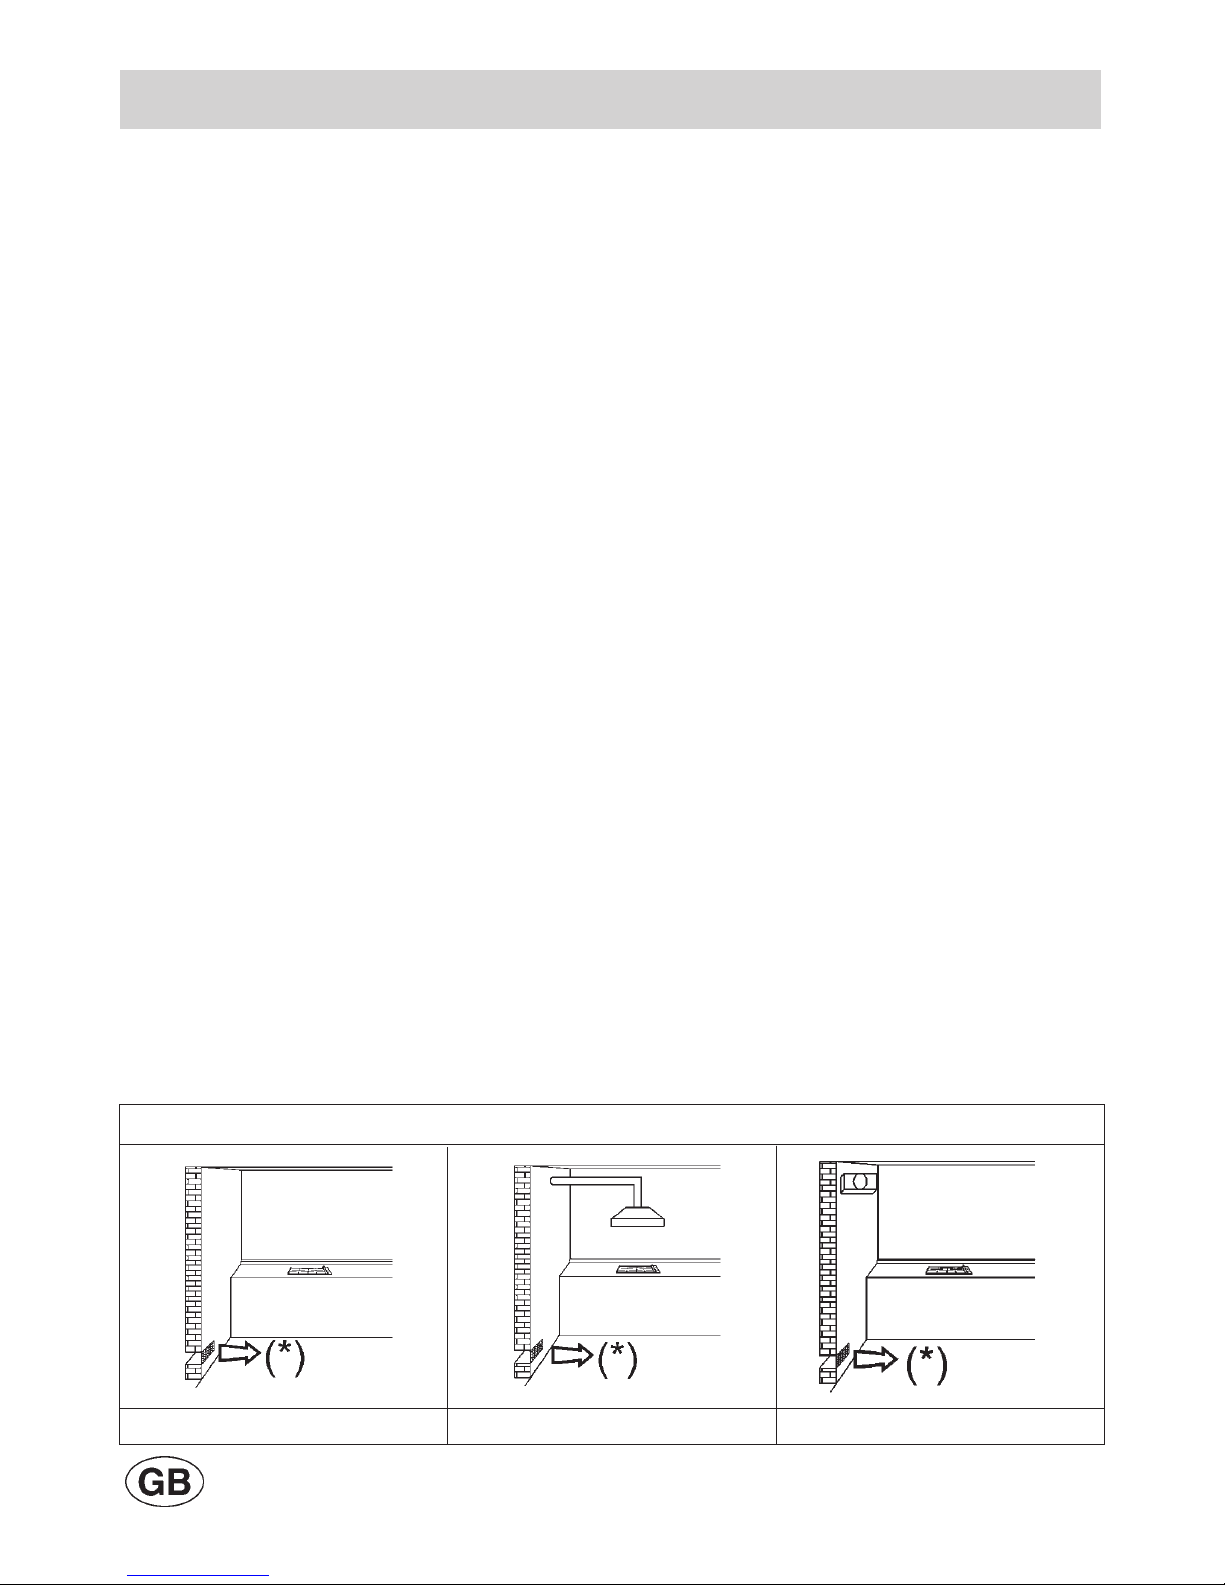
Use of a gas cooking appliance produces heat and moisture in the room in which it is installed.
The room must therefore be well ventilated by keeping the natural air vents clear (fig. 3) and by
activating the mechanical aeration device (suction hood or electric fan fig. 4 and fig. 5).
Intensive and lengthy use of the appliance may require additional ventilation. This can be
achieved by opening a window or by increasing the power of the mechanical exhausting system if
installed.
FIG. 3 FIG. 4 FIG. 5
(*) AIR INLET: SEE INSTALLATION CHAPTER (PARAGRAPHS 5 AND 6)
4

CLEANING
IMPORTANT:
Always disconnect the appliance from the gas
and electricity mains before carrying out any
cleaning operation.
2) HOT PLATE
Periodically wash the hot plate, the enamelled stell
pan support, the enamelled burner caps “C” and
the burner heads “T” (see fig. 6) with lukewarm
soapy water. Following this, all parts should be
thoroughly rinsed and dried. Never wash them
while they are still warm and never use abrasive
powders. Do not allow vinegar, coffee, milk, salted
water, lemon or tomato juice from remaining in
contact wi th the enamelled surfaces for long
periods of time.
WARNINGS:
Comply with the following instructions, before
remounting the parts:
- Check that burner head slots “T” (fig. 6) have
not become clogged by foreign bodies.
- Check that enamelled burner cap “C”(fig. 6)
have correctly positioned on the burner head.
It must be steady.
- The exact position of the pan support is
established by the rounded corners, which
should be set towards the side edge of the
hot plate.
- Do not force the taps if they are difficult open
or close. Contact the technical assistance
service for repairs.
- D o n ’ t use s t e a m j e t s for the equipment
cleaning.
FIG. 6
5
 Loading...