

Google Nest T4001ES Installation Guide

Thermostat E
Installation Guide
We take your privacy seriously
We’re committed to being open and honest
about how we use data. We’ll always ask
for permission before sharing personally
identifiable information like your email
address, and we keep your data safe with
industry standard security tools. To learn
more about our Privacy Policy, go to
nest.com/privacy
Compatibility
The Nest Thermosta t E works with most 24V
systems, including for ced air, variable speed,
heat pump and radiant systems, as well as
common f uel types such as natural gas,
electricit y and oil.
It can control:
• Heating and cooling: one stage of heating
and cooling, and a s econd stage of either
heating or cooling
• Heat pump s: with auxiliar y and
emergency heat
• Fans: one speed
You can check your sys tem’s compatibility
at nest.com/works
Professional installation is recommended for
dual fuel systems (heat p ump with furnace).
Watch the video
To see an over view of how to inst all the Nest Thermostat,
visit support.nest.com/thermostat-e
¿Prefieres leer esto en español? Visita nest.com/es-guide
Don’t want to install your
Nest Thermostat yourself?
The Nes t Thermost at is designed f or DIY install ation,
but you can also hire a Nest Pro to do it for you.
They’ll take care of inst allation and make sure
ever ything’s up and running. Go to nest.com/install
to find a Nest Pro installer near you.
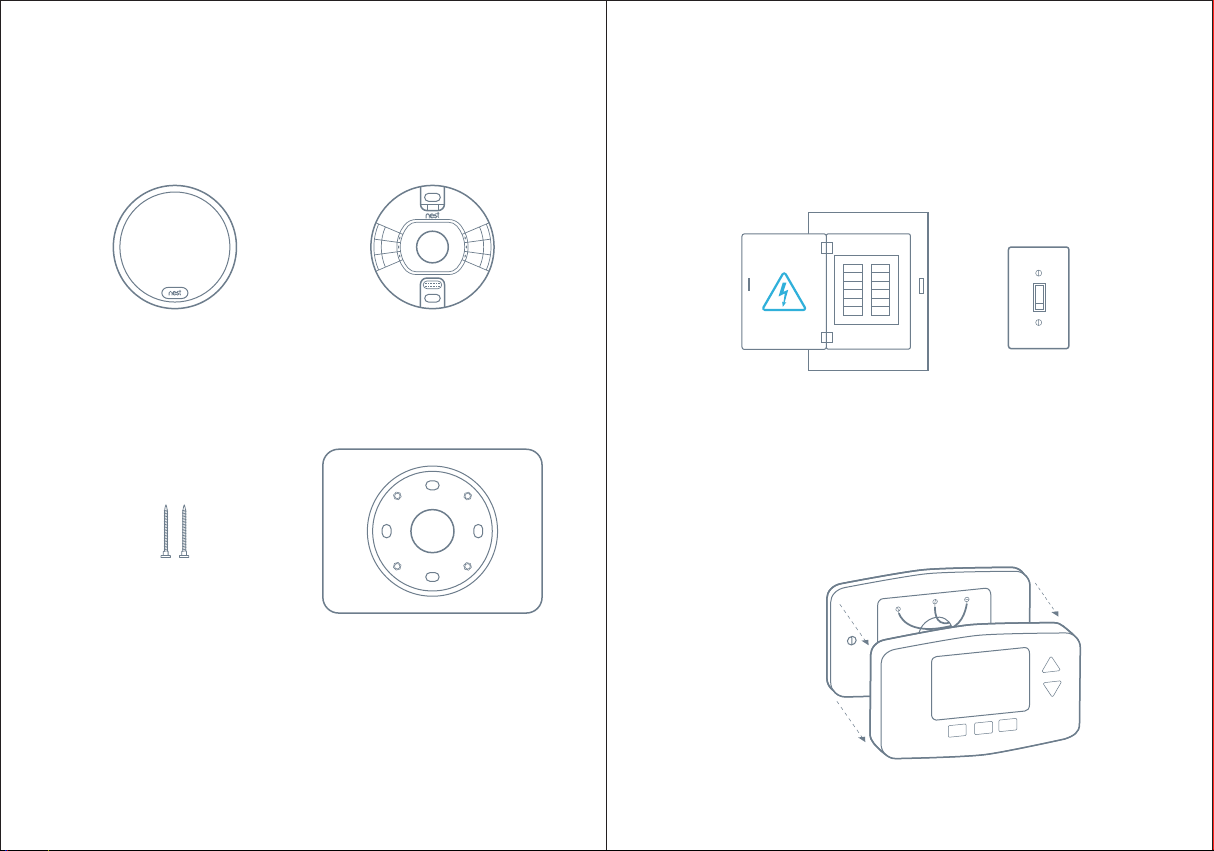
In the box
1. Switch off power
This pr otects you and avoids blowing a fuse in your
equipment. To make sure the power is o ff, change
the temperature with your current thermostat
and wait at least five minute s to be sure that your
system doesn’ t turn on.
or
Display
Wall screws
Base
Trim plate
Breaker box
2. Remove the cover
Some thermostat covers pop off, while o thers
need to b e unscrewed. Old er thermostats may
have a sec ond plate that sh ould also be removed
to expose the wires.
System switch
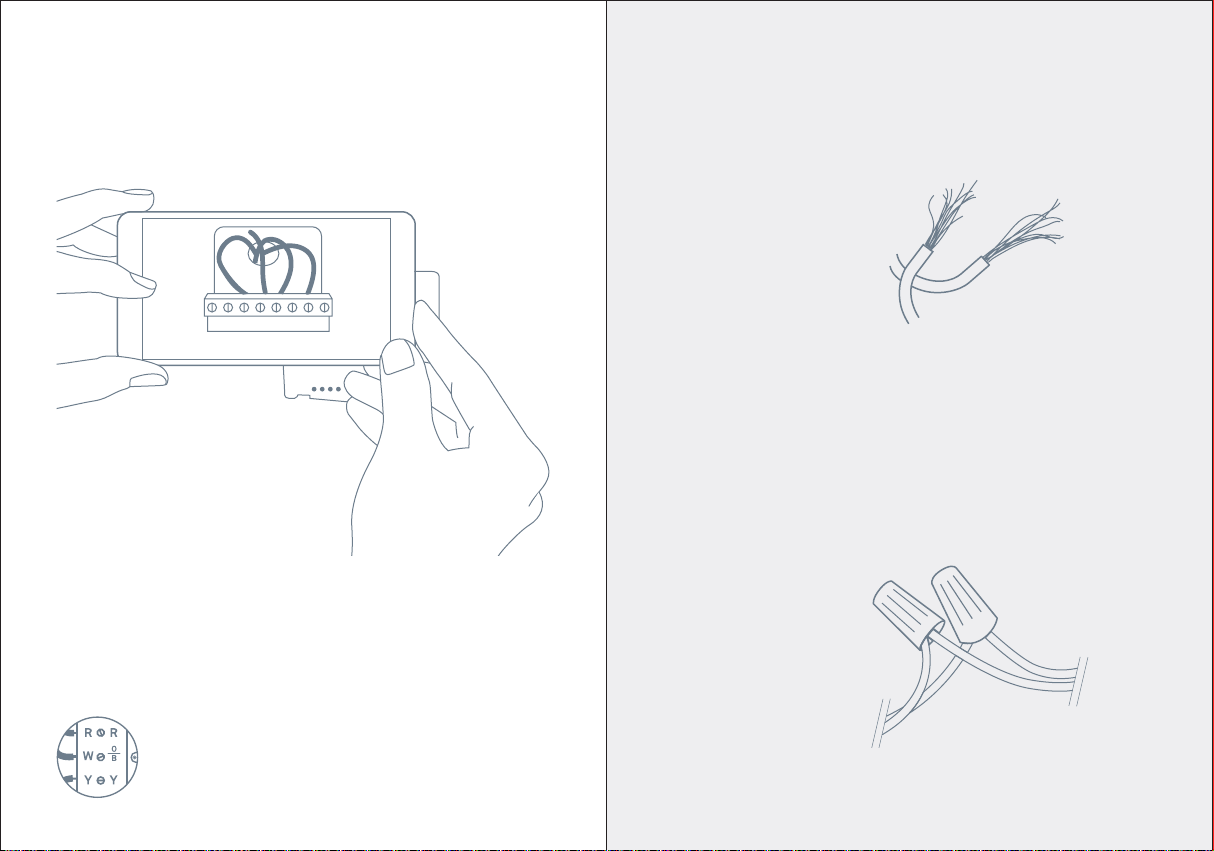
3. Take a picture of the wires
Take a picture o f your thermos tat’s wires and
save it f or referenc e. Make sure you can r ead
the wire t erminal label s.
Incompatible wiring and voltage
Stranded wires
Stranded wires aren’t compatible with the
Nest Thermostat.
BOGYWAAC
NOT
USED
IMPORTANT: If there are two label s on
your thermostat’s wire connectors, go
to nest.com/labels for detailed help
and instructions.
High-voltage wire s
If your thermostat is labeled 120V or 240V,
or has thick wires with wire nu ts, or has
L1 and L2 terminal blocks, your sys tem
is high voltage and isn’t compatible with
the Nest Thermostat.
 Loading...