

goodnature X-1 mini pro Owner's Manual

X-1 MINI PRO OWNER’S MANUAL
ASSEMBLY & OPERATOR INSTRUCTIONS
MANUAL
VERSION
SERIAL #
1.0

Introduction
WARNING : To limit risk of potential i njury and mater ial damage, all u sers must read these ins tructions
in their entirety a nd follow them strictly.
Check our YouTube channel at youtube.com/goodnaturePro for video guides and how-to’s, which we update regularly.
MACHINE SPECIFICATIONS
VAC: 115/230 | Amps: 6-10 Amps | HZ: 50/60
Single Phase | Max operating pressure: 80 psi
Weight: 169 lbs
APPLICATION
The X-1 Mini Pro is a commercial cold-press juicer that a llows you to serve your customer fresh, cold-pressed juice in
minutes. The patent pending Herbivore Grinder™ and Adaptive Pressing System™ work together in perfect harmony to
bring you the world’s greatest juice.
HERIBVORE
GRINDER™
WHOLEFRUIT
HOPPER™
ADAPTIVE
PRESSING
SYSTE M™
FRESHFILTER
PRESS BAGS™
PRESSAFE
INTERLOCKS™
LUXURIOUS
DESIGN
X-1 MINI PRO OWNER’S MANUAL
ASSEMBLY & OPERATOR INSTRUCTIONS
02
28

Table of Contents
SECTION 1
SECTION 2
SECTION 3
SECTION 4
SECTION 5
SECTION 6
SECTION 6A
SECTION 6B
SECTION 7
SECTION 8
SECTION 9
SECTION 10
SECTION 11
Safet y Precautions
Unpacking
Enclosed Parts List
Assembly
Produce Preparation
Operation
Grinder Operation
Press Operation
Cleaning
Maintenance
Warranty
Replacement Parts
Contact Information
PAGE 04
PAGE 05
PAGE 06
PAGE 07
PAGE 16
PAGE 17
PAGE 20
PAGE 22
PAGE 23
PAGE 26
PAGE 27
PAGE 27
PAGE 27
X-1 MINI PRO OWNER’S MANUAL
ASSEMBLY & OPERATOR INSTRUCTIONS
03
28

Section 1: Safety Precautions
DANGER : This machine is not intended for use by persons (includin g children) with re duced physical ,
sensor y, or mental capabilities, or la ck of experience a nd knowledge, unless they have been given super vision
or instr uction concerni ng use of the machine by a person responsible for their safe ty.
DANGER : Never place any b ody parts in side the unit while the m achine is run ning. Failure to follow th is
instr uction could resu lt in serious person al injury due to crushin g or cutting. Never pl ace hands, body parts,
clothin g, hair or any foreign object in ma chine while it is oper ating. Failure to do so ca n result in bodil y harm,
dama ge to the machine.
WARNING : Never tamper with or override any of the safet y features of the machine, including the press
chamber cover. Tampering w ith safety feat ures can resu lt in unsa fe operating cond ition and can result in
harm t o the operator.
WARNING : Be aware of all pi nch points and moving parts, and ta ke precautions to ke ep loose clothing , hair, or
foreign objects away from them t o avoid personal injury and dama ge to the machine.
WARNING : Disconnect a ll power before per forming maintena nce to avoid risk of ser ious electric shock.
WARNING : Always check with your loca l health depar tment regardi ng procedures re quired to ensure proper
cleaning and sanitation in order to avoid serious food borne ill ness to consumer s. For the US: FDA.gov/food.
WARNING : Discontinue use immediately and have machine ser viced if any c omponents are dam aged or
malf unctioning to avoid risk of p ersonal injury and da mage to the mac hine.
CAUTION: Only locate or s et up machine on a stu rdy counter or car t with locked casters .
X-1 MINI PRO OWNER’S MANUAL
ASSEMBLY & OPERATOR INSTRUCTIONS
04
28

Section 2: Unpacking
LIFT INSTRUCTIONS
Machine should be lifted by a minimum of two able people. One person can lif t from the front legs of the machine near
the feet, a nd one person can lift from the rear legs. We recommend removing a ll removable parts before lifting.
Inspect the shipping container of your new press prior to opening. Ensure it is free of a ny handling damage that
may have occurred during shipping. Notify the shipping carrier of any damage to the shipping container as soon as
it is received.
Carefully open the shipping container, inspecting for any damage.
If any items are damaged, notify the freight carrier as soon as possible.
Review the enclosed parts list below. Inspect a ll enclosed parts carefully and make sure no parts are missing. If
any parts a re missing or damaged, please contact Goodnature.
Machine comes bolted to the base of the packaging to prevent damage. With the supplied 9/16” wrench, remove
bolts from feet of machine by turning them counter-clockwise. These can be accessed from the side of the crate,
underneath the platform.
Once machine has been unbolted from the base, the feet can be attached to the machine by screwing them into the
legs.
Machine can be lifted onto the counter, table, or cart where it is intended to be used.
After unpacking, review the X-1 Mini Pro diagrams in section 3 to become familiar with the features and
components of the machine.
Prior to applying a ny electrical power to the equipment, complete the ASSE MBLY steps of the assembly section.
X-1 MINI PRO OWNER’S MANUAL
ASSEMBLY & OPERATOR INSTRUCTIONS
05
28
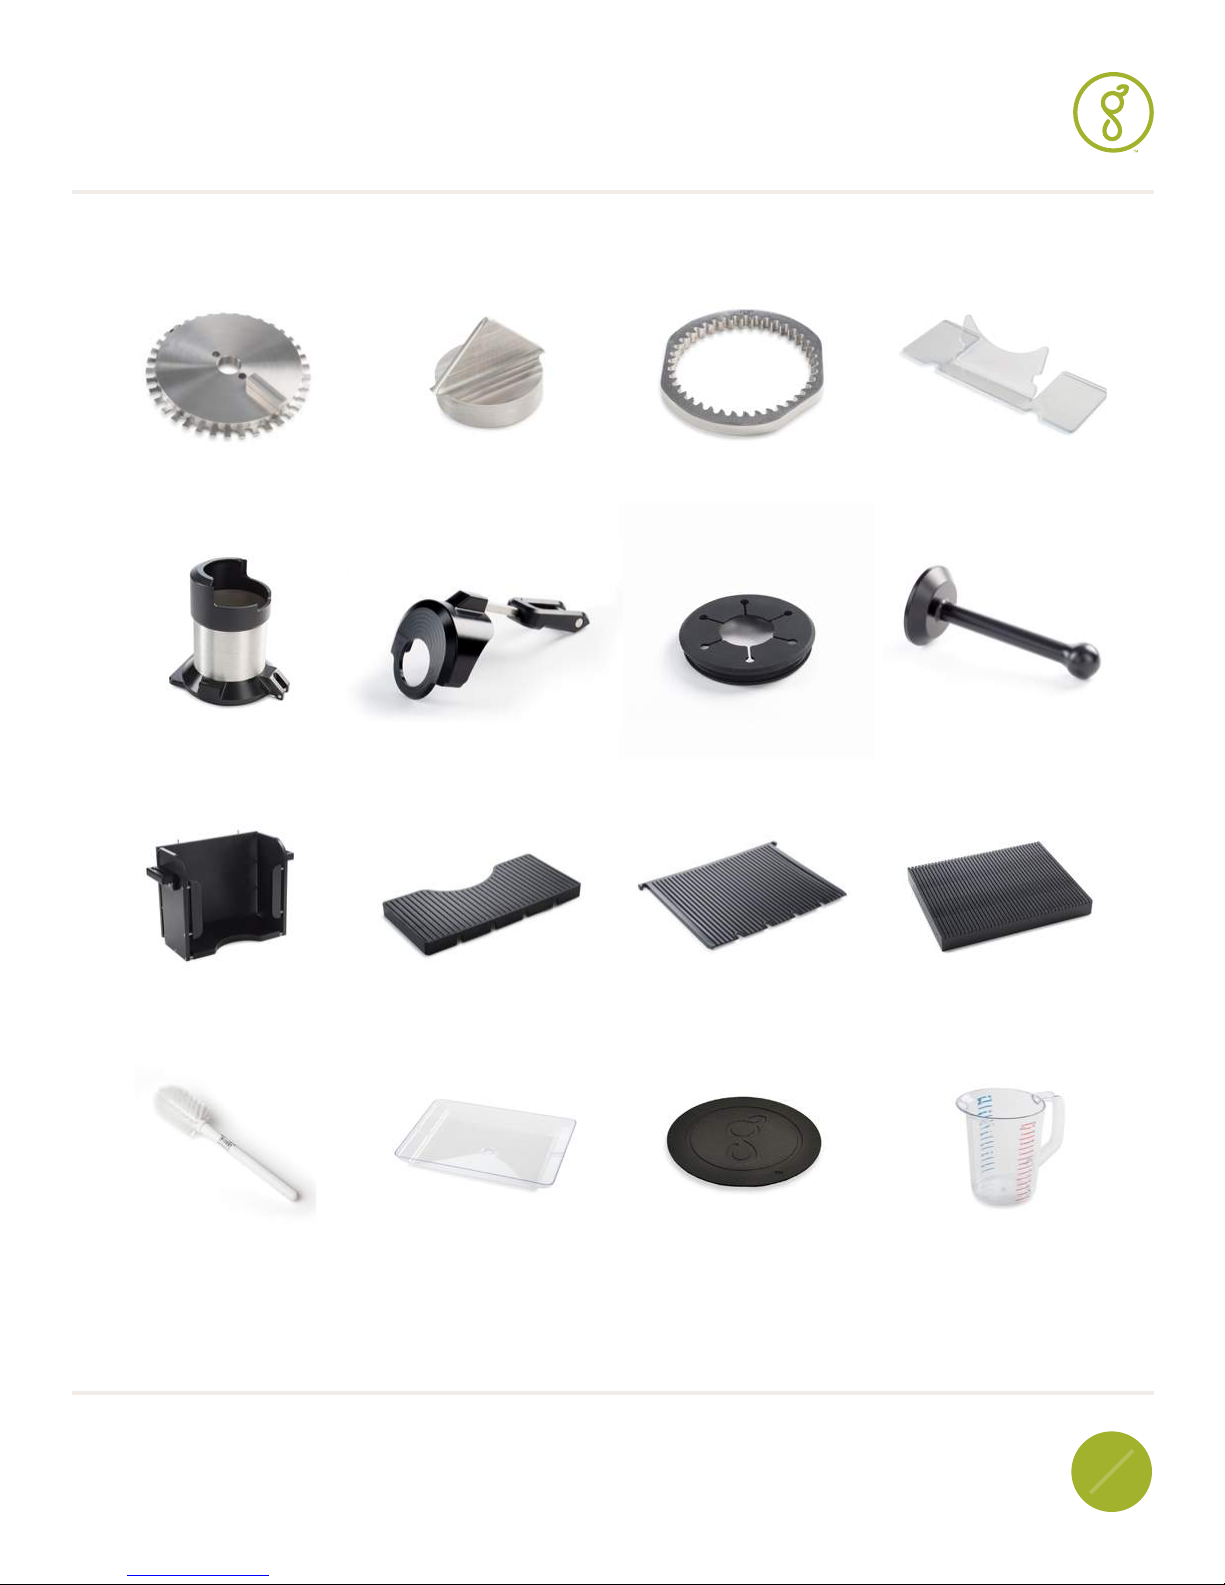
Section 3: Enclosed Parts List
Grinder Disc
Assembly
Hopper
Press Chamber
Agitator Knob
Hopper Door
Bottom Drain
Screen
Grinder Ring
Splash Guard
Front Drain Screen
Press Guard
Pusher
Moving Platen
Cleaning Brush
Juice Catch Tray
X-1 MINI PRO OWNER’S MANUAL
ASSEMBLY & OPERATOR INSTRUCTIONS
Vibration Pad
Juice Pitcher
06
28
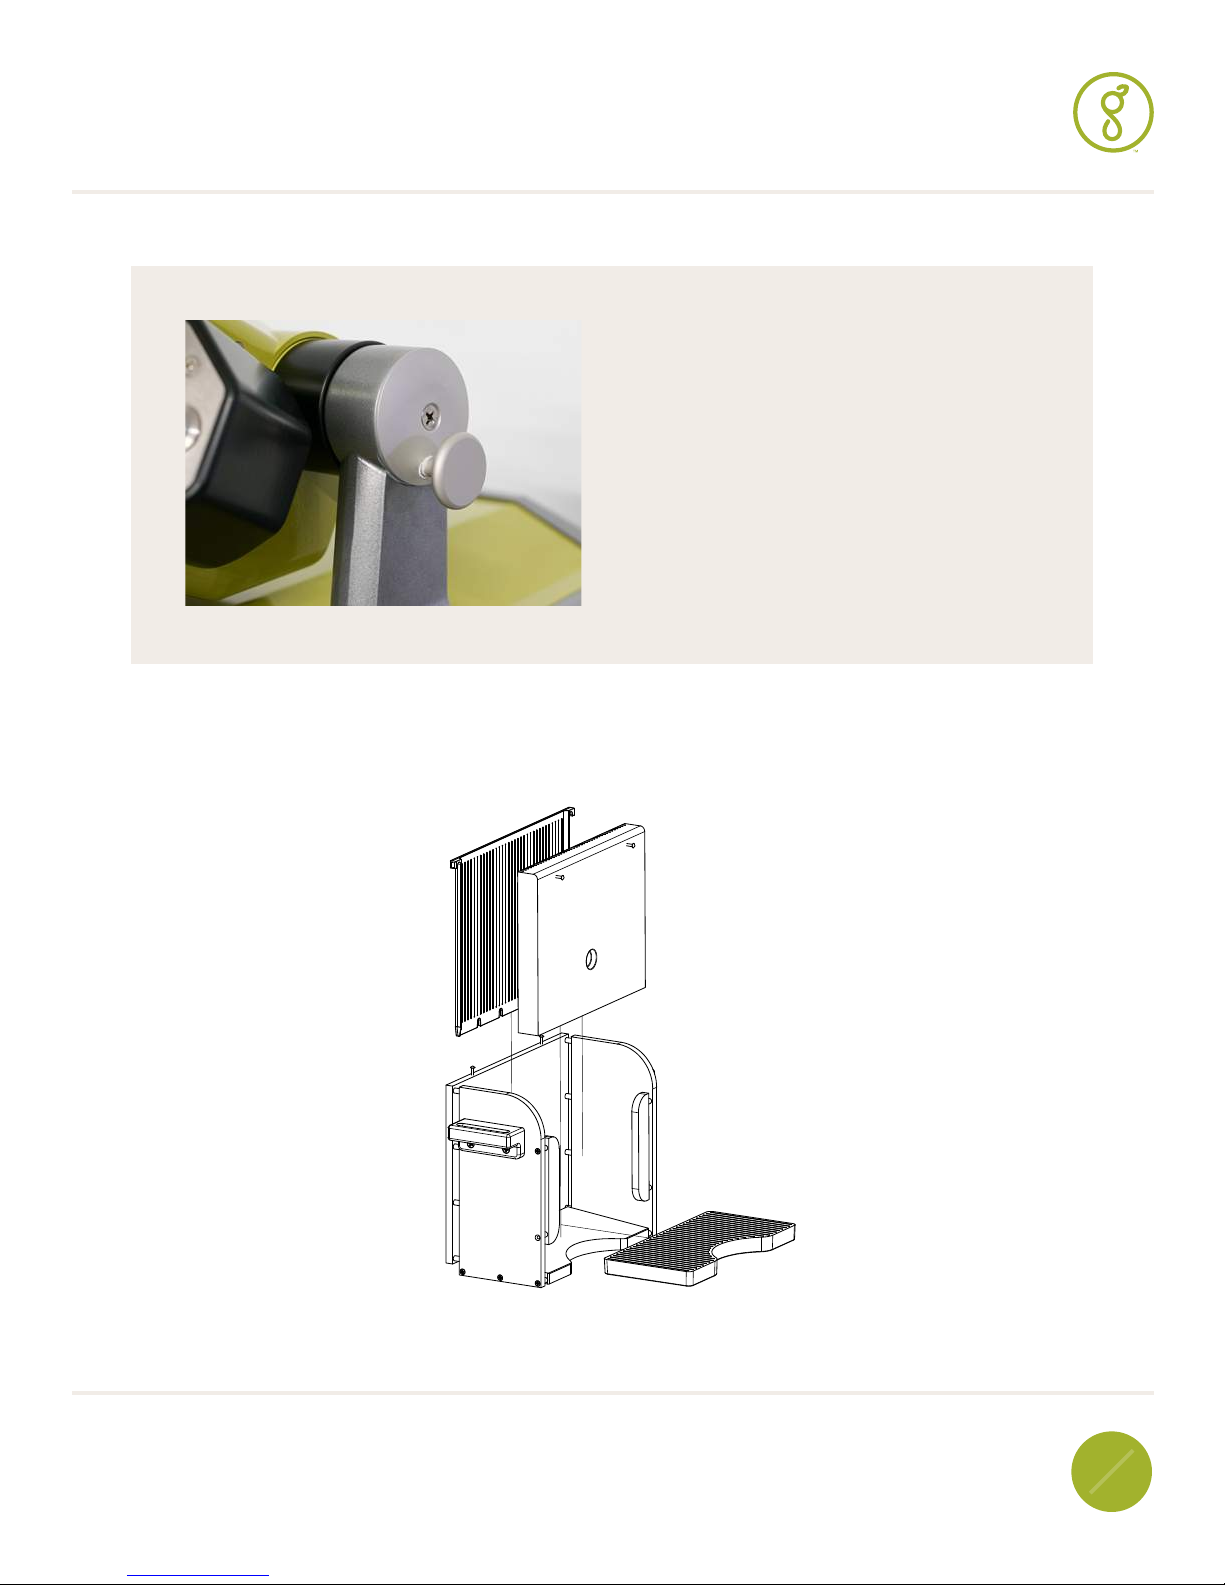
Section 4: Assembly
Tip: The grinder can be rotated between the “up”
position, and “down” position by pressing the
release lever on the right side of the grinder and
lowering the grinder by hand.
PRESS ASSEMBLY
X-1 MINI PRO OWNER’S MANUAL
ASSEMBLY & OPERATOR INSTRUCTIONS
07
28
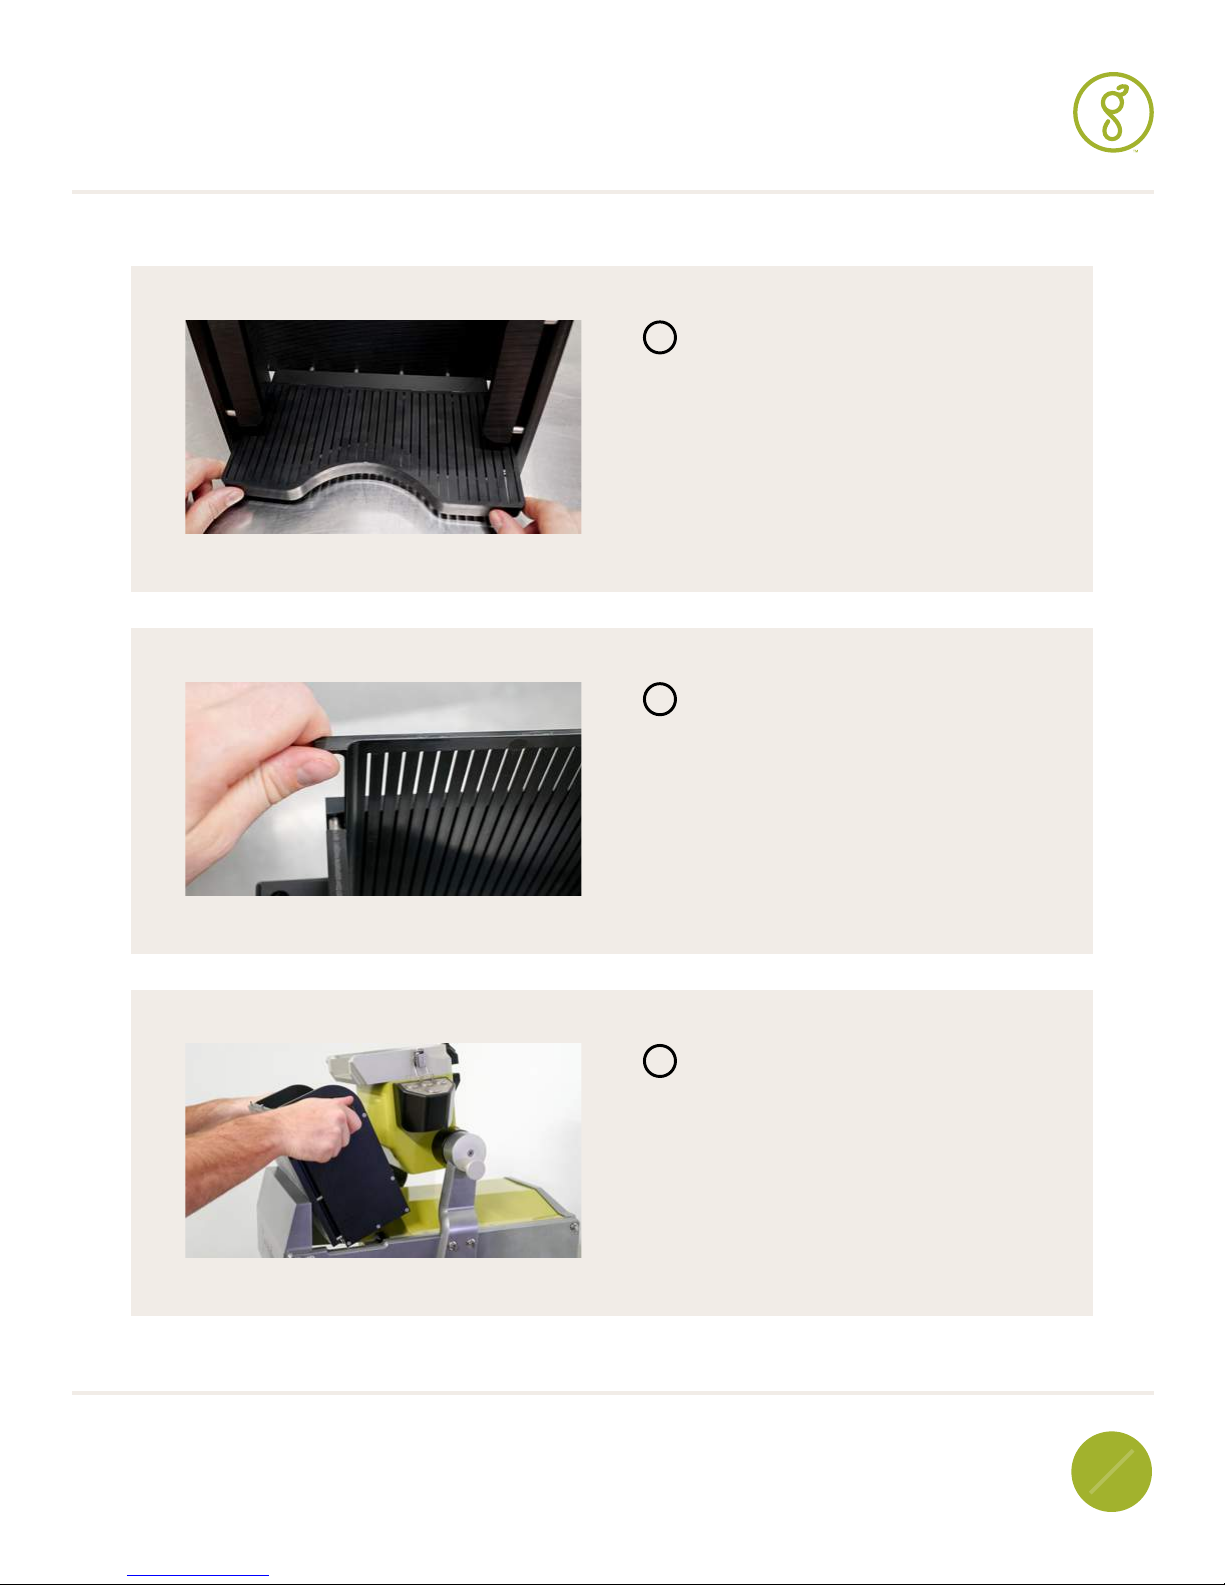
Section 4: Assembly
1
Put the bottom drain screen into place by sliding
it along the bottom of the press chamber until it
drops into place.
2
Slide the front drain screen down from the top
with the flat (non-concave) side facing the front of
the chamber away from you.
3
Place the chamber into the press so the front of
the chamber sits snugly against the press plate.
X-1 MINI PRO OWNER’S MANUAL
ASSEMBLY & OPERATOR INSTRUCTIONS
08
28
Section 4: Assembly
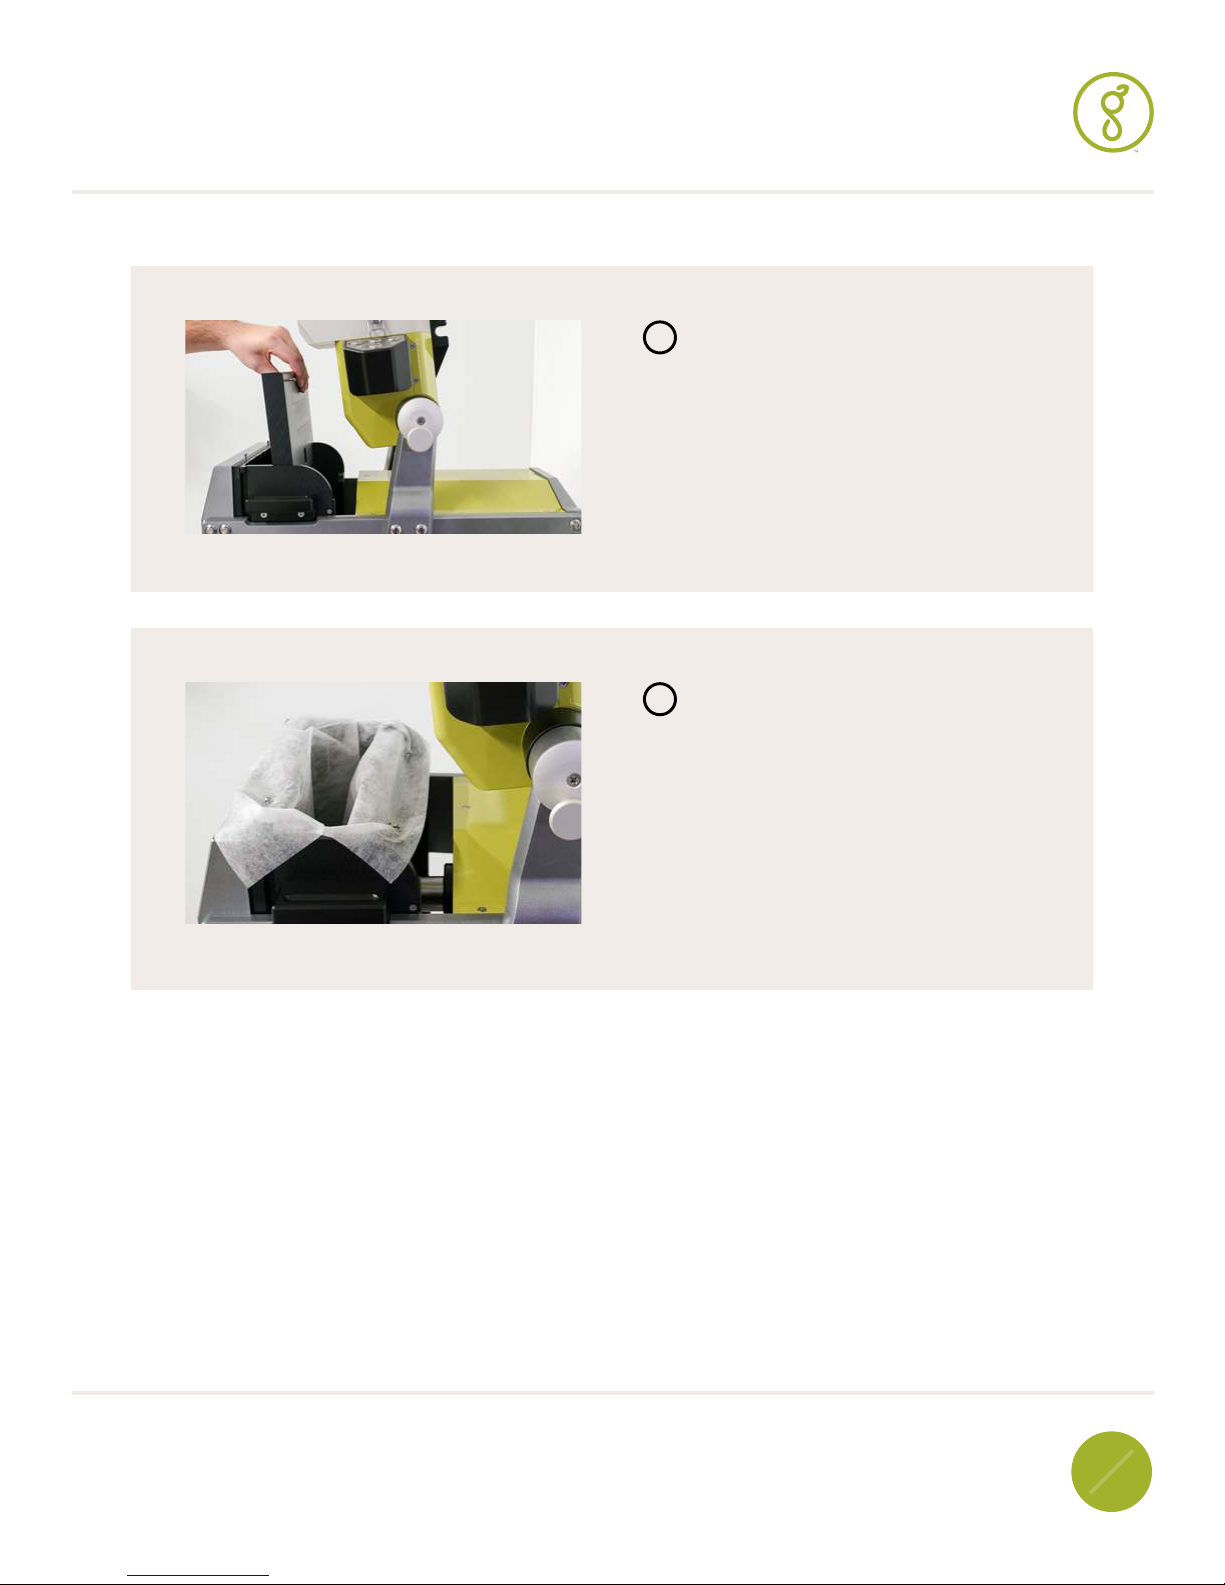
4
Place the moving platen into the press chamber.
The bag pins should be facing the back of the
press, at the top. The grooves of the platen should
be facing the front of the press.
5
Place a FreshFilter Press Bag™ into the chamber
with the open side facing up. Insert your ha nd
into the bag and push the bottom of the bag down
to the bottom of the chamber and into each of the
corners. Firmly push each side of the bag over the
bag pins, piercing the material at least 0.5 inch
from the edge of the bag.
X-1 MINI PRO OWNER’S MANUAL
ASSEMBLY & OPERATOR INSTRUCTIONS
09
28
 Loading...