

Page 1
_____________________________________________
Schnellstartanleitung für die Netzteile Nr.
53995, 53996, 53997, 53998 und 53999:
Bedienung:
Bevor Sie den Adapter in die Steckdose stecken, beachten Sie folgende Hinweise:
1. STROM: Überprüfen Sie anhand der Angaben auf I hrem zu
2. POLARITÄT: Überprüfen Sie die Polarität Ihres Ger äte s (+ oder -).
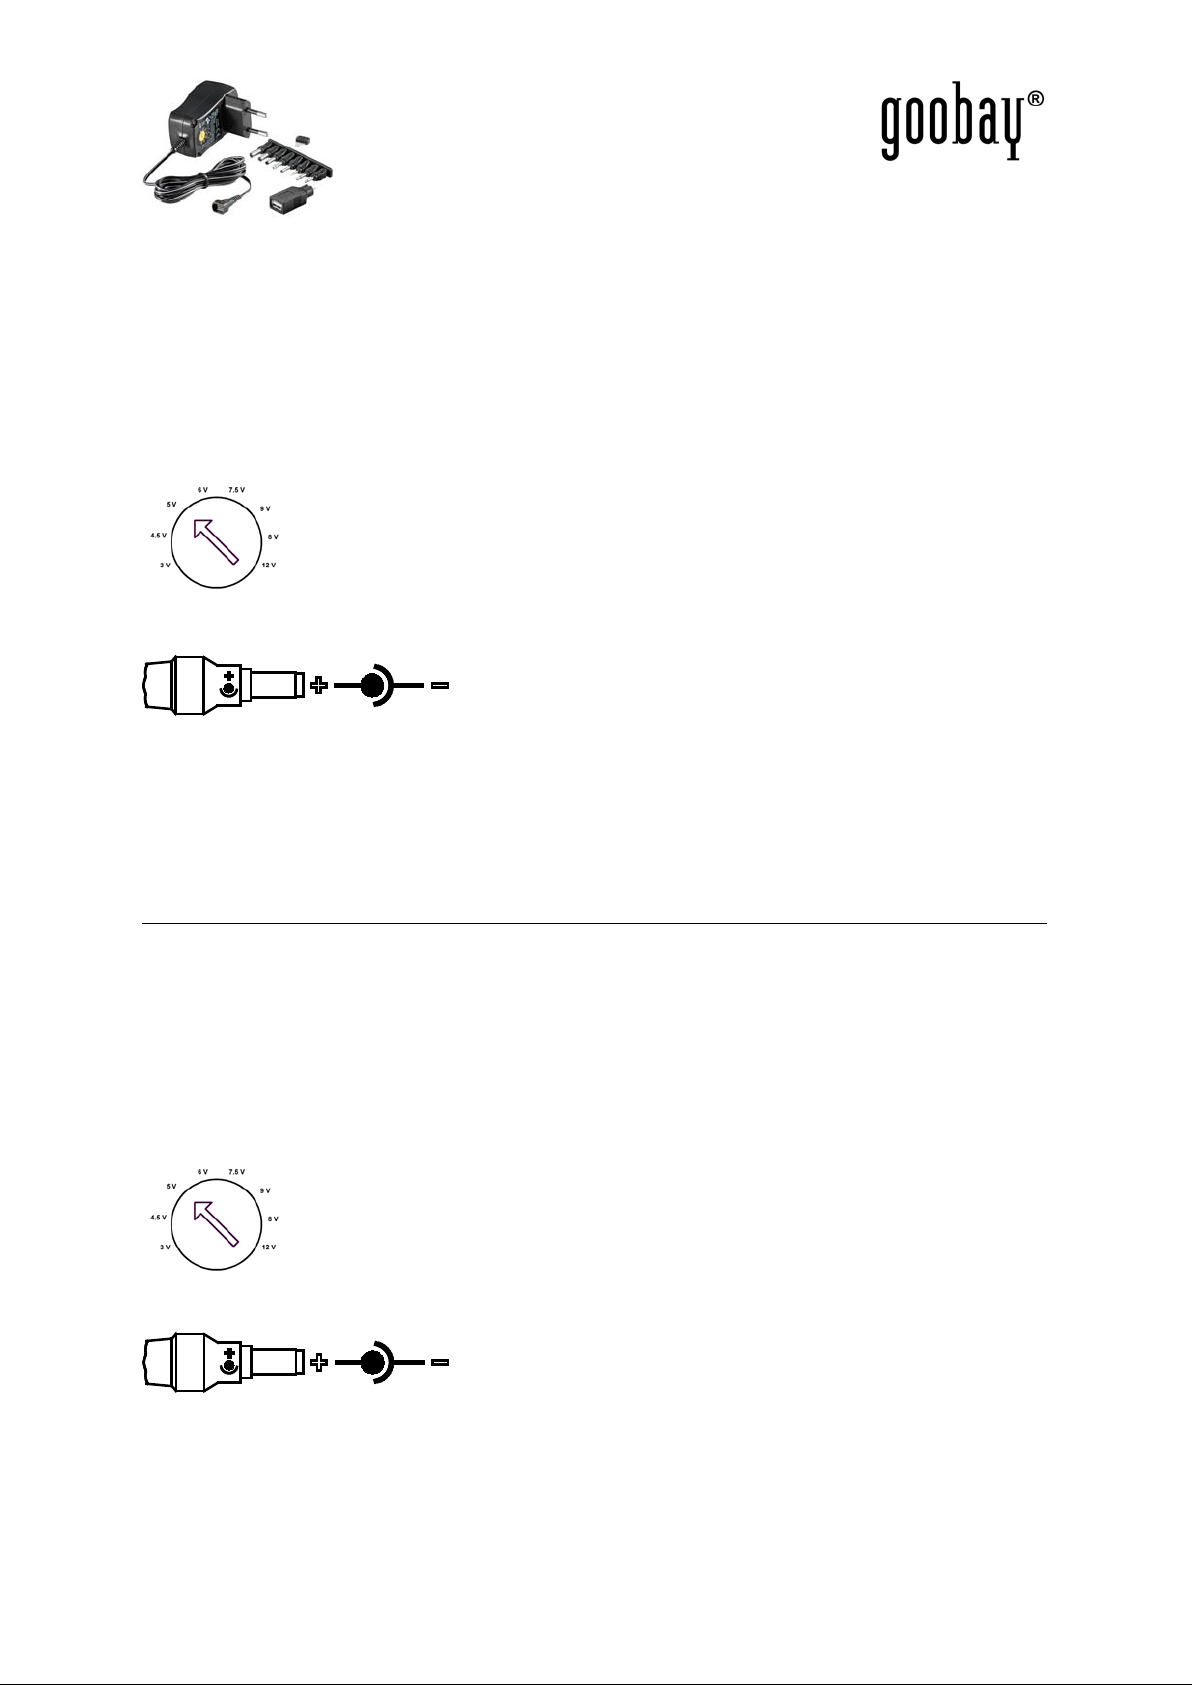
3. SPANNUNG: Stellen Sie die benötigte Ausgangssp a nnung am Gerät ein.
4. ADAPTER: Wählen Sie den passenden Adapterstecker.
5. AUSGANGSSTECKER: Verbinden Sie diesen mit dem Versorgungseingang Ihres Gerätes.
ANMERKUNG: Die positive Einstellung ist in der Regel d ie Standardeinstellung.
6. EINGANGSSTECKER: Schließen Sie den Stecker am 100-240 V AC Netzanschluss
7. WICH TIG: Falls das Gerät nicht richtig funktionier t, üb er pr üf e n Sie sofor t die Polar itä t.
8. Entfernen Sie das Netzteil nach Gebrauch vom Stromnetz.
Benutzung erfolgt auf eigene Gefahr
_________________________________________________________________________________________
Betreibenden Gerät, ob die angegebene max. Stromstärke ausreichend ist.
positive Polarität
an.
Quick Start Guide for power supplies No.
53995, 53996, 53997, 53998, and 53999:
Operation:
Before plugging the adaptor into a mains socket, follo w the s te p -by-step instructions:
1. CURRENT: Verify the current requirement of the unit is compatib l e to your prod uct.
2. POLARITY: Determine the polarity (+ or -) of the unit.
3. VOLTAGE: Set the required output voltage at the unit.
4. ADAPTOR PLUG: Select the fitting output plug.
5. OUTPUT PLUG: Plug it into the DC input jack of your device.
Positive polarity
NOTE: The positive setting (negative ground ) is the most common requirement.
6. PLUG IN: Plug in the adaptor to a 100-240 V AC mains socket.
7. IMPORTANT: If the unit does not operate properly, check the polarity setting immediately!
8. Remove the unit from mains when not in use.
Use is at owner’s risk.
______________________________________________________________________________________________________________________________________________
Revision Date: 2011-02-25 TF
Version 1
 Loading...