

Golight 3300T Users Manual
IMPORTANT SAFETY INFORMATION
This symbol is to alert you to important operating or
servicing instructions that appear in your instructions.
Always follow basic safety precautions when using
this product to reduce the risk of injury, fire or electric
shock.
This light is for off road and utility use only. It is not designed
for road use as a driving light.
• Modern electronic equipment, i.e. Personal medical devices
such as pacemakers, hearing aids, etc., are shielded from RF
energy. However, RF energy may affect some electronic
equipment.
• Vehicle electronic systems may be affected by RF energy.
Check with your vehicle manufacturer representative to be sure
that your Golight® Stryker™ will not affect the electronic
system of your vehicle.
The Stryker™ complies with Part. 15.105 of the FCC Rules.
This equipment has been tested and found to comply with the
limits for a Class B digital device. These limits are designed
to provide reasonable protection against harmful interference
in a residential installation. This equipment generates, uses,
and can radiate radio frequency energy and, if not installed
and used in accordance with the instructions, may cause
harmful interference to radio communications. However,
there is no guarantee that interference will not occur in a
particular installation. If this equipment does cause harmful
interference to radio or television reception, which can be
determined by turning the equipment off and on, the user is
encouraged to try to correct the interference by one or more
of the following measures:
• Reorient or relocate the receiving antenna.
• Increase the separation between the equipment and receiver.
• Connect the equipment into an outlet on a circuit different
from that to which the receiver is connected.
• Consult the dealer or an experienced radio/TV technician for
help.
FCC RULE Part. 15.21 - Changes or modifications made by
the user not expressly approved by Golight, Inc. for compliance
could void the user’s authority to operate the equipment.
For safe and efficient operation of your Golight® Stryker™,
observe these guidelines:
Your Golight® Stryker™ is a radio transmitter and receiver
operating at 2.4GHz. Whenever the light is on, the internally
mounted antenna sends out and receives radio frequency (RF)
energy.
PARTS / ACCESSORIES
Stryker™ parts and accessories may be purchased through Golight,
Inc. Visit our web store at: http://store.golight.com or contact us at
308.278.3131 or 800.557.0098.
FIVE YEAR LIMITED WARRANTY
Golight, Inc. warrants the Stryker™ against any deemed defects that
are due to workmanship for parts or faulty materials, except lamps,
for five years from date of original purchase. This warranty to the
Stryker™ does not cover damage resulting from unreasonable use or
misuse, unreasonable maintenance or loss, or labor costs.
Mounting the light upside down will void the warranty.
Warranty information must be filled out within 30 days of purchase
at: http://www.golight.com/products/registration.html, for warranty
protection.
If the Stryker™ does fail to operate under warranted specification,
Please call 1-308-278-3131 for a Return Goods Authorization number.
After receiving an RGA#, send the light, and all necessary accessories postage paid, plus $9.95 for shipping and handling to Golight,
Inc., Service Department, 37146 Old Hwy 17, Culbertson, NE 69024.
No C.O.D.’s accepted. Only the above manufacturer is authorized to
perform warranty repair or replace product.
Any consequential damages to person or property are excluded from
this warranty. Some states do not allow the exclusion and limitation
of incidental or consequential damages, therefore, the above limitations or exclusions may not apply to you. This warranty gives you
specific legal rights and you may also have other rights.
End of Useful Life
For information regarding the proper disposal/recycling of the light
contact Golight at 800.557.0098
Golight Inc
37146 Old Hwy 17
Culbertson, NE 69024
800.557.0098 | 308.278.3131
www.golight.com | info@golight.com
Instruction Guide
Congratulations
You are now the owner of one of the finest remote control
searchlights available today. Thank you for letting Golight®
assist you in your lighting application needs. We're proud of our
products and the technology that we've developed to ensure our
customers the most durable, versatile and powerful searchlights
in the lighting industry.
Please read these instructions before using your new Golight®
Stryker™.

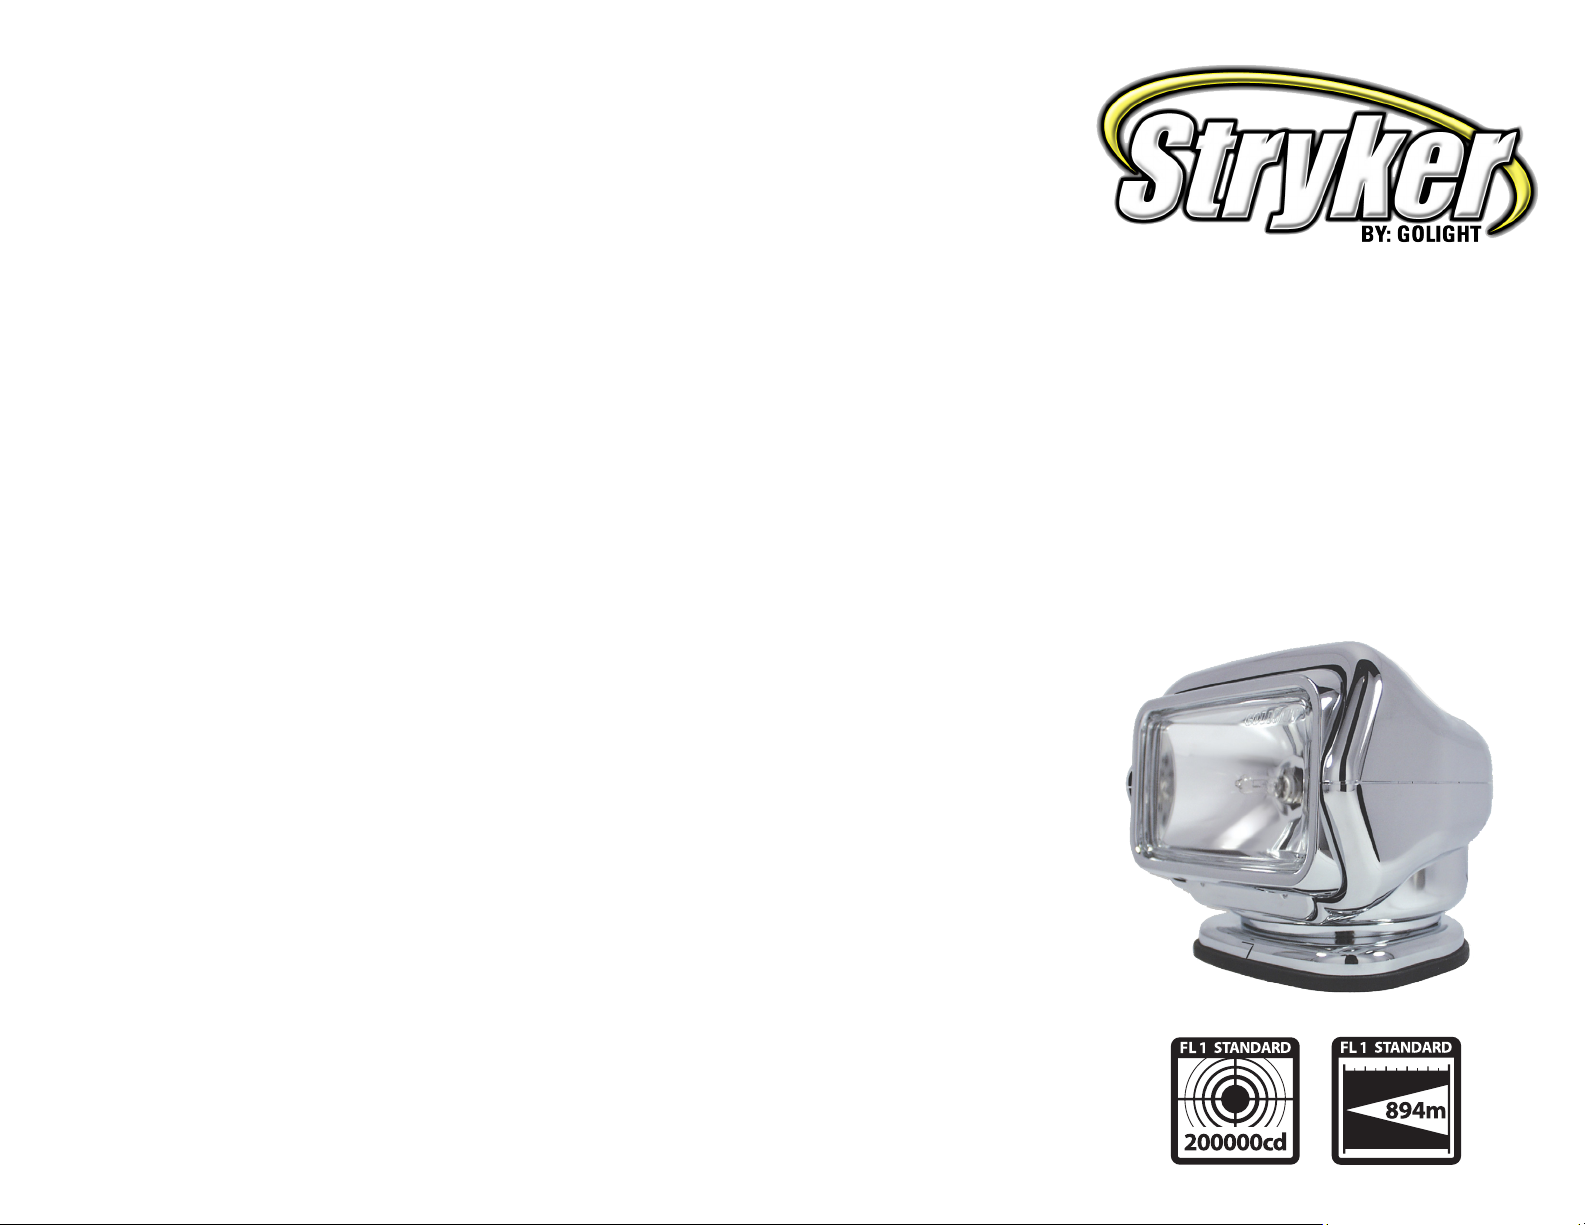
The Stryker™ is a 2-Speed Searchlight with Directional Flexibility
which gives the operator a full 370° horizontal rotation and a 135°
vertical tilt with fingertip control. The Stryker™ provides superior
light penetration with the new Cr5 PentaBeam™ II technology.
Stryker™ Wireless - Permanent Mount:
Stryker™ Searchlight
Remote Control (Per Model Number)
2 - AAA Batteries
Permanent Mounting Gasket
Permanent Mounting Plate
Mounting Screws
Rockguard
Stryker™ Wireless - Magnetic Mount:
Stryker™ Searchlight
Wireless Hand Held Remote Control
2 - AAA Batteries
Rockguard
MOUNTING INSTRUCTIONS
Light Unit/Permanent Mount
Determine the location for the light on your vehicle or boat.
Remove the mounting plate from the light. Center the mounting
plate with the vise screw on the mounting plate to the back. Mark
the hole locations for the three mounting screws and drill a pilot
hole for each with 1/8 inch bit. Fasten the stainless steel mounting
plate with the 3 #10 – 16x3/4 type AB cross recessed pan head
tapping screws. Drill a 1/4” hole (wireless) or a 5/8” hole (hardwired) in the center of the mounting plate opening to accommodate
the power wire or wiring harness and connector. Attach the
connector that is affixed to the underside of the light to the
corresponding connector on the wiring harness (hard-wired).
Position the connection point beneath the mounting surface, and
apply silicone sealant around wire to seal the drilled opening.
Wet the mounting surface with a small amount of water or
lubricant for easier installation, then place the light over the
mounting plate by sliding the front of the light over the front of the
mounting plate, first pull the light backwards, then seat the back of
the light on to the mounting plate. Displace the back of the gasket
and install the vise screw (provided). Tighten the vise screw using a
Phillips head screwdriver. Replace the gasket.
Light Unit/Magnetic Mount
Select the best location on your vehicle for the magnetic mount
Stryker. Make sure the metal area under the magnetic base is flat
and clean to ensure a strong bond. Route the power cord into the
vehicle through a door frame and connect to 12V power outlet. The
magnetic mount Stryker™ should be removed from vehicle’s exterior
while traveling at excessive speeds and in strong wind conditions.
BATTERY INSTALLATION AND REMOVAL FOR TRANSMITTER
Remove battery cover: for wireless hand-held transmitter, remove
phillips head screw to remove cover. With battery compartment
now exposed, insert batteries according to the correct polarity or
gently remove batteries by grabbing the positive end and lifting up.
PROGRAMMING INSTRUCTIONS
The Stryker wireless technology utilizes smart code learning/
sequencing for programming. There are no manual switches
involved with this process. This technology allows for 1 transmitter
(TX) to control up to 2 lights independently or 2 lights in tandem.
Prior to the programming process always make sure the Stryker unit
is disconnected from power.
Power
Lamp
Select
1 TX, 1 STRYKER:
1. Press the “1/2” lamp select button till the LED directly under
“1” is illuminated.
2. Hold down the “Power” and “Speed” buttons simultaneously.
3. Connect the Stryker unit to power.
4. Wait 5-6 seconds after power has been applied and the Stryker
lamp will flash when successfully programmed, and at that pont
you may let off the “Power” and “Speed” buttons.
Speed
Home
1 TX, 2 STRYKERS (Independent control or together)
Follow steps 1-4 above for programming Stryker #1
For Stryker #2
1. Press the “1/2” lamp select button until the LED directly above
“2” is illuminated.
2. Follow steps 2-4 above to complete programming for Stryker #2
Both Stryker #1 and #2 can be controlled at the same time by
pressing the “1/2” lamp select button until both LEDs are
illuminated.
Home Button
The Stryker is equipped with a 0 degree Home Function. At any
point in the horizontal position the “Home” button can be pushed to
send the Stryker back to 0 degree home. This is not a
programmable position.
OPERATION OF STRYKER™
1. Using the remote control, turn on the light by depressing the on/
off button.
2. The speed of the light rotation can be controlled by depressing
the fast/slow button one time and by depressing it again to
restore the original speed.
3. The spotlight should not be turned on when the snap on lens
cover (rockguard) is attached. The hard wired dash control will
be backlit when the bulb is illuminated.
USAGE:
» This light is intended for off-road and utility use only
» This light is intended to be mounted outside the vehicle while in
use
» This light may only be disassembled and repaired by an
authorized representative
MISUSE:
» This light is not approved for road or highway use
» This light is not approved for underwater use
» This light is not approved for inverted mounting
» This light is not approved for use inside a vehicle or enclosure and
power should be disconnected prior to placing the light in such
circumstance
» This light may be damaged if operated in icing conditions
» This light may only be dismantled by an authorized Golight repre-
sentative
» Any violation of the above referenced misuses will be
considered grounds for warranty refusal
 Loading...