

Golfbuddy Plus, Pro, Tour User Manual

GB Manager User Manual
Instructions for Downloading and Using the GB Manager with GolfBuddy Plus, Pro and Tour

Introduction
2
The GolfBuddy Manager (GB Manager) allows you to update the course library in your GolfBuddy Plus, Pro or Tour GPS
Rangefinder. Although the GolfBuddy comes with courses already pre-loaded into the unit, we are continually updating our
course library by adding new courses and updating our existing ones. The GB Manager allows you to keep your GolfBuddy
GPS unit updated with the latest course data.
The GB Manager also allows you to customize your GolfBuddy by adding custom graphics and logos to your welcome screen,
and allows you to enter your personal information in case your unit is lost or misplaced. It also allows you to view and track
your scores from up to 1000 rounds of golf that you are able to store in your unit. You can also perform firmware upgrades and
module updates as they become available, to ensure that your unit is functioning at its optimal level.
This manual will guide you through the steps to download the GB Manager, set up a user name and password and will give you
instructions on how to use each function on the GB Manager.
If you have any questions, please free to contact our technical support department at (888) 296-1428 between the hours of 8:00
a.m. to 8:00 p.m. EST, and someone will be happy to assist you.
Chapter 1 - Setting up the GB Manager
Step 1 - Download and Install the GolfBuddy Manager
Important: Do not connect your GolfBuddy to your computer until after you have
*
installed the GB Manager and restarted your computer.
**In order to download GB Manager, your internet browser default must be
set to Microsoft Internet Explorer
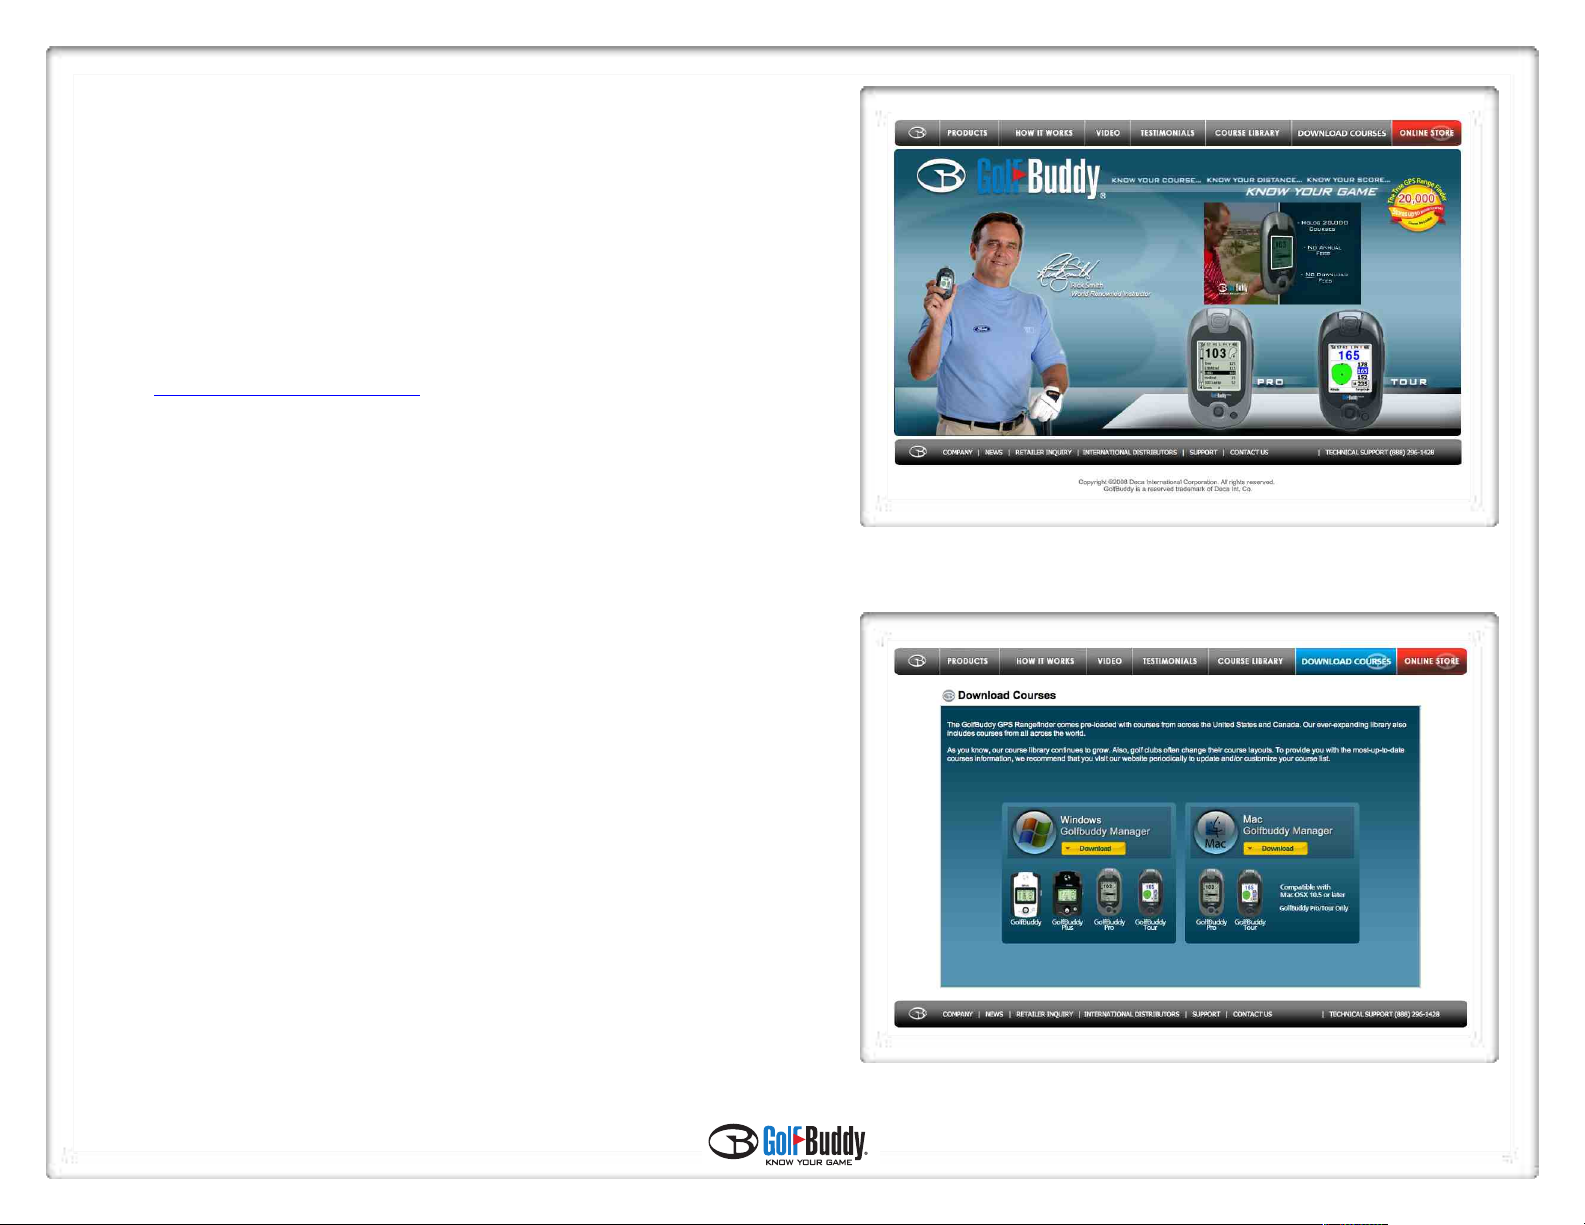
1.1 Go to http://www.golfbuddyglobal.com
1.2 Click on the Download Courses link on the top menu of the homepage.
(fig 1)
(fig. 1)
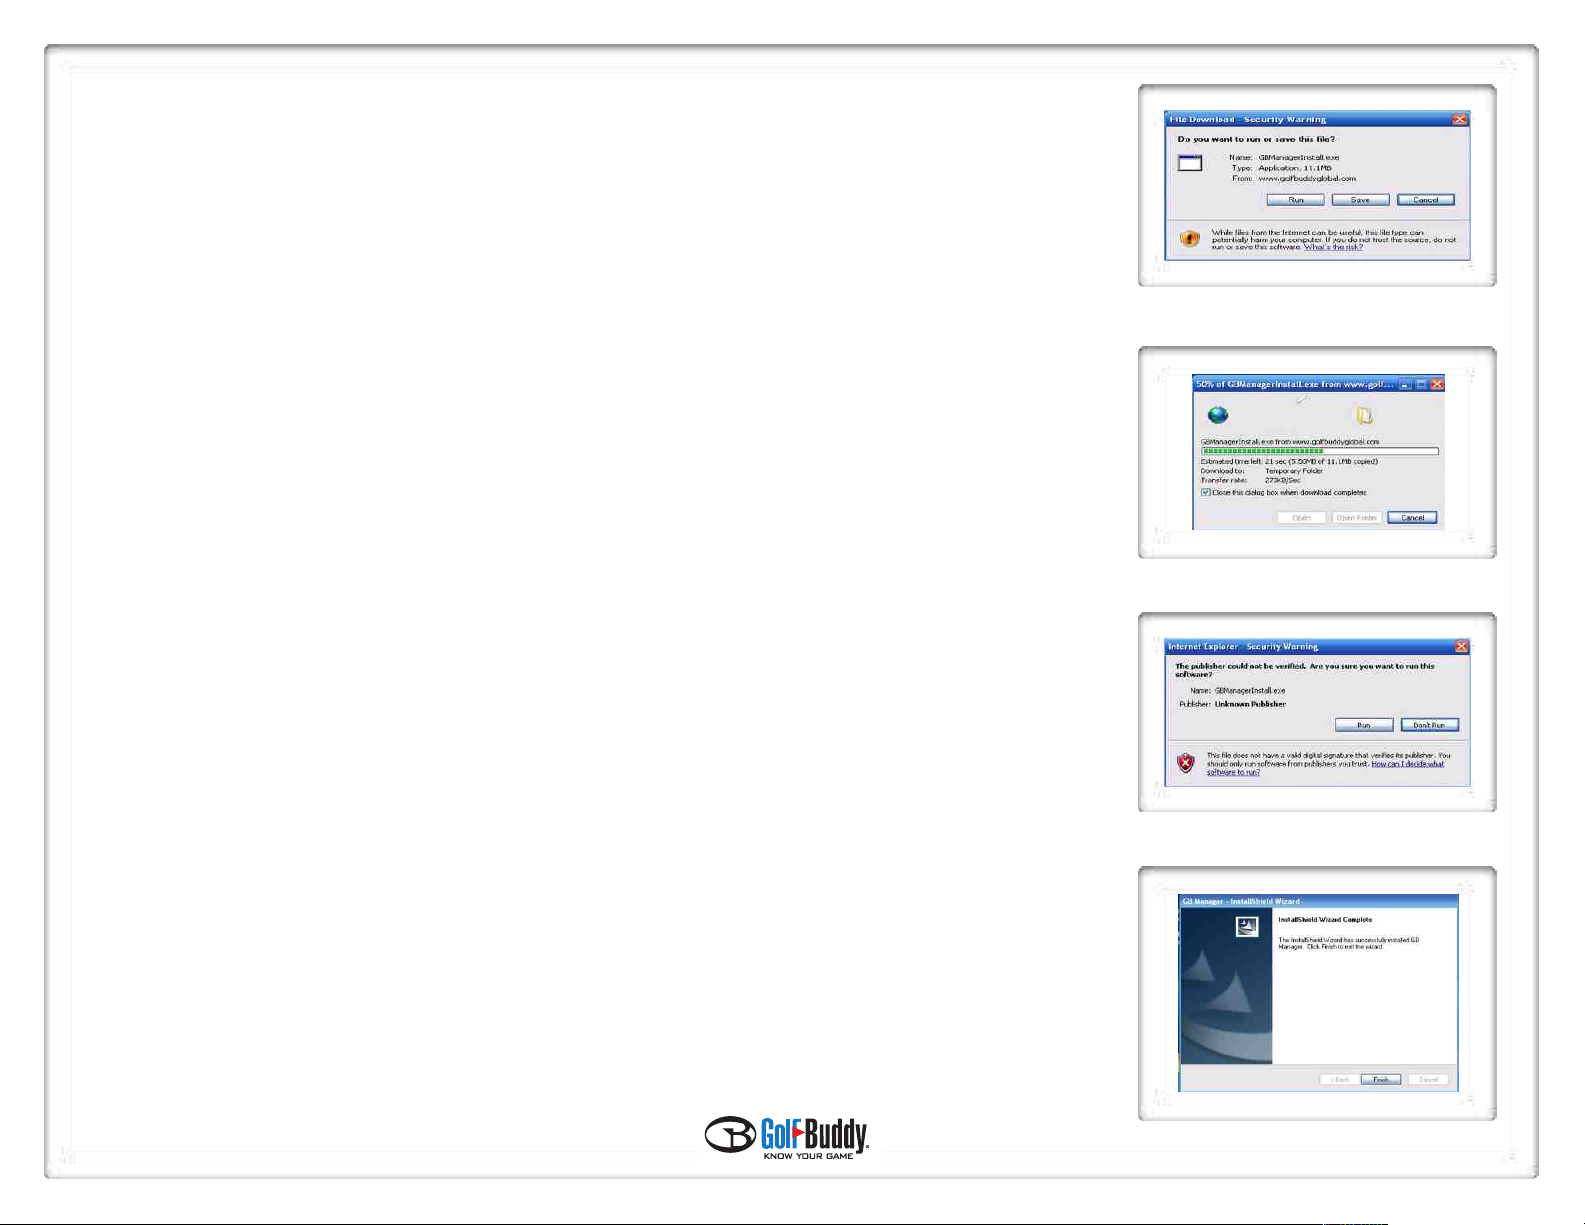
1.3 On the Download Courses page, click on one of the yellow bars to
install the GolfBuddy Manager (GB Manager) for either Windows or Mac,
depending on which operating system you are using. (fig. 2)
(fig. 2)
3
4
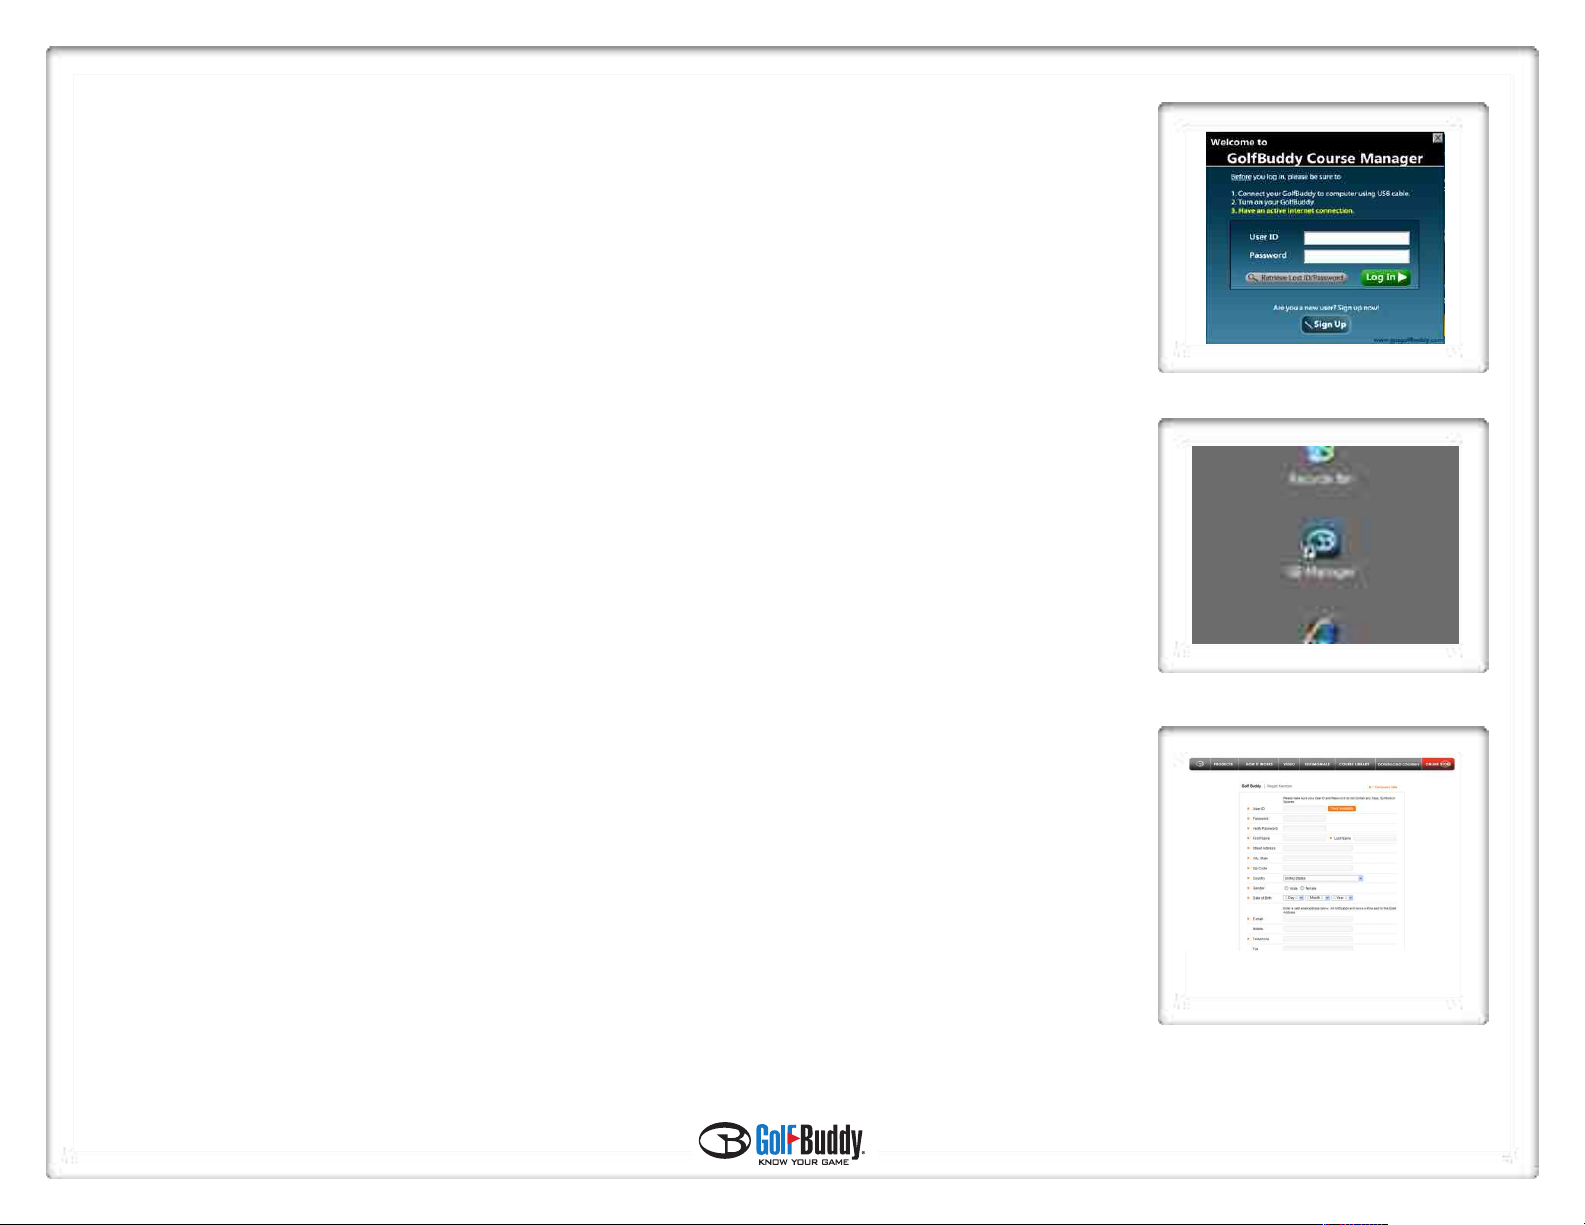
1.3.4 Next, an installShield Wizard, welcome screen will appear, (fig. 7) Click “Next” to continue.
1.3.5 The InstallShield Wizard will then ask you if you would like to begin the installation. (fig. 8)
Click “Install” to proceed.
(fig.7)
(fig.8)
1.3.6 Once you begin the installing the GB Manager, a progress bar will appear. (fig. 9)
1.3.7 After the GB Manager has been successfully installed, please make sure to restart your
computer before proceeding to the next step.
(fig.9)
(fig.10)
Step 2 – Registration: Creating a User Name and Password
5
(fig.11)
In order to access the GB Manager, you must first register and create a user name and password.
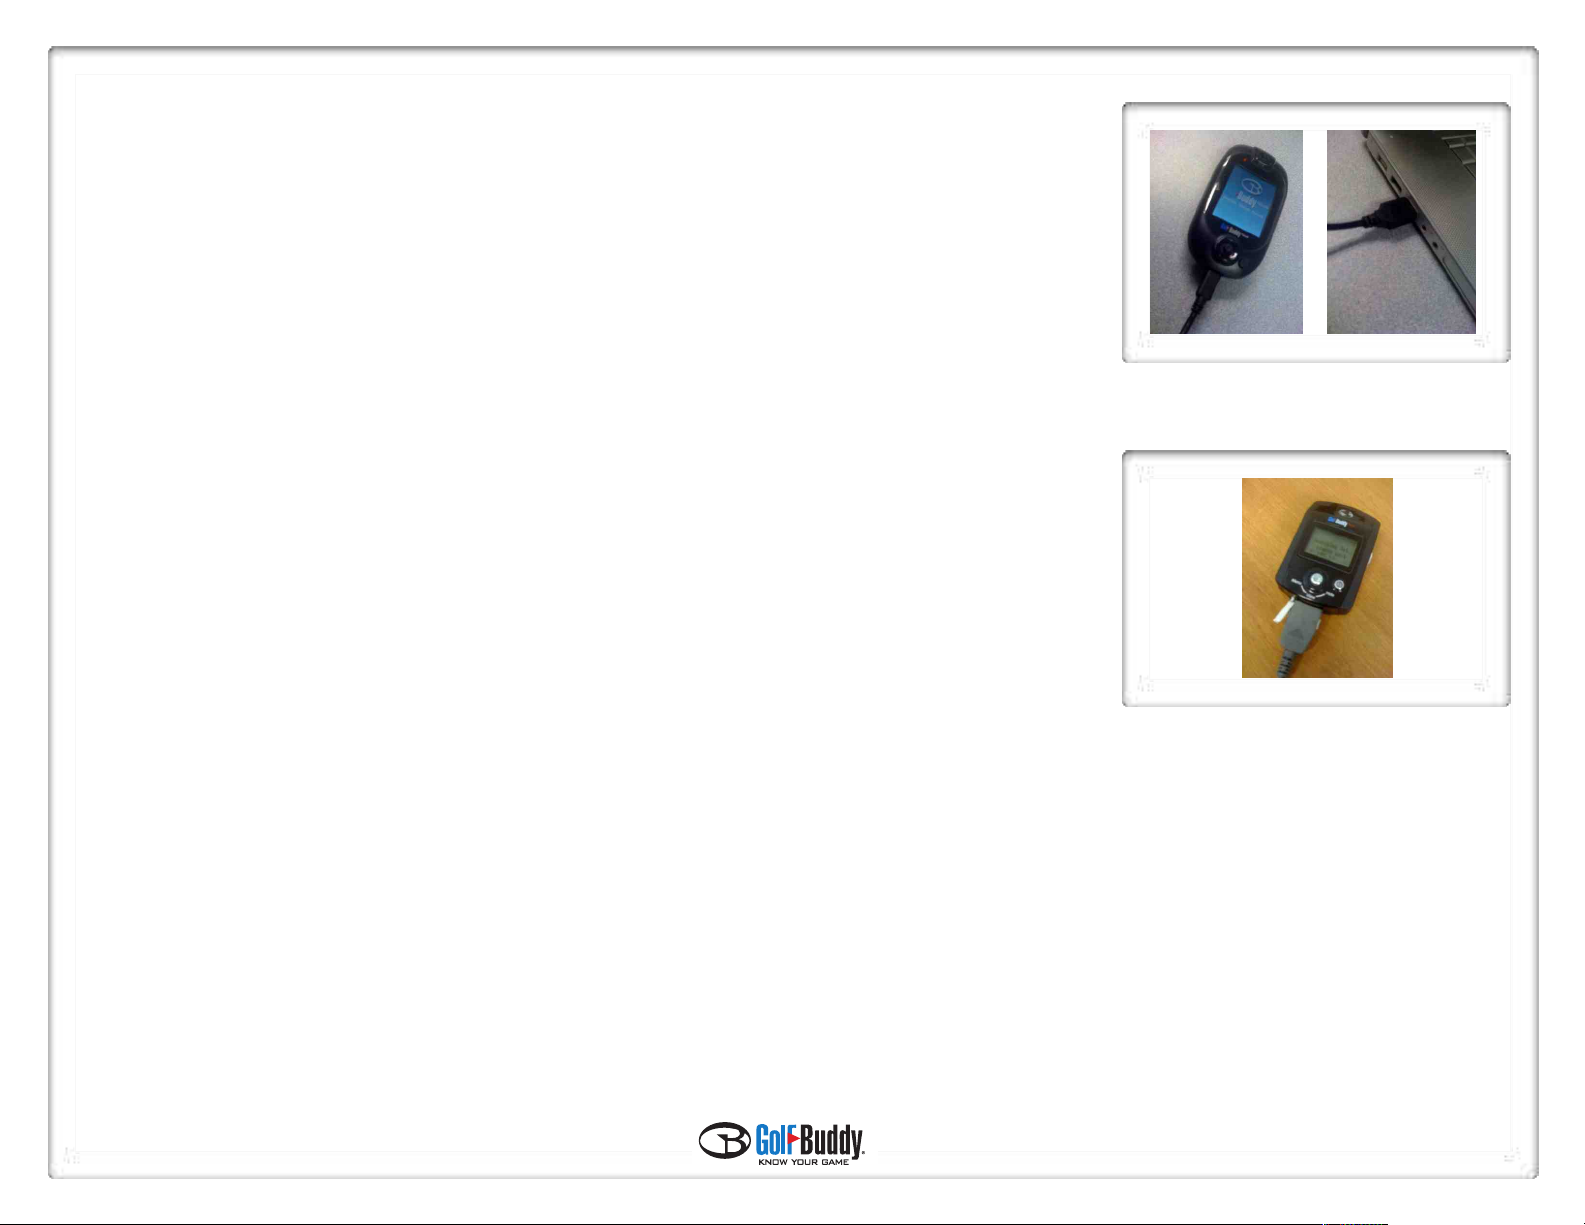
2.1 After completing the download and install process in Step 1, the GB Manager log in window should
have automatically appeared on your screen. (fig. 11)
After the download process is complete, the GB Manager icon should have been automatically added onto
your computer’s desktop. (fig. 12) You may double click on this icon each time you would like to access the
GB Manager.
2.2 On the GB Manager log in window, (fig. 11) click the “Sign Up” button towards the bottom of the window
to begin the registration process.
Note - Before accessing the registration page, please check the following:
1) Make sure you have an active internet connection
2) Make sure your default internet browser is set to Windows Internet Explorer
2.3 After you click on the “Sign Up” button, your internet browser will open up and take you to the registration
screen on your internet browser. (fig. 13) Fill out all the required information to complete the process and click
submit. Once you have completed the registration, you will be directed to the main page of the GolfBuddy website.
You may close your internet browser at this time, as you will no longer need it open in order to run the GB Manager.
Note: Please be sure to click the orange tab labeled “Check Availability” next to the User ID blank to check if the
User ID you have chosen has not already been taken.
(fig.12)
(fig.13)
Step 3 – Logging in to GB Manager
6
After you have completed the registration process you are ready to log in to the GB Manager.
3.1 Connect your GolfBuddy unit to your computer by plugging in one end of the USB data cable into your
GolfBuddy unit, (fig. 14) and the other end into your computer’s USB port. (fig. 15)
(fig.14)
GolfBuddy Plus users
If you are using a GolfBuddy Plus, you must perform an additional step before before logging in to the GB Manager.
1) Make sure that your unit is powered off.
2) Plug the USB Data Cable into your unit.
3) Push in and hold the toggle button, and while you are still holding in the toggle button, push in the power button
until you see the message “Sync With PC” on the display.
***Note: DO NOT disconnect the USB Data Cable from the device at any time, when a progress bar appears on
the GB Manager screen. Doing so will result in the unit freezing up and will require the unit to be sent in and
serviced by one of our technicians.
3.2 Go to your computer’s desktop and double click the GB Manager icon. (fig. 12) The GB Manager log in window will appear once you click on the icon.
(fig. 11) Type in your new User ID and Password and click the green “Log In” tab.
(fig.15b)
(fig.15)
 Loading...