

Golf Buddy GolfBuddy Plus, GB Manager User Manual

1"
"
GB Manager User
Manual
Instructions for Downloading and Using the GB Manager with
GolfBuddy Plus, Pro and Tour
Updated: 11-23-2010

2"
"
The GolfBuddy Manager (GB Manager) allows you to update the course library in your
GolfBuddy Plus, Pro or Tour GPS Rangefinder. Although the GolfBuddy comes with courses
already pre-loaded into the unit, we are continually updating our course library by adding new
courses and updating our existing ones. The GB Manager allows you to keep your GolfBuddy
GPS unit updated with the latest course data. The GB Manager also allows you to customize
your GolfBuddy by adding custom graphics and logos to your welcome screen, and allows you
to enter your personal information in case your unit is lost or misplaced. It also allows you to
view and track your scores from up to 1000 rounds of golf that you are able to store in your unit.
You can also perform firmware upgrades and module updates as they become available, to
ensure that your unit is functioning at its optimal level. This manual will guide you through the
steps to download the GB Manager, set up a user name and password and will give you
instructions on how to use each function on the GB Manager. If you have any questions, please
feel free to contact our technical support department at (888) 296-1428 between the hours of
8:30 a.m. to 5:30 p.m. PST, and someone will be happy to assist you.

3"
"
Chapter 1 - Setting up the GB Manager: Installation
1.1 Go to http://www.golfbuddyglobal.com. (We highly recommend using Windows Internet Explorer).
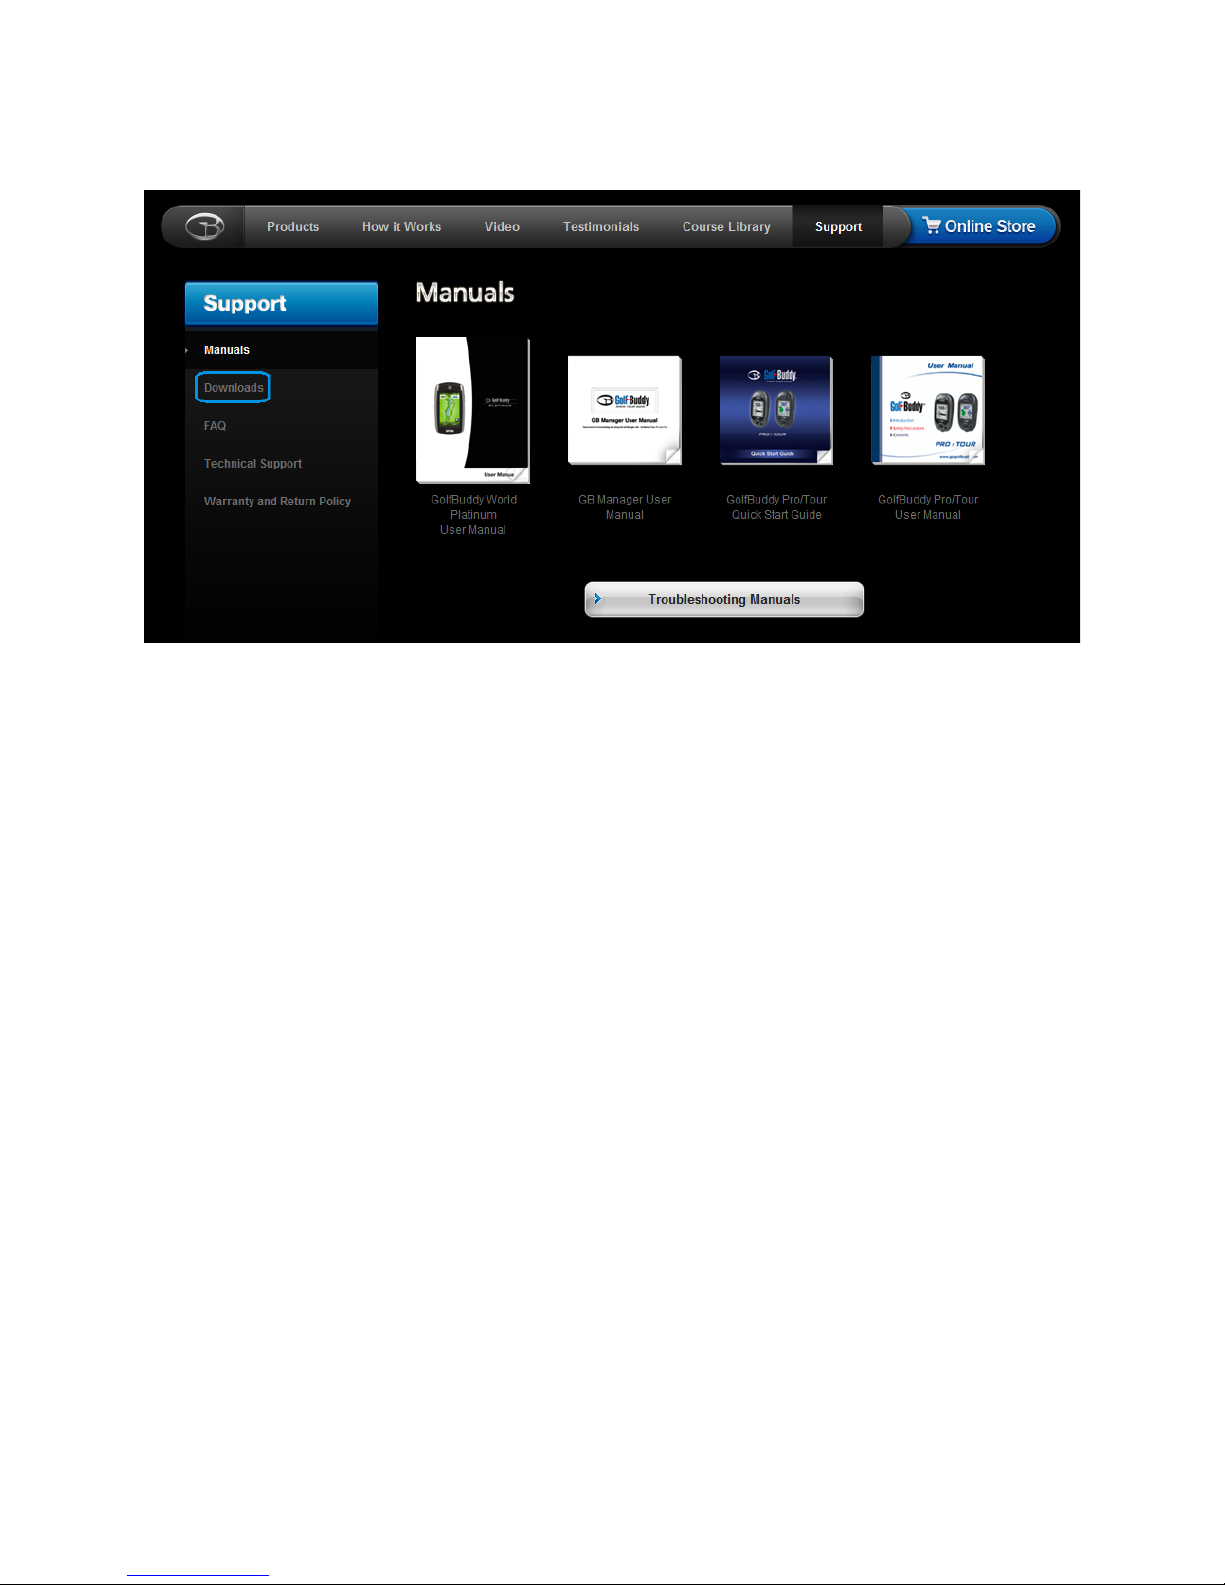
1.2 Click on the Support link located in the top menu bar of the homepage (fig 1.1).
(fig 1.1)
4"
"
1.3 Click on the Downloads link located on the left-hand side of the page (fig 1.2).
(fig 1.2)
5"
"
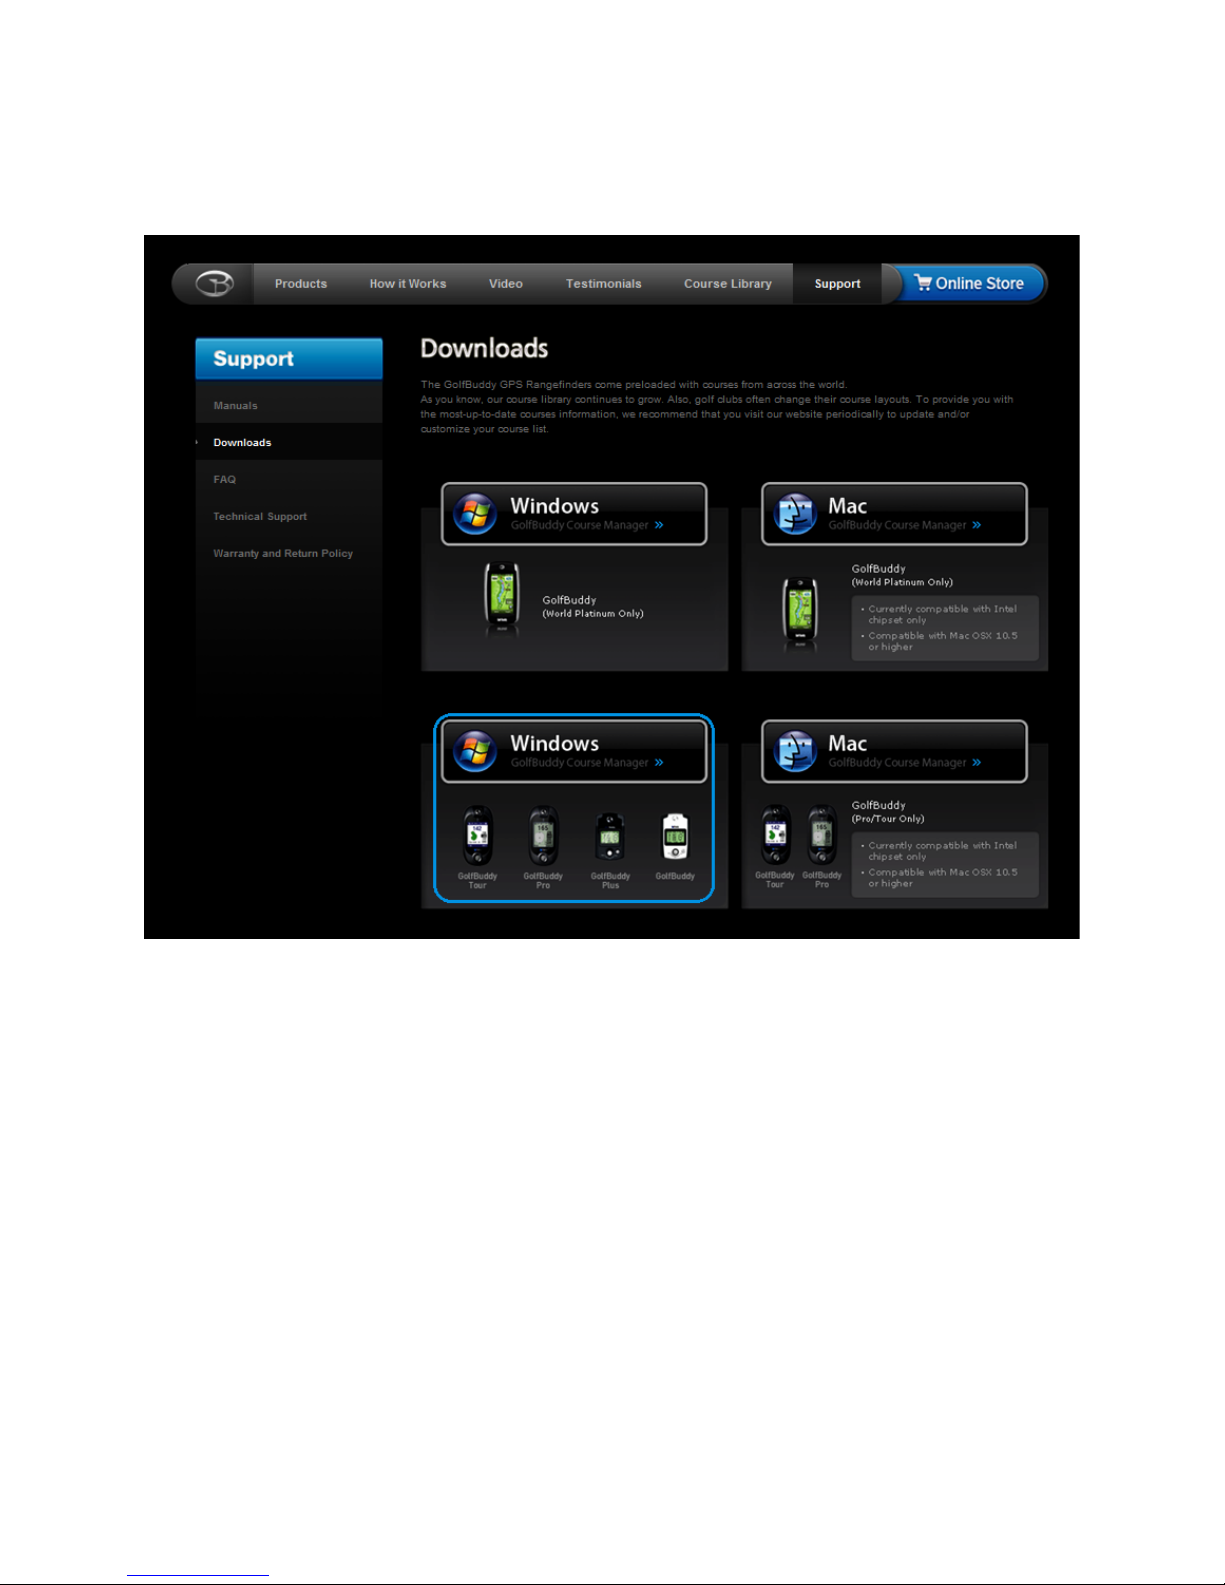
1.4 Please select the box that corresponds with your Operating System and GolfBuddy. For example, if you have
Windows on your computer, and you have a GolfBuddy Tour, you would select the box on the lower left-hand
corner (fig 1.3).
(fig 1.3)
6"
"
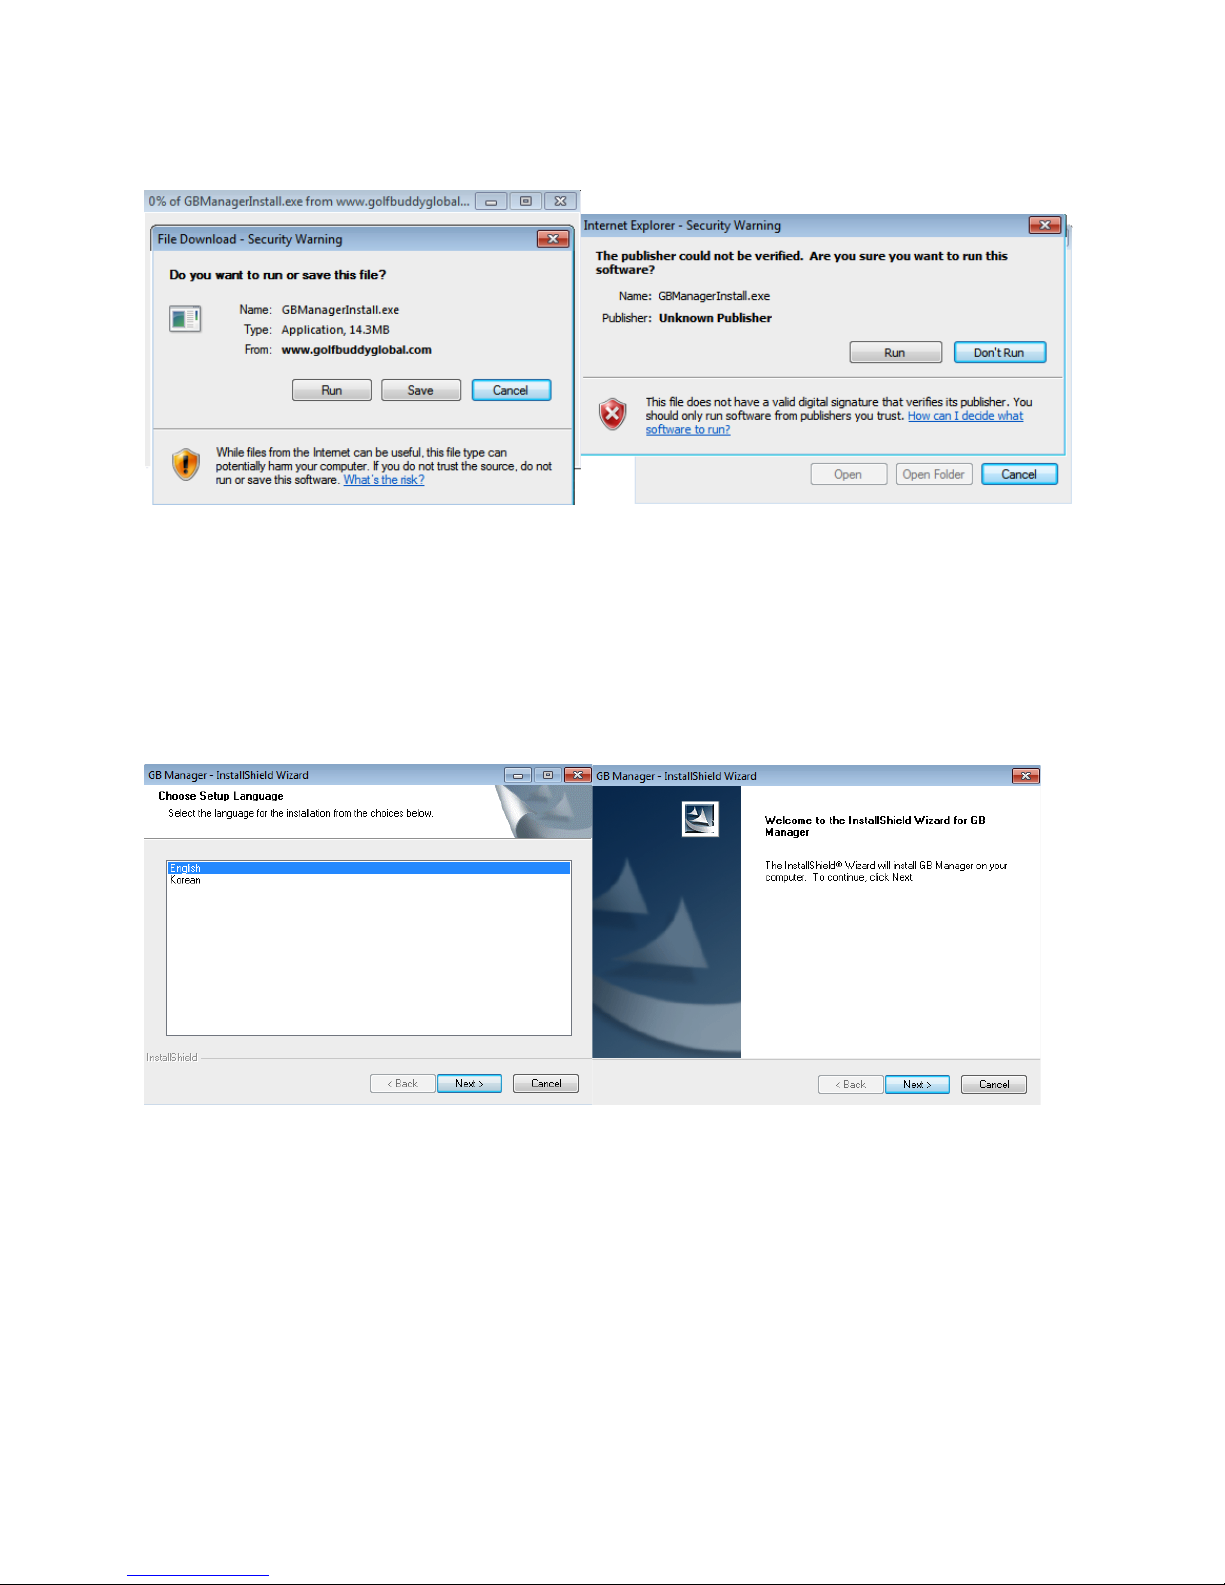
1.4.1 Next, please select Run to begin installation. (fig 1.4 & fig 1.5)
(fig 1.4) (fig 1.5)
1.4.2 An InstallShield Wizard will appear. Please proceed with the installation by clicking on Next (fig 1.6 & 1.7).
(fig 1.6) (fig 1.7)
7"
"
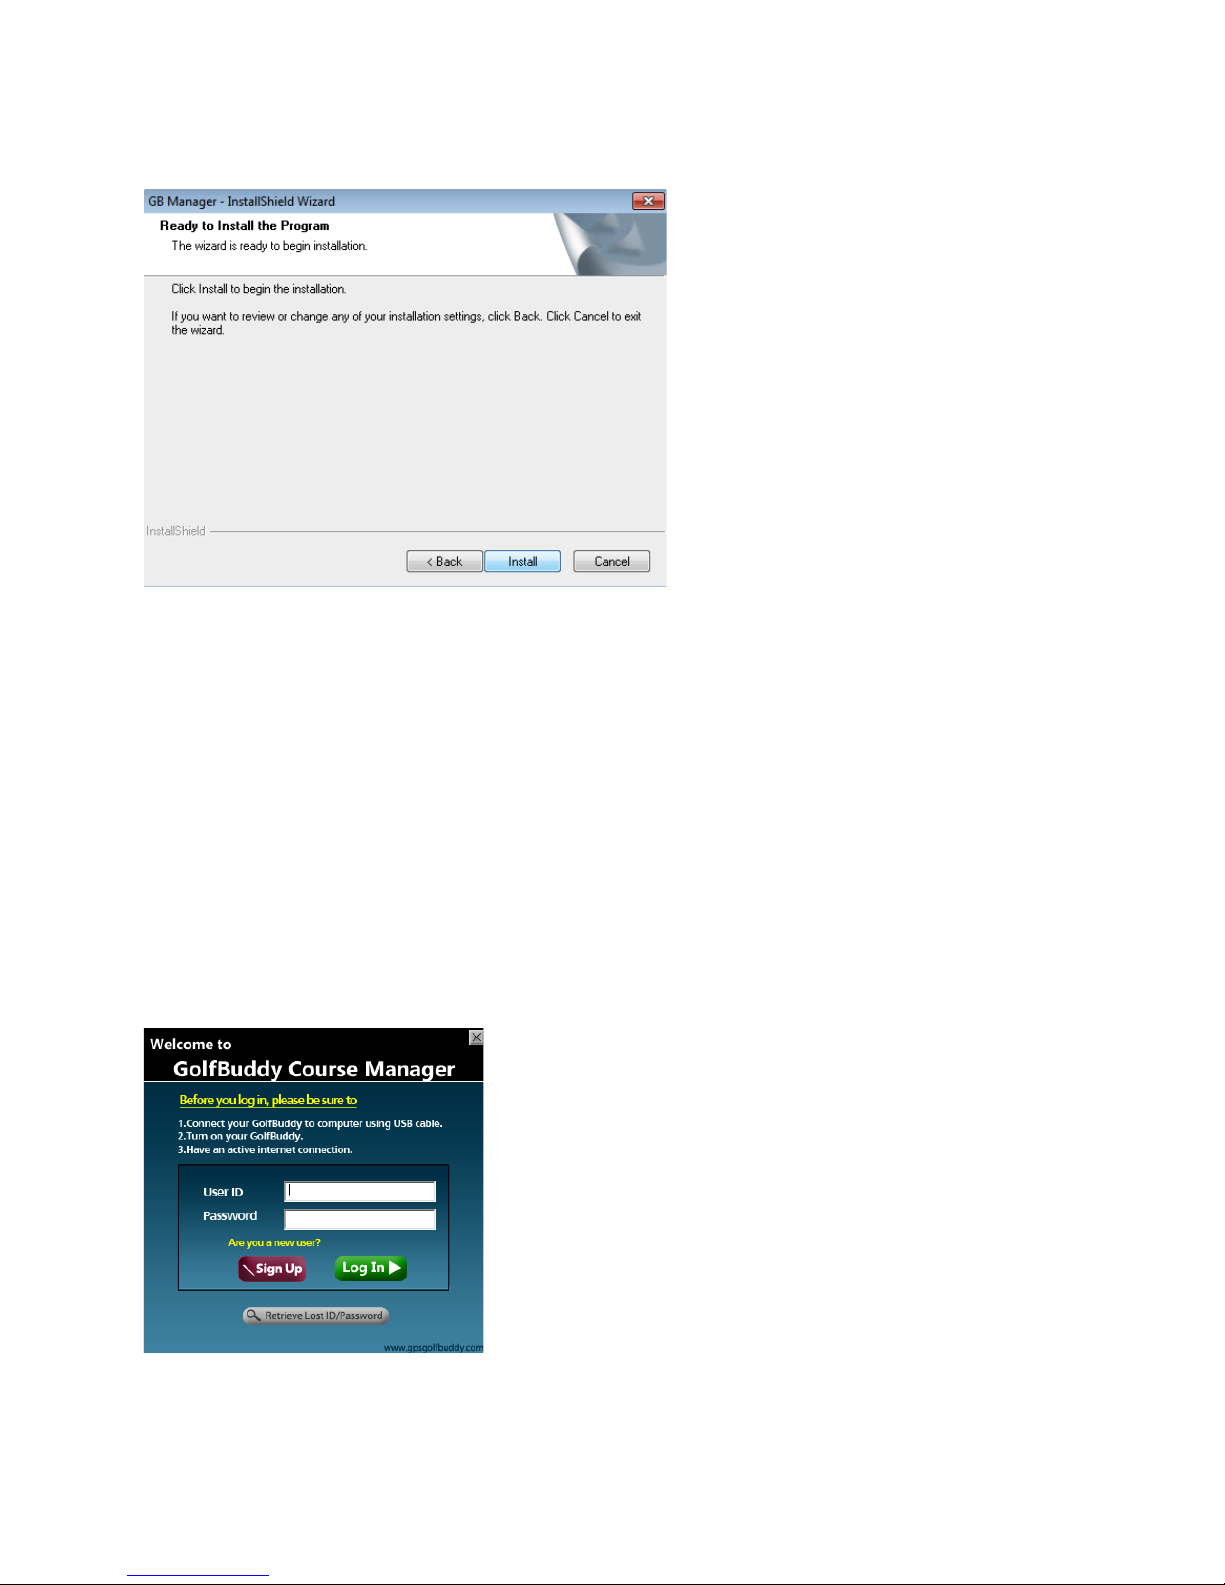
1.4.3 Please finish the installation by clicking on Install (fig 1.8).
(fig 1.8)
Chapter 2 – Registration: Creating a UserID and Password
In order to access the GB Manager, you must first register and create a UserID and password.
2.1 After completing the download and install process in Chapter 1, the GB Manager log in window should have
automatically appeared on your screen (fig. 2.1).
(fig 2.1)
8"
"
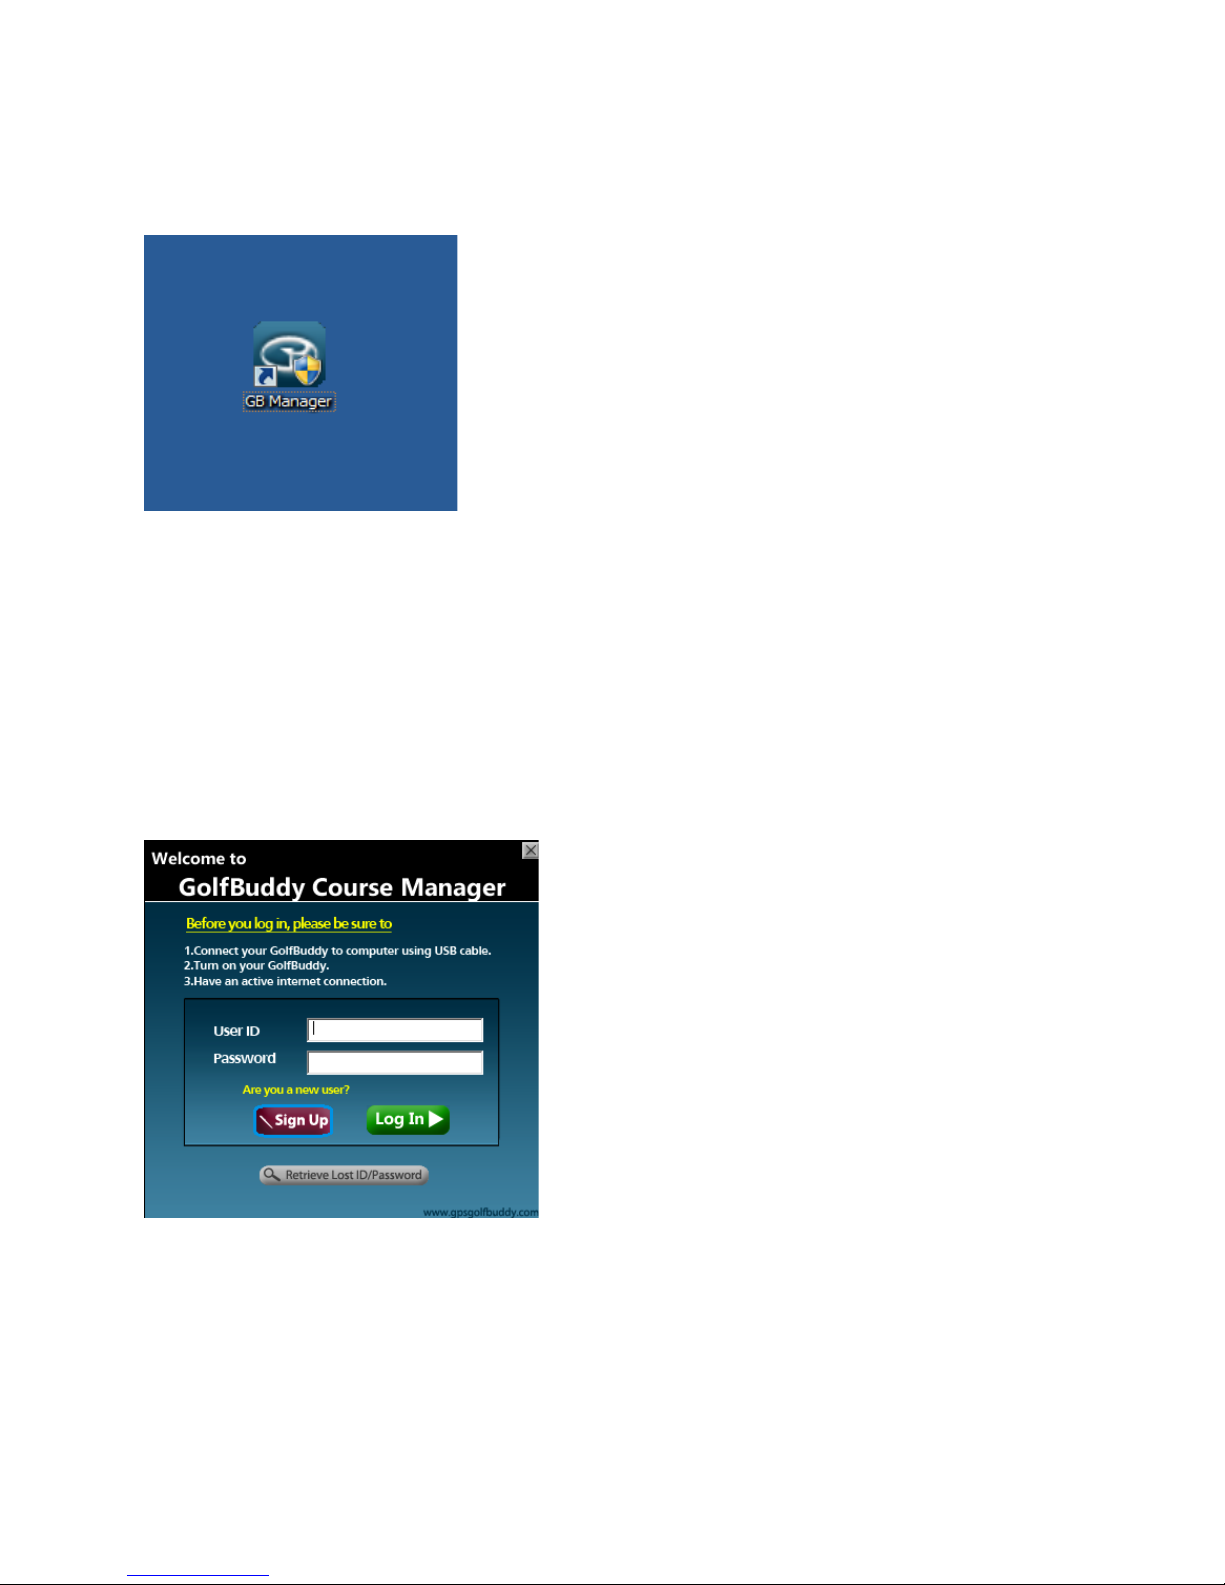
2.2 After the download process is complete, the GB Manager icon should have been automatically added onto your
computer’s desktop. You may double click on this icon each time you would like to access the
GB Manager (fig 2.2).
(fig 2.2)
2.3 On the GB Manager log in window (fig 2.3), click the Sign Up button towards the bottom of the window to
begin the registration process.
Note - Before accessing the registration page, please check the following:
1) Make sure you have an active internet connection.
2) Make sure your default internet browser is set to Windows Internet Explorer.
(fig 2.3)
9"
"
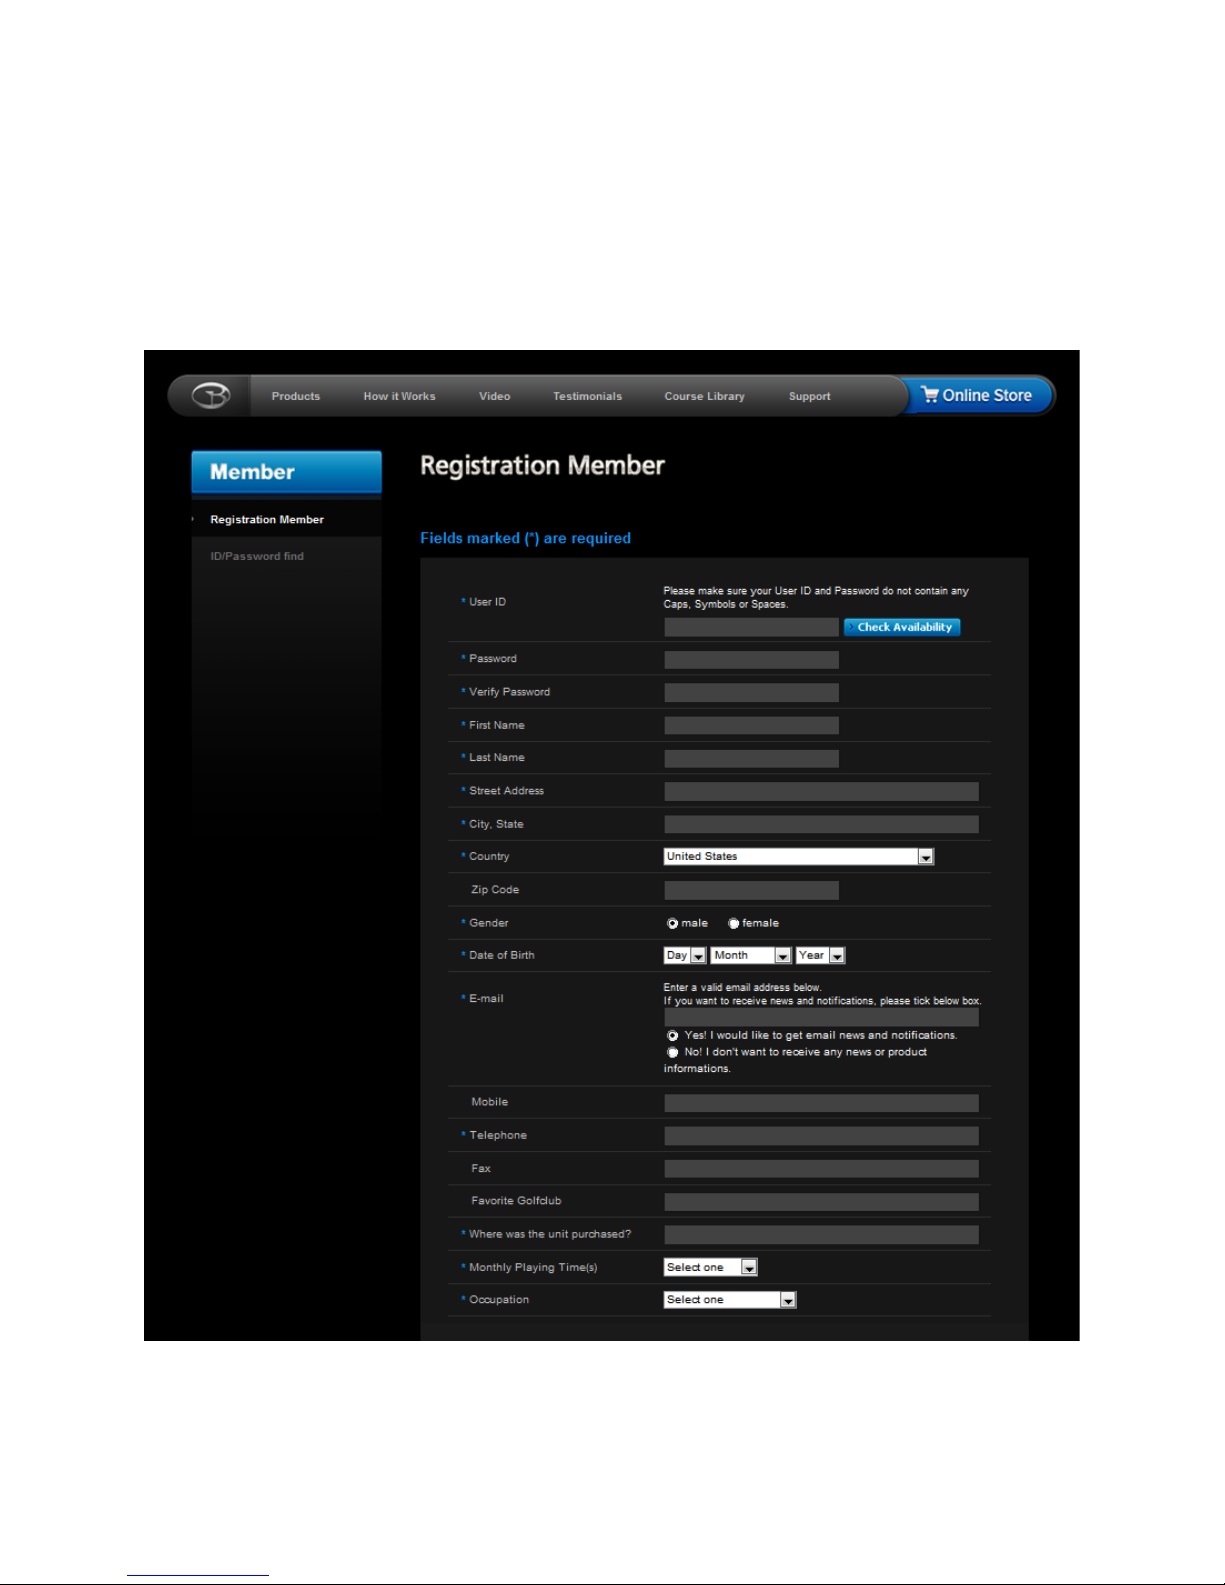
2.4 After you have clicked on the Sign Up button, your internet browser will open up and take you to the
registration screen on your internet browser (fig. 2.4). Fill out all of the required information to complete the process
and click submit.
Note: Please be sure to click the blue tab labeled Check Availability next to the User ID blank to check if the User
ID you have chosen has not already been taken.
Please make sure to refrain from using any punctuation marks on the registration form.
(fig 2.4)
 Loading...