

goldstein E201, E202, E541, E542 Installation Procedures Manual
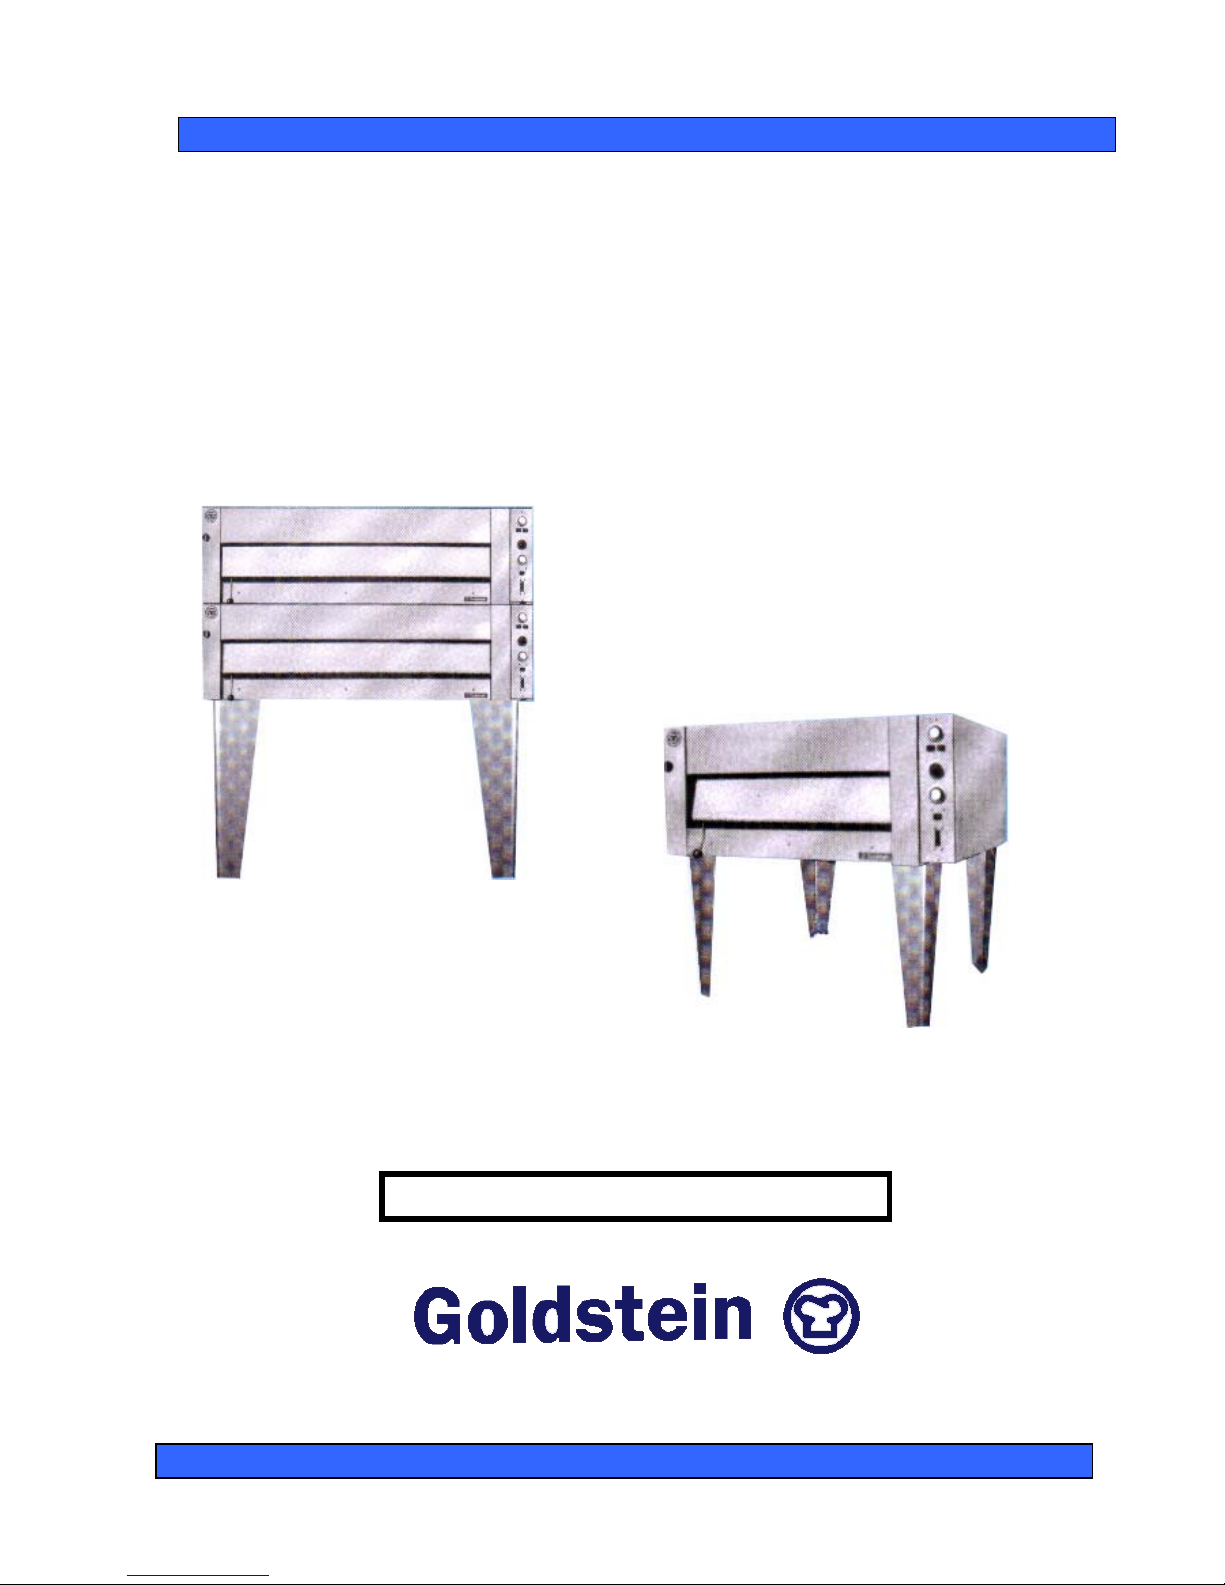
ELECTRIC BAKE AND PIZZA OVEN
PROUDLY AUSTRALIAN MADE
INSTALLATION PROCEDURE – USER MANUAL
SERVICE INSTRUCTION
MODELS E-201, E-541 AND MULTIPLES
E-542
E-201
ELECTRICAL APPROVAL CS 365
ESTABLISHED 1911
The Cooking Equipment Professionals
www.goldsteineswood.com.au
TABLE OF CONTENTS
1. INTRODUCTION Page 3
2. COMMISSIONING Page 4
3. INSTALLATION Page 5
4. OPERATING INSTRUCTIONS Page 6
5. CLEANING & SERVICING Page 7
6. WIRING DIAGRAM E-201 Page 8
7. WIRING DIAGRAM E-541 Page 9
8. DRAWINGS Page 10
9. SPARE PARTS Page 11
10. WARRANTY Page 12
11. BRANCHES Page 13
IM010B1/p2

1. INTRODUCTION
Congratulations for purchasing your Goldstein commercial cooking appliance.
J. Goldstein & Co. is a wholly owned Australian company and has been
operating since 1911, building high quality products. The information in this
manual will assist your installer and ensure correct location and connection.
Thoroughly read the user instructions and the user maintenance sections, as
understanding your products, its operation, and its cleaning and service
requirements will provide you with long and satisfactory service. Failure to do
so could shorten the life of the product and decrease its efficiency. Please
ensure only authorised service technicians are called to any difficulties that
may arise.
INTRODUCTION
GOLDSTEIN ELECTRIC BAKE & PIZZA OVEN
MODELS E-201, E-541, AND MULTIPLES
GOLDSTEIN ELECTRIC BAKE AND PIZZA OVENS are designed to give long and
satisfactory service and incorporate the best possible materials and workmanship.
Proper installation, adjustment and preventative maintenance are vitally important if
efficiency and appearance are to be maintained.
Read these instructions carefully as they contain important safety information
regarding the installation, use and maintenance of the appliance.
RECEIVING INSPECTION
•
Check crates for handling damage. After carefully uncrating, check for
“concealed” damage. Report any damage immediately to carrier and to dealer.
•
Remove check all loose items from unit and check contents as found on back of
warranty cards.
“THE EQUIPMENT MUST BE INSTALLED BY A
LICENSED ELECTRICIAN”
IM010B1/p3
2. COMMISSIONING
COMMISSIONING APPLIANCE – DETAILS, TESTING, CHECKING PRESSURE
ETC.
COMMISSIONING CHECK LIST
1. CHECK FOR DAMAGE AND MISSING PARTS ON BACK OF WARRANTY
CARD.
2. REMOVE ALL PLASTIC COATING FROM S/STEEL PANELS.
3. MAKE SURE ALL PARTS ARE IN THEIR CORRECT POSITION E.G.
TRAYS CONTROL KNOBS.
4. MAKE SURE ALL GAS CONNECTIONS ARE CORRECT AND TIGHT.
5. LEVEL OFF UNIT LEFT TO RIGHT AND FRONT TO BACK.
6. TURN ON ELECTRICITY.
7. TURN ON ONE AT A TIME TO MAKE SURE ALL IS WORKING E.G.
BURNER, RADIANT, GRIDDLE AND OVEN.
8. SHOW CUSTOMER
A) HOW TO WORK EQUIPMENT
B) HOW TO CLEAN
C) HOW TO PULL IT APART E.G. TRAYS.
D) ALSO WHAT NOT TO DO, E.G. GREASE AND OIL IN CONTROLS.
9. CHECK TO MAKE SURE MANUALS AND WARRANTY CARD IS THERE.
ALSO GO THROUGH MANUAL WITH CUSTOMER
NOTE:
WASH HOSES SHOULD NEVER BE USED ON THE APPLIANCE.
USE OF HOSES WILL VOID WARRANTY.
IM010B1/p4
 Loading...