

Goldstain FRG-1, FRG-2, FRG-24, FRG-48, FRG-72 Installation Procedures Manual
...
GAS FRYERS
PROUDLY AUSTRALIAN MADE
INSTALLATION PROCEDURE – USER MANUAL
SERVICE INSTRUCTION
MODELS FRG-1,2,3 – FRG-24,48,72
GAS APPROVAL NO. 2149/SC333
ESTABLISHED 1911
The Cooking Equipment Professionals
www.goldsteineswood.com.au

TABLE OF CONTENTS
1. INTRODUCTION Page 3
2. INSTALLATION Page 4 & 5
3. COMMISSIONING Page 6
4. OPERATING INSTRUCTIONS Page 7-8 & 9
5. LIGHTING INSTRUCTIONS Page 10
6. DRAINING & FILTERING INSTRUCTIONS Page 11 & 12
7. TECHNICAL DATA Page 13
8. SERVICING Page 14 & 15
9. TROUBLE SHOOTING Page 16-17 & 18
10. WIRING DIAGRAM Page 19
11. CONTROLS Page 20
12. DRAWINGS Page 21 & 22
13. SPARE PARTS Page 23 & 24
14. WARRANTY Page 25
15. BRANCHES Page 26
IM011B2/p2
1
. INTRODUCTION
Congratulations for purchasing your Goldstein commercial cooking appliance.
J. Goldstein & Co. is a wholly owned Australian company and has been
operating since 1911, building high quality products. The information in this
manual will assist your installer and ensure correct location and connection.
Thoroughly read the user instructions and the user maintenance sections, as
understanding your products, its operation, and its cleaning and service
requirements will provide you with long and satisfactory service. Failure to do
so could shorten the life of the product and decrease its efficiency. Please
ensure only authorised service technicians are called to any difficulties that
may arise.
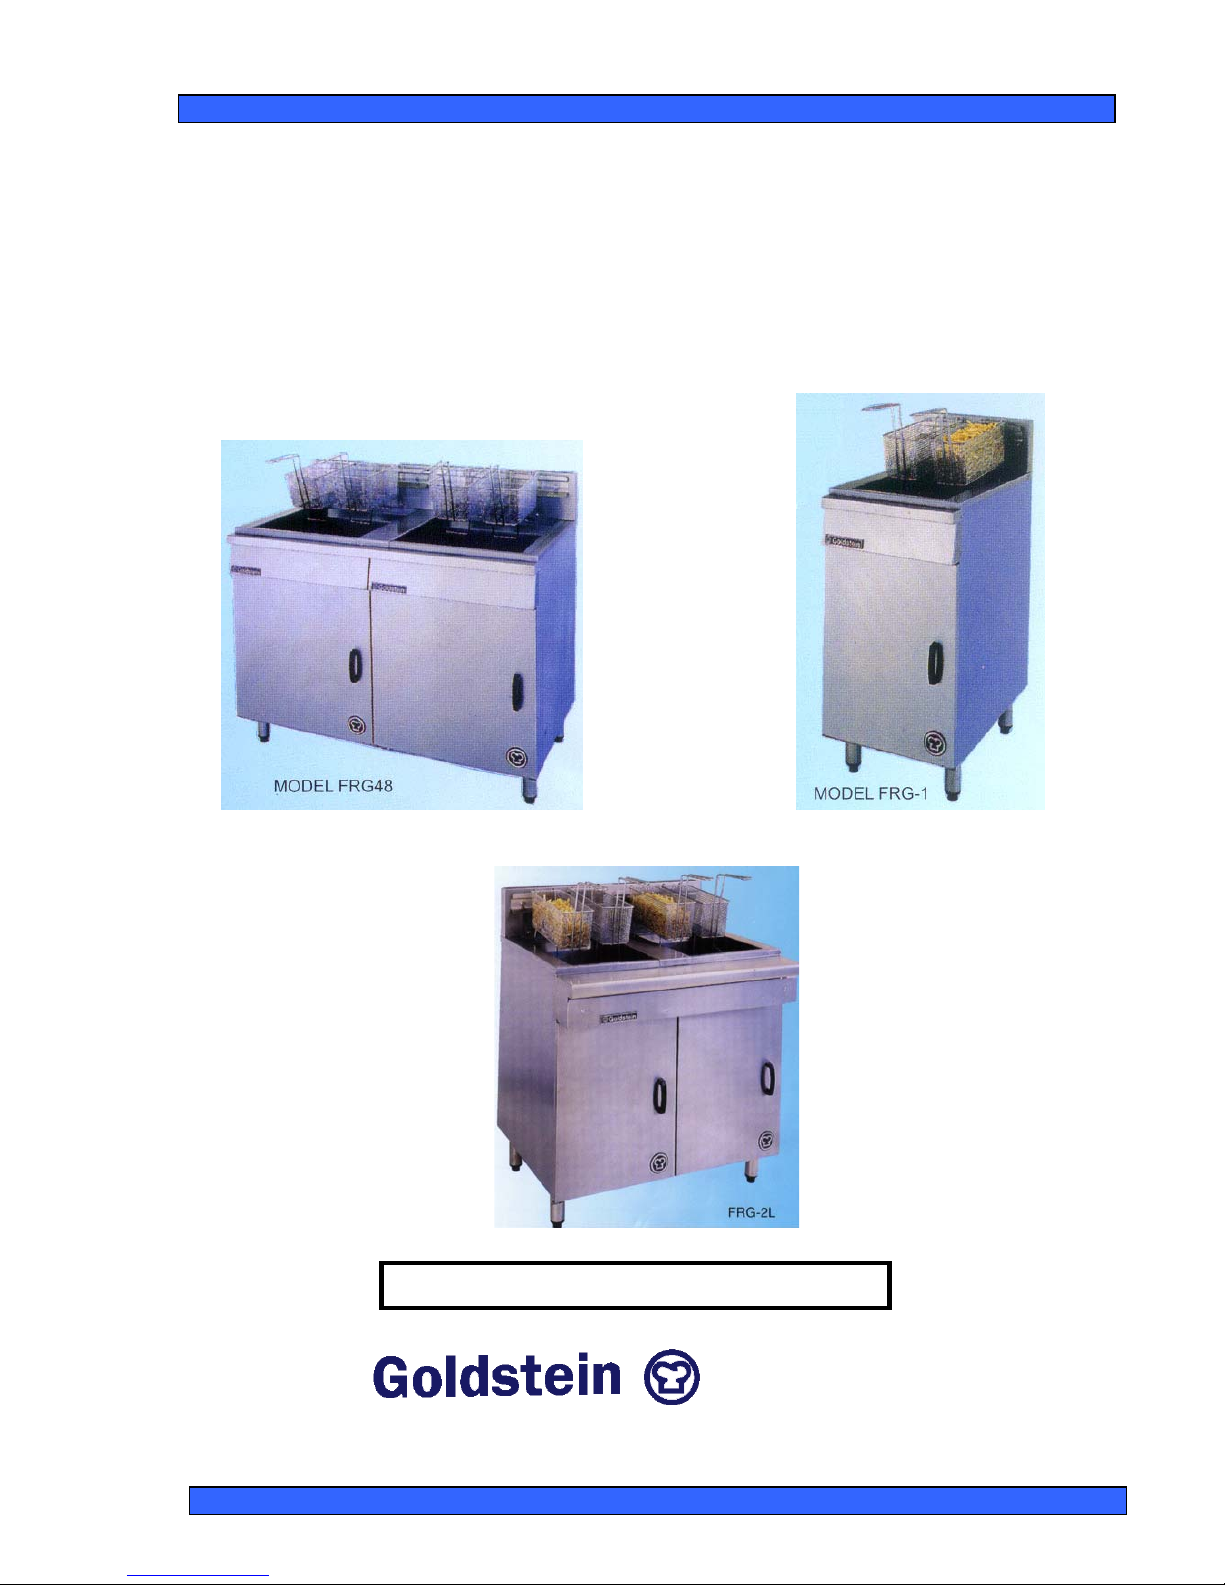
INTRODUCTION
GOLDSTEIN DEEP WELL GAS RESTAURANT FRYER
MODELS FRG-1,2,3 - FRG-24,48,72
GOLDSTEIN FRYERS are designed to give long and satisfactory service and
incorporate the best possible materials and workmanship. Proper
installation, adjustment and preventative maintenance are vitally important if
efficiency and appearance are to be maintained.
A freestanding 1,2, or 3 deep well automatically controlled gas-operated fryer.
The fryer is mounted on 4 legs with a clearance from floor of 152mm. The
fryer is equipped with a splash back incorporating a top venting flue outlet.
Pan outer case and outer surround of stainless steel, cooking pan of mild
steel, sand blast finish.
Read these instructions carefully as they contain important safety information
regarding the installation, use and maintenance of the appliance.
OIL TEMPERATURE
Keep the oil temperature in the fryer to a maximum of 190ºC. Higher temperatures
will cause rapid breakdown of the oil and give you no faster cooking.
At 205ºC to 210ºC the life of the oil is only one third of its life at 190ºC. In addition
increased decomposition causes the oil to smoke badly even if the temperature is
lowered to 190ºC again.
High temperatures give you no advantage, cost you money and increase the fire
danger.
“THE EQUIPMENT MUST BE INSTALLED BY A
LICENSED GASFITTER
IM011B2/p3

2. INSTALLATION
RECEIVING INSPECTION – PRE-INSTALLATION
•
Check crates for handling damage. After carefully uncrating, check for
“concealed” damage. Report any damage immediately to carrier and to dealer.
•
Remove and check all loose items as found on back of Warranty Card.
•
Check type and capacity of gas supply.
•
The type of gas for which this fryer is factory adjusted can be seen on
the rating plate, located on the inside of the door.
PRE-INSTALLATION OF THE FRYER
•
Check that there is sufficient clearance between doors and passageways to
move equipment into the cooking area.
•
Check the rating plate to ensure appliance is suitable for the gas supply to which
it will be connected and for information relative to gas input pressure and
consumption.
•
SPECIAL attention must be paid to fire hazards from combustible surfaces.
•
REGULATOR (The fryer gas control incorporates a regulator so no regulator is
required to be connected into the supply line, unless supply gas pressure is
greater than 3.45 Kpa).
Assemble legs to fryer
Tilt fryer to rear and screw in 2 legs supplied. Tilt fryer to front then screw legs into
rear. The Fryer should be levelled left to right with a 3mm fall to the front.
Ventilation
Adequate ventilation must be provided, preferably by a hood with vent and exhaust
fan. Never make a direct connection between the flue of the appliance and the vent
flue. Refer AS 5601/AG601 Gas Installation Code.
INSTALLATION
NOTE:
The appliance must be installed by an authorised person and in accordance
with the regulations of the local Gas Authority, AS5601/AG601 and any other
authority having jurisdiction. The appliance has been tested and preset
before leaving our factory, but small adjustments may be necessary to suit
local conditions.
Correct operation of the appliance must be tested as part of the installation
procedure.
IM011B2/p4
2. INSTALLATION Cont’d
Please follow these instructions carefully
1. Set unit in desired position. If rear wall is of combustible material ensure
there is a minimum distance of 100mm between the back of the unit and the
wall.
2. Adjust feet till they are all touching the floor and using a spirit level from front
to rear and left to right. This operation is important as a floor variation of
25mm to 75mm in a floor is found to be not uncommon.
NOTE: The above levelling procedure is critical for the fryer to work
according to the manufacturers specifications.
3. Have a licensed gas fitter or your Gas Company connect the appliance to the
mains supply. The fitting is 25mm BSP at the line
up manifold and 19mm
BSP for rear gas entry. The appliance must be installed in accordance
with the rules of any authority having jurisdiction.
CAUTION
NEVER ALLOW BURNER TO OPERATE WITH FRYPOT EMPTY
THIS DAMAGES THE FRYPOT AND VOIDS WARRANTY
DO NOT TURN ON MAIN BURNER UNLESS THE OIL IS FILLED
TO THE CORRECT OIL LEVEL MARKED AT THE REAR OF PAN.
IF SOLID SHORTENING IS USED, BE CERTAIN SHORTENING IS
PRE-MELTED, OR AT LEAST TIGHTLY PACKED AGAINST THE
PAN SURFACE DIRECTLY ABOVE THE BURNER FLAME AND
TURN MAIN BURNER OFF IMMEDIATELY IF FAT BEGINS TO
SMOKE WHILE MELTING
NOTICE
PLEASE RETURN YOUR WARRANTY CARD
FAILURE TO DO SO WILL VOID WARRANTY
ON THE EQUIPMENT
IM011B2/p5
3. COMMISSIONING
COMMISSIONING APPLIANCE – DETAILS, TESTING, CHECKING
PRESSURE ETC.
COMMISSIONING CHECK LIST
1. CHECK FOR DAMAGE AND MISSING PARTS.
2. REMOVE ALL PLASTIC COATING FROM S/STEEL PANELS.
3. MAKE SURE ALL PARTS ARE IN THEIR CORRECT POSITION E.G.
TRAYS BURNERS KNOBS.
4. MAKE SURE ALL ELECTRIC AND GAS CONNECTIONS ARE CORRECT
AND TIGHT.
5. LEVEL OFF UNIT LEFT TO RIGHT AND ALSO MAKE SURE THAT FRONT
IS JUST 3-4 MM LOWER TO ALLOW FOR FLUING.
6. TURN ON GAS OR ELECTRICITY.
7. ADJUST GAS PRESSURE WITH THREE-QUARTERS OF THE UNIT
RUNNING, ADJUST GAS PRESSYRE.
NATURAL GAS 1.00 KPA
LPG 2.75 KPA
8. TURN ON ONE AT A TIME TO MAKE SURE ALL IS WORKING E.G.
BURNER, RADIANT, GRIDDLE AND OVEN.
9. SHOW CUSTOMER
A) HOW TO WORK EQUIPMENT
B) HOW TO CLEAN
C) HOW TO PULL IT APART E.G. TRAYS, TRIVETS.
D) ALSO WHAT NOT TO DO, E.G. WATER WITH ELECTRICAL,
GREASE AND OIL IN CONTROLS.
10. CHECK TO MAKE SURE MANUALS AND WARRANTY CARDS ARE
THERE.
ALSO GO THROUGH MANUAL WITH CUSTOMER E.G. LIGHTING,
CLEANING.
NOTE
WASH HOSES SHOULD NEVER BE USED ON THE APPLIANCE.
USE OF HOSES WILL VOID WARRANTY
IM011B12p6
4. OPERATING INSTRUCTIONS
1 OPERATING BEFORE FIRST USE
Clean protective oil from bright parts and interior of pan with a solution of washing
soda or other grease dissolving material. Drain through valve in bottom then rinse
thoroughly. (Note: It must be completely rinsed out for even a small particle of
cleaner in the pan will ruin the cooking medium). Also clean baskets and strainer.
Test all gas connections for leaks.
2. FILLING
Fill pan to level indicated on back of pan. The FRG-1 size fryer takes approximately
20.8 Kgs of oil. It is a good idea to dip out several cupfuls of oil from your pan each
day and add fresh oil to replace it. This keeps acid content down and the oil will last
much longer. The oil dipped out can be used for general-purpose work and is not
wasted. Do not overfill your fryer pan. Overfilling causes “foam over” and messy
frying conditions. The FRG-1 takes approx. 30 litres of oil. The FRG-24 takes
approx. 40 litres.
3. CLEANING
Your fryer pan deserves the same care you give your cooking pots. It should
be kept clean and bright. Oil in deep well fryer is a food and should be
handled with care.
DAILY OPERATION
OPENING:
At opening time, always visually check the fryer for:
a) Combination or main gas valve “off”
b) To light the fryer, see Page 17 or on back of door.
GENERAL USE OF THE FRYER:
a) For consistent product quality, convenience and long-term savings, use a
high quality liquid frying compound.
b) If using solid shortening, never attempt to melt a block of shortening by
setting it on base of Fryer Tank. This is inefficient, dangerous and will cause
damage to the frying vessel.
c) Temperature of frying compound. Although 180 degrees is the usual
temperature recommended for most cooking operations, frying should be
carried out a lowest temperature, which will produce a high quality end
product while ensuring maximum life of the frying compound. When the fryer
is not in use, the temperature controller or operating thermostat should be set
lower than that used during cooking. Light loads, too, may be cooked at
lower temperatures. A good operator will experiment to determine the best
temperature and load conditions for the various foods to be cooked.
IM011B2/p7
4. OPERATING INSTRUCTIONS Cont’d
GENERAL USE OF THE FRYER cont’d
d. Salting. Operators sometimes salt the food over the frying vessel. This
practice should be avoided
, as salt deteriorates the frying compound quickly
and flavours everything being cooked, not just the batch being salted.
FILTERING
The frying compound should be filtered at least daily, or even more frequently if
cooking is heavy. This assures the longest life possible for the frying compound
gives a better taste to the food being prepared and minimizes flavours being
transferred from batch to batch.
When completing a filter cycle, always close the return valve(s) at the fryer (s) to
avoid siphoning oil out of the fryer into the filter and open the valve at the filter to
promote draining of the return lines into the filter pan.
If using solid shortening, always make sure he return lines are clear before turning
off the filter motor and hang any flexible lines up to drain. Solid shortening will
solidify as it cools and clog the lines.
CLOSING
When closing at night, filter the oil in all fryers and drain the filter lines. Cover the
open tanks of oil. Turn the power switch on the fryer panel “off” and turn the control
knob on the combination gas valve to “off”.
SHUT DOWN
When shutting down for longer than just overnight, drain the frying compound clean
the vessel thoroughly, either discard the frying compound or return it filtered to the
vessel and then cover it.
Turn the manual off/on valve on the incoming service line ”off”
CLEANING AND MAINTENANCE
GENERAL
Any piece of equipment works better and lasts longer when maintained properly and
kept clean. Cooking equipment is no exception. Your “Cool Zone” Deep Fat Fryer
must be kept clean during the working day and thoroughly cleaned at the end of
each day.
DAILY
a) Remove and wash all removable parts.
b) Clean all exterior surfaces of the body. Do not use cleansers, steel wool, or
any other abrasive material on stainless steel.
c) Filter the cooking oil and replace if necessary. The oil should be filtered more
often than daily under heavy use.
IM011B2/p8
 Loading...