

Page 1
Part No. 44162
Revised: June 2006
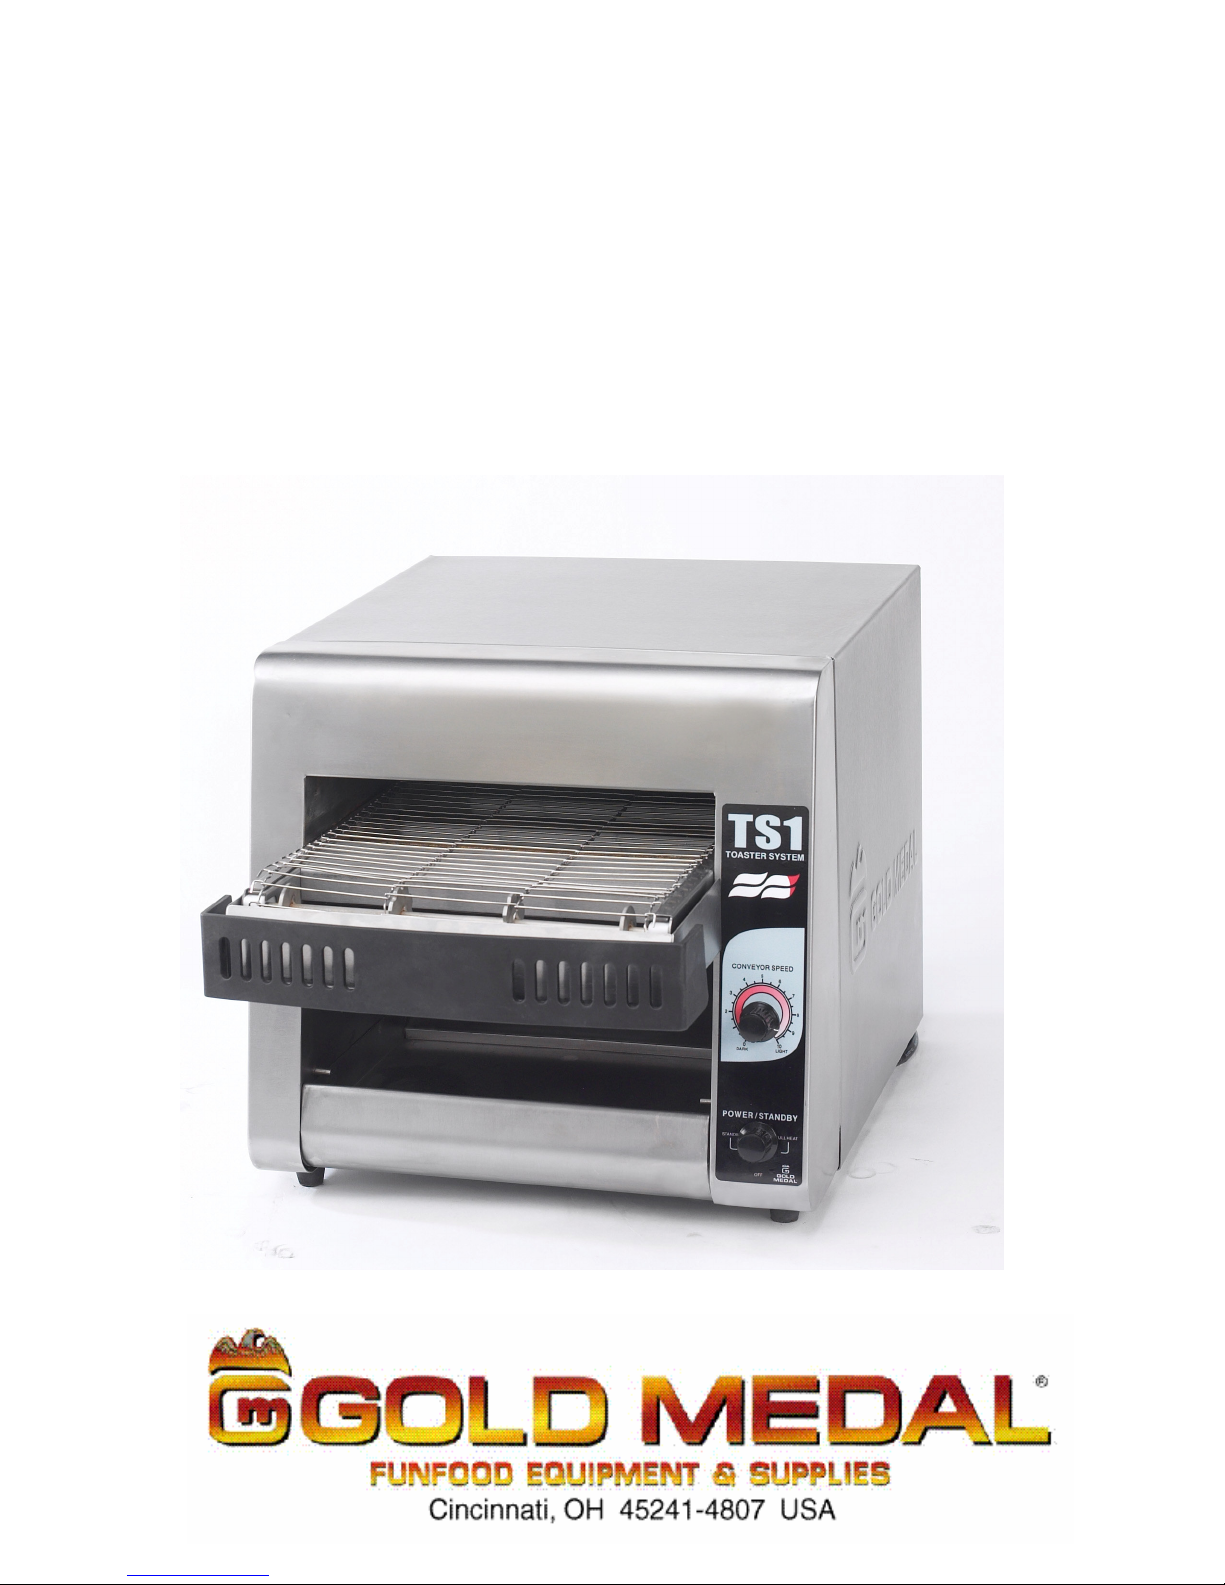
TS1 TOASTER SYSTEM
Instruction Manual
Models # 5700 AND # 5700SF
Page 2
__________________________________________________________________________Toaster Oven System
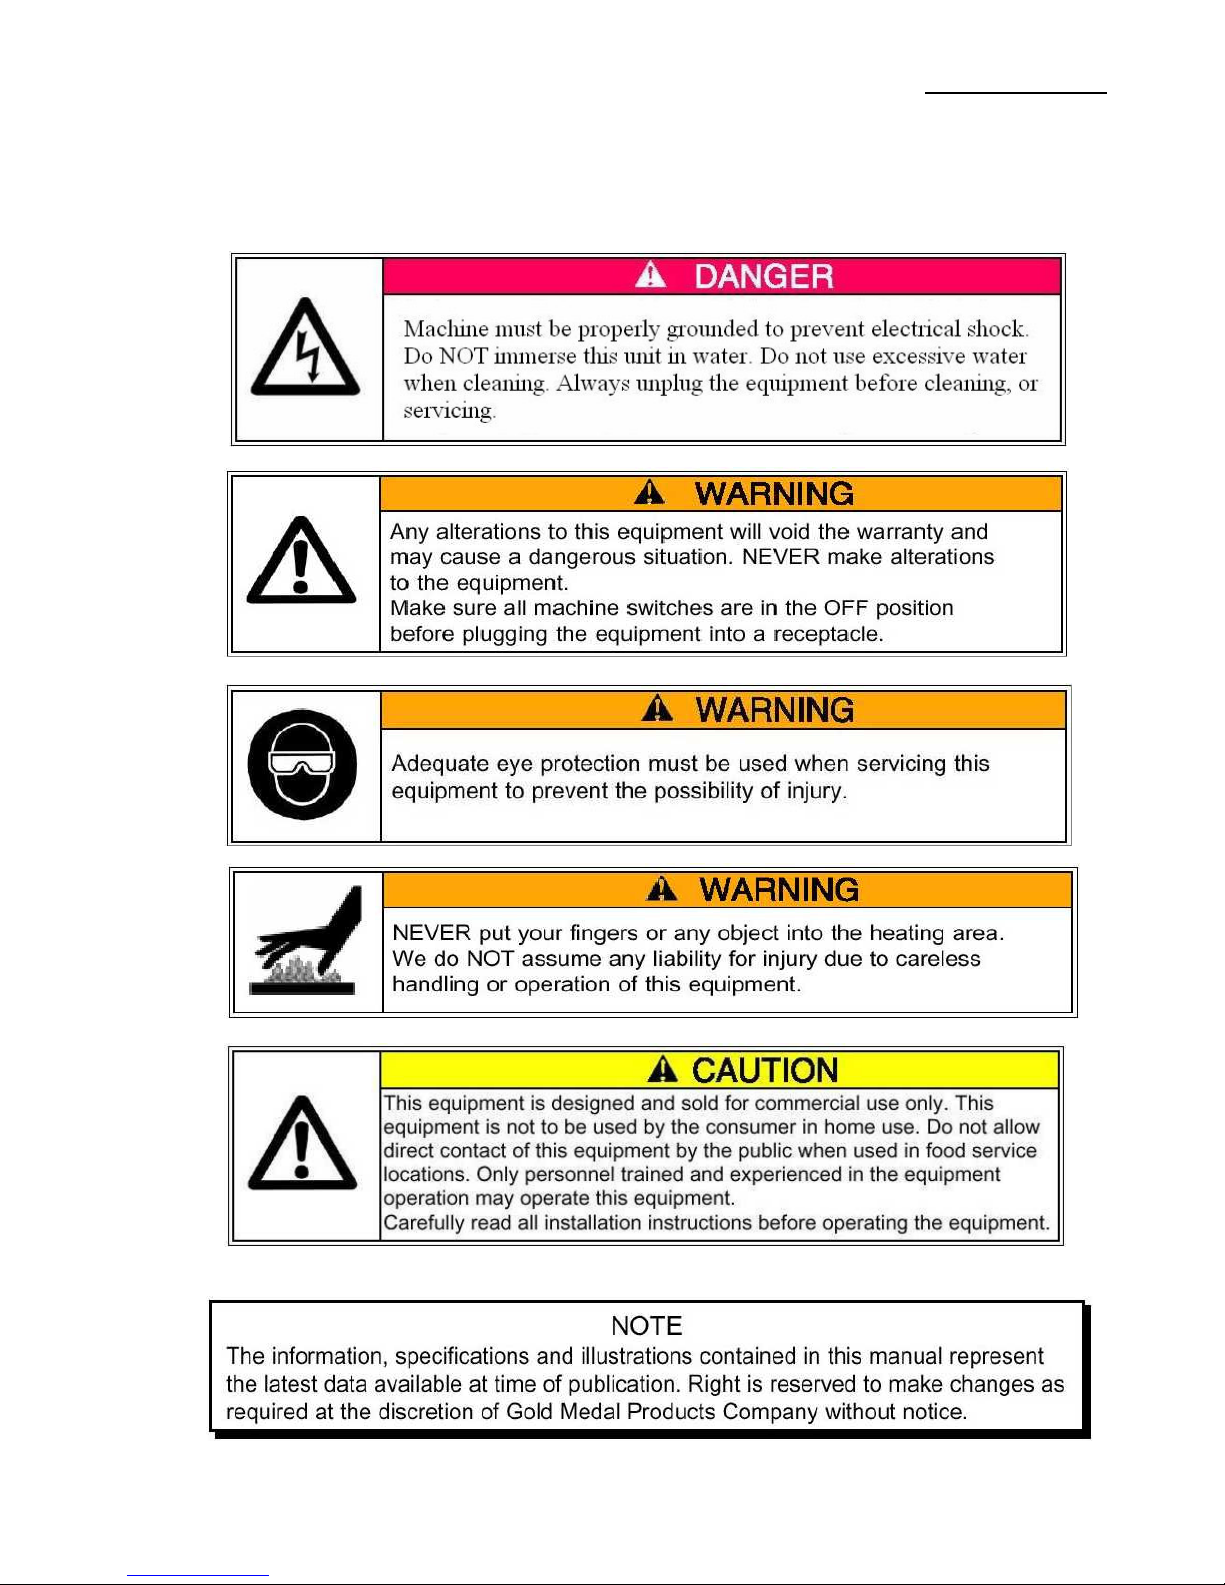
SAFETY PRECAUTIONS
Model # 5700 & # 5700SF
2
Page 3
__________________________________________________________________________Toaster Oven System
TOASTER SYSTEM INSTALLATION
CHECKING SHIPMENT
Unpack the unit from the shipping container and check thoroughly for any damage which may
have occurred in transit. Any claims should be filed immediately with the transportation
company.
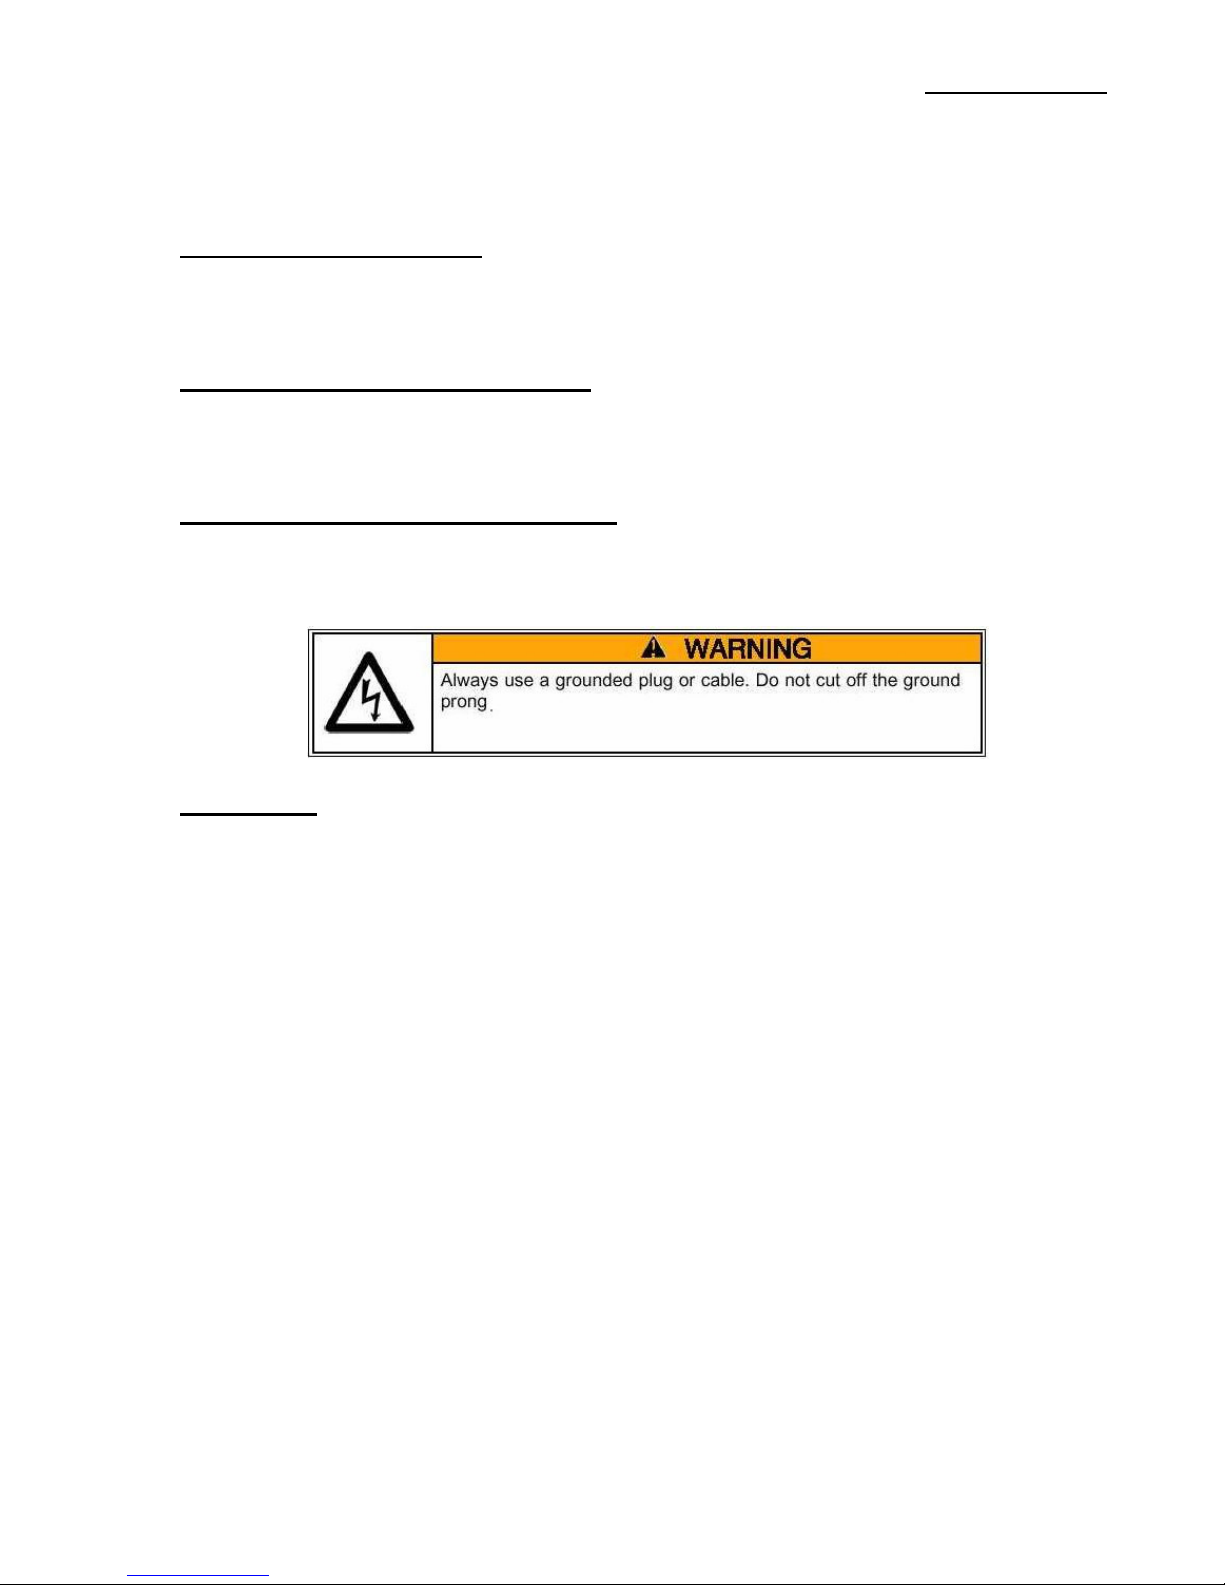
ELECTRICAL REQUIREMENTS
Voltage for your toaster is 120 Volt, 60 Cycle, single phase. The 5700 will draw a maximum of
13.7 amps. Your electrician must furnish sufficient current for the proper operation of your
machine. We recommend that this machine be installed on a dedicated 15 amp line.
ASSEMBLY AND INSTALLATION
The unit is shipped completely assembled and ready to be plugged in to an outlet specified for
the electrical requirements.
CAUTION:
Allow space around toaster for adequate ventilation.
Do NOT operate unit without crumb tray installed.
Model # 5700 & # 5700SF
3
Page 4

__________________________________________________________________________Toaster Oven System
OPERATING INSTRUCTIONS
CONTROLS AND THEIR FUNCTIONS
ROTARY POWER SWITCH
Your toaster is equipped with a power saving feature.
Turn the power control switch clockwise or counter clockwise to the following positions:
FULL POWER
This is the normal operating mode, the equipment is at full power and ready to use.
OFF
Two off positions are provided, rotate to this position to is to turn the unit off.
STANDBY
When selecting this position, the unit will reduce the power consumption by 75%. Set the unit to
this position, when not in heavy use. This will save power, and keep the unit warm. When ready
to operate, select the FULL POWER setting. Allow the unit to warm up for 30 seconds before
operating.
COOKING
1. Turn the power switch to FULL POWER
2. Set the conveyor speed.
3. Allow toaster system to warm up 5 to 10 minutes
If toasting is too light, turn conveyor speed control counterclockwise to slow down conveyor.
If toasting is too dark, turn conveyor speed control clockwise to a faster speed.
DAILY OPERATION
Check the power cord to insure unit is plugged into the proper specified outlet.
Set the power switch to desired setting.
Allow 5-10 minutes for the unit to preheat on initial startup before operating.
OPERATING HINTS
Turn the power switch to the OFF position at the end of every day of operation.
Do not leave the unit in operation unattended.
Turn Power Saver Switch to Standby mode during idle periods.
Model # 5700 & # 5700SF
4
Page 5
__________________________________________________________________________Toaster Oven System
CLEANING
To keep your toaster in top operating condition, the following steps should be performed daily or
weekly as indicated.
1. Turn power switch to the OFF position. Disconnect unit from power source.
2. On a cool unit, remove crumb tray and clean, slide clean crumb tray back into place.
3. Wipe down exterior of unit
4. Areas inside of toaster, wipe with damp cloth.
5. Clean air intake on bottom of unit
6. Conveyors belts that are lightly soiled, turn conveyor speed to fastest speed setting and
wipe with a damp cloth (daily). For heavy soiled conveyor belts, turn conveyor speed to
fastest setting, with crumb tray installed, wipe with abrasive pad (as needed).
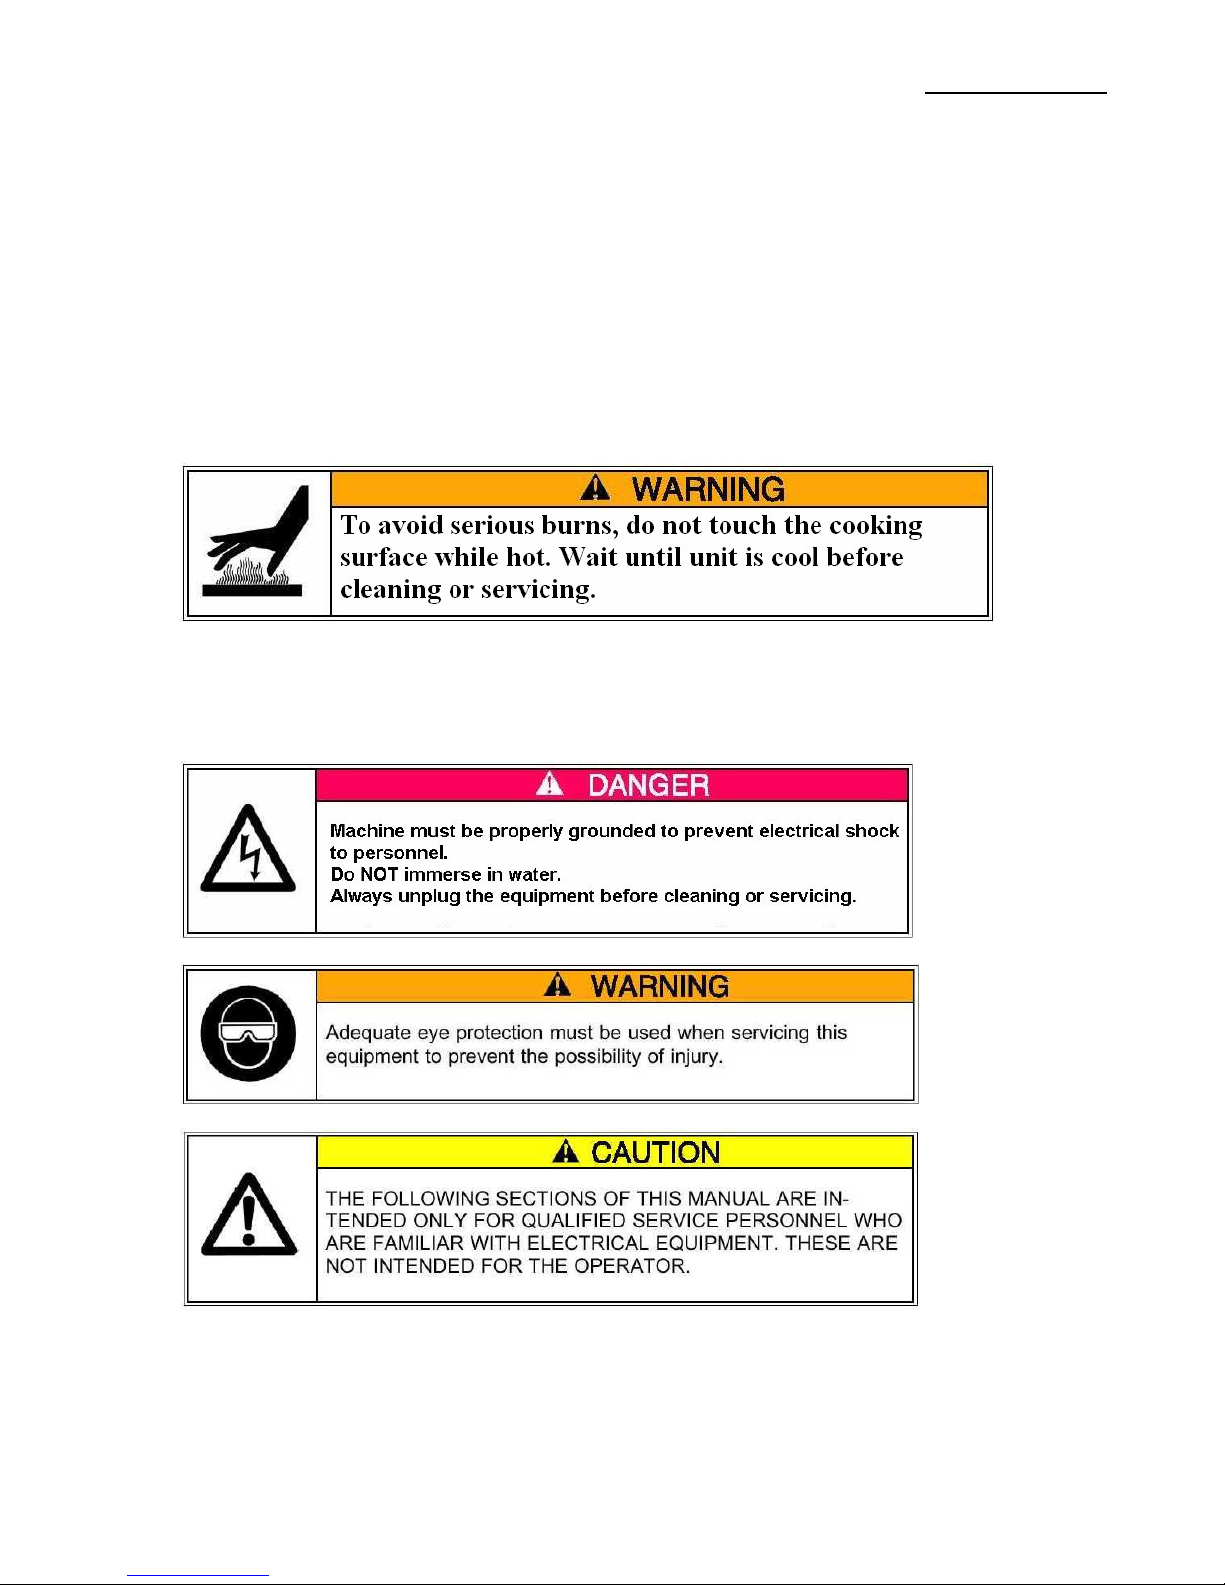
MAINTENANCE
Model # 5700 & # 5700SF
5
Page 6

__________________________________________________________________________Toaster Oven System
REPLACING HEATER TUBES
1. Disconnect unit from power supply.
2. Remove the outer wrapper, by removing the screws in the back of the unit. Once screws
are removed, lift the wrapper back up first, and pull lower sides of unit apart. Slide
wrapper away toward back of unit.
3. Remove heater tube wires from terminal blocks,
4. Loosen heater locking retainer screws, and slide plate to allow heaters to be removed.
5. Gently remove heater.
6. Install new heater.
7. Slide heater locking retainer to reposition heater tube in center of openings. Tighten
screws.
8. Connect heater tube wire terminals to correct location, per wiring diagram.
9. Re-install the outer wrapper.
10. Connect the unit to a power supply, and test to confirm unit is reaching optimum
temperature.
REPLACING FAN MOTOR
1. Disconnect unit from power supply.
2. Remove the outer wrapper, by removing the screws in the back of the unit. Once screws
are removed, lift the wrapper back up first, and pull lower sides of unit apart. Slide
wrapper away toward back of unit.
3. Remove the outer wrapper and back panel.
4. Unplug power supply cord from fan motor.
5. Remove (4) screws which hold fan motor and grill to bottom of unit and remove fan.
6. Install motor and grill, tighten screws
7. Replace back panel and outer wrapper.
REPLACING CONVEYOR BELT DRIVE MOTOR
1. Disconnect unit from power supply.
2. Remove the outer wrapper, by removing the screws in the back of the unit. Once screws
are removed, lift the wrapper back up first, and pull lower sides of unit apart. Slide
wrapper away toward back of unit.
3. Remove sprocket from motor, using Allen wrench and loosen set screw.
4. Remove the wires from terminal blocks.
5. Remove screws holding motor in place.
6. Install new motor
7. Replace sprocket on motor shaft. Note: the sprockets should line up flush with each
other.
8. Slide motor to tension chain, so the chain has ¼” slack when lightly pushed at the cener
of the chain.
9. Tighten screws to secure motor.
10. Connect wires per wiring diagram.
11. Replace back panel and outer wrapper.
CLEANING AIR INTAKE
1. Disconnect unit from power supply.
2. Place unit on back side.
3. Use a vacuum cleaner and a damp cloth to clean air intake. (weekly)
Model # 5700 & # 5700SF
6
Page 7

__________________________________________________________________________Toaster Oven System
LUBRICATE CHAIN AND SPROCKET
1. Disconnect unit from power supply.
2. Remove the outer wrapper, by removing the screws in the back of the unit. Once screws
are removed, lift the wrapper back up first, and pull lower sides of unit apart. Slide
wrapper away toward back of unit.
3. Use an extreme pressure synthetic chain lubricant with a temperature range up to 400
deg. F.
4. Apply liberally to chain and sprockets.
5. Replace back panel and wrapper.
TROUBLESHOOTING GUIDE
UNIT WILL NOT HEAT, CONVETOR BELT NOT MOVING
1. Check circuit breaker, and power supply.
2. Check make sure plugged in, and power control is turned to the ON position.
3. Call Gold Medal Technical Support.
UNIT HAS HEAT ONLY ON ONE SIDE, CONVEYOR BELT TURNS NORMALLY
1. Heat element may need to be replaced.
2. Call Gold Medal Technical Support.
UNIT HAS HEAT, CONVEYOR BELT WILL NOT OPERATE
1. Check for mechanical binding.
2. Remove the outer wrapper, by removing the screws in the back of the unit. Once screws
are removed, lift the wrapper back up first, and pull lower sides of unit apart. Slide
wrapper away toward back of unit.
3. Loosen screws holding motor in place.
4. Slide motor up, remove chain from sprockets.
5. Move the conveyor by hand, to check for binding.
6. If conveyor rotates freely, call Gold Medal Technical Support, motor or speed control
may need to be replaced.
7. Disconnect from power source. Heat element may need to be replaced.
8. Replace back panel and outer wrapper
9. Call Gold Medal Technical Support.
CONVEYOR BELT ROTATES AT ONE SPEED REGUARDLESS OF SETTING.
1. Speed control may need replacing.
2. Call Gold Medal Technical Support.
PRODUCT STICKING TO CONVEYOR OR SLIDE
1. Toast products that are refrigerated or room temperature.
2. Do not put butter or butter substituted product in the toaster.
3. Follow cleaning procedure.
4. Call Gold Medal Technical Support.
Model # 5700 & # 5700SF
7
Page 8

__________________________________________________________________________Toaster Oven System
ORDERING SPARE PARTS
1. Identify the desired part by checking it against the photos, illustrations, and/or the parts list.
2. When ordering, please include part number, part name, and quantity desired.
3. Please include your model name and machine serial number (located on the machine
nameplate) with your order.
Address all parts orders to:
Parts Department
Gold Medal Products Co.
10700 Medallion Drive
Cincinnati, Ohio 45241-4807
or, place orders at:
(513) 769-7676
(800) 543-0862
Fax: (513) 769-8500
E-Mail – info@gmpopcorn.com
14
13
Model # 5700 & # 5700SF
10
8
Page 9

__________________________________________________________________________Toaster Oven System
17
19
23
14
8
Model # 5700 & # 5700SF
9
Page 10

__________________________________________________________________________Toaster Oven System
2
4
5
Model # 5700 & # 5700SF
10
Page 11

__________________________________________________________________________Toaster Oven System
6
6
26
28
Model # 5700 & # 5700SF
11
Page 12

__________________________________________________________________________Toaster Oven System
15
7
3
27
12
29
22
Model # 5700 & # 5700SF
12
Page 13

__________________________________________________________________________Toaster Oven System
11
25
Model # 5700 & # 5700SF
13
Page 14

__________________________________________________________________________Toaster Oven System
PARTS LIST – TOASTER OVEN
Model # 5700
Item # Part # Description Qty.
1 22038 Lead-in Cord 1
2 44107 Heater Assembly 4
3 44109 Bearing Assembly 2
4 44110 Drive Assembly Rear 1
5 44113 Heater Lock 2
6 44114 Drive Chain 1
7 44115 Fan Blower 1
8 44116 Heat Shield Top 1
9 44117 Crumb Tray 1
10 44118 Crumb Tray Shield (plastic) 1
11 44119 Belt Conveyor –wire type 1
12 44120 Heater Shield Assembly 1
13 44122 Wrapper Outer Shell 1
14 44123 Tray Bottom Assembly 1
15 44145 Motor Conveyor Drive 1
16 44147 Speed Control 1
17 44148 Decal Front Face 1
18 44130 Slider Holder Conveyor 2
19 44131 Bearing Slider Conveyor (plastic) 2
20 44161 Feet 4
21 44162 Manual 1
22 79058 High Limit Thermostat 1
23 44165 Knob Assembly 2
Model # 5700 & # 5700SF
24 44166 Nameplate Label 1
25 44132 Drive Assembly Front 1
26 44168 Terminal Block (5 pin) 1
27 44169 Terminal Block (2 pin) 1
28 44170 Option Cover 1
29 44111 Panel Inside Top 1
14
Page 15

__________________________________________________________________________Toaster Oven System
Electrical Schematic
Model # 5700 & # 5700SF
15
Page 16

__________________________________________________________________________Toaster Oven System
WARRANTY
WE WARRANT to the original purchaser the Gold Medal equipment sold by us to
be free from defects in material or workmanship under normal use and service. Our
obligation under this warranty shall be limited to the repair or replacement of any
defective part for a period of six (6) months from the date of sale to the Original
Purchaser with regard to labor and two (2) years with regard to parts and does not
cover damage to the equipment caused by accident, alteration, improper use, voltage,
abuse, or failure to follow instructions.
THIS WARRANTY IS IN LIEU OF ALL OTHER WARRANTIES EXPRESSED
OR IMPLIED, AND OF ALL OTHER OBLIGATIONS OR LIABILITIES ON OUR
PART, INCLUDING THE IMPLIED WARRANTY OF MERCHANTIBILITY.
THERE ARE NO WARRANTIES WHICH EXTEND BEYOND THE DESCRIPTION
ON THE FACE HEREOF. We neither assume, nor authorize any other person
to assume for us, any other obligation or liability in connection with the sale of said
GOLD MEDAL equipment or any part thereof.
The term “Original Purchaser” as used in this warranty shall be deemed to mean that
person, firm, association, or corporation who was billed by the GOLD MEDAL
PRODUCTS COMPANY, or their authorized distributor for the equipment.
THIS WARRANTY HAS NO EFFECT AND IS VOID UNLESS THE ORIGINAL
PURCHASER FIRST CALLS GOLD MEDAL PRODUCTS COMPANY AT 1-800543-0862 TO DISCUSS WITH OUR SERVICE REPRESENTATIVE THE
EQUIPMENT
PROBLEM, AND, IF NECESSARY, FOR INSTRUCTIONS CONCERNING
THE REPAIR OR REPLACEMENT OF PARTS.
NOTE: This equipment is manufactured and sold for commercial use only.
GOLD MEDAL PRODUCTS COMPANY
10700 Medallion Drive
Cincinnati, Ohio 45241-4807 USA
www.gmpopcorn.com
Phone: 1-800-543-0862
Fax: 1-800-542-1496
Model # 5700 & # 5700SF
16
 Loading...