

Page 1
Part No. 12666
Revised: June 2009
Midori Sno-King
Instruction Manual
Model #1888W
Cincinnati, OH 45241-4807 USA
Page 2
Sno-King
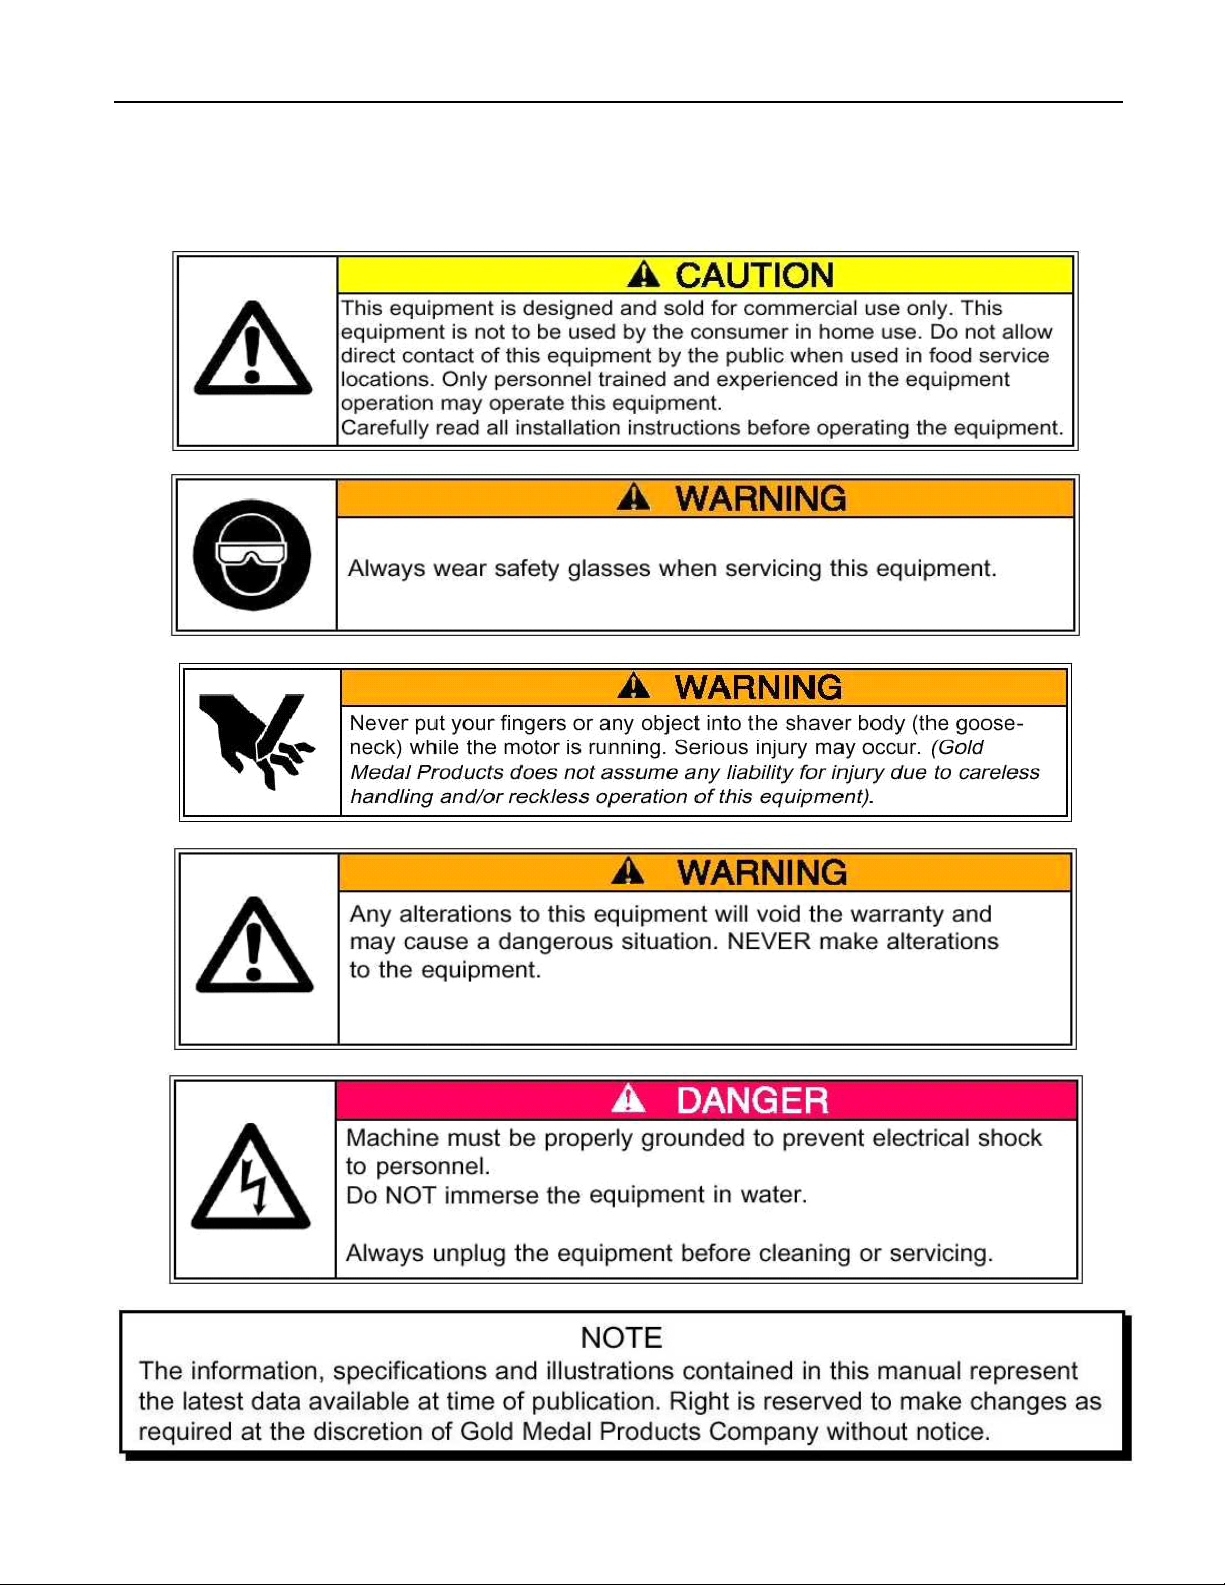
Sa fety P rec a ution s
2
All Models #1888
Page 3
Sno-King
Forward
This manual covers the Midori Sno-King Ice Shaver Machine, model number 1888W.
Installation Instructions
Inspection of Shipment:
Unpack all cartons and check thoroughly for any damage that may have occurred during transit.
Damage claims should be filed immediately with the transportation company. Gold Medal is not
responsible for damage that occurs in transit.
Setup:
Your new Midori Sno-King Ice Shaver Machine is assembled and tested at the factory.
Remove all packing material and tape before starting operation.
Electrical Requirements:
The following power supply must be provided:
Model No. 1888W: 120 VAC, 60 Hz. 972 Watts 8.1 Amps
.
Your electrician must furnish sufficient current for proper machine operation. We recommend this ice
shaver machine be on a dedicated and circuit protected line. Failure to wire properly will void the
warranty and can result in damage to the heat elements, light, motor and etc.
It is Gold Medal Products Company’s recommendation that this machine be plugged directly into a
wall outlet. The use of extension cords is not recommended due to safety risks1
and the popper’s performance will be sacrificed/reduced.
Before You Plug In Machine:
1. Make sure that the wall outlet can accept the three (3) prong grounded plug on the power supply
cord.
2. The wall outlet must have the proper polarity. If in doubt, have a competent electrician inspect the
outlet and correct if necessary.
3. DO NOT use a three (3) prong grounded to two (2) prong un-grounded adapter.
3
All Models #1888
Page 4

Sno-King
Machine Operation
Ice Requirements
The Midori Sno-King can use small or medium ice cubes approximately 2 to 3 inches in size.
NOTE: The ice will not enter the shaving chute if the pieces are too large.
Operating the Sno-King
1. Turn power on.
2. Raise hopper lid.
3. Fill hopper with Ice.
4. Close lid.
5. Press momentary switch to shave.
NOTE:
Never allow any foreign or metallic objects around the shaver area of the Sno-King. Ice picks,
scoops, and other miscellaneous debris that may be in the ice can often damage blades.
Harder ice will result in finer snow, while soft ice will result in coarser snow.
4
All Models #1888
Page 5

Sno-King
Installing New Shaving Blades
Inspect your equipment before replacing the blades. With the POWER switch OFF and the machine
unplugged, use a flashlight to examine the blades in the shaver body. If the blades appear to be nicked
or bent, then the blades should be replaced.
Follow this procedure:
1. Unplug the main power supply cord from the electrical outlet.
2. Remove the shaver head from the motor shaft by loosening the Allen head set screws
between the motor and the hopper.
3. Remove the shaver head. Pull the shaver head off of the motor shaft and through the
hopper. If the shaver head is frozen onto the shaft, remove the hold down bolts on the
motor. Pull the motor back, trapping the shaver head against the inside of the hopper,
until the shaver head disengages.
4. After removing the shaver head, check the motor shaft for burrs and corrosion. Use a fine
tooth file to remove the burrs and corrosion.
5. Remove the blades from the shaver head. These blades may be re-sharpened, but it is
far better to replace the old blades with a new set.
6. Position the new blades and insert screws until they are finger tight.
7. Set the blade thickness equal to a dime. (See illustration below.) Make sure that the
height is even across the shaver head.
8. Tighten the blade screws completely. Check the blades again with a dime to ensure the
blades did not move while tightening the screws.
9. Replace the motor and shaver head. Mount the motor using the hold down bolts. Insert
the shaver head through the hopper and onto the motor shaft. Press the shaver head
onto the motor shaft with the pusher handle, then move the shaver head in another 1/8".
Check that the shaver head is not rubbing against the back of the hopper and the blades
are not touching the pusher handle.
10. Replace the set screws between the hopper and the motor.
NOTE: Replace any shims that were between the motor base and the mounting surface.
SET TOP OF BLADE
FLUSH WITH HEIGHT
GAGE, AS SHOWN
SHAVER HEAD
BLADE MOUNTING SCREW
HEIGHT GAGE
(USE A DIME)
SHAVER BLADE
5
All Models #1888
Page 6

Sno-King
MAINTENANCE INSTRUCTIONS
6
All Models #1888
Page 7

Sno-King
ORDERING SPARE PARTS
1. Identify the needed part by checking it against the photos, illustrations, and/or the parts list.
2. When ordering, please include part number, part name, and quantity needed.
3. Please include the machine’s model name, serial number, and date of manufacture (located on the
machine nameplate) with your order.
4. Address all parts orders to:
Parts Department
Gold Medal Products Co.
10700 Medallion Drive
Cincinnati, Ohio 45241-4807
(800) 543-0862
(513) 769-7676
Fax: (513) 769-8500
E-mail: info@gmpopcorn.com
or, place orders at:
Web Page: www.gmpopcorn.com
7
All Models #1888
Page 8

Sno-King
r
#1888W ASSEMBLY
Moto
p/n 12456
Front Panel
p/n 12698GSP
Drain Fitting
p/n 12668
Midori Rack
p/n 67921
Side Panel
p/n 12648G
Fan Grate
p/n 74746
Lead-In Cord
p/n 22038
8
All Models #1888
Page 9

Sno-King
Cover Plate
p/n 22709
Momentary Switch
p/n 38971
Warning Label
p/n 44019
Switch, Lighted Rocker
p/n 42798
Door
p/n 1889
Sno-Kone Tray
p/n 1076W
9
All Models #1888
Page 10

Sno-King
SHAVER HEAD - 22015
Set Screw 1/4 -20 X 3/8
Shaver Head
p/n 22015
p/n 74125
Blade Assembly
p/n 22018
10
All Models #1888
Page 11

Sno-King
ELECTRICAL SCHEMATIC
MODEL #1888
11
All Models #1888
Page 12

Sno-King
WARRANTY
WE WAR RANT to the ori ginal purcha ser t he Gold Medal equ i pmen t sold by us to
be free from defects in material or workmanship under normal use and service. Our
obligation under this warranty shall be limited to the repair or replacement of any
defective part for a period of six (6) months from the date of sale to the O riginal
Purchaser with regard to labor an d two (2) years with regard to parts and does not
cover damage to the equipment caused by accident, alteration, improper use, voltage,
abuse, or failure to follow instructions.
TH I S WARRANTY I S IN LI EU O F AL L OTHER WARRA N TI E S EXPRE S SED
OR IMPL IE D, AN D OF ALL OTHE R OBLI GATI O NS OR L I AB IL I TIES ON OUR
PART, INCLUDING THE IMPLIED WARR ANTY OF MERCHANTIBILITY.
THERE ARE NO WARRANTIES WHICH EXTEND BEYOND THE DESCRIPTION
© The text, descriptions, graphics and other material in this publication are the proprietary and
exclusive property of Gold Medal Products Company and shall not be used, copied, reproduced,
reprinted or published in any fashion, including website display, without its express written
consent.
ON THE FACE HE REOF. We nei t he r ass um e , nor a ut ho ri ze any othe r per s on
to assume for u s, any other obligation or liability in connection with the sale of said
GOLD MEDAL equi pmen t or any part thereof.
The term “O r igi nal Purcha ser ” as used in this warran t y shall be deemed to mean that
person, firm, association, or corporati on who was billed by the GOLD MEDAL
PRO DU CTS COMPANY, or their au thoriz ed distributor for the equipment.
TH IS WARRANTY HAS NO EF FE C T AND IS VO I D UN LE S S TH E ORIG I N AL
PURCHASER FIRST CALLS GOLD MEDAL PRODUCTS COMPANY AT 1-800543-0862 TO DISCUSS WITH OUR SERVICE REPRESENTATIVE THE
EQ UIPME NT P RO BL EM, AND, I F NECE SS ARY, FO R IN S TR UC TI O NS
CO NC ERNING TH E REPAI R OR R EPLA C EMENT OF P ARTS.
NOT E: This equipment is manu factured and sold for commercial use onl y.
G OLD MEDAL PRODUCTS COMPANY
10700 Medallion Drive
Cincinnat i , Ohio 45 241-4807 USA
www.gmpopcorn.com
info@gmpopcorn.com
Phone: 1-800-543-0862
Fax: 1-800-542-1496
12
All Models #1888
 Loading...