

Gold Medal Econo-Floss, Floss-Maxx, 3017, 3017SR, 3017SS Instruction Manual
...
Econo
-
Floss
Floss
-
Maxx
Instruction Manual
and
Model No. 3017, 3017SR, 3017SS, 3077 and 3077C
Part No. 42131
10700 Medallion Drive, Cincinnati, Ohio 45241-4807 USA
Econo-Floss Model No. 3017, 3017SR, 3017SS,
Floss-Maxx 3077, and 3077C
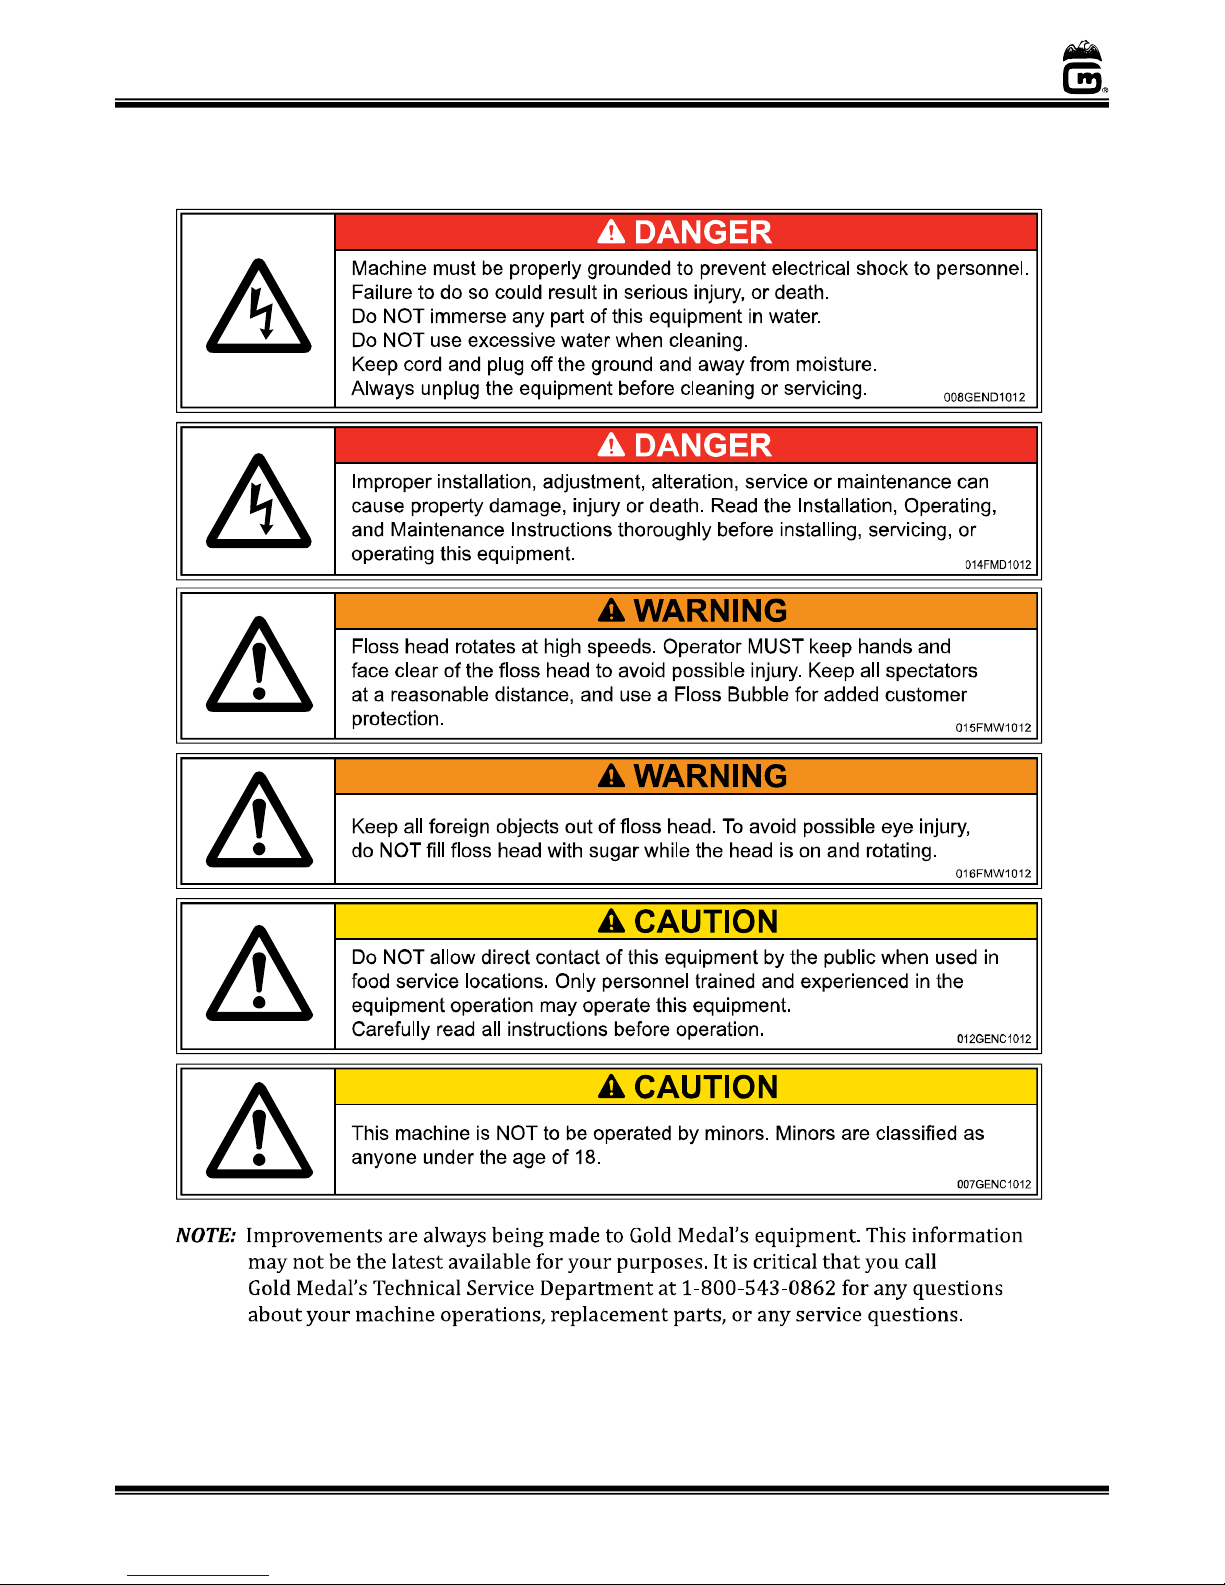
SAFETY PRECAUTIONS
Page 2
www.gmpopcorn.com

Econo-Floss Model No. 3017, 3017SR, 3017SS,
Shipping Bracket
Bell Housing
Floss
Ribbon seen
Floss-Maxx 3077, and 3077C
INSTALLATION INSTRUCTIONS
Inspection of Shipment
After unpacking, check thoroughly for any damage which may have occurred in transit. Claims
should be filed immediately with the transportation company. The warranty does not cover
damage that occurs in transit, or damage caused by abuse, or consequential damage due to the
operation of this machine, since it is beyond our control.
Setup
Your new floss machine unit is completely assembled and tested at the factory. Remove all
packing material and tape before starting operation.
1. Lower the shipping bracket so the bell housing "floats" freely on the springs. Unscrew
and push down the two knobs on each side of the cabinet top to lower the shipping
bracket completely.
2. Make sure the floss ribbon(s) (heating element) located inside the head assembly has
not shaken out of the band during transportation. If the ribbon is out of the band, push
it back into place manually, before plugging in machine.
Band
Page 3
Correctly Sitting in
the Bands
www.gmpopcorn.com
 Loading...