

Page 1
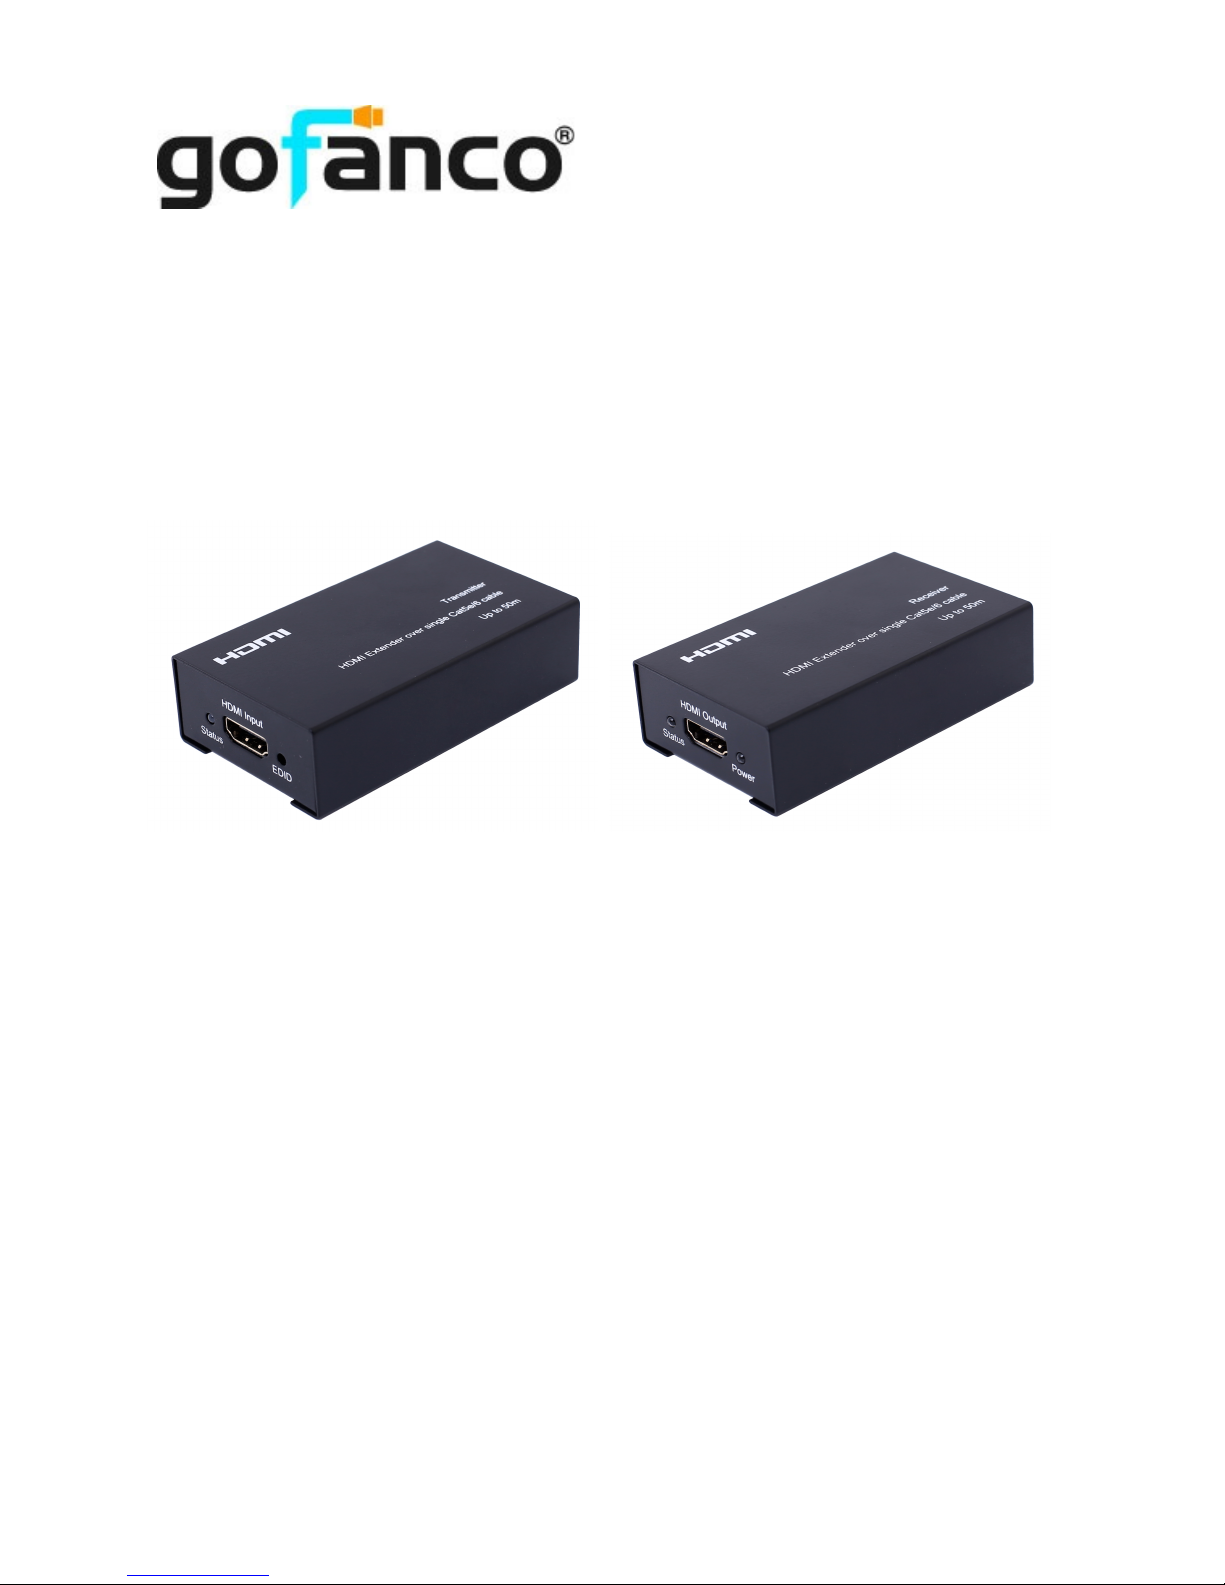
50m HDMI Extender over Single Cat5e/6
with 3D Support
User Manual
P/N: HDExt
G4-0032A
Page 2

Thank you for purchasing from gofanco. Our products aim to meet all your
connectivity needs wherever you go. For optimum performance and safety, please
read the instructions carefully and keep this User's Guide for future reference. If you
need more information about our products, please visit www.gofanco.com. For
technical support, please email us at [email protected]. For drivers/manuals
download, please go to http://www.gofanco.com/download.
IMPORTANT SAFETY NOTICES
Please read safety instructions carefully before installation and operation.
Please pay close attention to all warnings and hints for this device
Do not expose this unit to rain, heavy moisture, or liquid
Do not put any items into the device or attempt to modify its operation
Do not repair the device or open the enclosure without professional
guidance to avoid electric shocks. Doing so may void your warranty
Keep the product well-ventilated to avoid damage from overheating
Shut off power and make sure environment is safe before installation
Do not insert or remove the HDMI cables when the device is in use to
avoid cable damage. Make sure they are plugged into the correct
ports.
Use the included power adapters only. Make sure the specifications
match if using 3rd-party DC power adapters
2
Page 3

TABLE OF CONTENTS
Introduction .......................................................……....... 4
Features............................................................……….... 4
Package Contents..............................................………… 5
Installation Requirements..............................………........ 5
Product Description............................................………… 6
Hardware Installation ........................................……….... 8
Connection Diagram .........................................………… 9
Specifications ............................................…………….... 10
3
Page 4
Page 5

PACKAGE CONTENTS
The following items are necessary for the correct setup, use, and
maintenance of your HDMI extender:
●
HDMI Transmitter (1 piece)
●
HDMI Receiver (1 piece)
●
Power adapters (2 pieces)
●
User’s Manual (1 piece, this document)
●
Mounting ears (4) & screws (8)
If any of these items is missing, please contact either
gofanco or your vendor.
INSTALLATION REQUIREMENTS
1) HDMI source device (computer, DVD player, game console,
etc. . .)
2) HDMI display device (SDTV/Monitor, HDTV/Monitor,
projector, etc. . .)
3)
CAT5e/6 cable terminated at both ends with an RJ45
connector
5
Page 6
PRODUCT DESCRIPTION
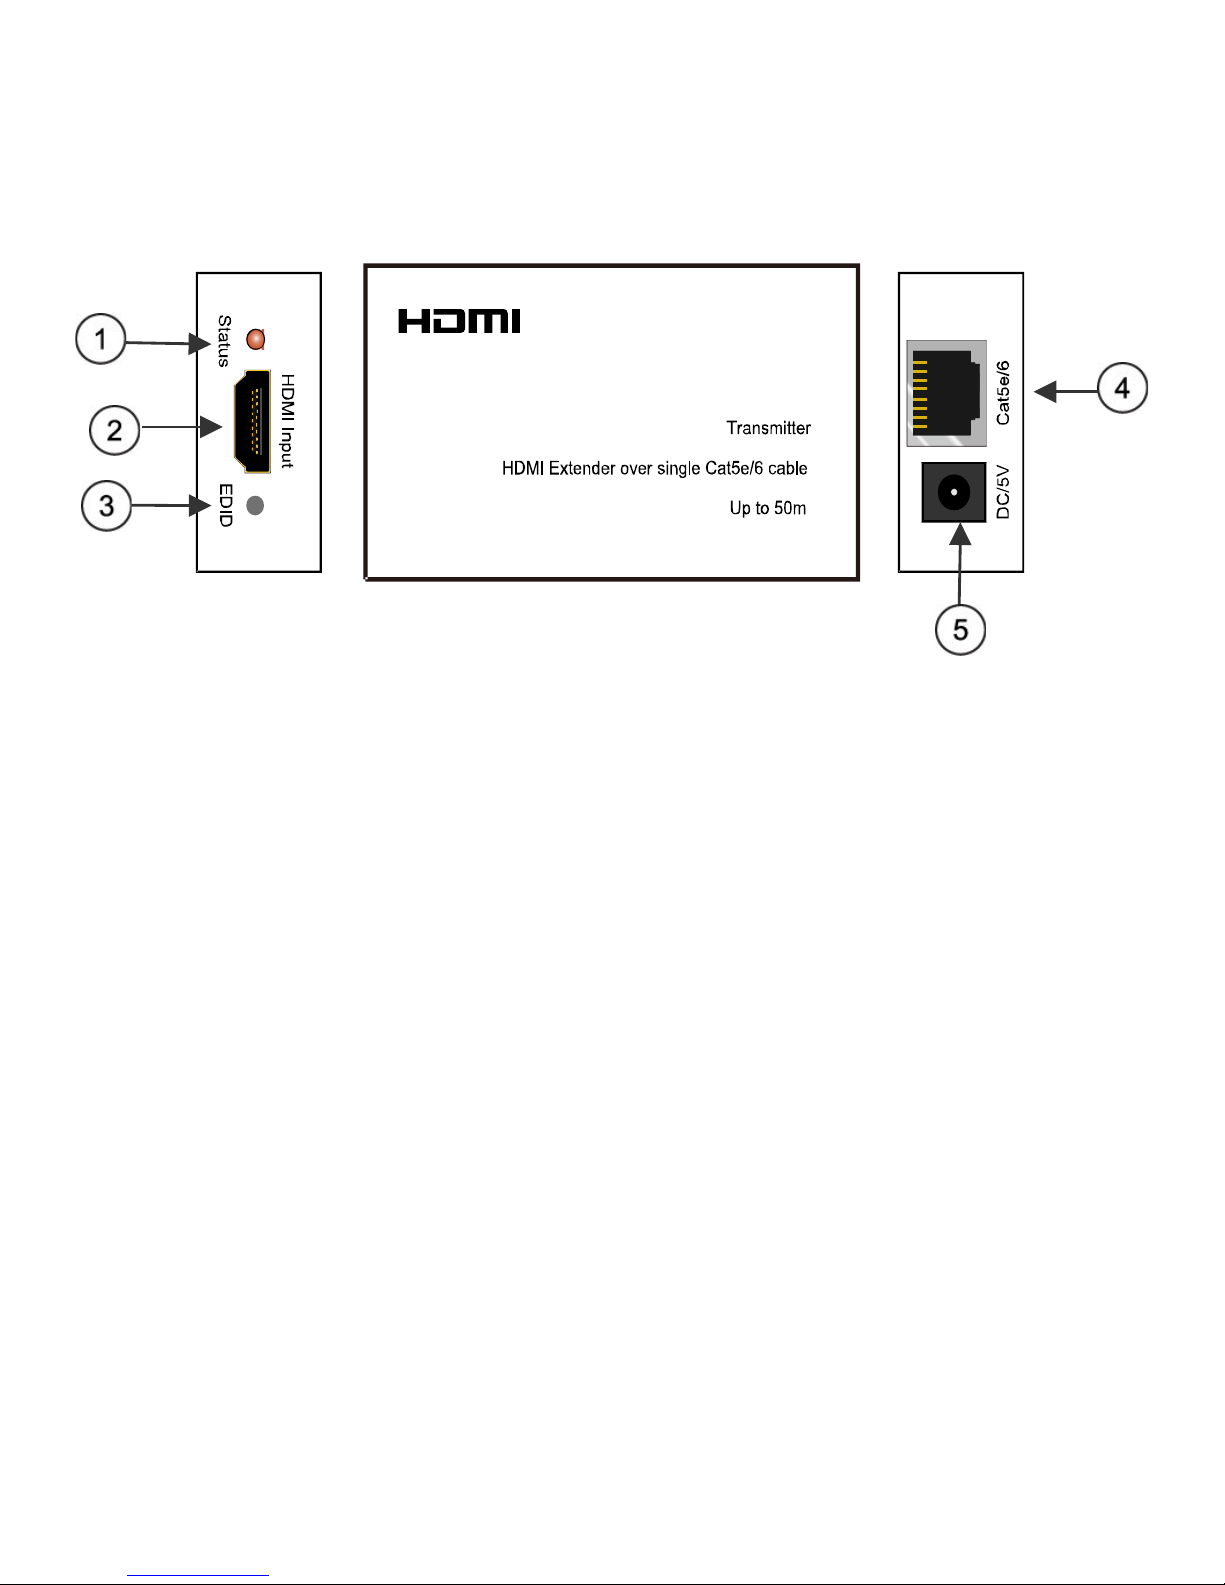
Transmitter Unit
1)
Status LED: Indicates the state of the signal connection
2)
HDMI input port: Receives the HDMI signal to be
transmitted
3)
EDID copy button: Retrieves the EDID information from
the display
4)
CAT-5e/6 output: Connect one end of the Cat5e/6 cable to
this port
5)
Power input: This is where the transmitter receives power
from the 5V DC power supply
6
Page 7
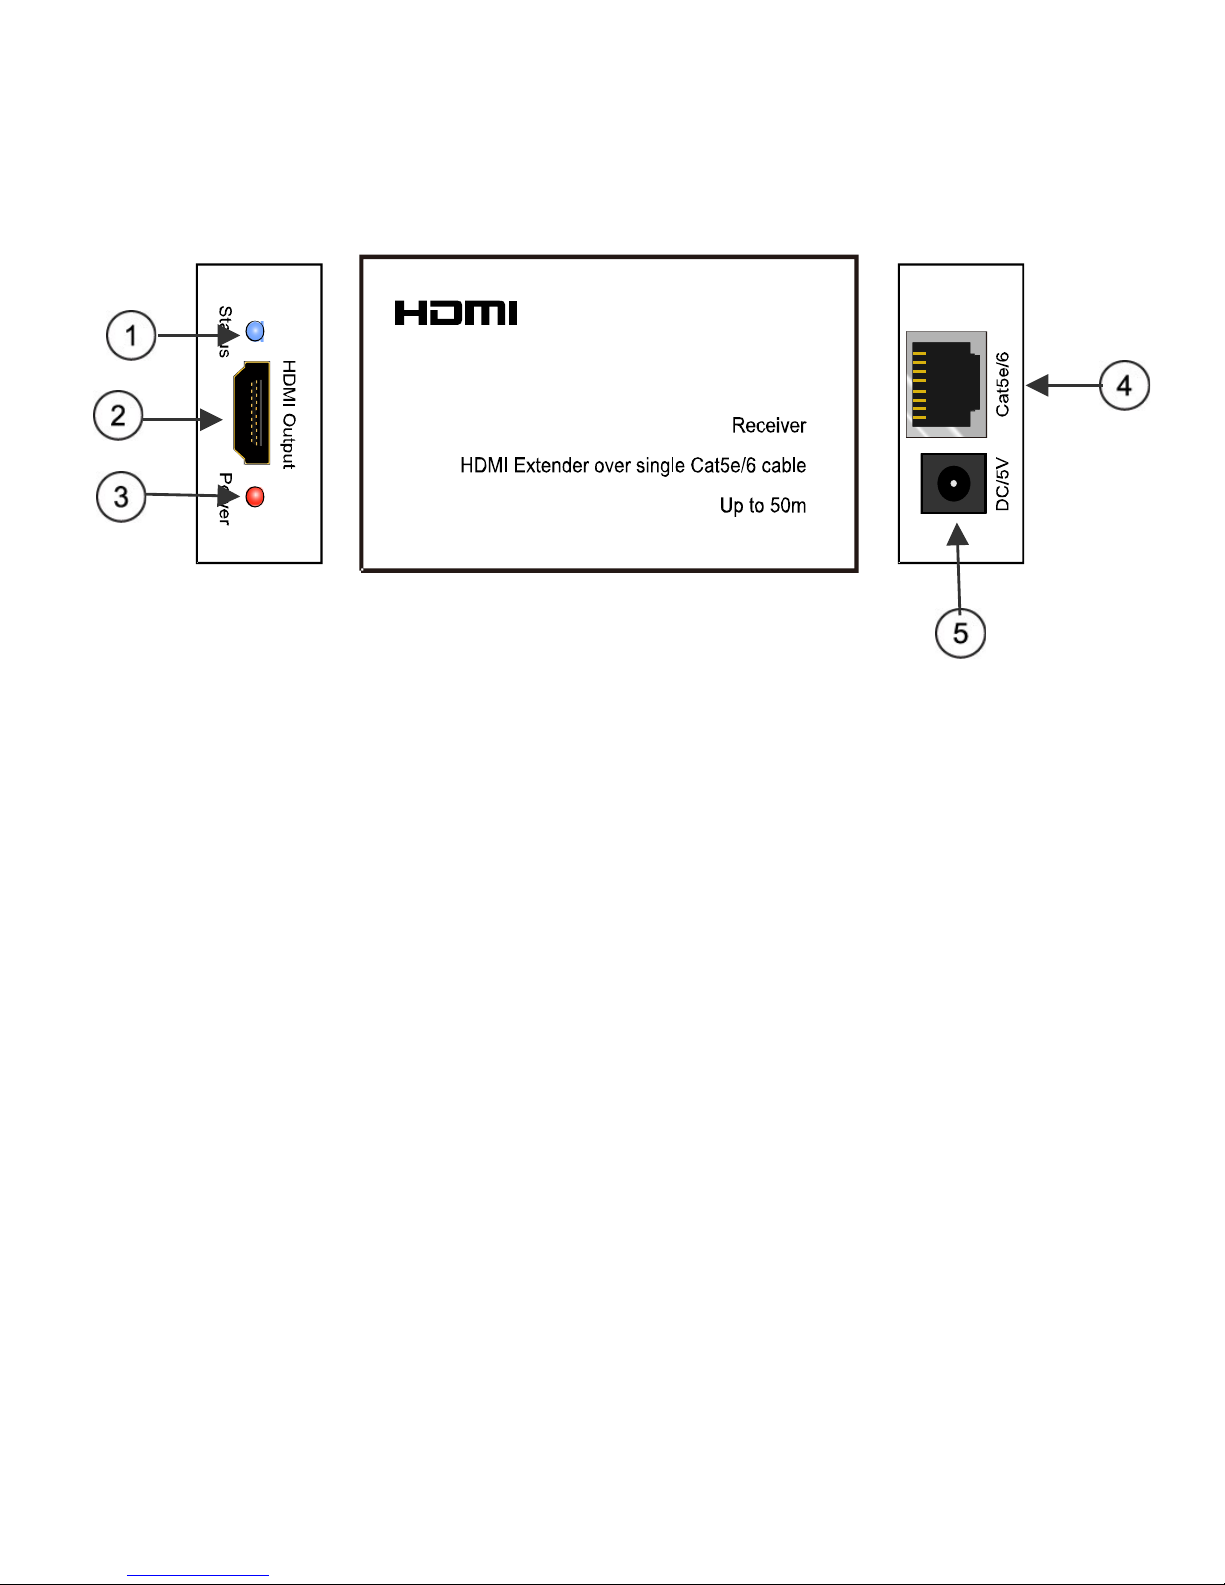
Receiver Unit
1)
Status LED: This LED lights when the receiver is
connected to the transmitter via the Cat5e/6 cable
2)
HDMI output port: Recreates the original HDMI signal
3)
Power LED: Indicates whether the receiver is powered on
4)
CAT-5E/6 input: Connect one end of the Cat5e/6 cable to
this port
5)
Power input: This is where the receiver is supplied power
from the 5V DC power supply
7
Page 8

HARDWARE INSTALLATION
1)
Power off all devices including your HDMI source and HDMI
display.
2)
Connect your HDMI source device to the Transmitter's
HDMI Input connector with an HDMI cable (HDMI cable not
included).
3)
Plug your CAT5e/6 cable between the Transmitter's RJ45
Output and the Receiver's RJ45 Input.
4)
Connect your HDMI display to the Receiver's HDMI ouput
connector with an HDMI cable (HDMI cable not included).
5)
Plug the included power adapters into the Transmitter's and
Receiver's power jacks (labeled “DC/5V”), then plug both
power adapters into a reliable electrical socket.
6)
Power on the HDMI source and display devices.
7)
The HDMI extender is ready for use.
ATTENTION: Insert and remove cables gently. When inserting
the Cat5e or Cat6 cable, stop inserting when you hear the “click”
sound. To unplug the Cat5e or Cat6 cable, press down on the
locking tab and pull the cable out.
8
Page 9
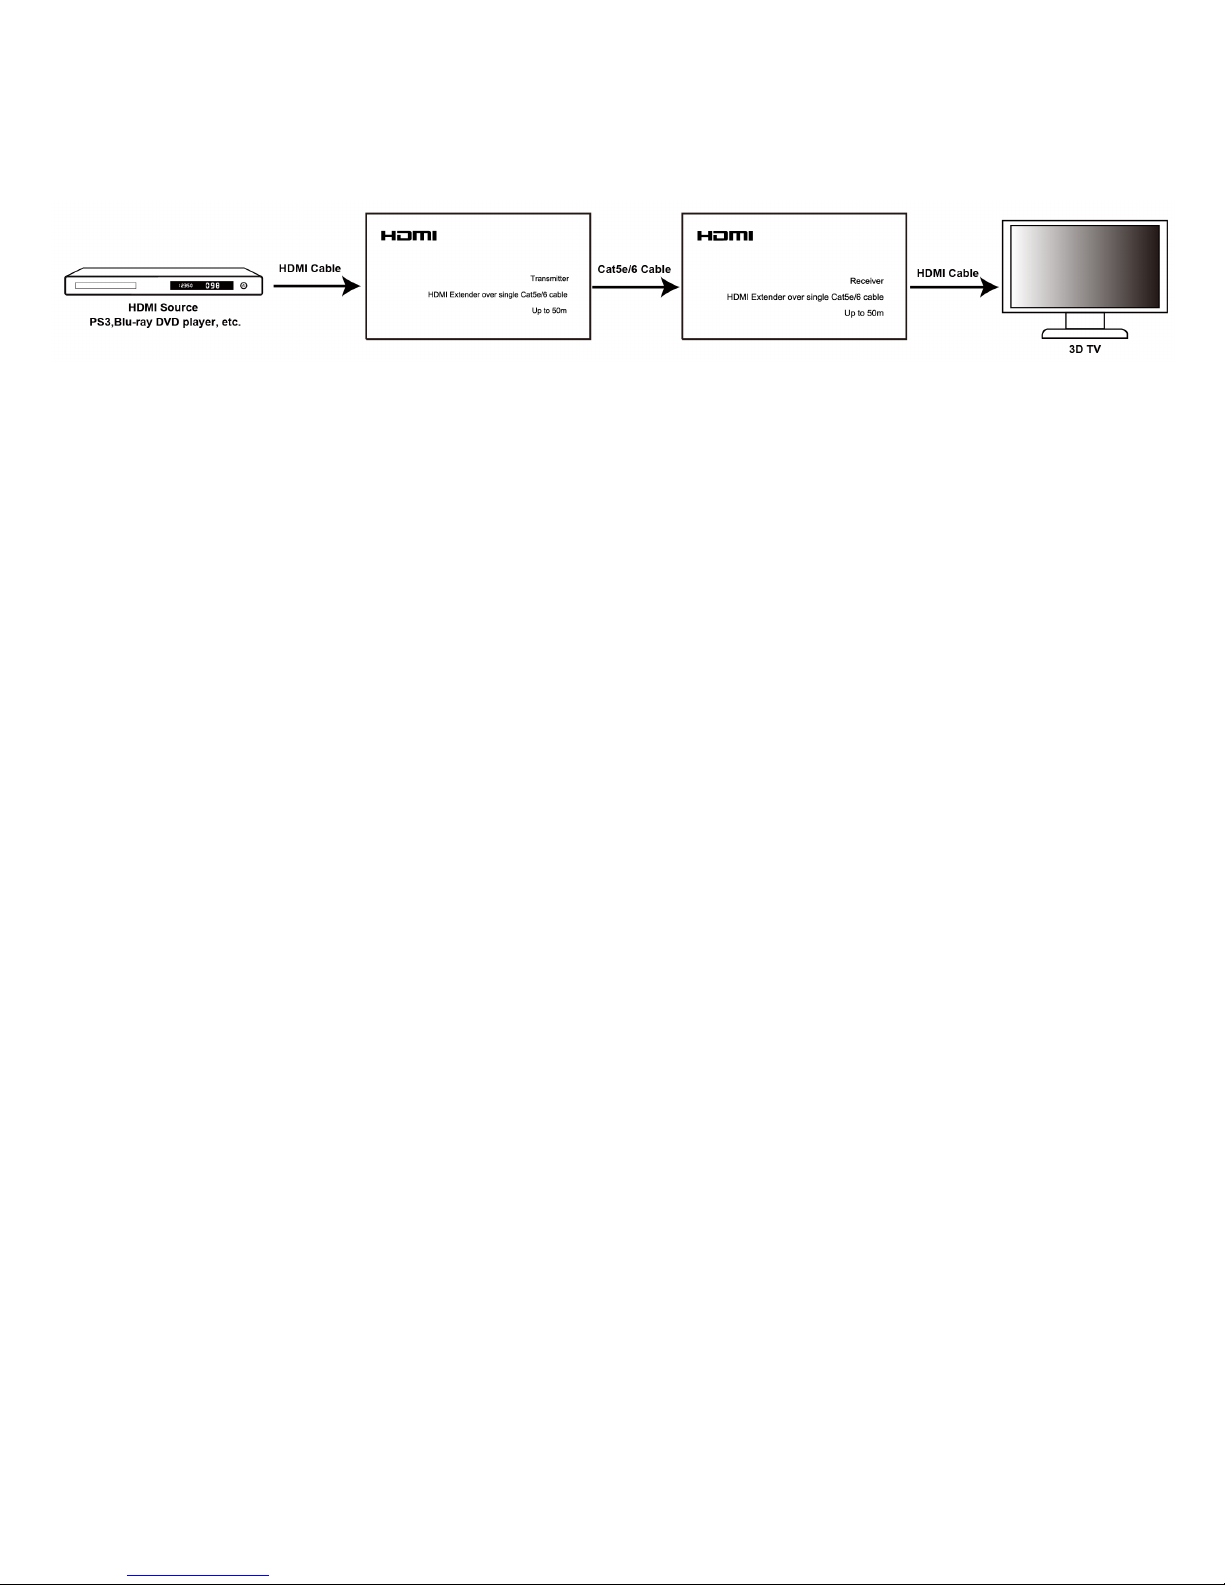
CONNECTION DIAGRAM
*Note: If the sink (e.g. HD TV) can’t display any signal, try this.
Connect the TV/display directly to the Transmitter’s HDMI Input,
plug in the Transmitter’s power adapter, then press the
transmitter’s “EDID” button. The “Status” light will then flash,
which indicates that the EDID data has been copied from the
display device successfully. Holding down the “EDID” button for 3
seconds will reset the EDID on the transmitter back to its default.
9
Page 10
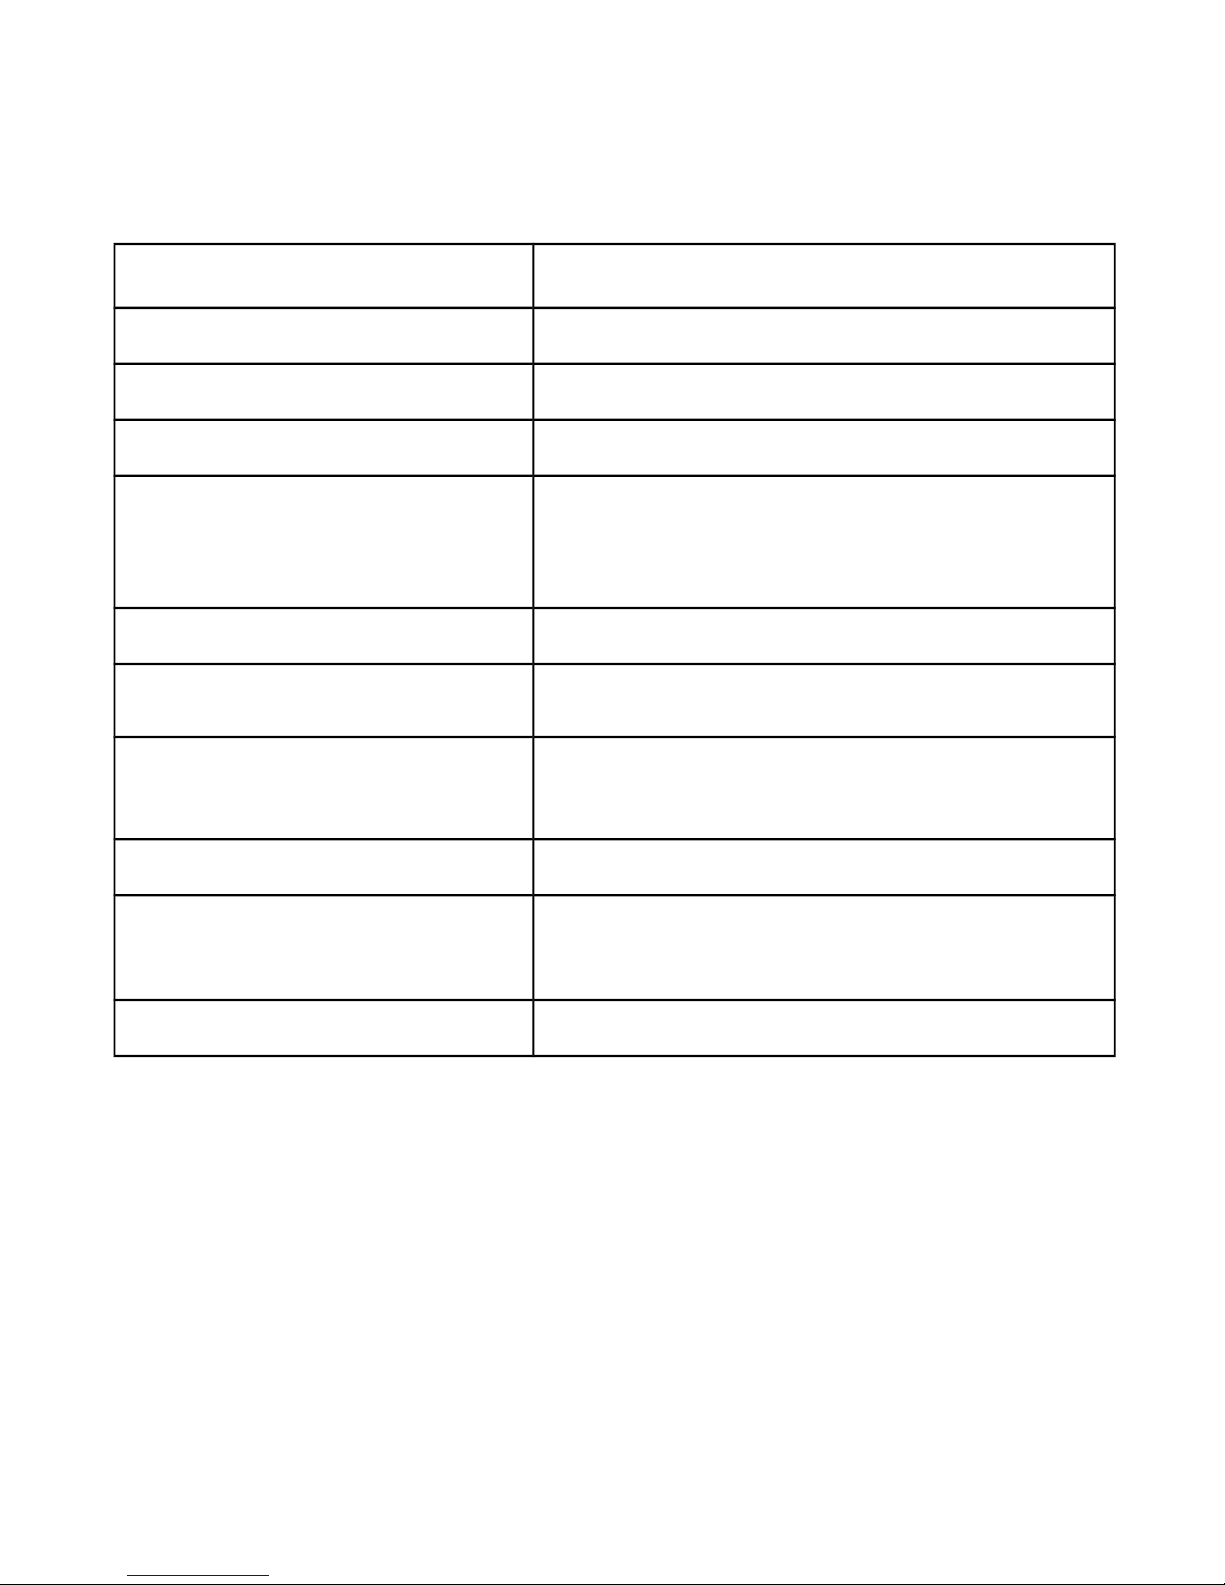
SPECIFICATIONS
Operating Temperature Range -5℃ to +35℃ (+23℉ to +95℉)
Operating Humidity Range
5 to 90%RH (Non-Condensing)
Input Video Signal
0.5-1.0 Volts P-P
Input DDC Signal
5 volts p-p(TTL)
Support Video Formats
576i, 480P, 576P, 720P, 1080i, 1080P
3D video
①
Video Output
HDMI
Support Audio Format DTS-HD
TM
Master Audio, Dolby TrueHD
TM
Transmission Distance
50m (Maximum) for 1080P over a single
Cat5e or Cat6 cable with solid 24AWG wire
Power consumption
5 watts (Maximum)
Dimension (L×W×H)
Both the Transmitter and Receiver are
83x48x25mm
Net Weight
250g (Pair)
① Sink must support 3D video when the source is a 3D device
10
Page 11

Disclaimer
The product name and brand name may be registered
trademarks of related manufacturers. TM and ® may be omitted
on the user's guide. The pictures on the user's guide are just for
reference, and there may be some slight differences with the
actual products.
We reserve the right to make changes without prior notice to a
product or system described herein to improve reliability, function,
or design.
11
Page 12

Thank you for choosing gofanco
gofanco.com
 Loading...