

Page 1
LED Video Light
Instruction manual | 说明手册
Chinese English Bilingual | 中英文双语
Model: LED 64
Foreword:
Thank you for purchasing this Godox Product!
LED64 video light is excellent for macrophotography, product shooting, and
video recording, etc. This lightweight and portable light provides high
brightness and accurate color temperature. You can flexibly control the light
brightness by using the dimmer and by interlocking multiple lights.
Warning:
Always keep this product dry. Do not use in rain or in damp conditions.
Do not disassemble. Should repairs become necessary, this product must
be sent to an authorized maintenance center.
Keep out of reach of children.
As this product do not have waterproof function, please take measures of
waterproof in rainy or damp environment.
Do not use or store the product if the ambient temperature reads over 50°C.
Do not use the flash unit in the presence of flammable gases, chemicals and
other similar materials. In certain circumstance, these materials may be
sensitive to the strong light emitting from this flash unit and fire or
electromagnetic interference may result.
Observe precautions when handling batteries
● Do not put batteries into a fire or apply direct heat to them.
● Batteries are prone to leakage when fully discharged. To avoid
damage to the product, be sure to remove batteries when the
product is not used for a long time or when batteries run out of
charge.
● Should liquid from the batteries come into contact with skin or
clothing, rinse immediately with fresh water.
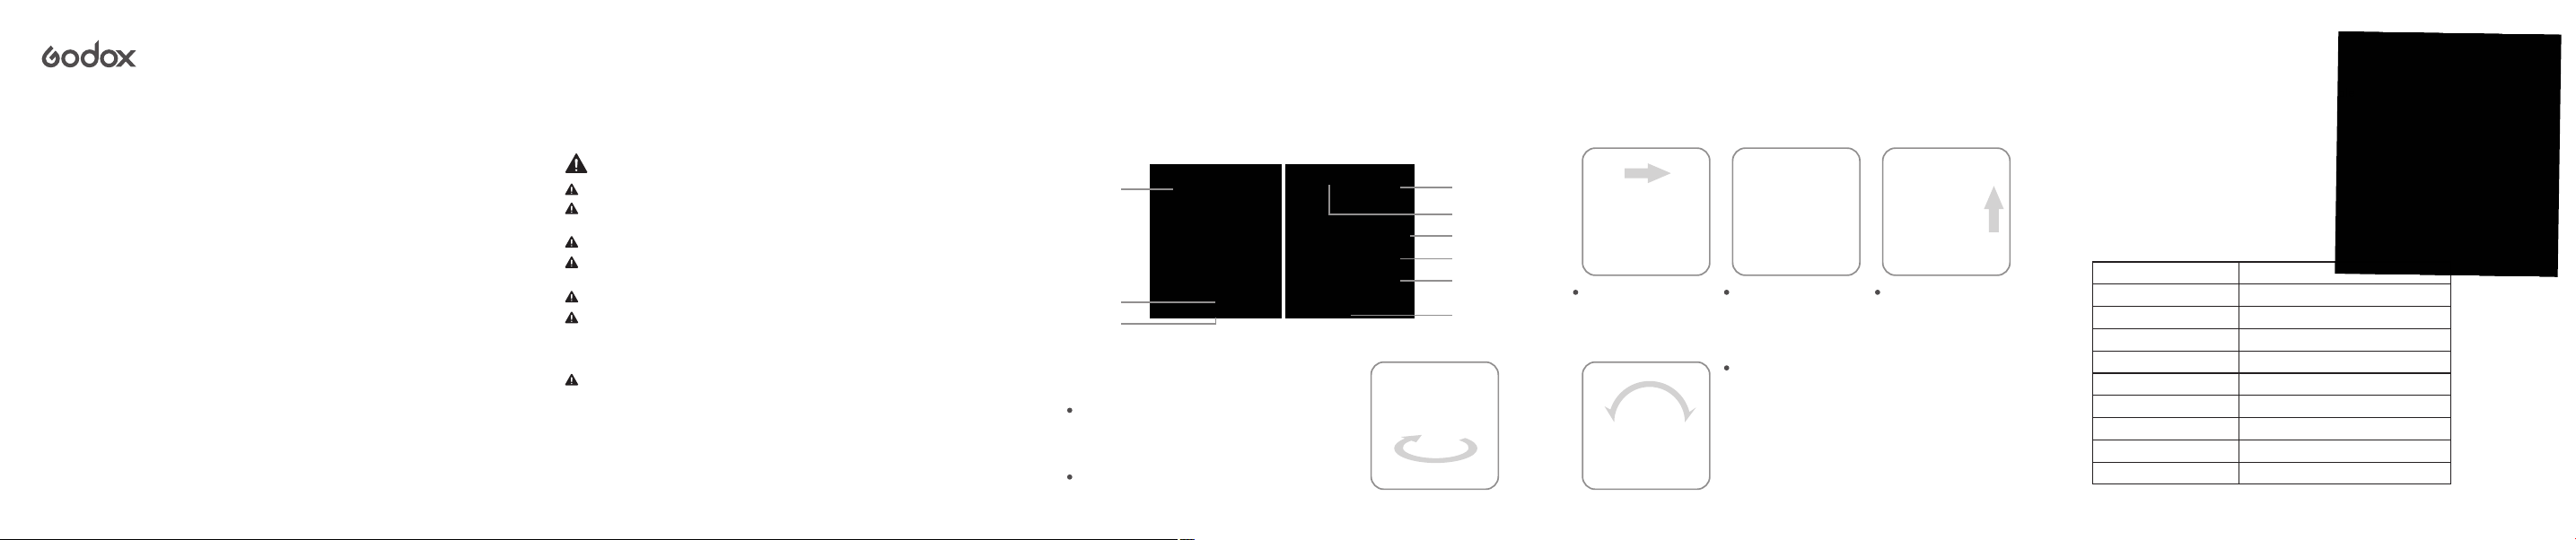
Parts:
01. 64 LED Beads
02. Power Switch
03. Brightness Controller
04. Battery Compartment Lock
05. Light Hotshoe Connection
01
06
09
06. Locking Ring
07. Camera Hotshoe Connection
08. DC Power Jack
09. 1/4″ Bracket Mounting Hole
Installation and Operation
1.Installing the Video Light
Screw the Locking Ring (06) to the highest point
and insert the Camera Hotshoe Connection
horizontally into the hotshoe of a camera or a
camcorder.
Tighten the Locking Ring (06).
Note: If your camcorder has no hotshoe connection, you are advised to purchase a
connecting bracket for camcorder. The video light has a 1/4″ Bracket Mounting Hole as
your camcorder does. Therefore, you can easily connect both the light and the
camcorder to the bracket.
2.Using the Video Light
03
04
05
02
08
07
Slide the Battery
Compartment Lock
(04) to the right and
open the compartment.
Install batteries (4*AA)
according to indications
in the compartment and
then lock it.
Turn the Brightness Controller (03) to adjust the
brightness.
Instead of AA batteries, the light can use AC
power by using the DC Power Jack. Connect
the video light to AC power using a 5V charger
(purchased separately). Then switch the light on
to start working.
Switch the power on,
the video light giving
out light.
3.Interlocking Multiple Video Lights
Through the Light Hotshoe Connection (05)
and Camera Hotshoe Connection (07), multiple
video lights can be interlocked together to
strengthen the lighting brightness and get a
better control of the lighting effects.
Technical Data:
Battery
DC Power Supply
Power (Max.)
Color Temperature
Brightness
Brightness Control
LED Beads Quantity
Operation Temperature
Dimension
Net weight
* Product design and specifications are subject to change without notice.
Four AA batteries
5V
<4.5W
5500~6500K
>1000Lux (0.5m)
Stepless
64
-10~40℃
85mm*85mm*35mm
130g
 Loading...