

Goclever cineo200 User Manual


1
29
55
81
109
137

1
cineo200
HD Media Player
USER MANUAL
PLEASE READ THE INSTALLATION GUIDE
BEFORE USE OUR PRODUCT
Dear Customer,
Thank you very much for purchasing GoClever Cineo. In the digital
era, this product is a great home entertainment partner. With the
outstanding design, you can enjoy movies and music, and view
photos of precious moments.
Push boundaries of High Definition with Goclever Cineo series. Enjoy ultimate experience of video, music and photo combined your Home Cinema system. Browse and navigate through
your media library in a very convenient and intuitive way. Play all
your content through multi-device reader: SD and USB Host or
DVB-T MPEG4 television. Enjoying a library of unlimited music
and video content is possible using the Goclever Cineo. With no
moving parts and generating minimum heat, Cineo invisibly integrates into any home cinema environment
NOTE: All the information contained in this manual was correct
at the time of publication. However, as our engineers are always
updating and improving the product, your devices software may
have a slightly different appearance or modified functionality than
presented in this manual.

2
Front panel
1. POWER BUTTON: To turn on/off the main power supply.
2. REC: Hard to read light.
3. USB HOST: For software upgrade and media playback.
4. REMOTE CONTROL SENSOR: Used to receive the signal
from the Remote Control.
5. SD/MMC/MS: Support MMC, MS and SD card.
Rear panel

3
6. ON/OFF: Power Switch.
7. CVBS: Composite video output.
8. DC 5V: Power input.
9. USB HOST: For software upgrade and media playback.
10. HDMI: High definition audio and video output used to connect
to a HDMI device.
11. COAXIAL: This socket connects to on your surround sound
system. These sockets connect to your TV component input
terminals.
12. AUDIO L/R: These sockets output Analog Audio L/R signal.
13. ANT IN: Av input.
14. ANT OUT: Av Output.
Package Contents
Before installation, please check the of the package. The package
should contain the following items:

4
Getting started
The Remote Control
Al l procedures in this manual can be carried out using the remote
control buttons. Certain functions can also be carried out using
the front panel. See the following for details on each button and
its function:
1. POWER: Press to power on or off the player.
2. MUTE: Mute or restore Audio Output.
3. 0-9(Numeric button): select a channel or setting.
4. RECALL: Used to switch between the last two channels that have
been viewed.
5. LANGUAGE: To change the player’s language.
6. EXIT:Exits the current Menu or returns to the previous Menu.
7. MENU: Turns on Main Menu.
8. RIGHT/LEFT/UP/DOWN: Navigates through the Menus.
Increases or decreases volume.
9. OK: Confirms an entry or selection. Displays the list of channels.
10. REC: Press to record some video
11. INFO: Displays and Pauses additional channel information.
12. FR/PAGE-: Press to fast forward the current playback.
Press repeatedly to select fast forward speeds.
13. PLAY/PAUSE: Starts or resumes media play.
14. FF/PAGE+: Press to fast rewind the current playback.
Press repeatedly to select fast rewind speeds.
15. PREV: Skips to the previous track during media playback.
16. STOP: Stops media play.
17. NEXT: Skips to the next track during media playback.
18. EPG: (Electronic Program Guide) Displays the EPG.
19. BACKLIGHT: Turn on/off the backlight.
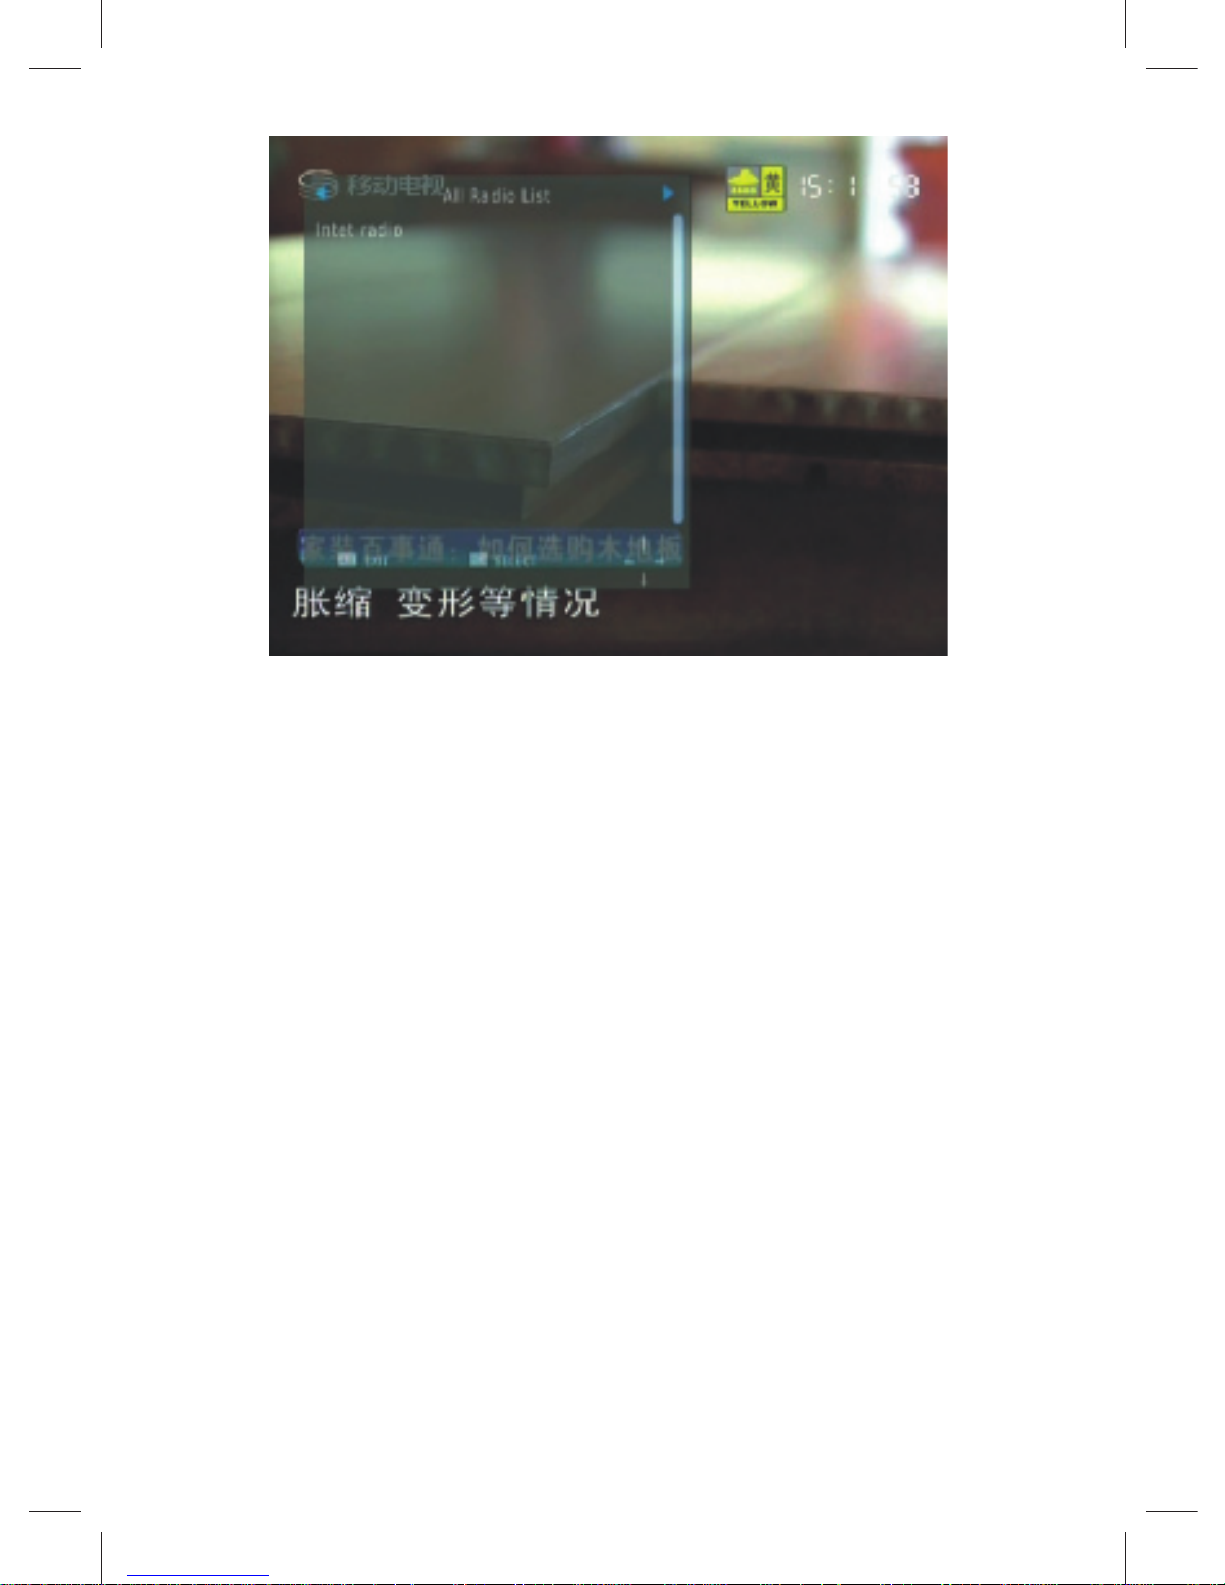
20. TV/RADIO: Switches from TV function to Radio function
and from Radio to TV.
21. TTX: Displays Teletext Information.
22. SUBTITLE: Displays subtitle language options.

5
6
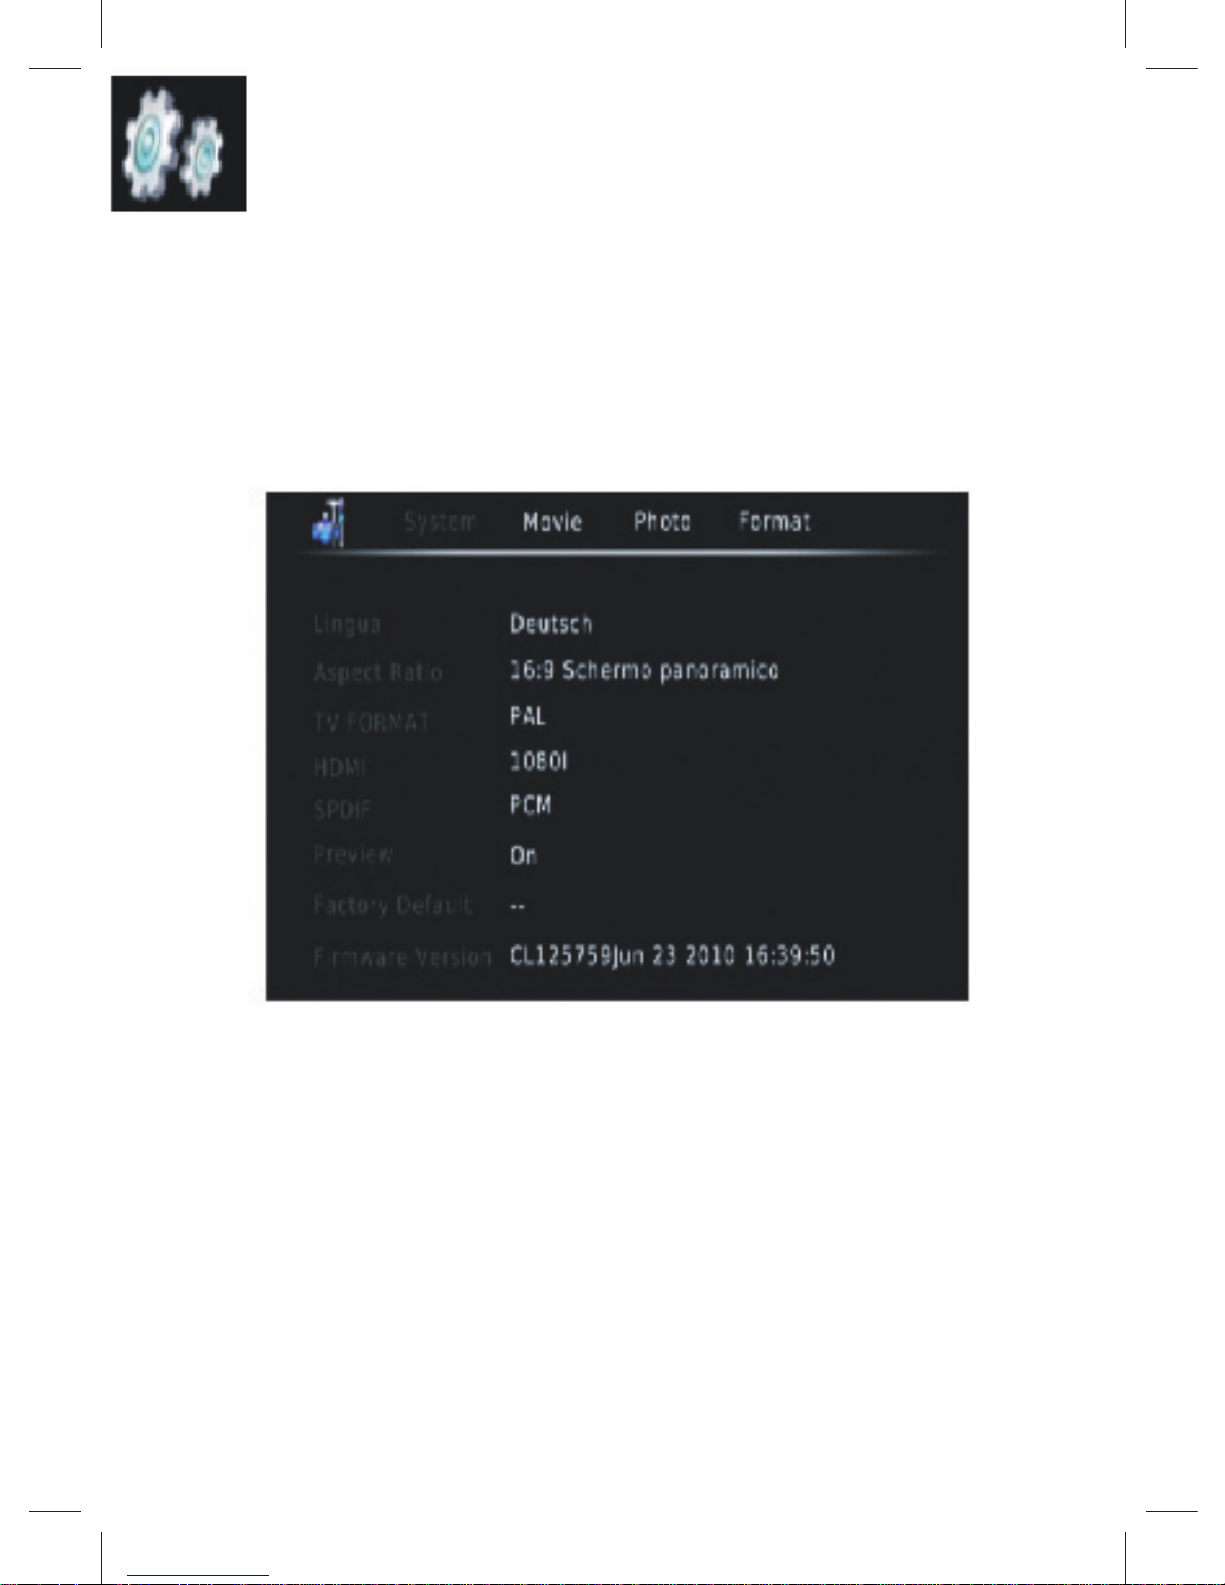
SYSTEM SETTINGS
SETUP: system Settings.
1. To access the menu, press MENU select [System] using the
RIGHT/LEFT keys. The menu provides options to adjust the
system settings. Elect an option and press RIGHT/LEFT to
adjust the setting. Press EXIT to exit the menu.
2. MOVIE CONFIGURE:
- Aspect Ratio:
[Keep]: Play movie in its original aspect.
[Discard]: Play movie in full screen mode.
- Subtitle Specific:
[Small]: Displays the subtitle as small mode.
[Normal]: Displays the subtitle as normal mode.
[Big]: Displays the subtitle as big mode.
- Subtitle BG:
[White]: Displays the subtitle in white background.

7
[Transparent]: Displays the subtitle in transparent
background.
[Grey]: Displays the subtitle in grey background.
[Yellow green]: Displays the subtitle in yellow green
background.
- Subtitle Font Color:
[Red]: Displays Subtitle in red font.
[Blue]: Displays Subtitle in blue font.
[Green]: Displays Subtitle in green font.
3. PHOTO CONFIGURES:
-Slide Time: adjust slide show interval to 1~8 seconds. Slide
Mode: adjust slide show effect as mode 0~59 or random. As
pect Ratio:
[Keep]: Play picture in its original aspect.
[Discard]: Play picture in full screen mode.
8
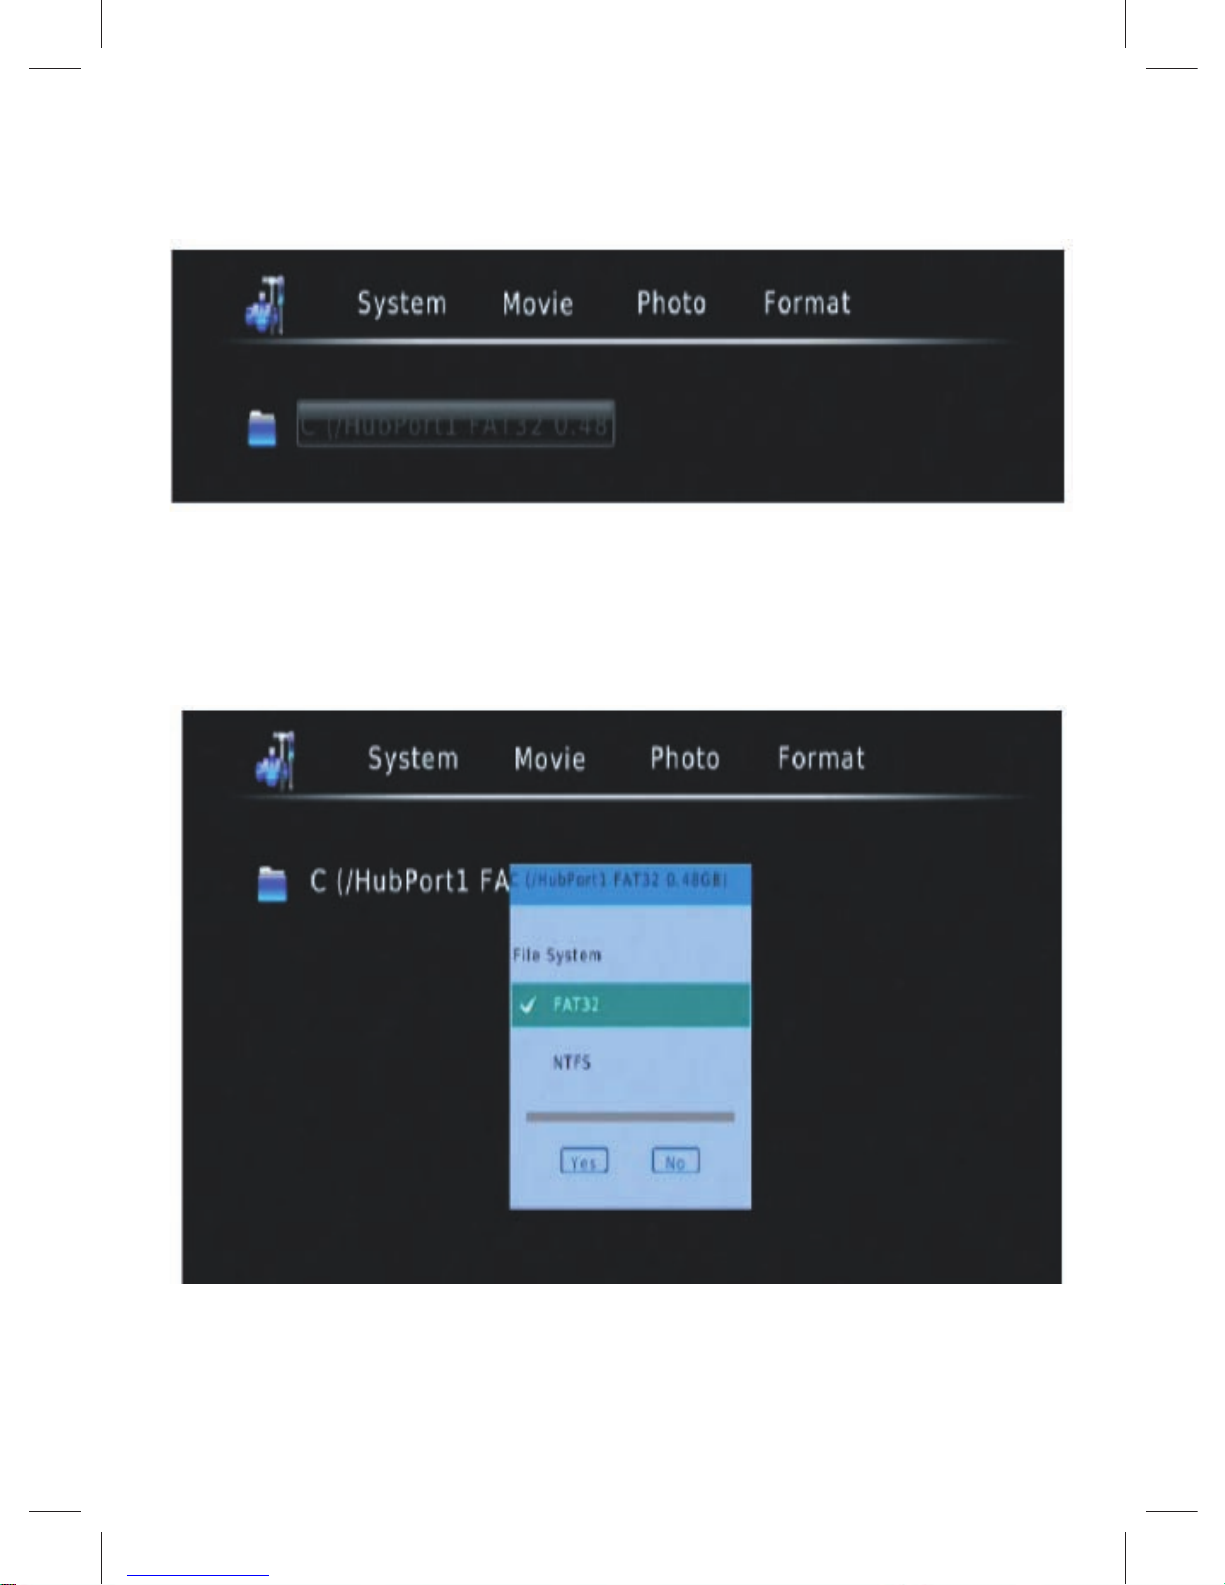
4 FILE SYSTEM FORMAT
(may file system, format and NTFS FAT32 two choices.)

9
Use operation
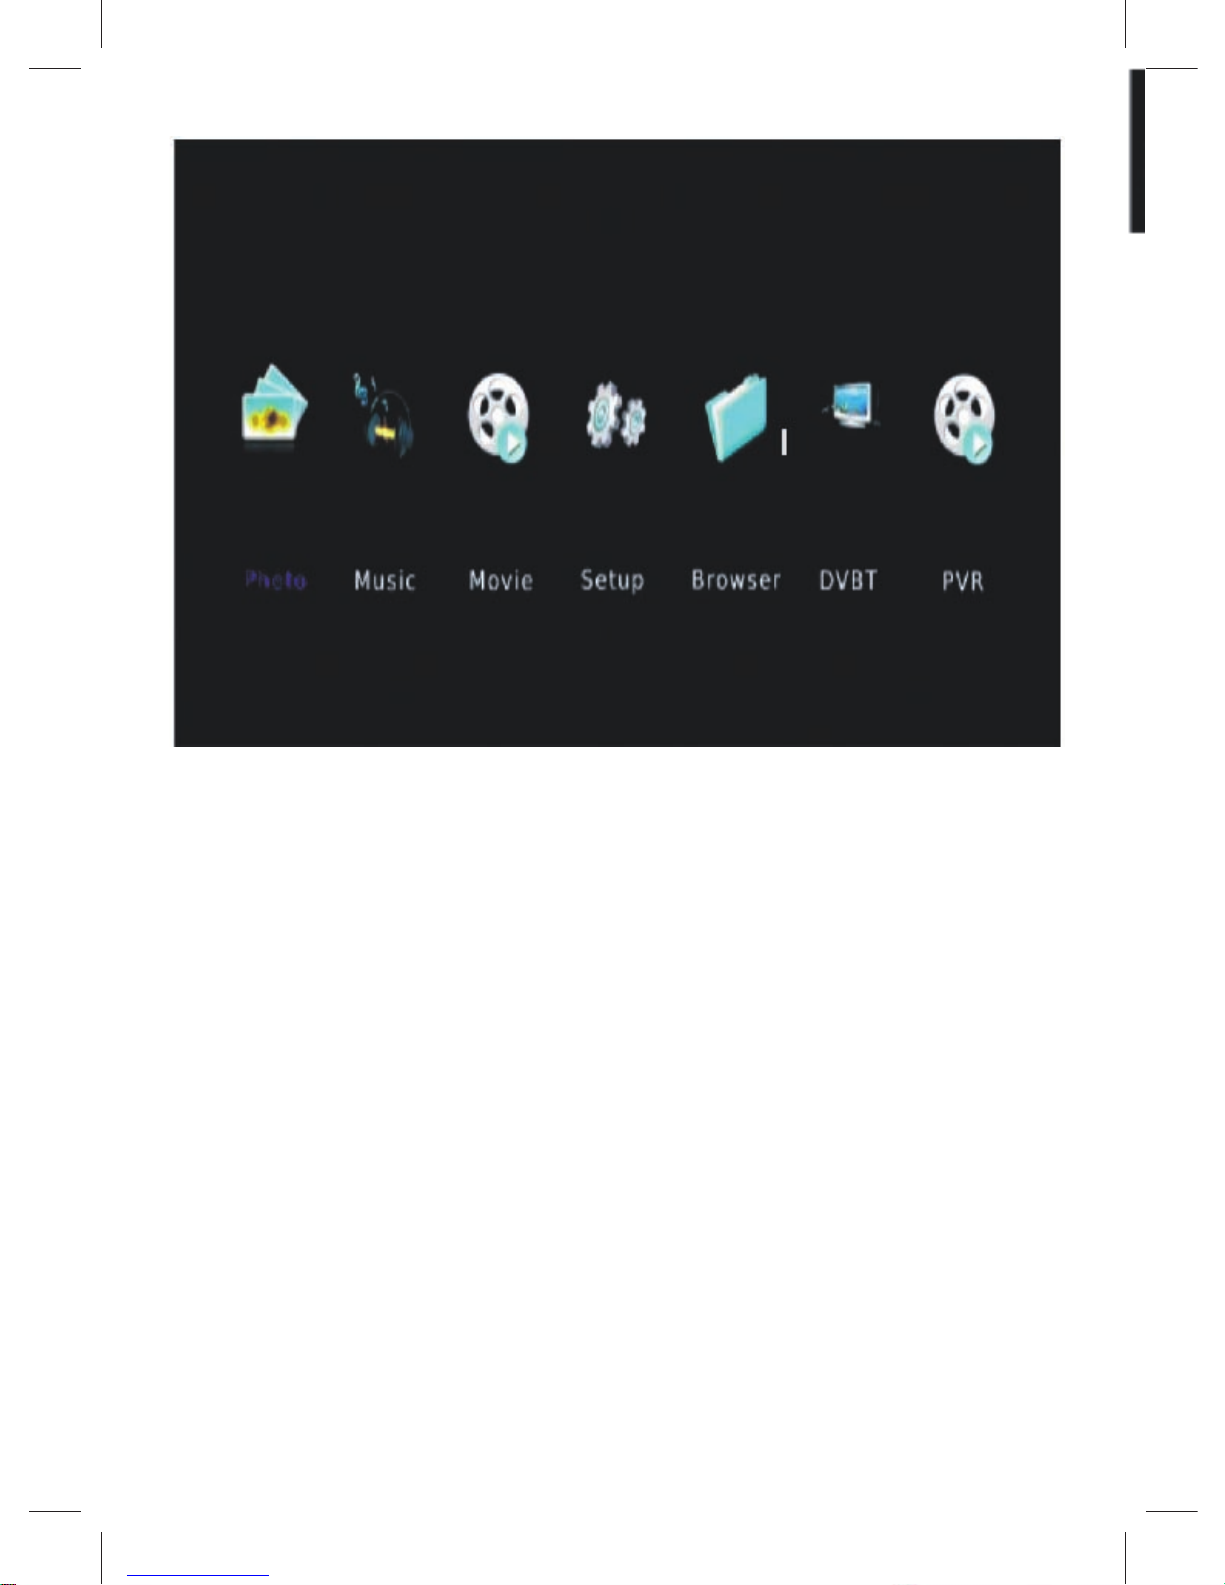
BOOT SCREEN
After all connections have been made properly, switch on
TV and make sure the is connected to the Main Power. Press
Power button to switch on.
1. Connect the cable to your TV according to page1 guide.
2. Turn on the switch until you should have the following screen.
10
11
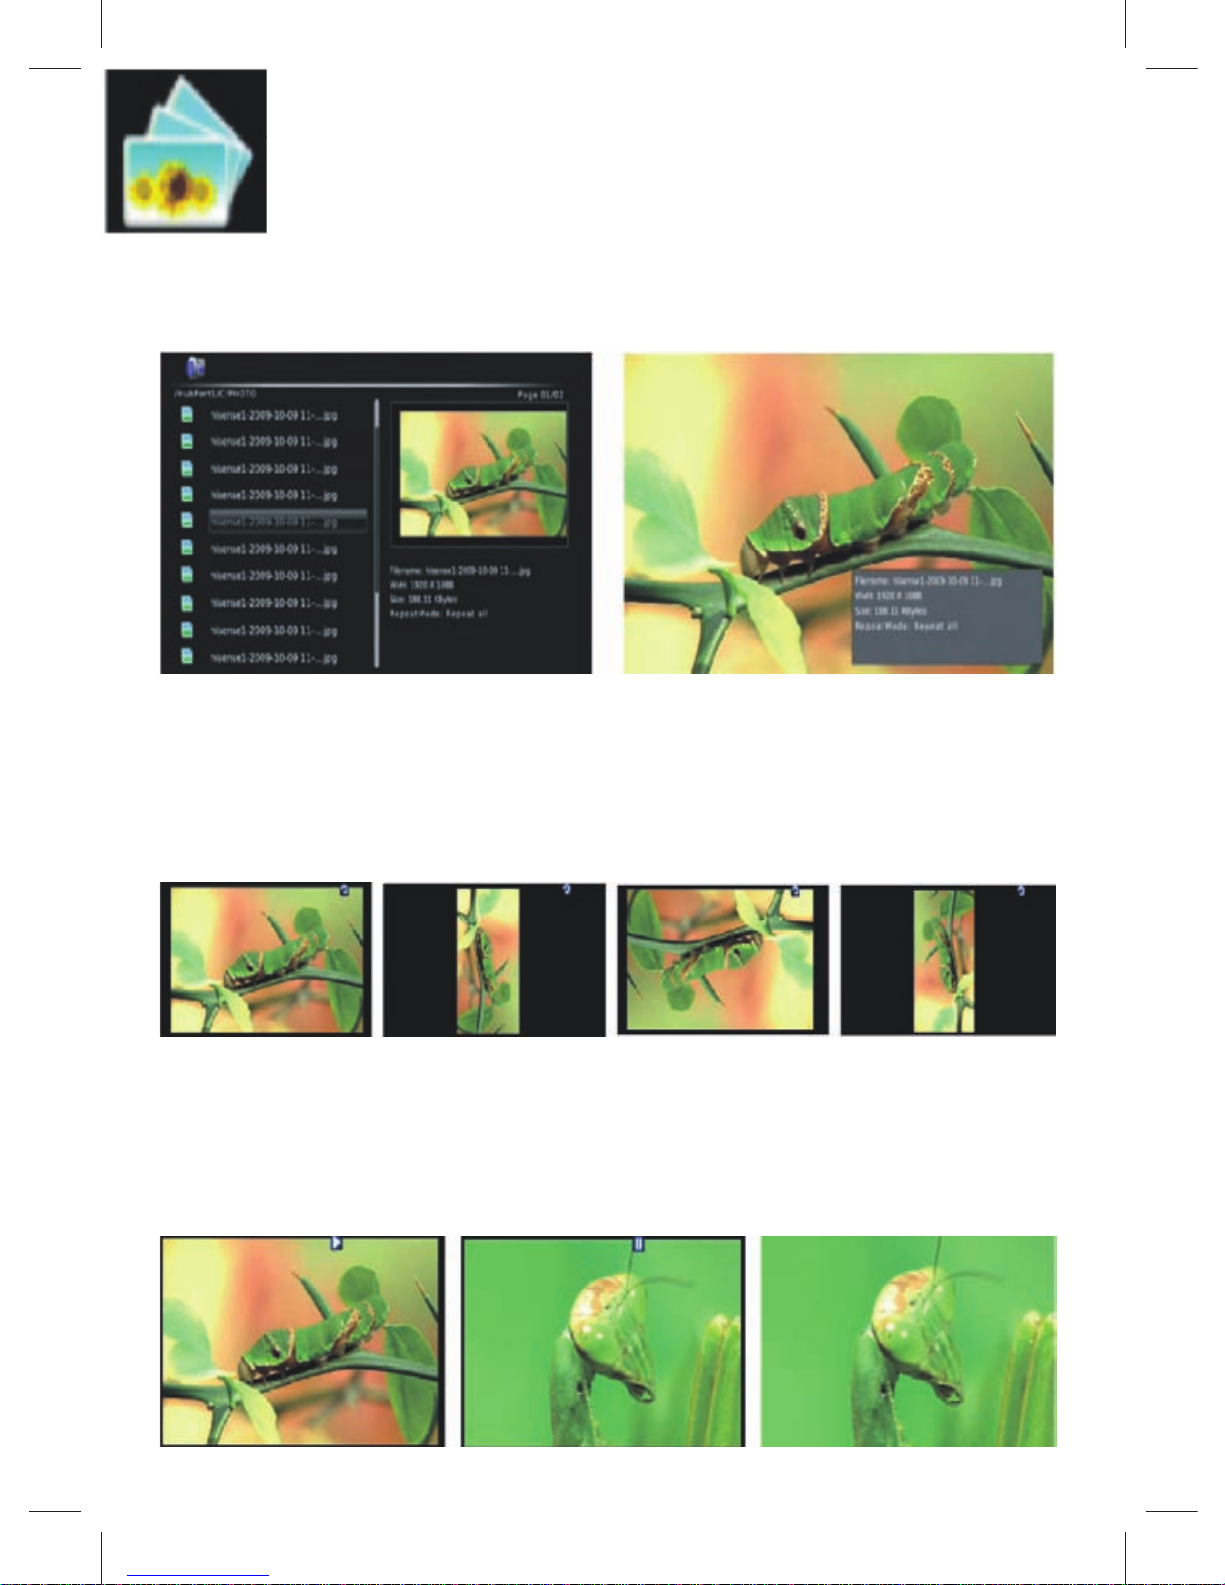
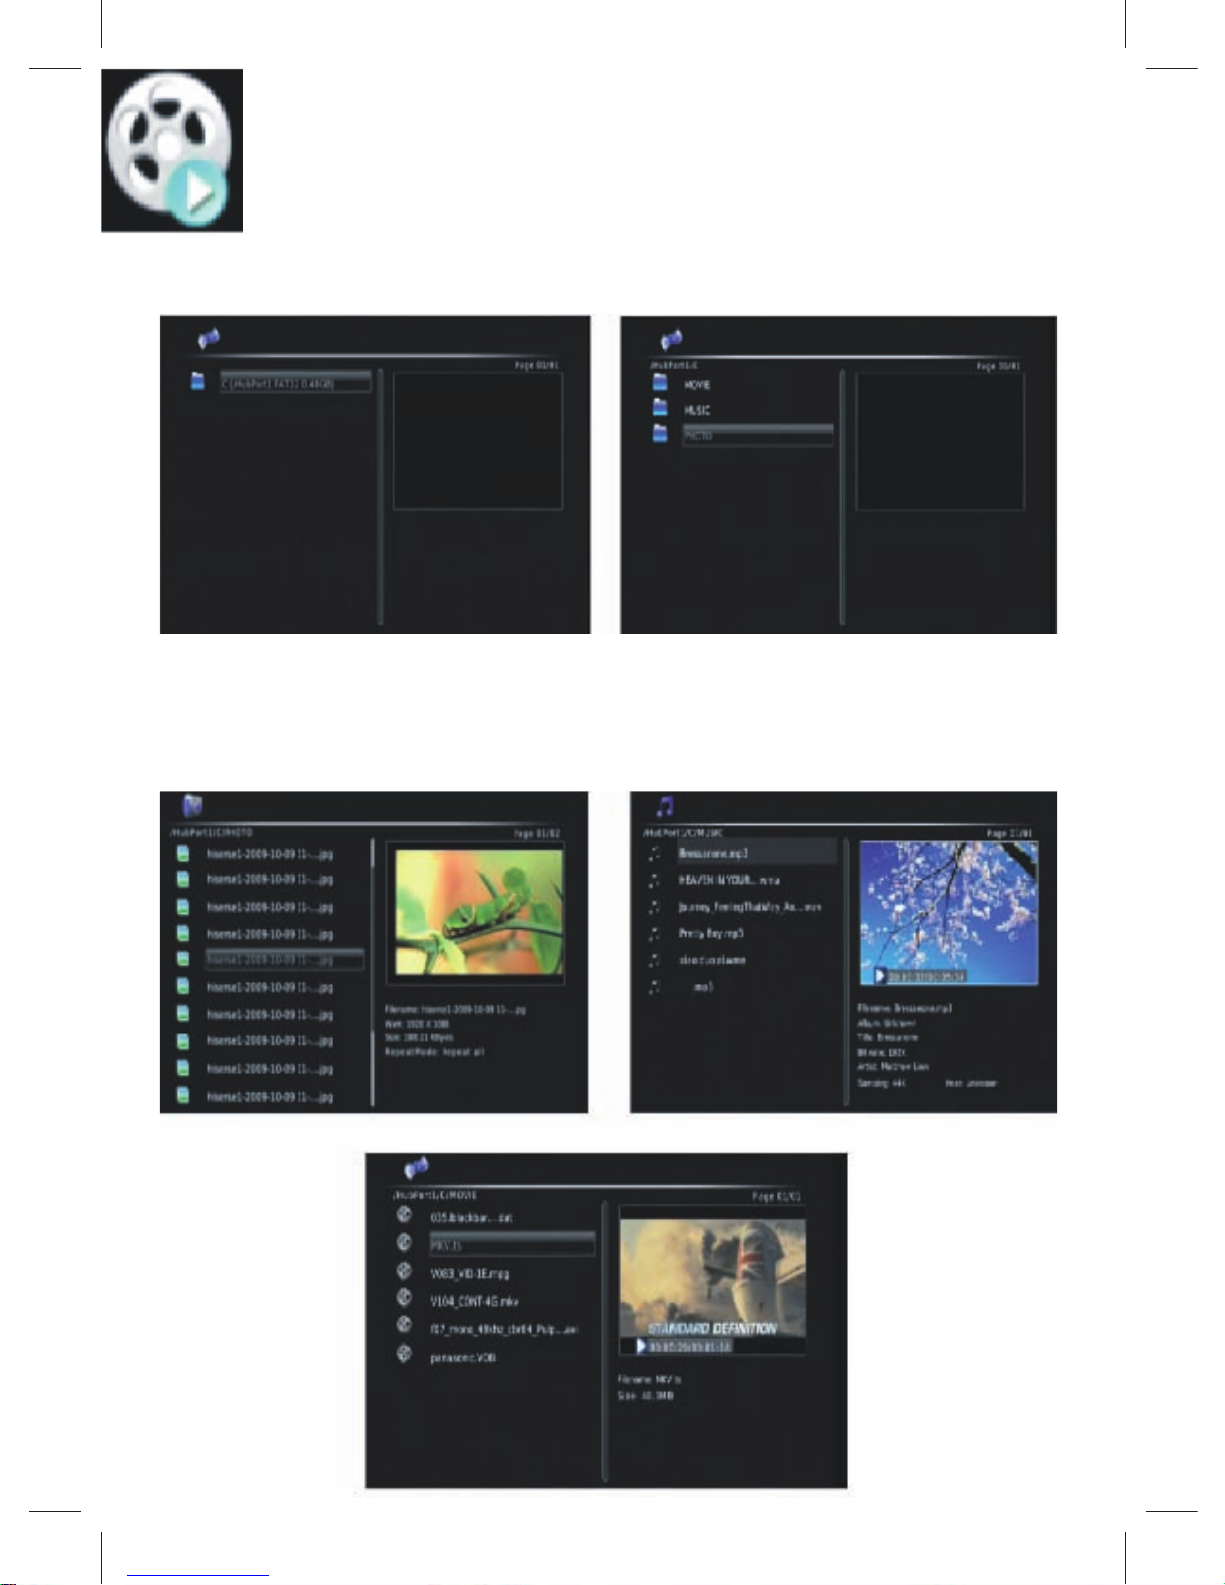
PHOTO: Picture folder.
3. Click the button image files into can see what you choose photos shown in the attributes:
(Can choose picture filename to browse pictures. Choose schema
thumbnail images can browse pictures of screen interface, still can
rotate 360 degrees of browse pictures. Really do is follow one’s
inclinations.)
Still can choose slide mode, the image browse pictures folders
automatically redirect to the next. The play/pause follow one’s inclinations.
12
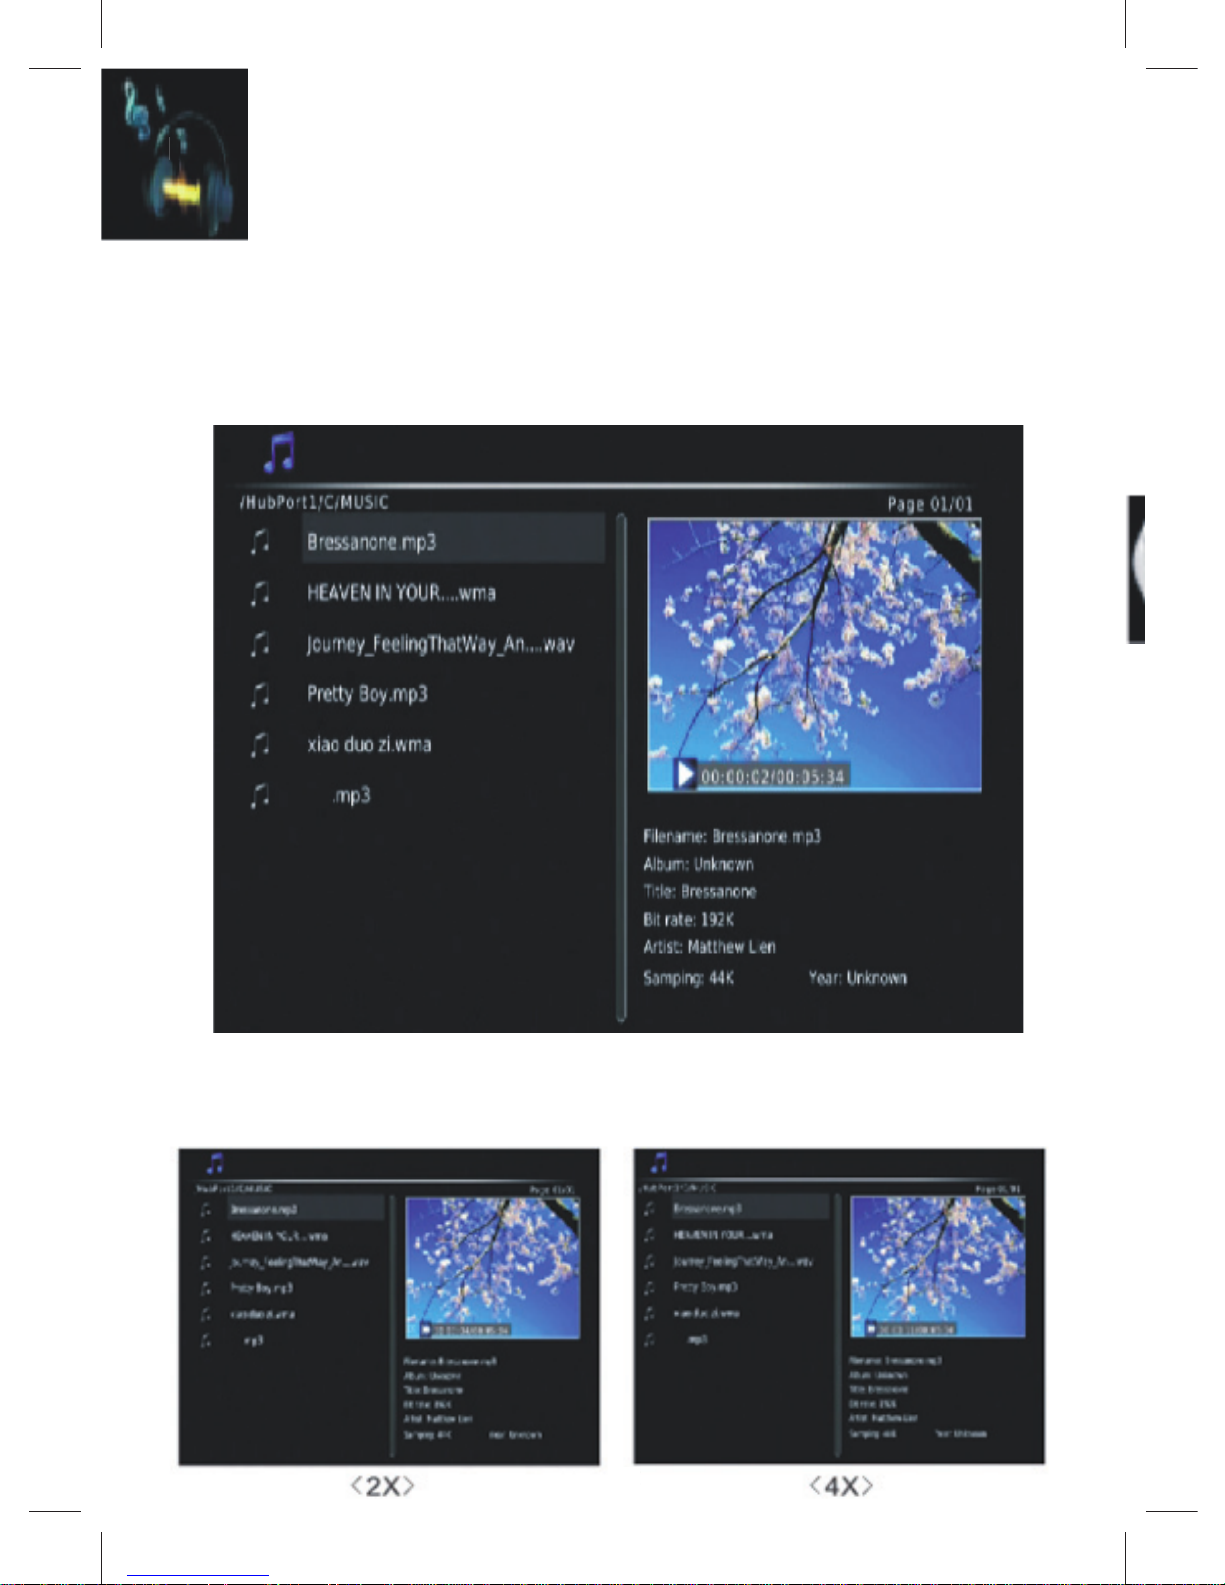
MUSIC: MUSIC files.
4. Could choose the music files folder, click OK to play. Play
window below will display file attributes, also can be quickly
into/back. MP3, wma, etc.
The fast speed of different music files into play.
13
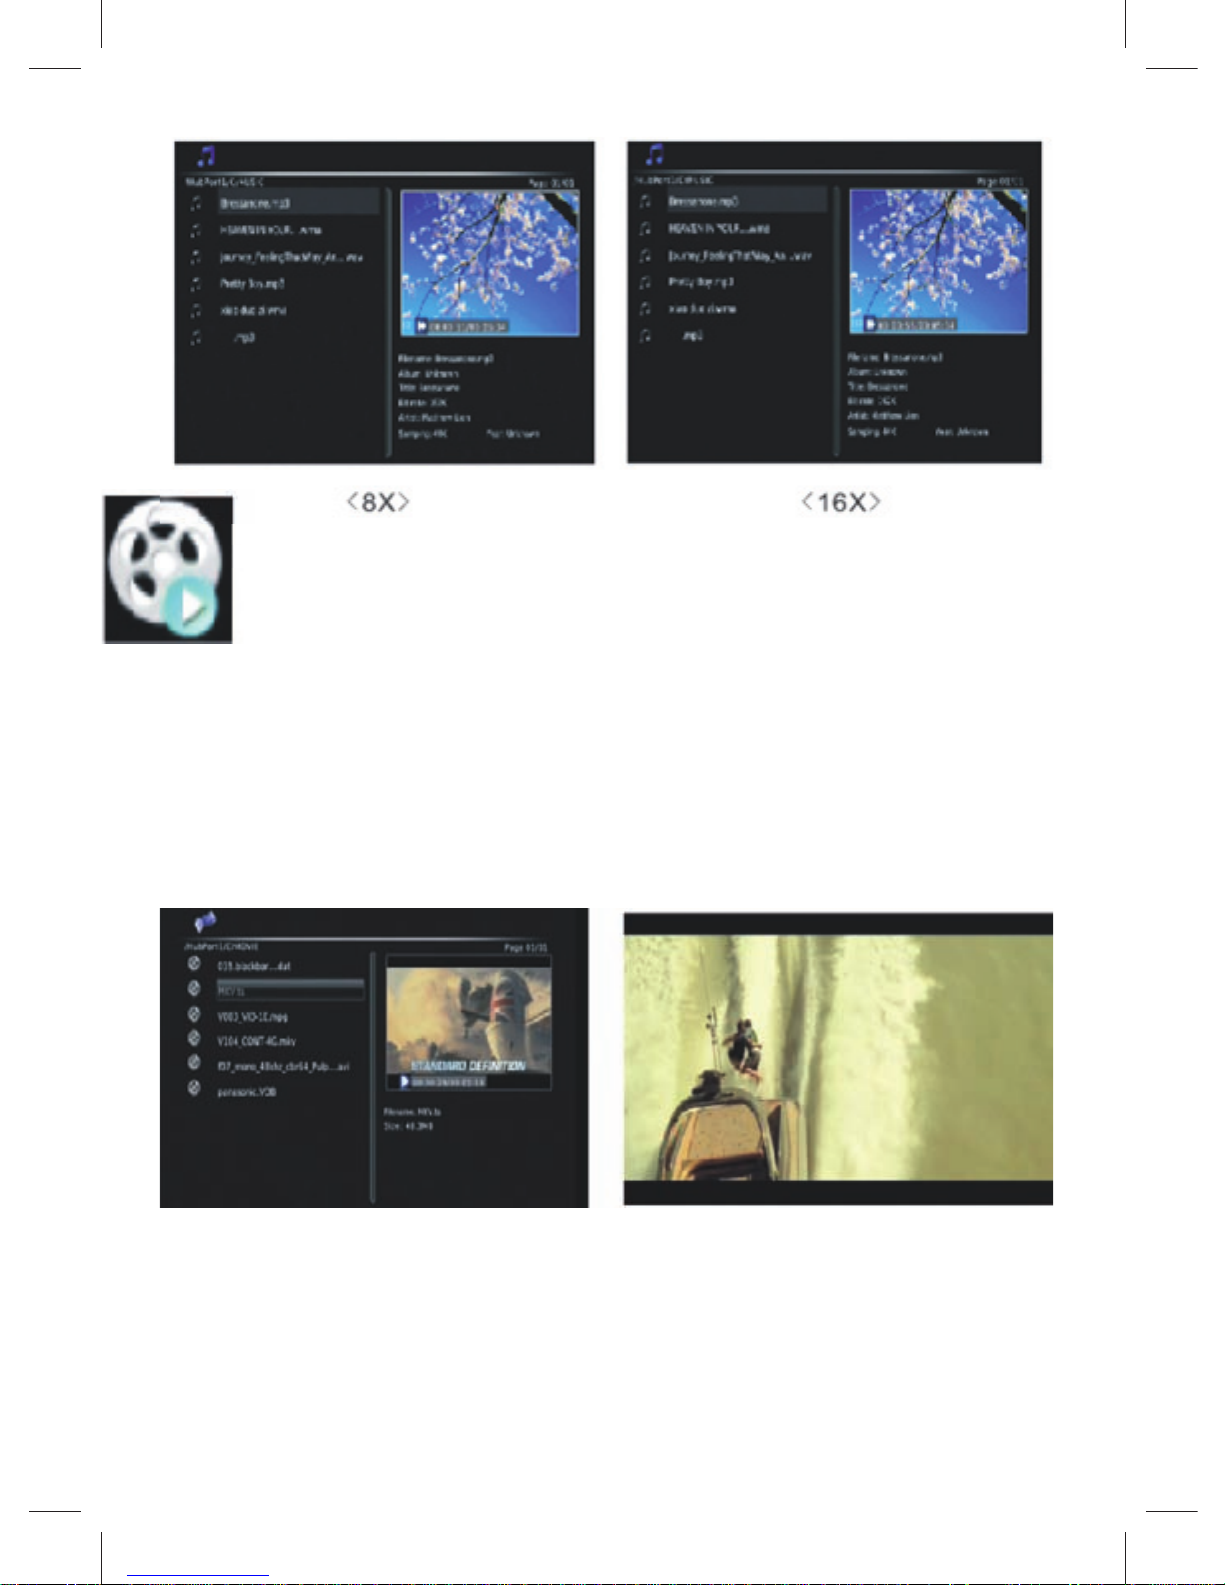
MOVIE
5. in movie button to enter movie Remarks: we support video
format including RMVB,MPG,RM,DAT,VOB,AVI,MP4,etc
Press the “display „button then showing the following picture,
you can do the relevant functions by “confirm” button after
selections.
(Play at the same time, according to see movies attributes resultsrelated areas).
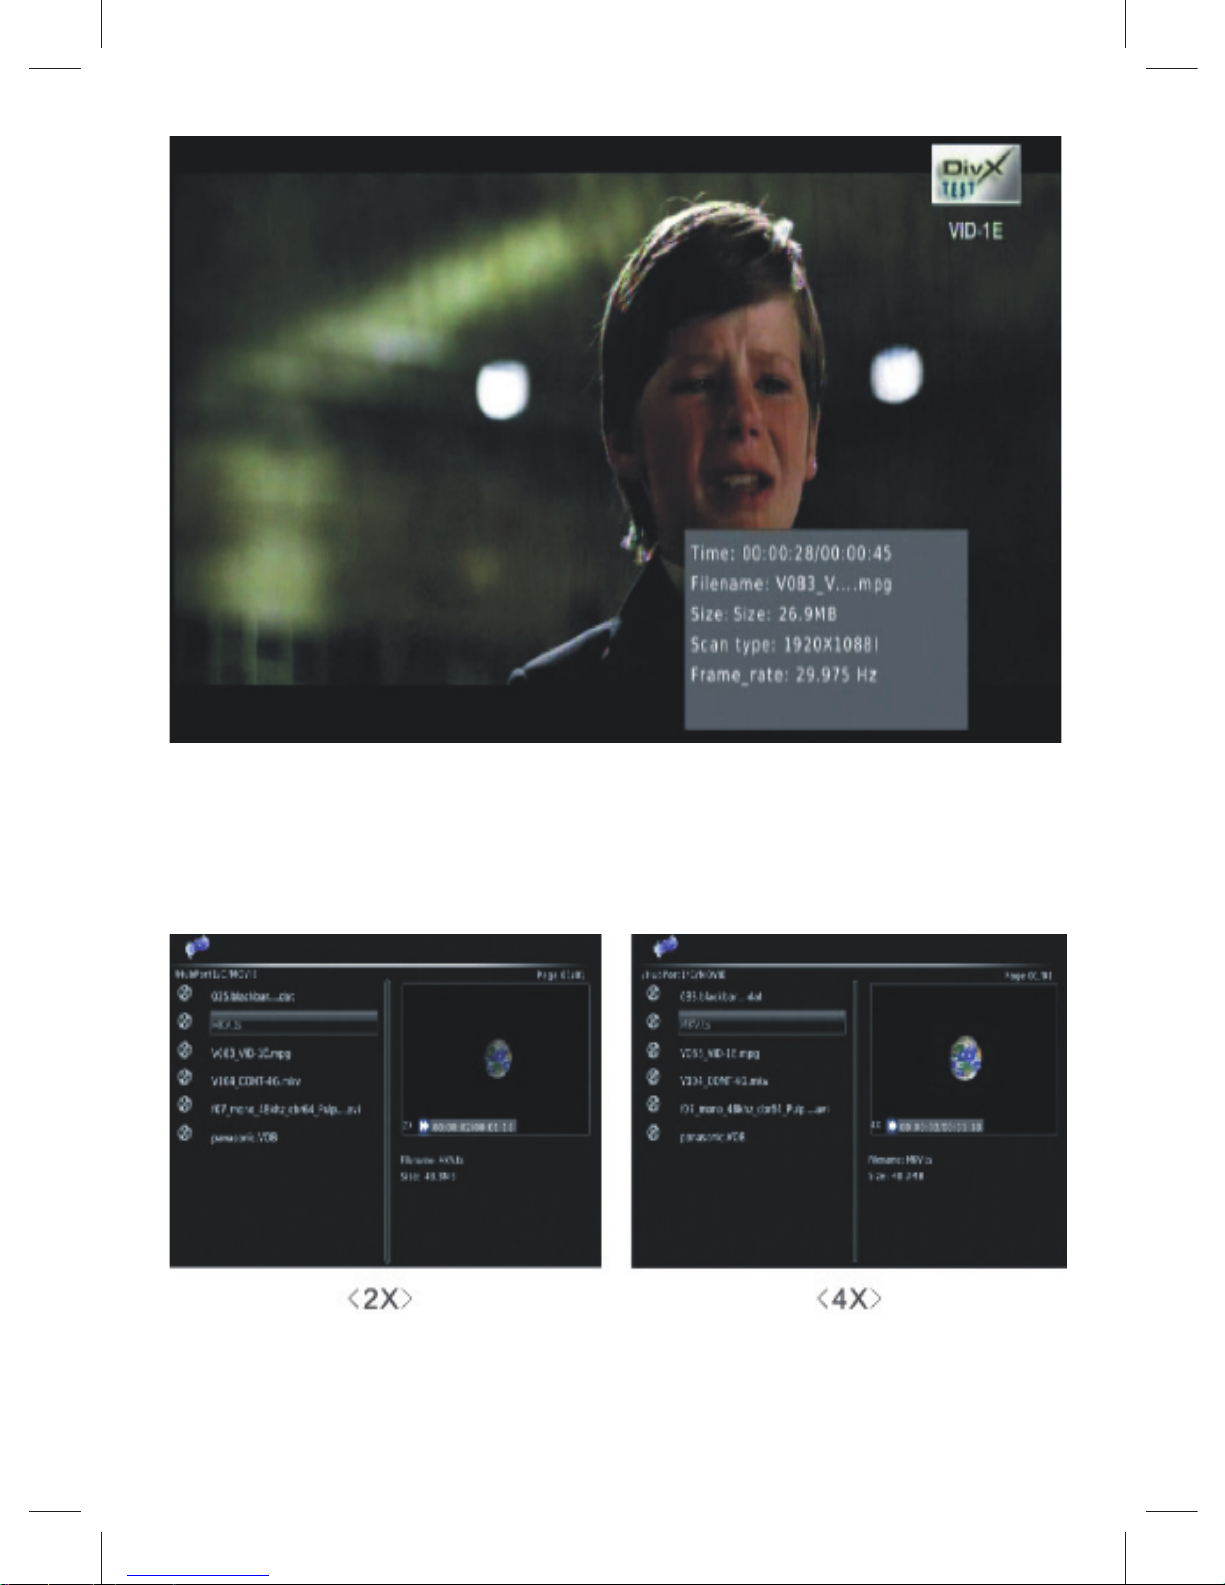
14
(The small window quickly into the movies),
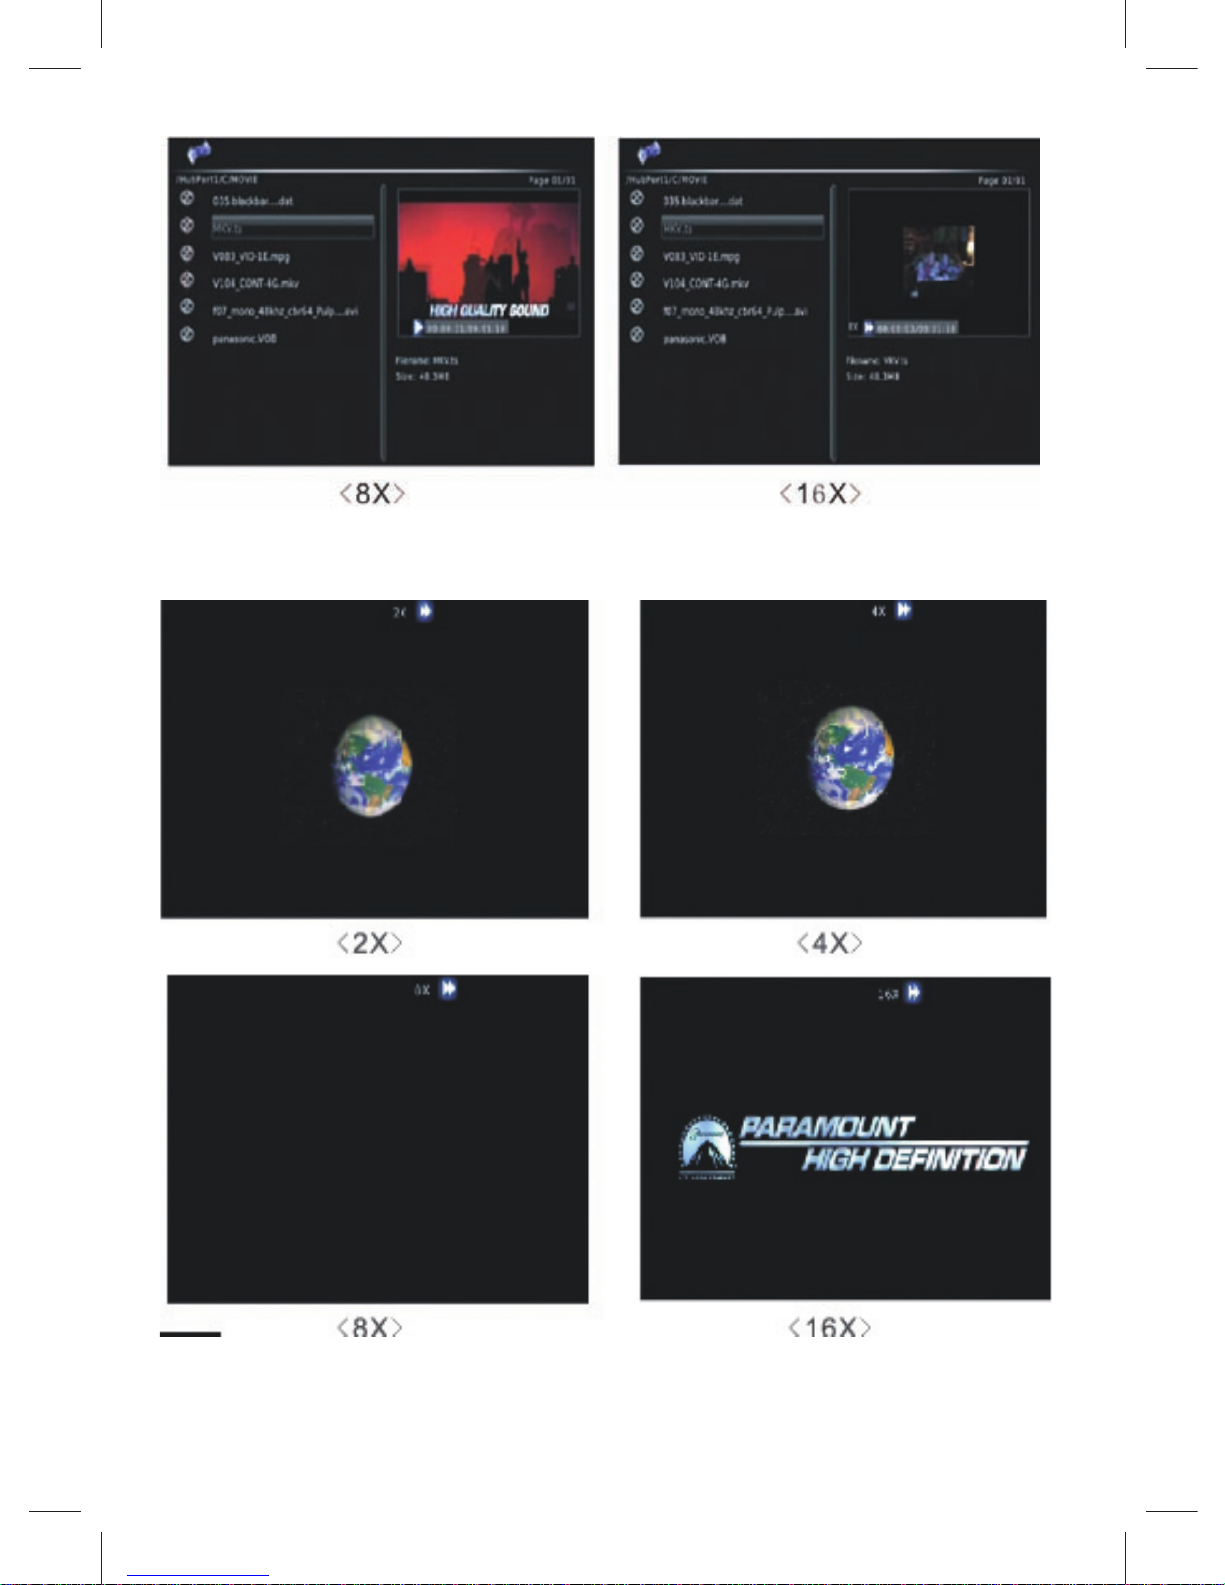
15
(Large window quickly into the movies),
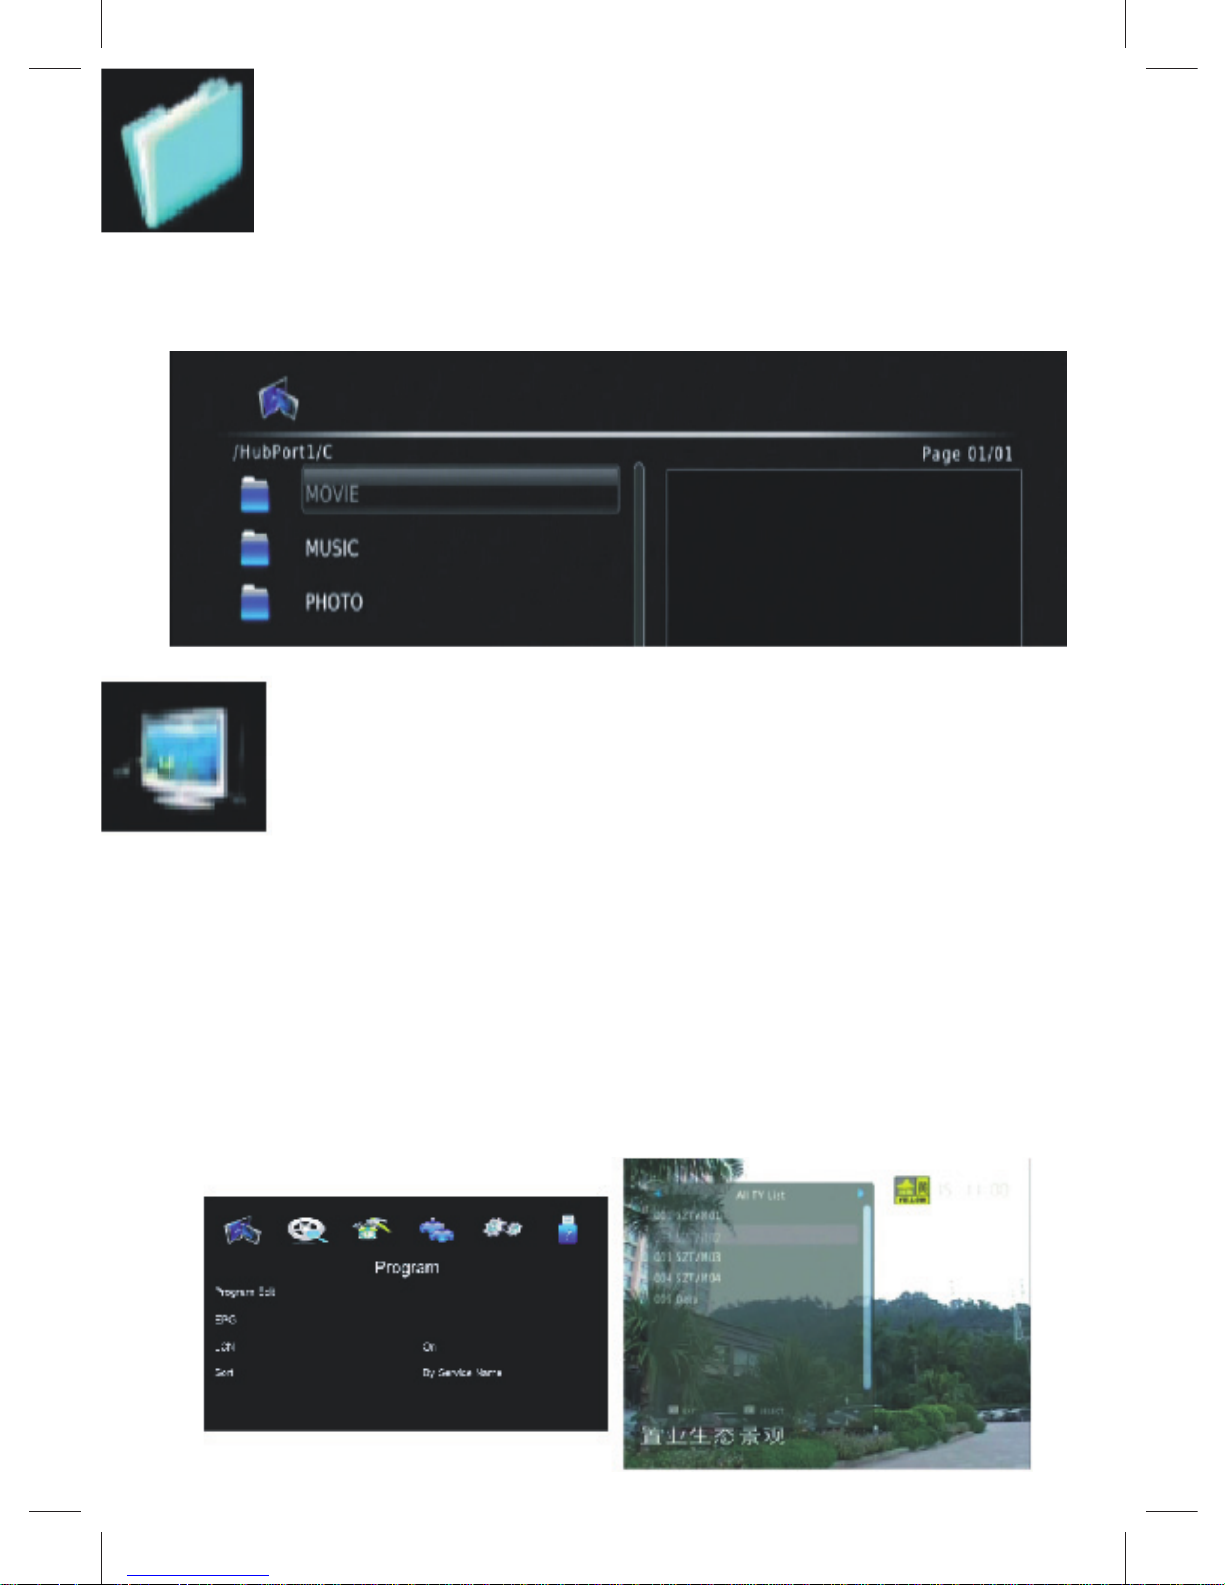
BOWSER: READ THE DOCUMENT MOBILE DISK.
6. Determine the button, can enter as shown in the picture,
and music and photo movie three files Clip.
DVBT
Basic Operation
1. Program Manage Settings
To access the Menu, press the MENU button and select [Program].
Using the RIGHT/LEFT keys to navigate through the menu. The
Menu pro-vides options to adjust the Program Manage Settings.
Select an option and press OK or RIGHT to adjust that setting.
Press the EXIT button to exit the Menu.

17
(a) Program Edit
To edit your program preferences (lock, skip, favorite, move or delete), you will need to enter the Program Edit Menu. This Menu requires a password to access. Enter the default password ‘000000’.
The master unlock password is “888888”.
Set Favorite Channels
You can create a shortlist of favorite programs that you can easily
access. Set Favorite TV or Radio program:
1. Select then press the FAVOURITE button. A heart-shaped
symbol will appear and the is marked as a favorite.
2. Repeat the previous step to select more Favorite.
3. To confirm and exit the Menu, press the EXIT key.
Disable Favorite TV or Radio Channel:
Select the Favorite channel and press Favorite button on
the remote control to cancel.
View Favorites
1. While in normal viewing mode, press Favourite button and the
Favorites Menu will appear.
2. Press UP/DOWN to browse through your Favorites Channels.
3. Press OK to select your favourite. While in normal viewing
mode, press channel.
Delete a TV or Radio Program
1. Select the Program and then press the BLUE button. A will
appear message. Press OK to delete the channel.
2. Repeat the previous step to select more to delete.
Skip TV or Radio Channel
1. Select the channel you would like to skip and press the GREEN
button. A skip symbol is displayed. The channel is marked as
a skip.
2. Repeat the previous step to skip more channels.
3. To save your settings and exit the menu, press EXIT key.

18
Disable the Skip Channel function:
Select the Skip channel and press the GREEN button on the remote control to cancel.
Move a TV or Radio Program
1. Select the preferred channel then press the RED button.
A move symbol will appear.
2. Press UP/DOWN to move the channel
3. Press OK to confirm.
4. Repeat the above steps to move more channels.
Lock Program
You can lock selected programs for restricted viewing.
Lock a TV or Radio channel:
1. Select the preferred channel then press the YELLOW button.
A lock shaped symbol is displayed. The channel is now marked
as locked.
2. Repeat the previous step to select more channels.
3. To confirm your settings and exit the menu, press the EXIT
button.
4. Press the YELLOW button to disable the locked channels
function.
5. To view the locked, you will be channels required to enter
either the default password ‘000000’ or your last set password.
The master unlock password is ‘888888’.
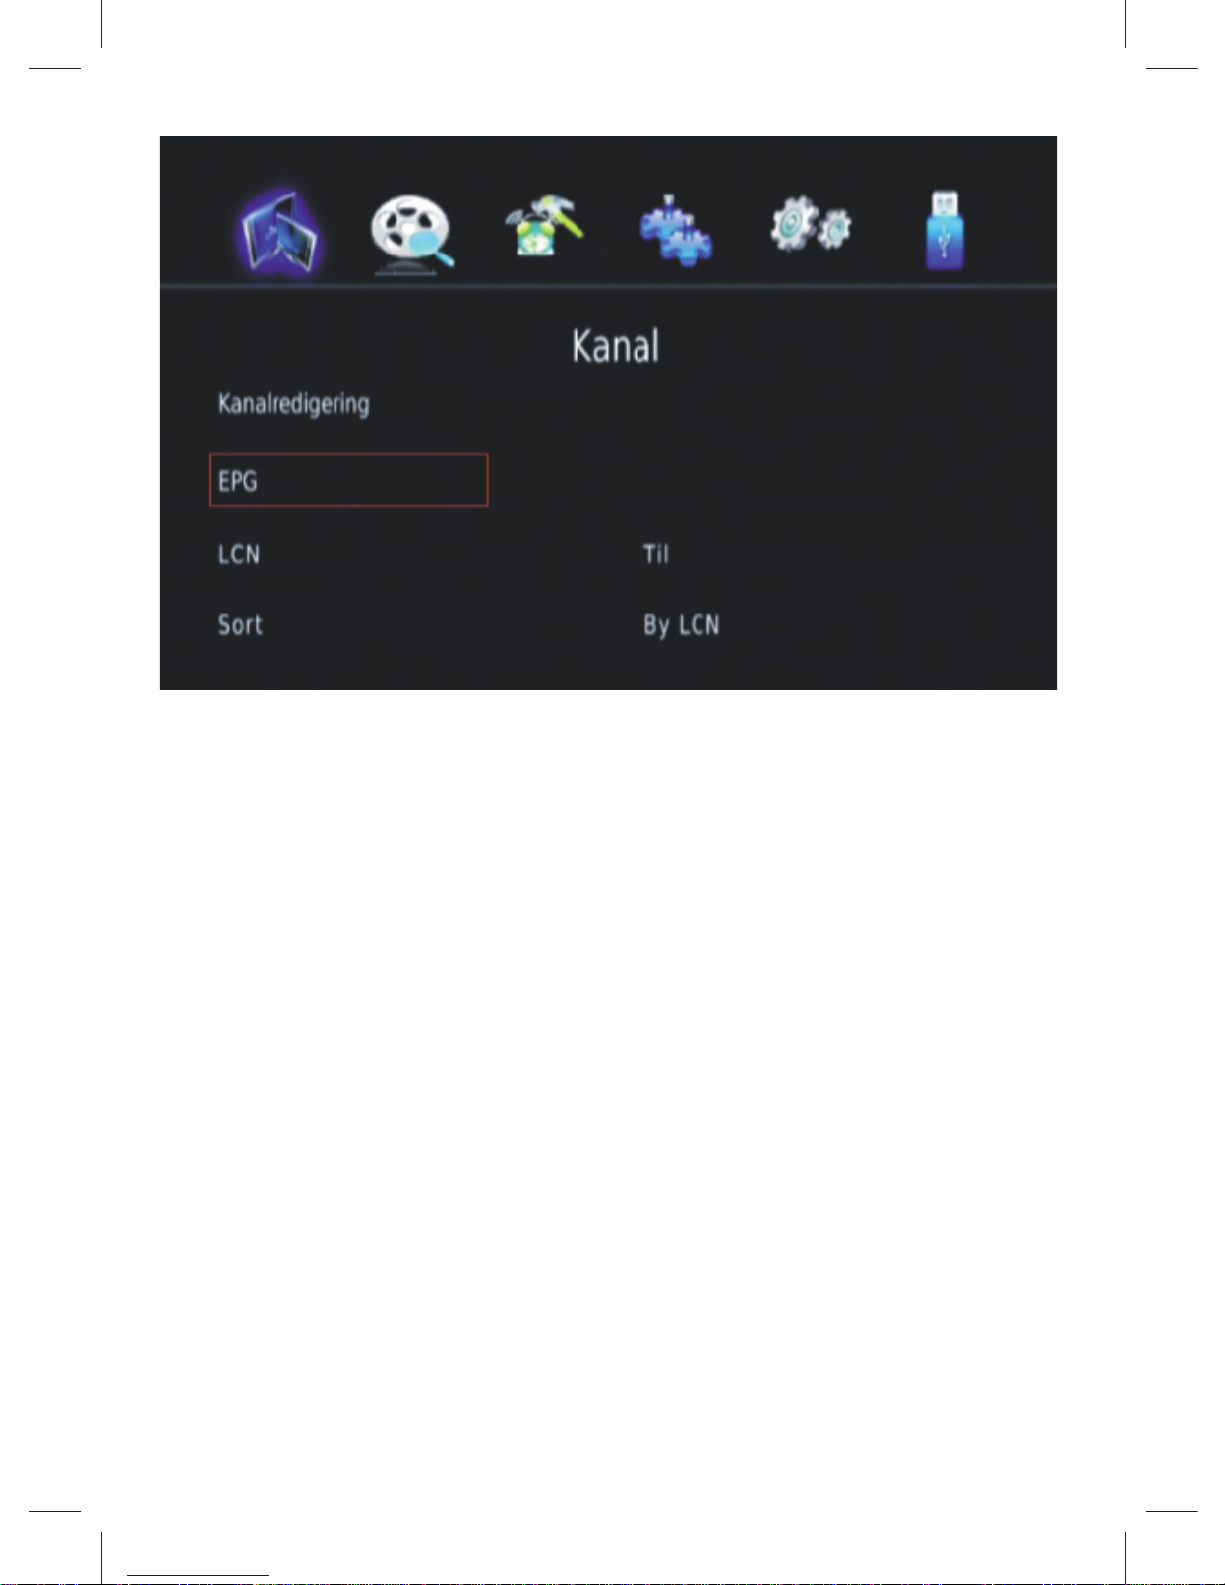
(b) EPG (Electronic program guide)
The EPG is an on-screen TV guide that shows scheduled programs seven days in advance for every tuned channel. Press the
EPG button on the Remote Control to access the guide.
19
You can use the UP/DOWN key to select the preferred program.
If there is
More than one page of information, use the BLUE button for page
up and
The YELLOW button for page down.
(c) Sort
Sort your channels from the following options:
[By LCN] - Sort the channels in ascending order.
[By Service Name] - Sort the channels in alphabetical order.
[By Service ID] - Sort the channels according to the station.
[By ONID] - Sort the channels according to ONID.
(d) LCN (Logical channel number)
Set LCN on or off.
20
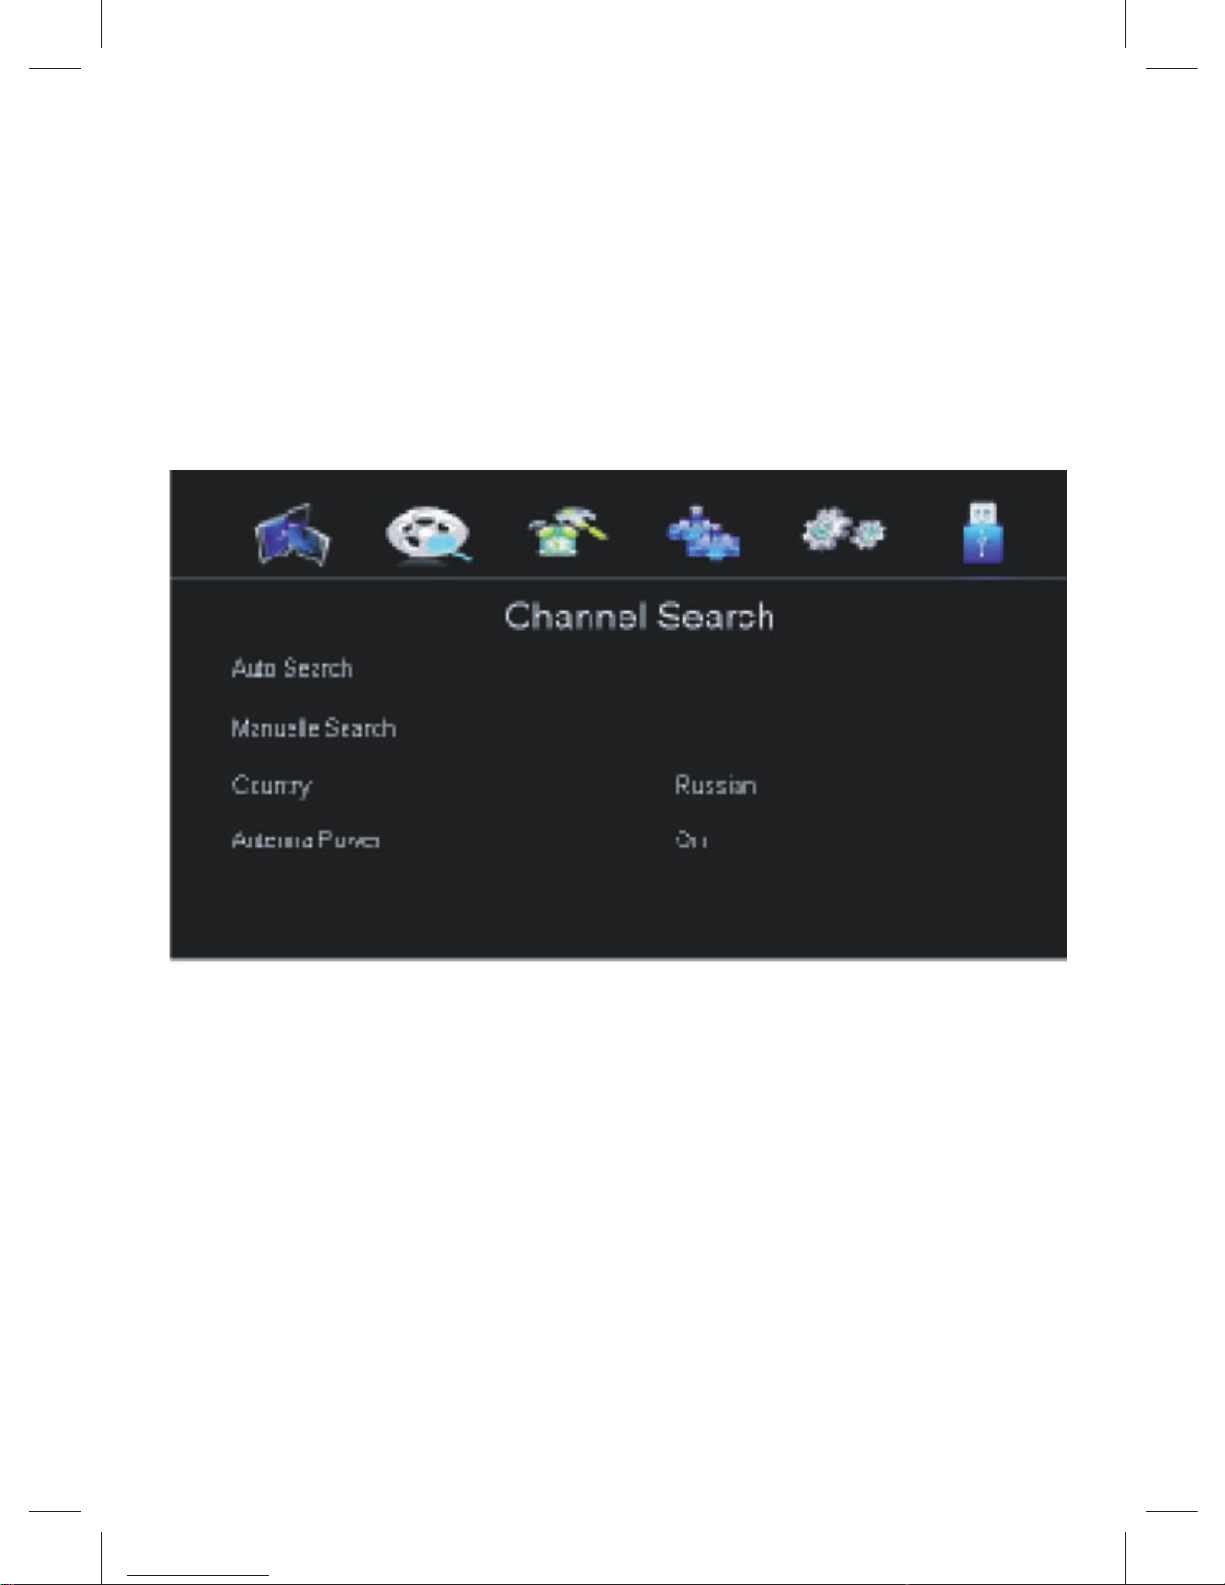
Channel Search
To access the menu, press MENU and select [Search Channel]
using the RIGHT/LEFT keys.
This Menu provides options to adjust the Search Channel settings. Press UP/DOWN to select an option and press RIGHT/LEFT
to adjust the setting.
Press EXIT to exit the Menu
(a) Auto Search
This option will automatically search for channels and save them
once the scanning is complete. All previously saved channels and
settings will be deleted.
1. Select [Auto Search] and press OK or RIGHT to start
channel search.
2. To cancel channel search, press EXIT. Any channels that
have been found will be saved.
21
(b) Manual Search
This option allows you to scan for new channels without deleting
previously saved channels and settings.
1. Select [Manual Search] then press OK or RIGHT.
The channel search screen will appear.
2. Press the RIGHT/LEFT key to select the channel
frequency.
3. Press OK to start searching channels.
If a channel is found, it is saved and added to the channels list. If
channels cannot be foundering searching, the unit will exit automatically.
(c) Country
Select your country of residence.
(d) Antenna Power
Enable Antenna Power if an external active antenna is connected.
22
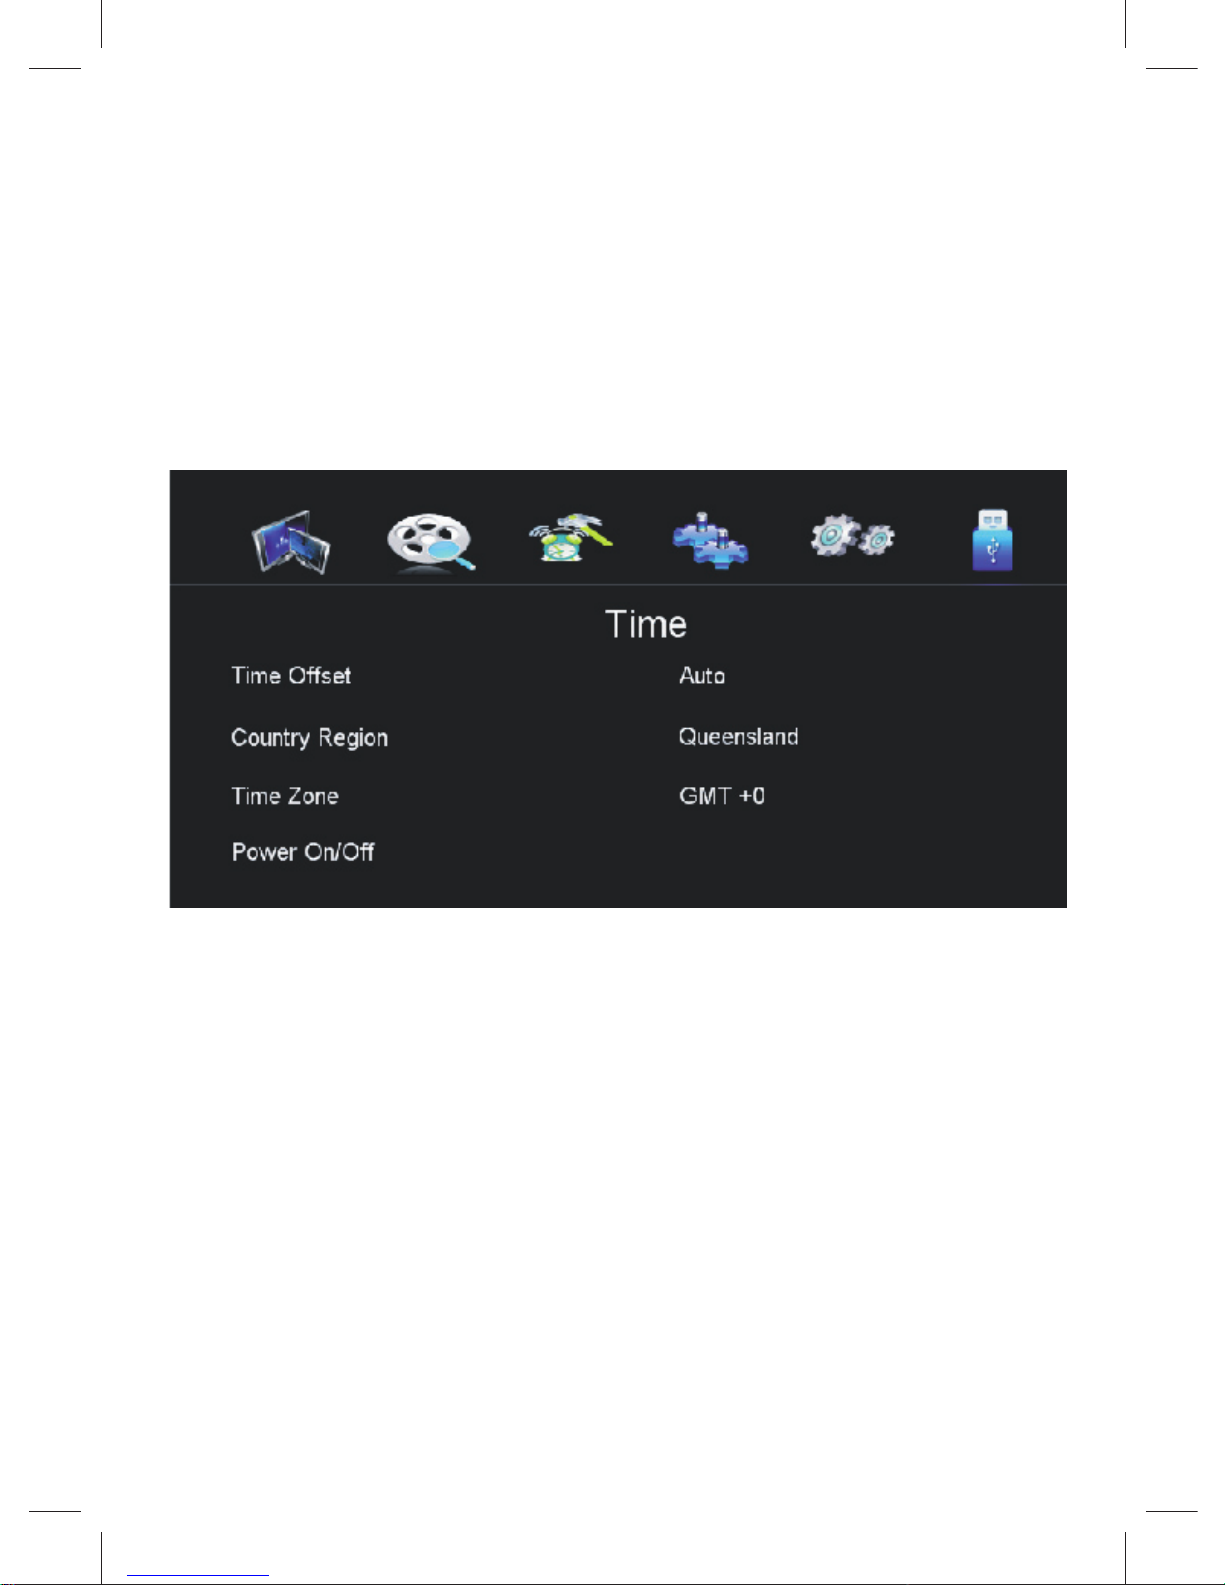
Time setting
To access the menu, press MENU select [Time] using the RIGHT/
LEFT keys. The menu provides options to adjust the time settings.
Press UP/DOWN to select an option and press RIGHT/LEFT to
adjust the settings. Press EXIT to exit the menu.
(a) Time offset
Select auto or manual for GMT offset adjustments.
(b) Country Region
Select the Country Region when [Time Offset] is set to auto.
(c) Time Zone
Select the Time Zone Offset when [Time Offset] is set to Manual.
23
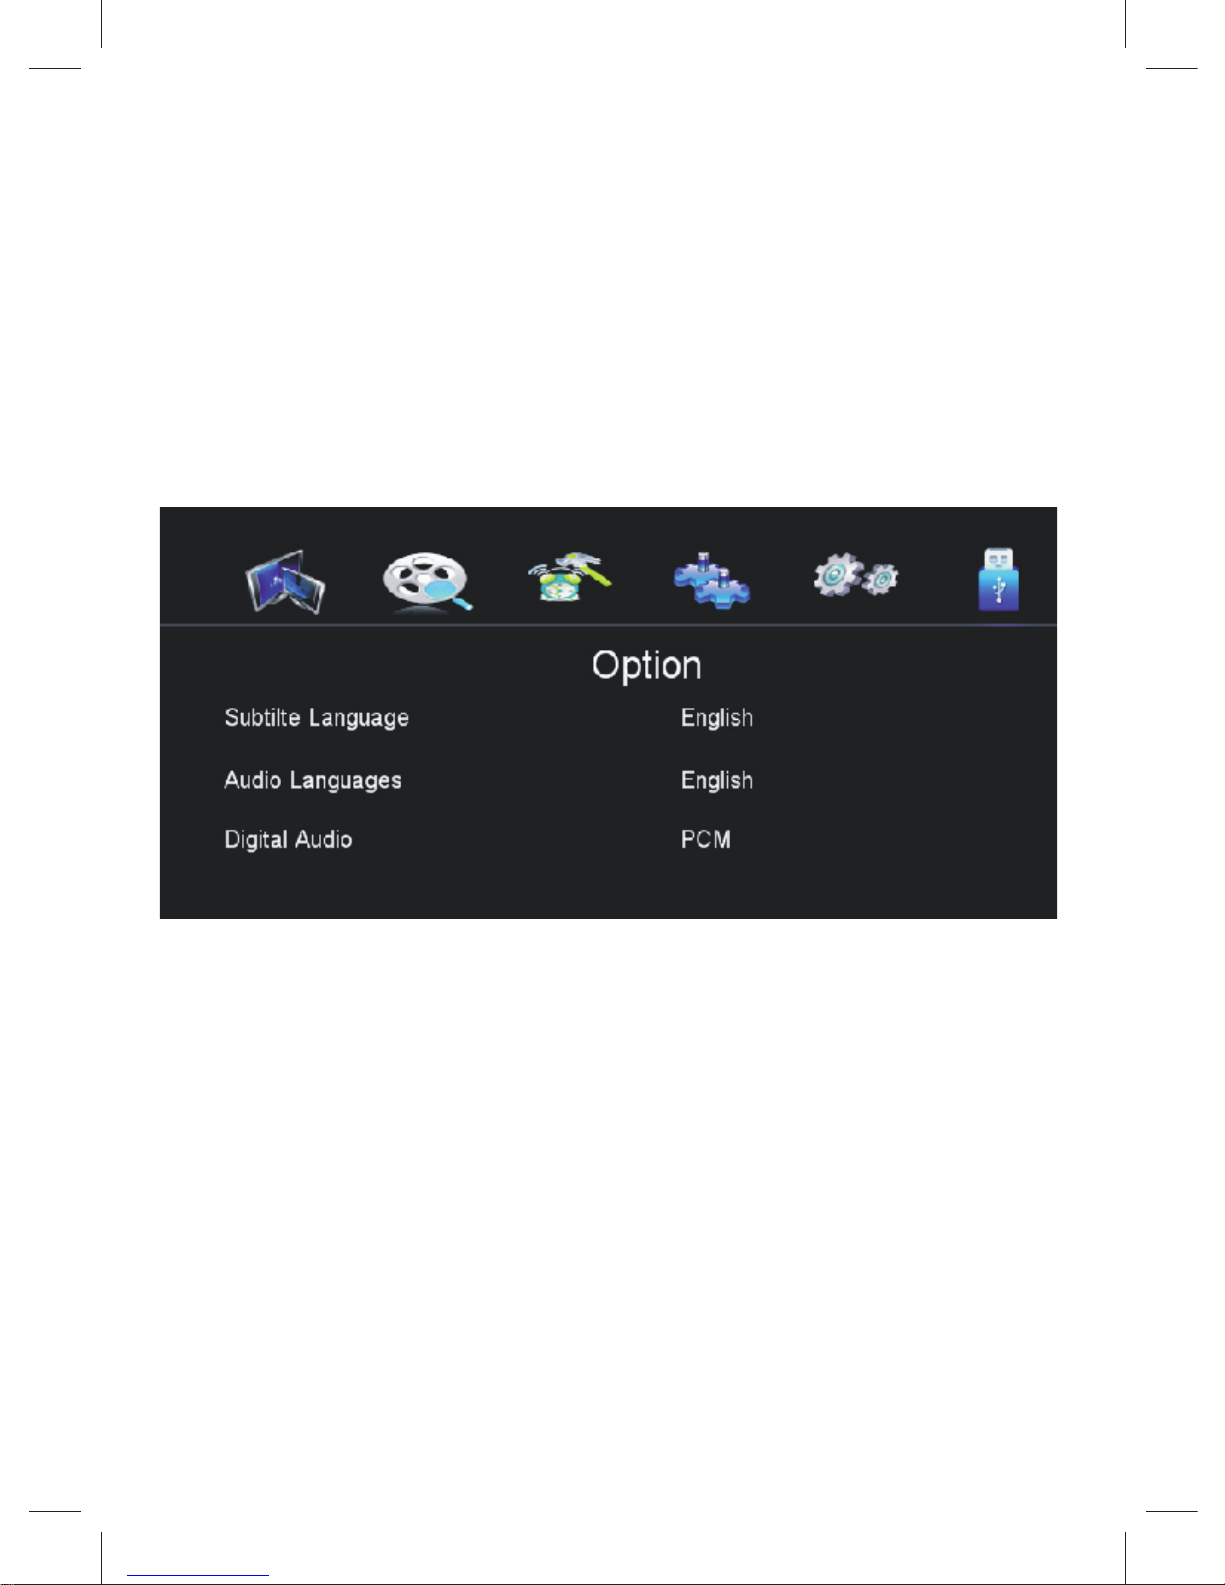
Option
To access the Menu, press MENU and select [Option] using the
RIGHT/LEFT keys. The menu provides options to adjust the OSD
Language,
Subtitle Language and Audio Language.
Select an option and press RIGHT/LEFT to adjust the setting.
Press EXIT to exit the Menu.
(a) OSD (On Screen Display) Language
Select an OSD language.
(b) Subtitle Language
Select the preferred subtitle language.
(c) Audio Language
Select the preferred audio language for watching TV channels.
If the language is not available, the default program language will
be used.
(d) Digital Audio
Select digital audio output mode.

24
RECORD FUNCTION
1. RECORD
Firstly confirm the unit have connected the storage de vice(USB),the
device must have enough space(greater than 512M).then you can
press the remote control key “REC” when the unit in DVB-T status.
the unit will store the video to the storage device as TS, the front
panel red LED light will blink and the record icon will display on
the upper left corner TV when recording. Press “STOP” to stop
the record.
2. TIMESHIFT
Press the “PLAY/PAUSE” key when recording ,the unit will enter
the TIMESHIFT status (max 2 hours).You can watch the TV freely
by PAUSE,FAST-FORWARD,FAST-BACKWARD program in the
timeshift status.Press “STOP” key to stop the timeshift
3. TIMER RECORD
Press “EPG” key when in DVB-T status,the unit will pop the TIMER
RECORD setting menu.you can freely set the time that you want
to record program .the unit will record the program as your setting
time automatically.
25
PVR: BROADCAST BURN FILES. ALSO CAN WATCH
ONE FILE.
8. Is the pictures into PVR.
(this is respectively, music movie and into the photo files folder,
browse the pictures).

26
IMPORTANT SAFETY INSTRUCTIONS
1) Read these instructions.
2) Keep these instructions.
3) Heed all warnings.
4) Follow all instructions.
5) Do not use this device near water.
6) Clean only with dry cloth.
7) Do not install near any heat sources such as radiators, heat
registers, stoves, or other device (including amplifiers) that
produce heat.
8) Operate this product only from the type of power source indicat ed on the label. If you are not sure of the type of power con nected to your home, consult your local power company. Dis connect the unit from the mains before any maintenance or
installation procedure.
9) Protect the mains cord from damage and stress.
10) Only use attachments/accessories specified by the manufac turer.
11) Unplug this device during lightning storms or when unused for
long periods of time.
12) Refer all servicing to qualified service personnel. Servicing is
required when the device has been damaged in any way,
including damage to the mains cord or plug, if the unit has
been exposed to liquid or moisture, has been dropped or is not
operating correctly.
13) Do not impede the air flow into the unit by blocking the ventila tion slots.
14) Attention should be drawn to the environmental aspects of bat tery disposal.
15) Use the device in moderate climate.
WARNING: To reduce the risk of fire or electric shock, do not
expose this device to rain or moisture.
WARNING: The batteries shall not be exposed to excessive heat
such as direct sun light, fire, etc.
Important Safety Instructions

27
REQUEST&HELP
Q1:My product has no response, or TV no display ,or screen
display unnormal.
A1:1.check if the audio and video cable is connected correctly.
2.Check if the TV signal under correct mode.
3.check if the output is switched to the correct mode by using
remote control.
4.Check if the product connect to computer correctly,when con nect to computer only take it as the hard disk but can not
play.
Q2:My product does not start
A2: Check if the product plugged into a power source and that it is
turn on. Please try to replug into power source .
Q3: My speaker has no sound
A3: Check if the volume is turned to the mini-mum and the audio
cable is connected properly.
Q4: My remote control cannot use or not flexible.
A4: Check if the distance too far or the angle is too deflated.make
sure the batteries of the remote is enough to use.
Q5: My product cannot read the hard disk or no function
A5: Check if your hard disk formatted.
Check if the connection in good statement.
Check if the power source in good support.
Check if your hard disk is proper one (please use the good
quality hard disk that we recommend.)
Q6: My PC card/USB/Hard disk cannot be found after plug in.
A6: Replug the al l storage devices or turn off the product then turn
it on again. Check if the storage devices are the good one.

28
Q7: why cannot change the subtitle format between SMI, SSA,
and ASS even we do the steps by your user guide?
A7:Though it is the SMI,SSA,SRT,ASS subtitle file, the system
cannot recognize if you use different codec’s .Please try to
change the subtitle code in the PC first , the steps are the fol lowing :(we take the system windows XP as a sample:)click the
title that need to be changed by right mouse button,--->click
“open” in the box ”---> select “choose application from list”
and confirm ---> click “note” and open the subtitle file to click
”file” menu--->“ save as “into the ANTI list .see the following
picture.
 Loading...