

Go Clever WIFI ZM7WIFI, 3G ZM73G User Manual

User
manual
choose version:
WIFI ZM7WIFI
1
3G ZM73G
2

User
manual
WIFI ZM7WIFI

Introduction
Packaging contents
Design elements
Orientation and power supply
Start-up
Choosing a language
WiFi connection
Searching for friends via WiFi
Searching for friends via email
Touch display - gestures
Using your ZOOM.ME display
ZOOM.ME screen orientation
Slideshow
Your friends list
Gallery
Quick menu
Settings
Exporting images to an SD card
Connecting ZOOM.ME to a computer
About your ZOOM.ME
Display messages
Frequently asked questions
Technical specications
Cleaning and maintenance
Usage and repairs
Safety information
Wireless functionality
AC adapter
Proper disposal of electrical and electronic
equipment
Declaration of conformity
Warranty and servicing
Warranty card
Conteiment
2
3
4
7
8
8
8
9
10
10
12
12
13
13
15
16
18
20
21
21
21
23
24
25
25
25
26
27
27
28
29
34
2
Introduction
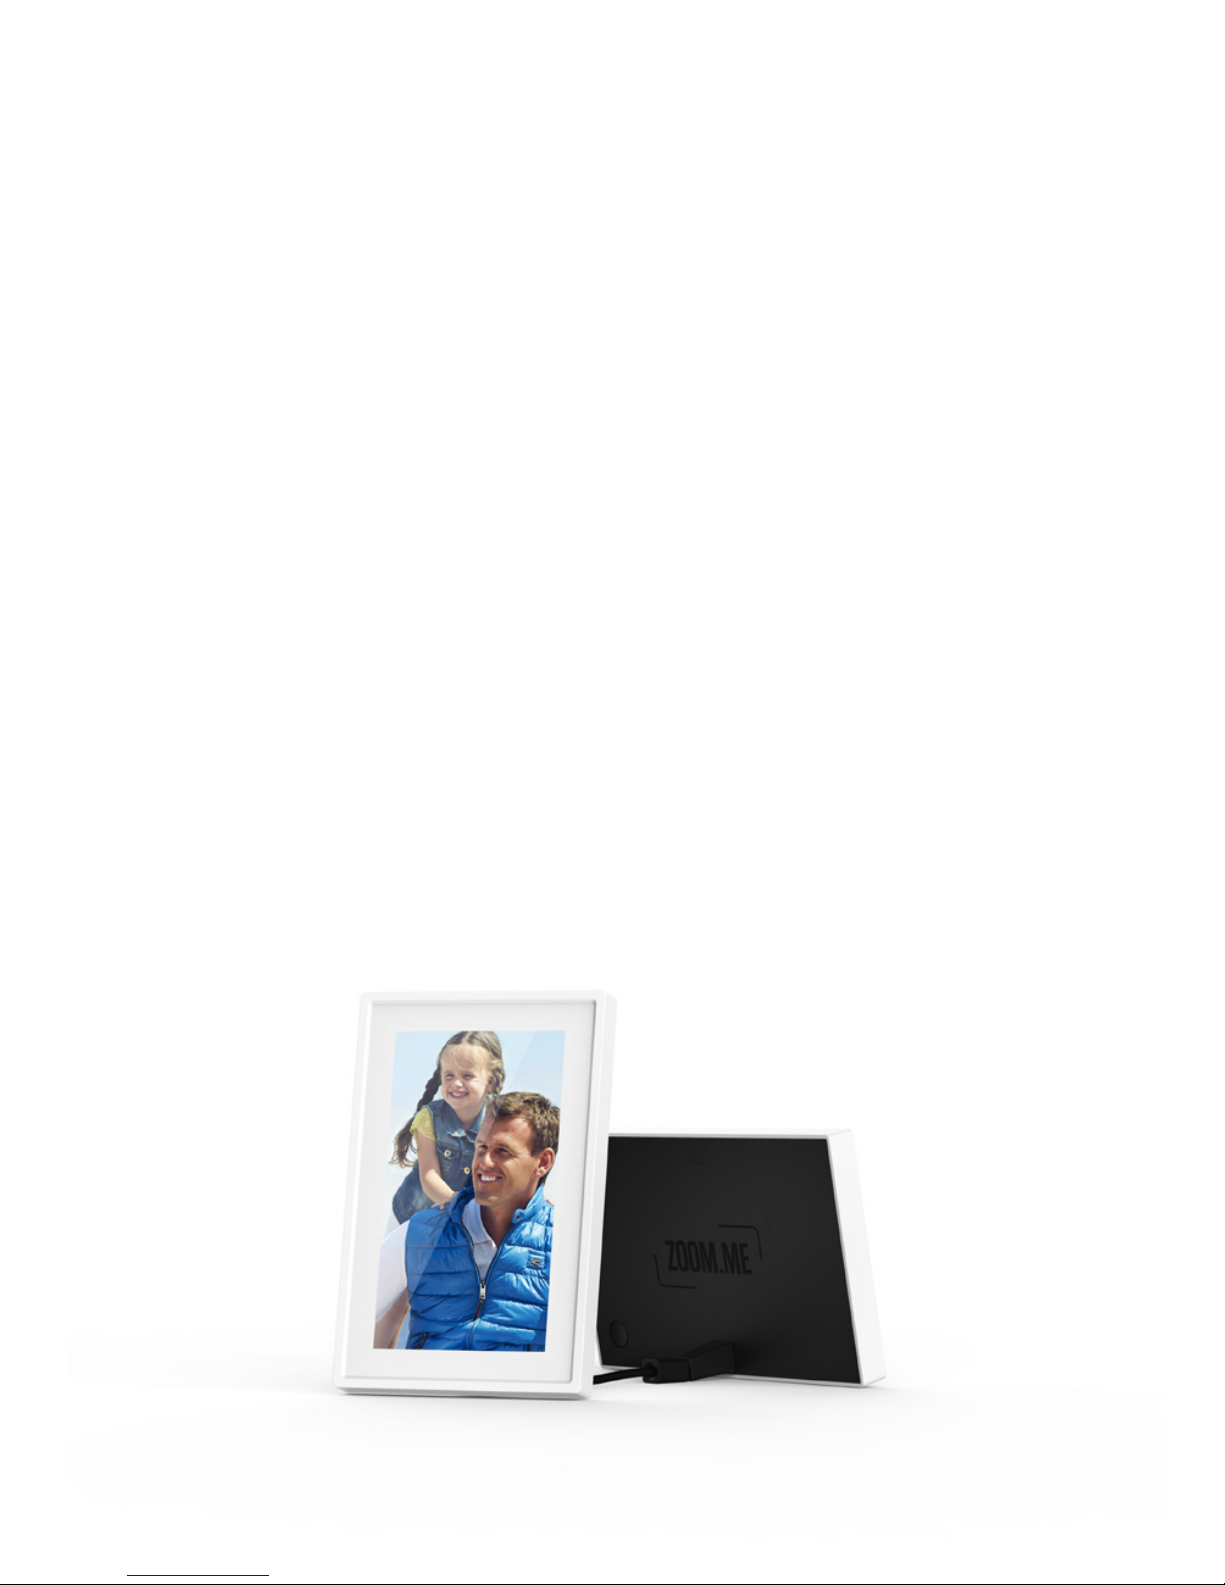
Thank you for purchasing ZOOM.ME. Now you can receive gifts each
and every day.
ZOOM.ME is an innovative approach to keeping in touch with your
friends and family. At the heart of its functionality, lies an aesthetically
designed and easy to use display. The device displays pictures sent
by your friends from their smartphones via a free dedicated app.
Whenever a friend or a loved one wants to share a special moment
with you, all they have to do is take a picture using their smartphone
and use the app to send it straight to your ZOOM.ME. As a ZOOM.
ME user, you don’t have to lift a nger - the picture will be displayed
automatically. ZOOM.ME will compose the pictures you receive into a
unique album. With ZOOM.ME, any moment captured with a camera
can become a one-of-a-kind gift. You can also send a picture to
several ZOOM.ME users at once. Each ZOOM.ME can receive images
from any number of sources.

3
Packaging contents
The set includes:
1. The ZOOM.ME display,
2. AC adapter with cable and pin plug,
3. Abridged user manual (Quick Start Guide),
4. User manual + warranty card,
If any of the above elements is missing, or has been damaged,
contact the seller.
Before plugging in, remove all protective covers and packaging
elements.
Please be sure to carefully read through the hereby user
manual.
4
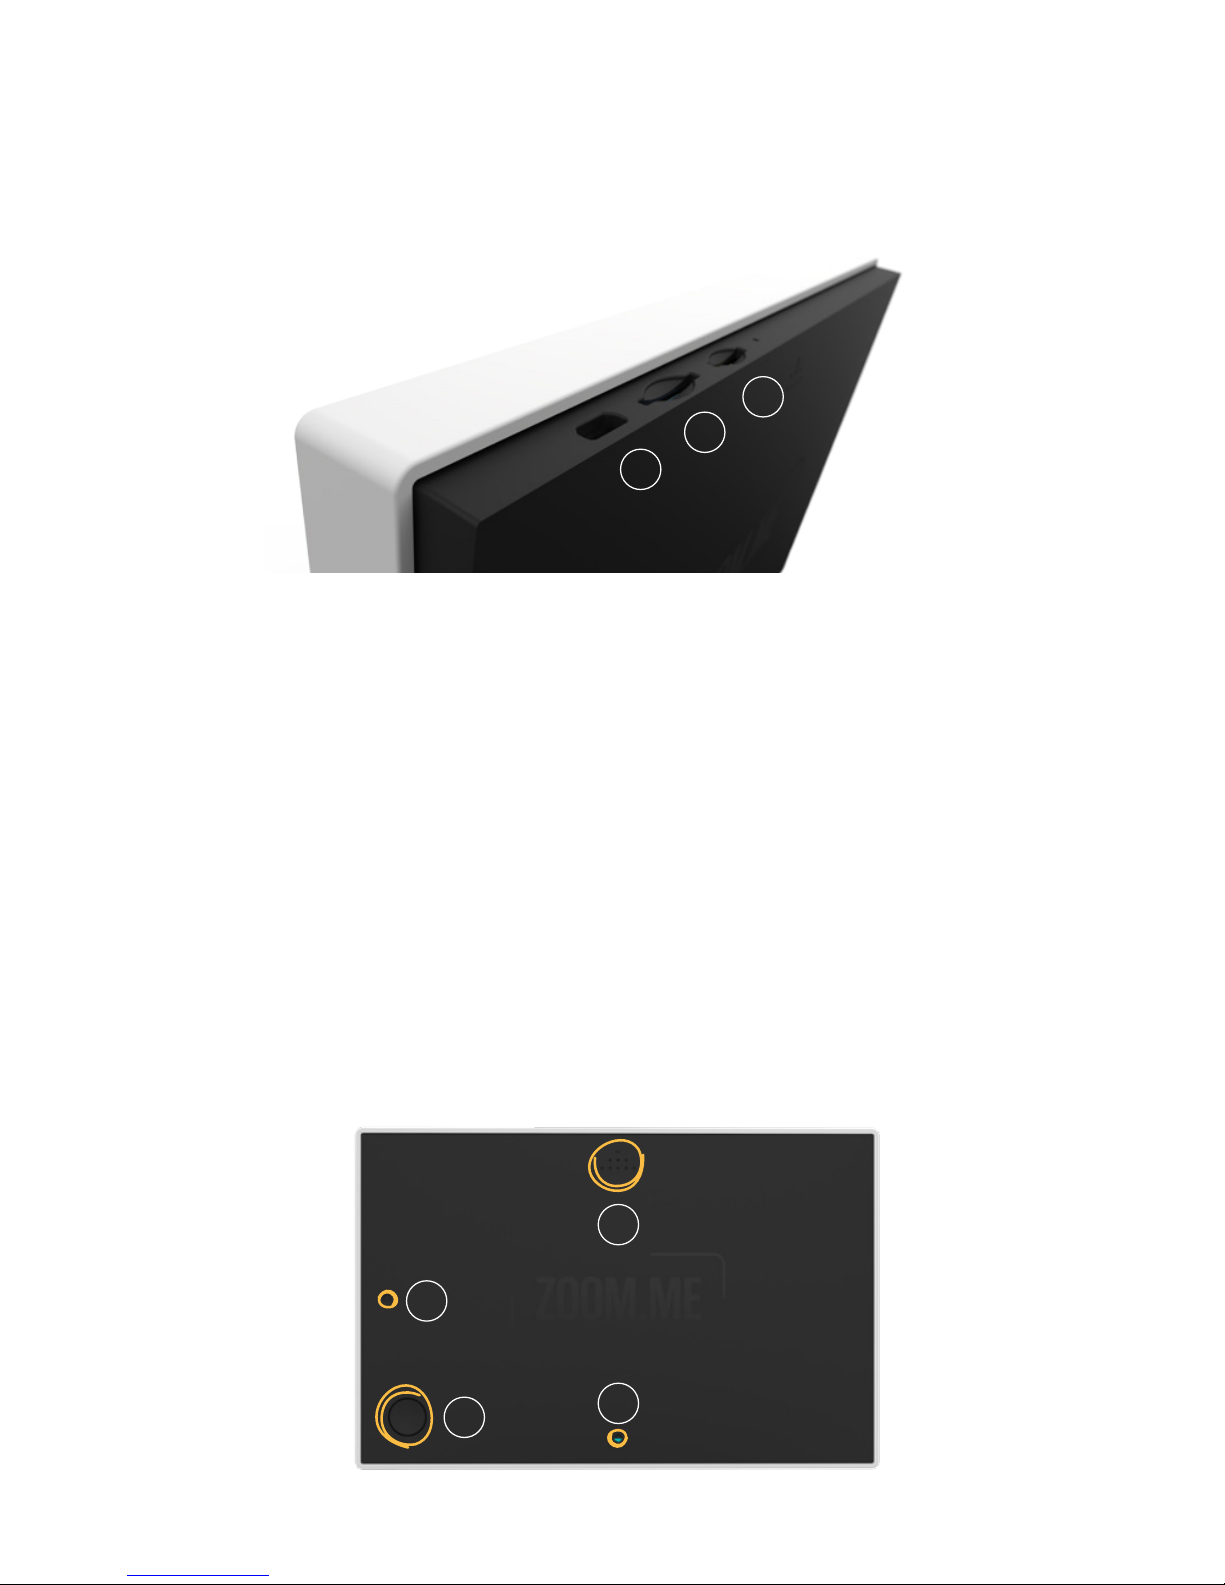
Design elements
Ports and buttons
1. A MICROUSB PORT for PC connectivity,
2. A MICROSD MEMORY CARD SLOT for backing up your
pictures,
3. A RESET BUTTON,
4.,5. A POWER SLOT to connect the AC adapter,
6. A POWER BUTTON for turning the device on and off. Activating
the sleep mode,
7. OPENING THE CASING: In order to access the microSD card
slot, the SIM card slot and the microUSB port, press the desig-
nated point on the back of the casing.
1
5
7
6
4
2
3
5
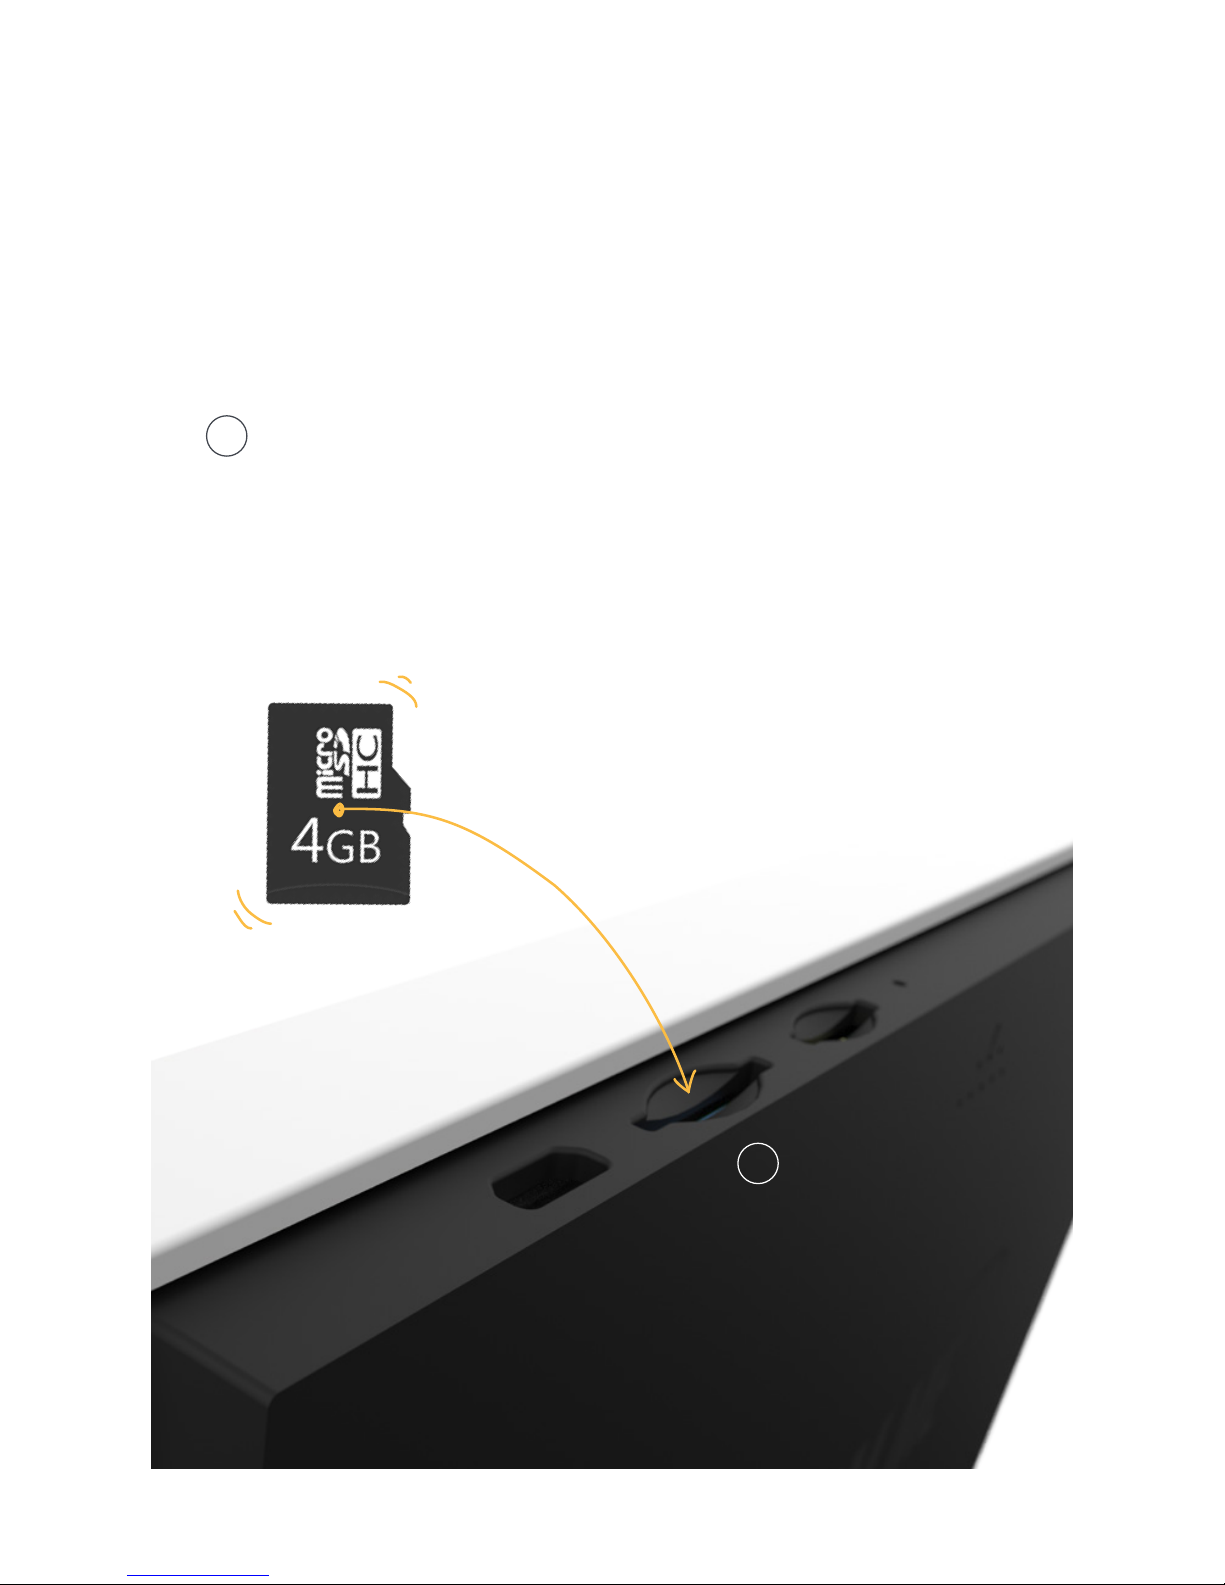
MicroSD card installation
The microSD card serves as storage for backup copies of pictures
stored on the device. The installation must be carried out with the
device turned on. Open the case, insert the card in the appropriate
slot
1
and close the case.
Acknowledge the message on your ZOOM.ME display.
Design elements
1

6
Design elements
The RESET button
If the device is not working properly, or ceases to respond, you should
use the reset button located in the sliding part of the case, by carefully
pressing it with a thin object.
Activating the device
In order to activate the device, press and hold the power button
for ca. 5 seconds, until you see the start-up image show up on the
ZOOM.ME display, then release the button and wait for the device to
fully activate.
Deactivating the device
In order to deactivate the device, press and hold the power button for
ca. 5 seconds. A deactivated device cannot receive incoming pictu-
res. They will be received once the device has been activated again
and once the ZOOM.ME has logged in to the network.
Sleep mode
In order to initiate the sleep mode, simply press the power button.
The display will deactivate, but the device will still receive incoming
pictures.
7
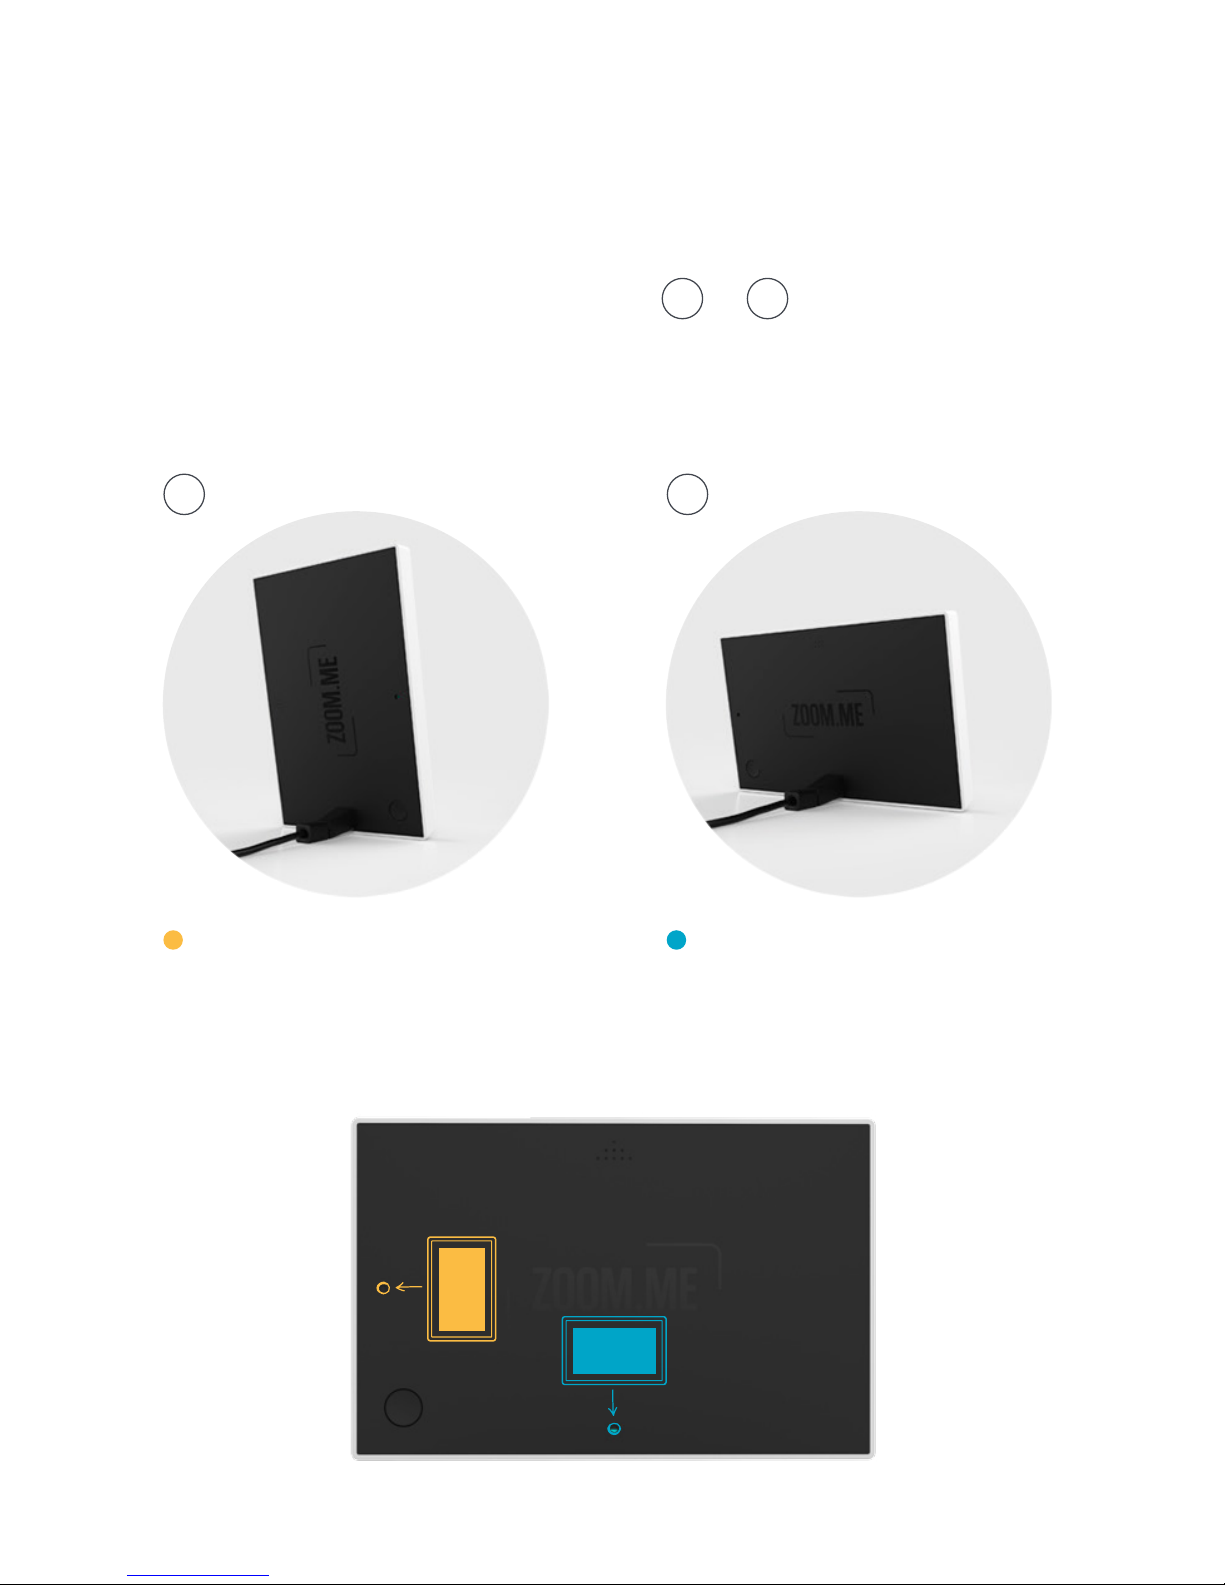
Orientation and power supply
Choose the orientation in which you wish to view your pictures. Con-
nect the AC adapter to a power outlet and then insert the square plug
of the power cable to the selected (g.
1
or
2
) slot on the back
(darker side) of the ZOOM.ME. You will hear a distinctive click when
once the cable has been properly plugged in.
1 2
Power connection for
the vertically oriented
ZOOM.ME
Power connection for
the horizontally oriented
ZOOM.ME
8
Start-up
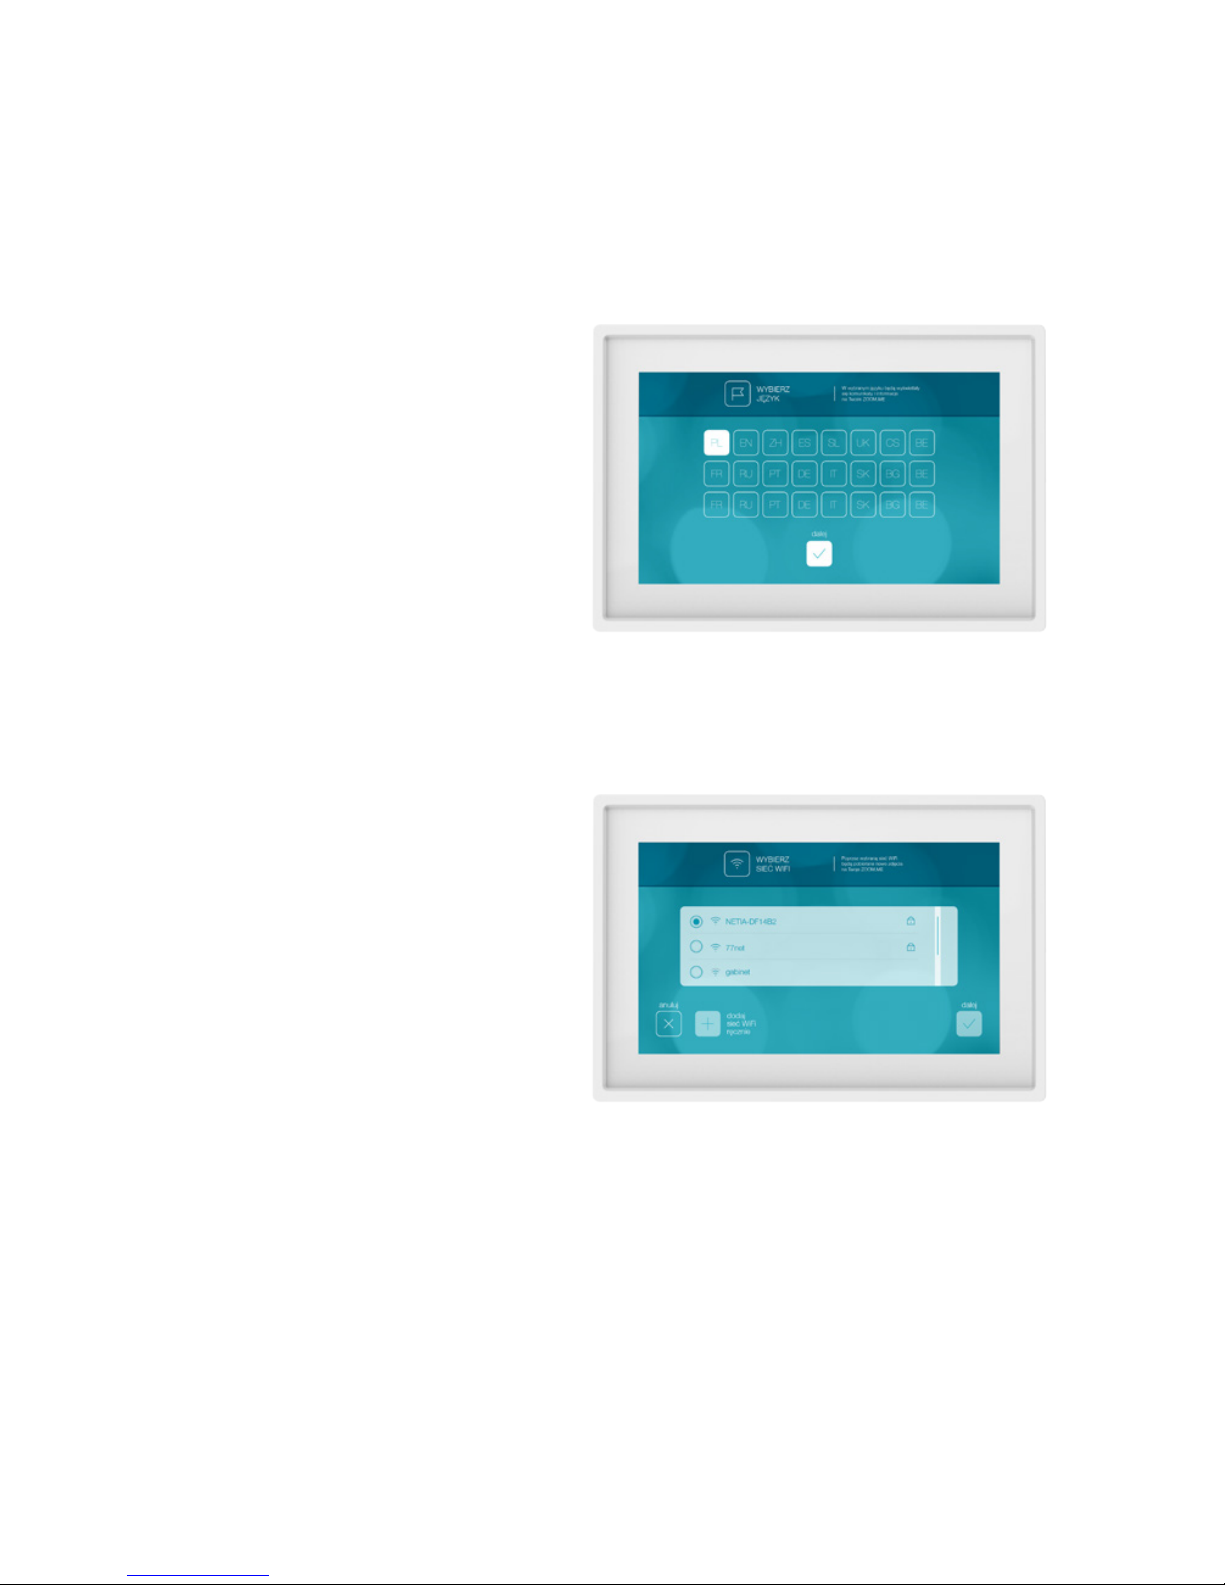
Choosing a language
Once you’ve connected the device to a power source and turned it
on, follow the onscreen instructions.
Choose the message
display language on your
device and touch the
“Next” button.
In order to receive mes-
sages from your friends
and family, ZOOM.ME
must be permanently con-
nected to a WiFi network.
Choose a preferred
network from the list of
available networks and touch the “Next” button. If necessary, type
in the password using the onscreen touch keyboard that will appear
upon touching the input eld. You can also tick the “Show password”
option to display characters while typing. Once you are nished, touch
the “Next” button.
WiFi
connection
9
WiFi connection
If the network does not appear on the list, or is hidden, touch
the “Add WiFi network manually” button. Type in the name of the
network and the password in the appropriate elds and touch the
“Add” button.
Hint: You can scroll through some of the screens. Touch the
display and then move your nger up or down to scroll through the
content.
Hint: The moving rainbow-colored bar under the title of the
current screen signals ongoing tasks on your ZOOM.ME, such as
searching.
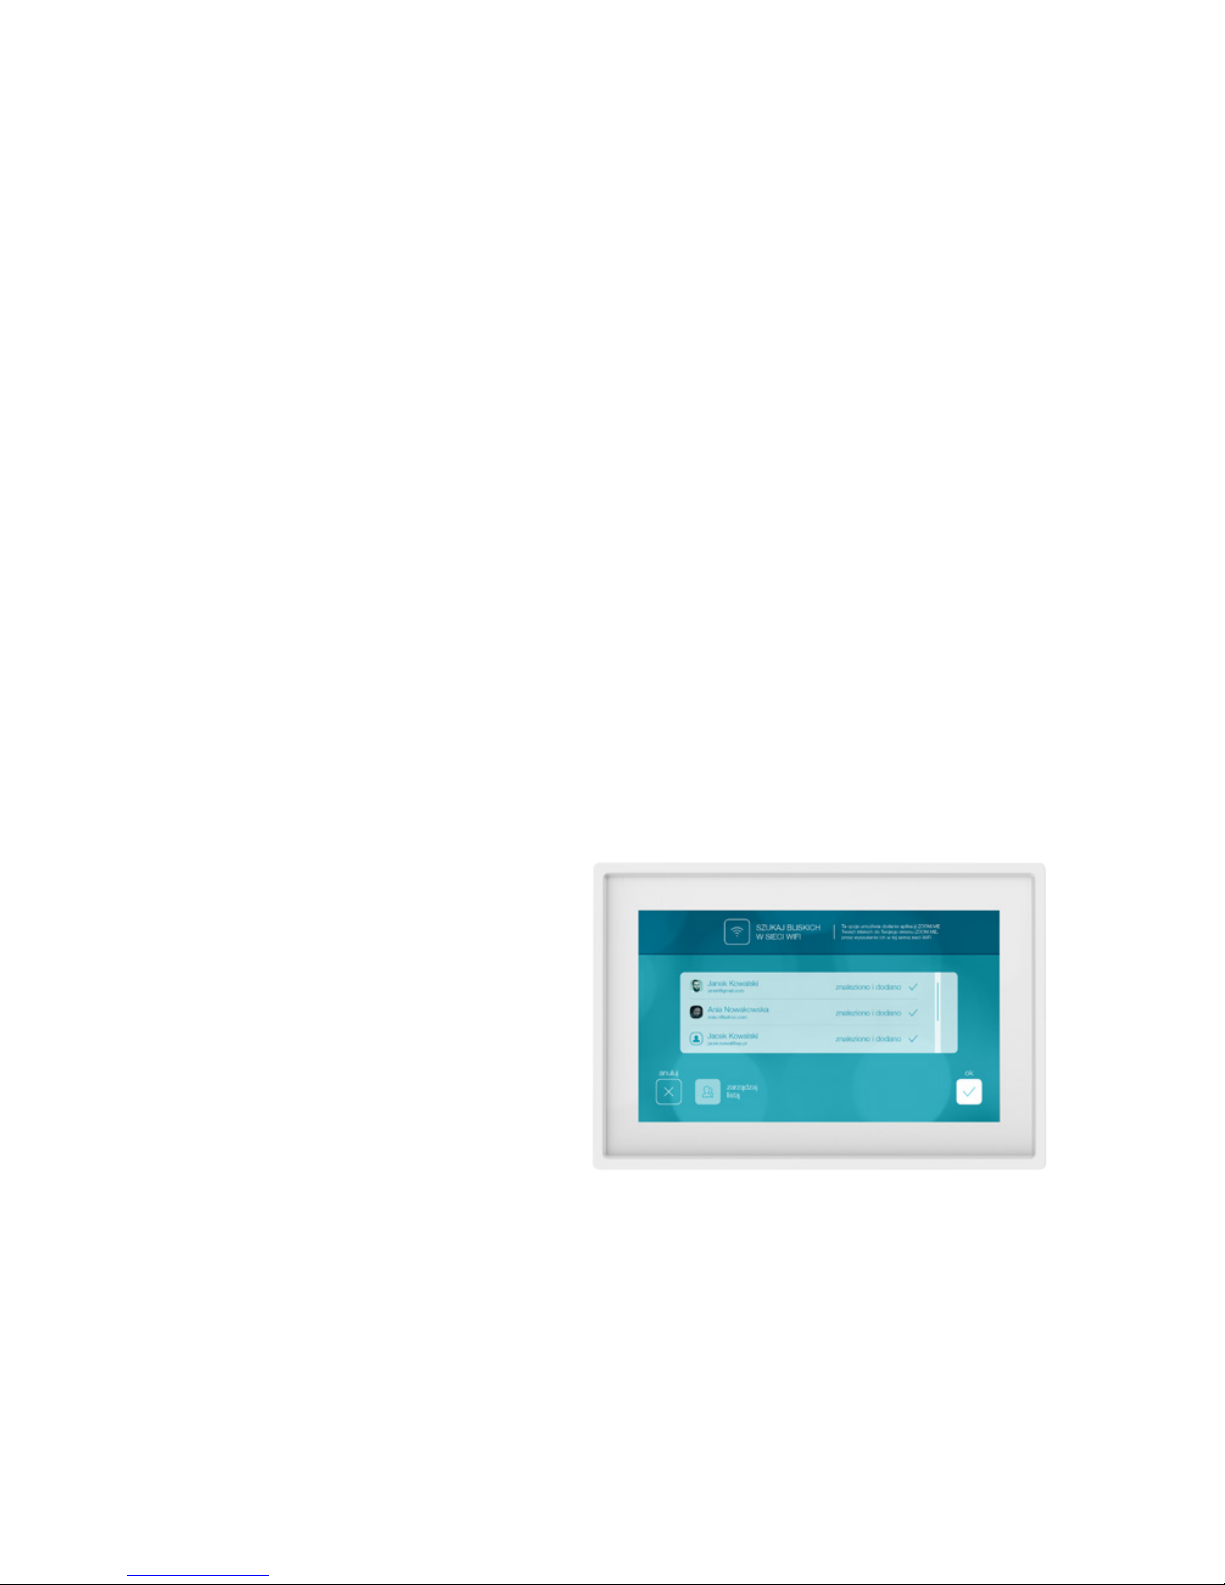
This option lets you add
your friends’ smartphones
to your ZOOM.ME by
searching in the same WiFi
network. Active transmit-
ters will be displayed in
your ZOOM.ME. Select
each person you wish to
add to your accepted list.
This will allow them to send pictures to your ZOOM.ME.
Searching for friends via WiFi
10
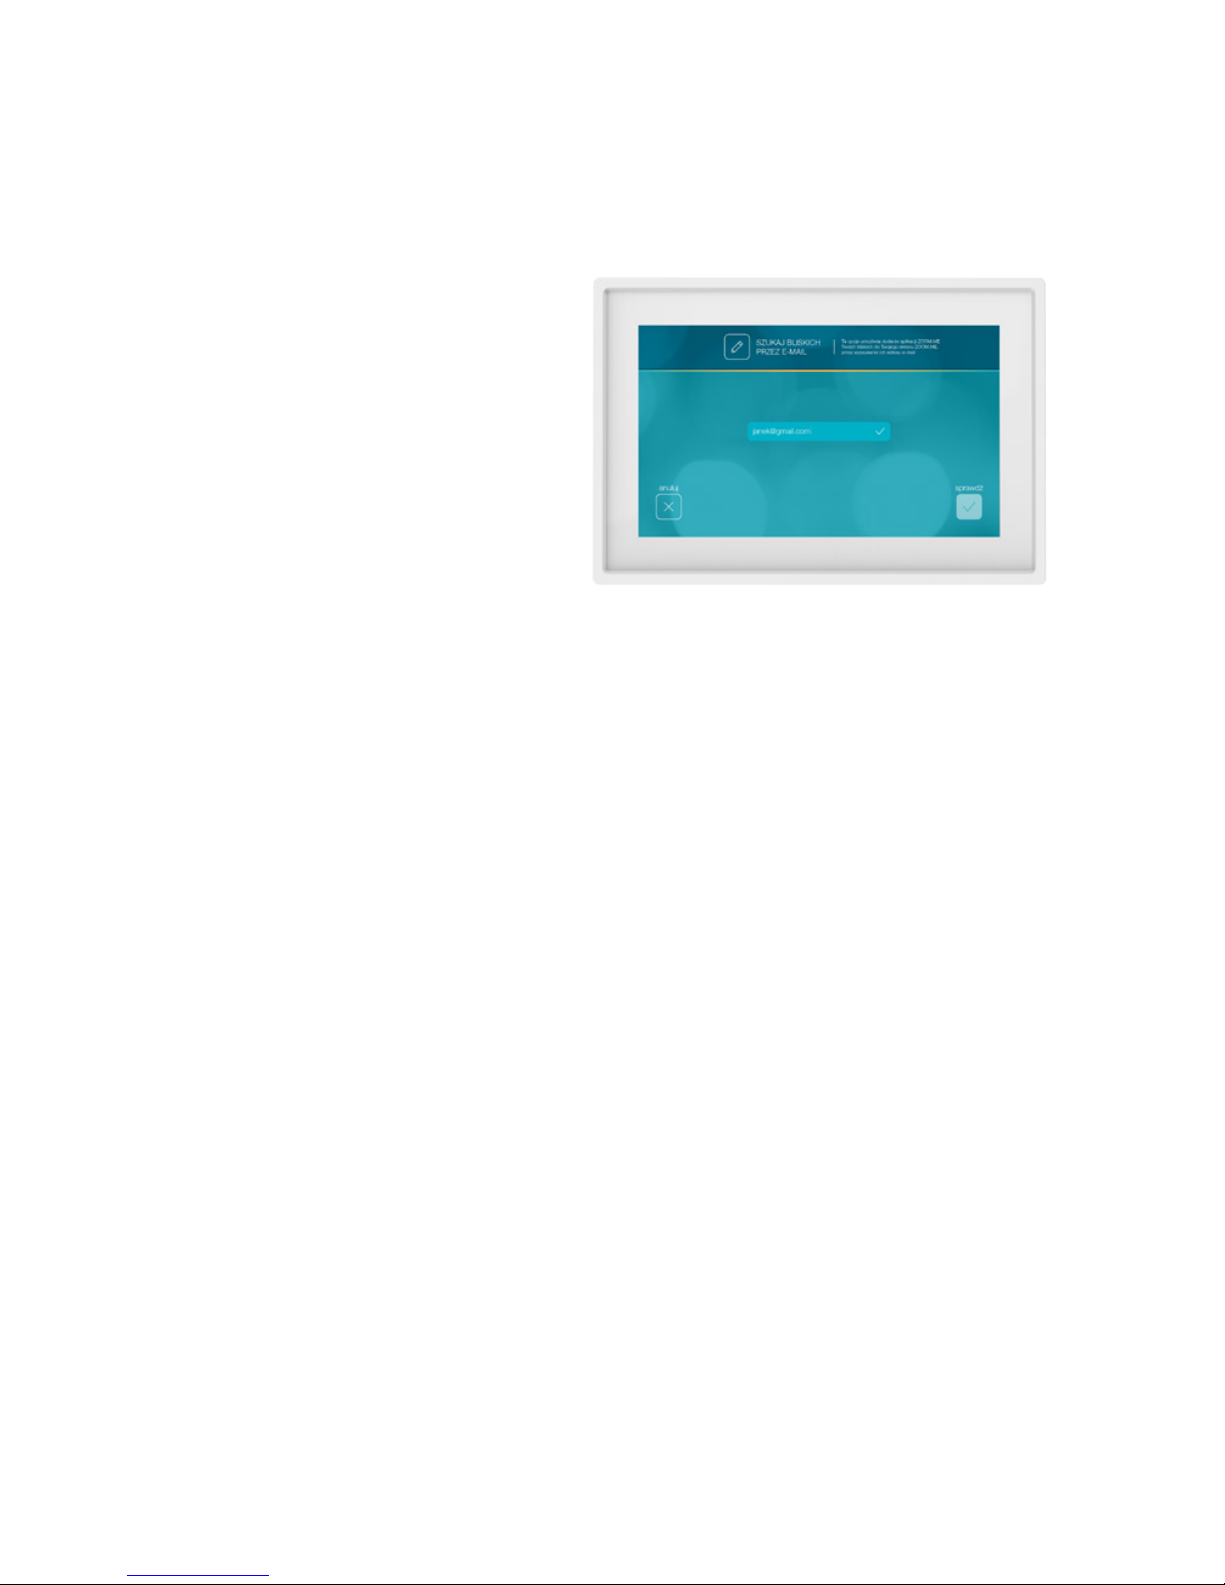
Searching for friends via email
This option lets you add
your friends’ smart-
phones to your ZOOM.
ME by searching their
email address. Type a
given person’s email ad-
dress has been registred
in the ZOOM.ME mobile
app. Touch the „Verify”
button.
Your ZOOM.ME will verify
the registered email address and display the appropriate user. Touch
the “Conrm” button to add that person to your list, or “Cancel”. If
the email is not registered or invalid, your ZOOM.ME will display the
appropriate message.
Touch display - gestures
ZOOM.ME is equipped with a state of the art IPS touch display that is
operated by using gestures, which will allow you to use your ZOOM.
ME in an intuitive way.
After the initial conguration, a user guide covering the basics of
ZOOM.ME will appear. See how it works.

11
Touch display - gestures
SCROLL THE SCREEN TO THE LEFT to view the
next picture in the slideshow.
SCROLL THE SCREEN TO THE RIGHT to view the
previous picture in the slideshow.
TOUCH AND HOLD to view the quick menu.
SCROLL DOWN to view gallery.
TOUCH THE SCREEN during the slideshow to jump
to the latest picture.
12
Touch display - gestures
Having completed the guide, you are now ready to use your ZOOM.ME.
Note, you can always change your settings and manage your
pictures without using any additional buttons. ZOOM.ME was
optimized for maximum accessibility in order to ensure the most
satisfaction from sharing those special moments with the ones you
hold dear.
Using your ZOOM.ME display
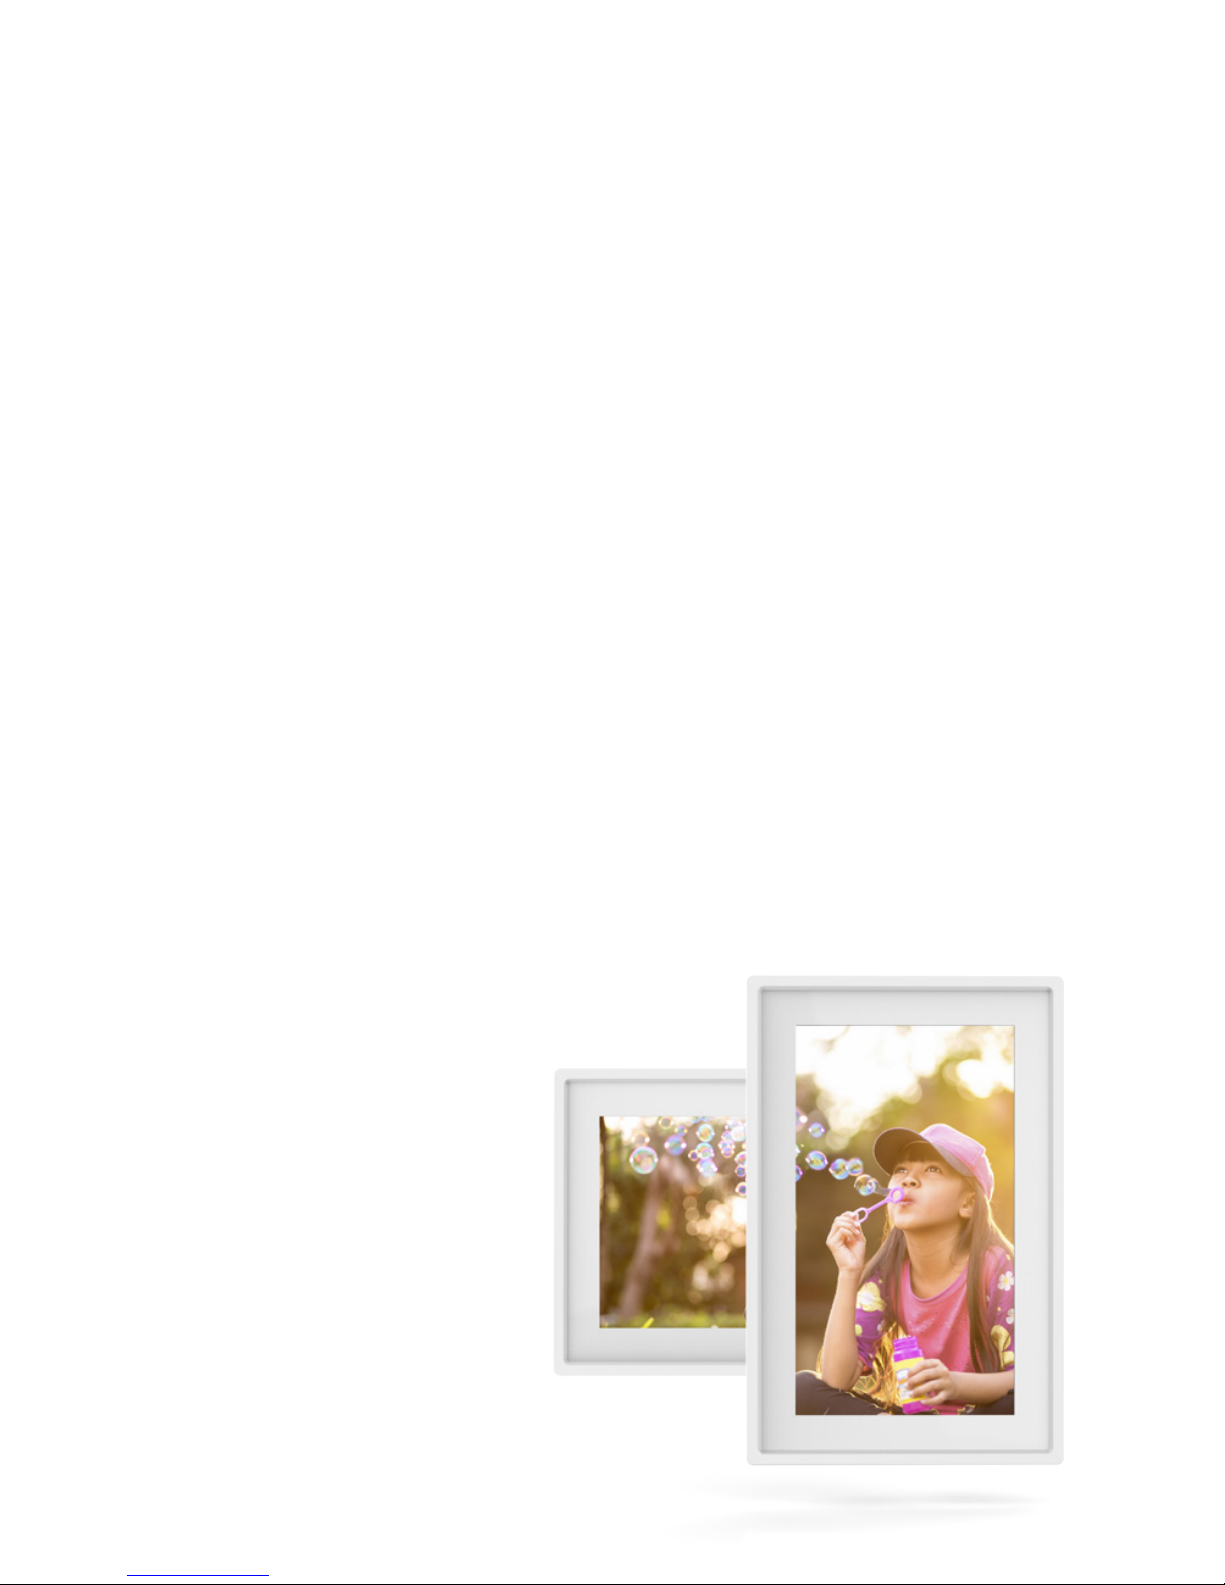
ZOOM.ME screen orientation
By changing the positioning of the ZOOM.ME display, you can choose
how to view the received pictures. In order to help create a one of a
kind picture, the ZOOM.ME mobile app noties your friends and family
members how you have positioned your ZOOM.ME display.
Position the ZOOM.ME
horizontally to view the
pictures in panoramic
format, or vertically to
enter portrait mode. You
can change the setting at
any time - the ZOOM.ME
display will automati-
cally adjust the screen
orientation.
13
Slideshow
Your ZOOM.ME displays pictures on your device in the form of a slide-
show. You can adjust the timing and number of pictures displayed, or
hold on a particular picture using the quick menu.
You can activate the “Block new picture” function in the settings to
pause the slideshow upon receiving a new picture. You can then
resume the slideshow by swiping the screen to the right.
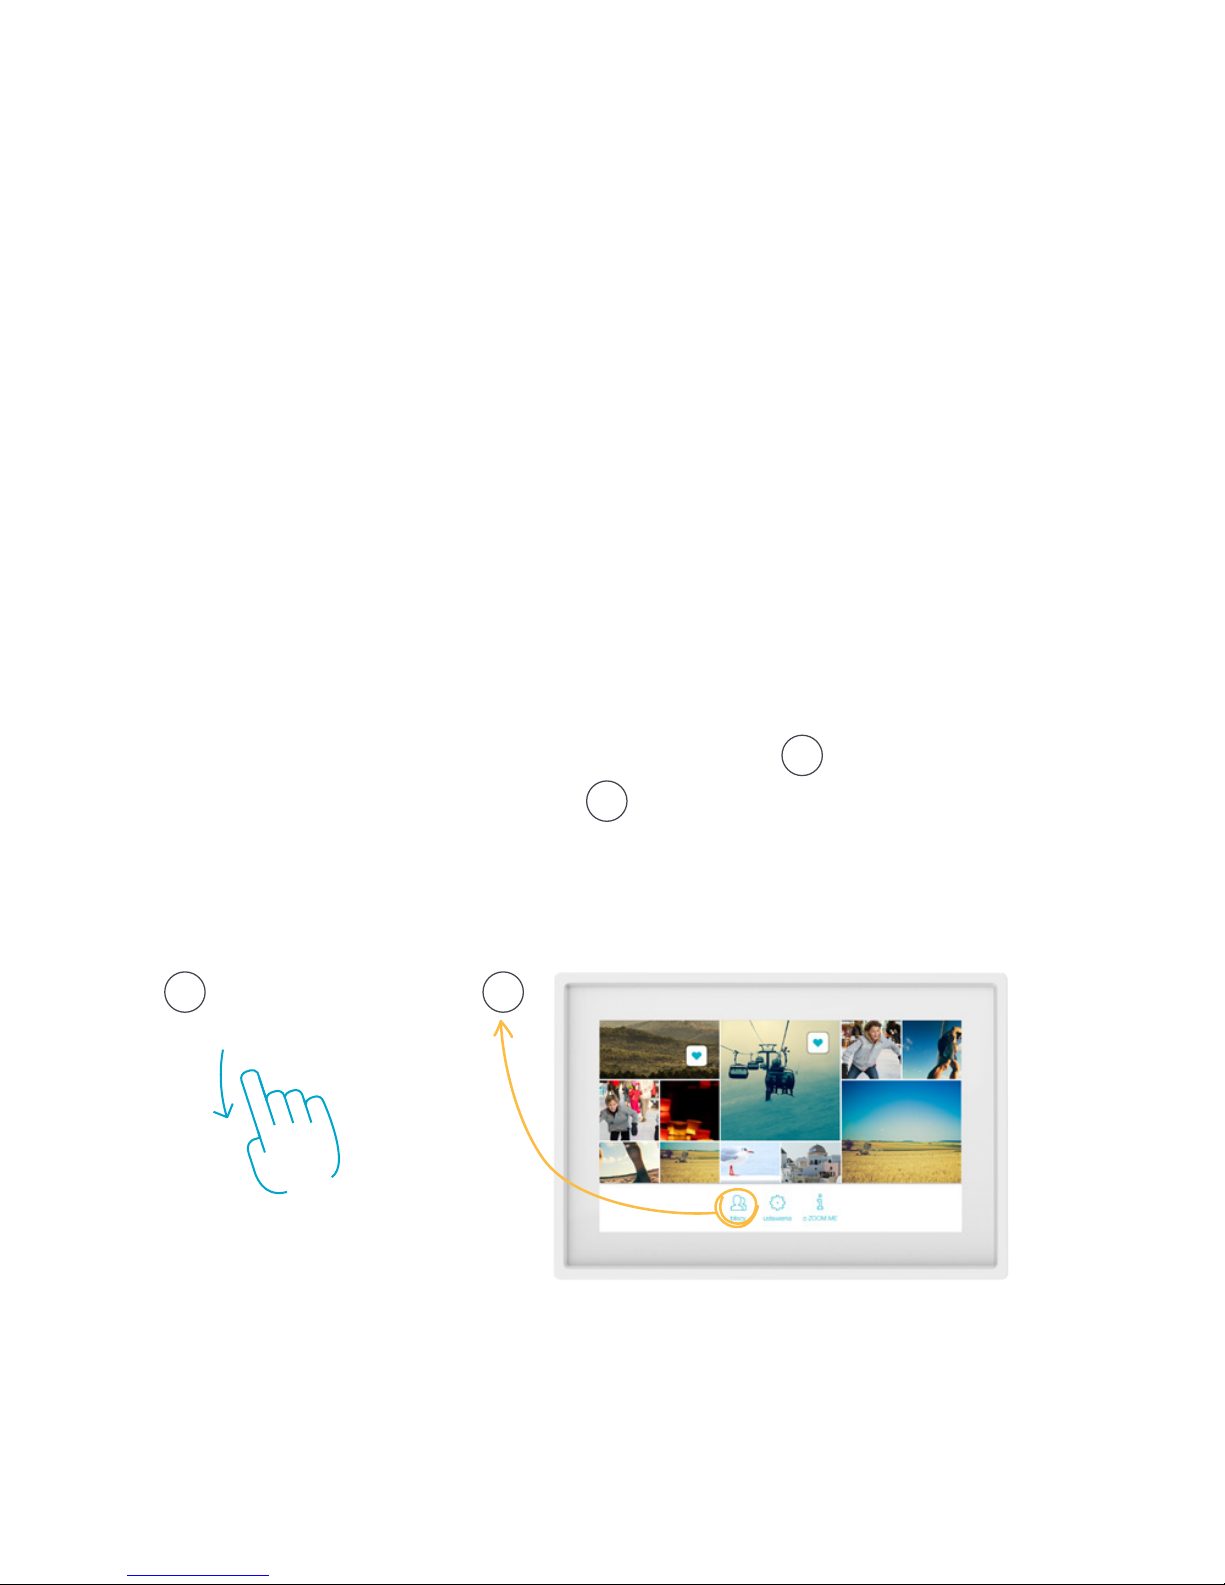
This enables you to manage the ZOOM.ME apps of your friends and
family. You can accept or block individual users on the list. To go to
“Your friends list”, swipe the screen downwards
1
, to bring up the
Gallery and then select “Friends”
2
.
Your friends list
1 2

14
Your friends list
There are three tabs available:
YOUR FRIENDS – these are your friends’ ZOOM.ME apps that have
already been accepted and you can receive pictures and messages
from them,
PENDING – these are the ZOOM.ME apps pending acceptance. They
can also be blocked,
BLOCKED – these are the ZOOM.ME apps of people who cannot
send you pictures or messages.
You can manage your friends list at any time. You can also select
multiple entries at once and choose a specic action. Deleted friends
may no longer send messages or pictures to your ZOOM.ME, unless
you add them to the list again.
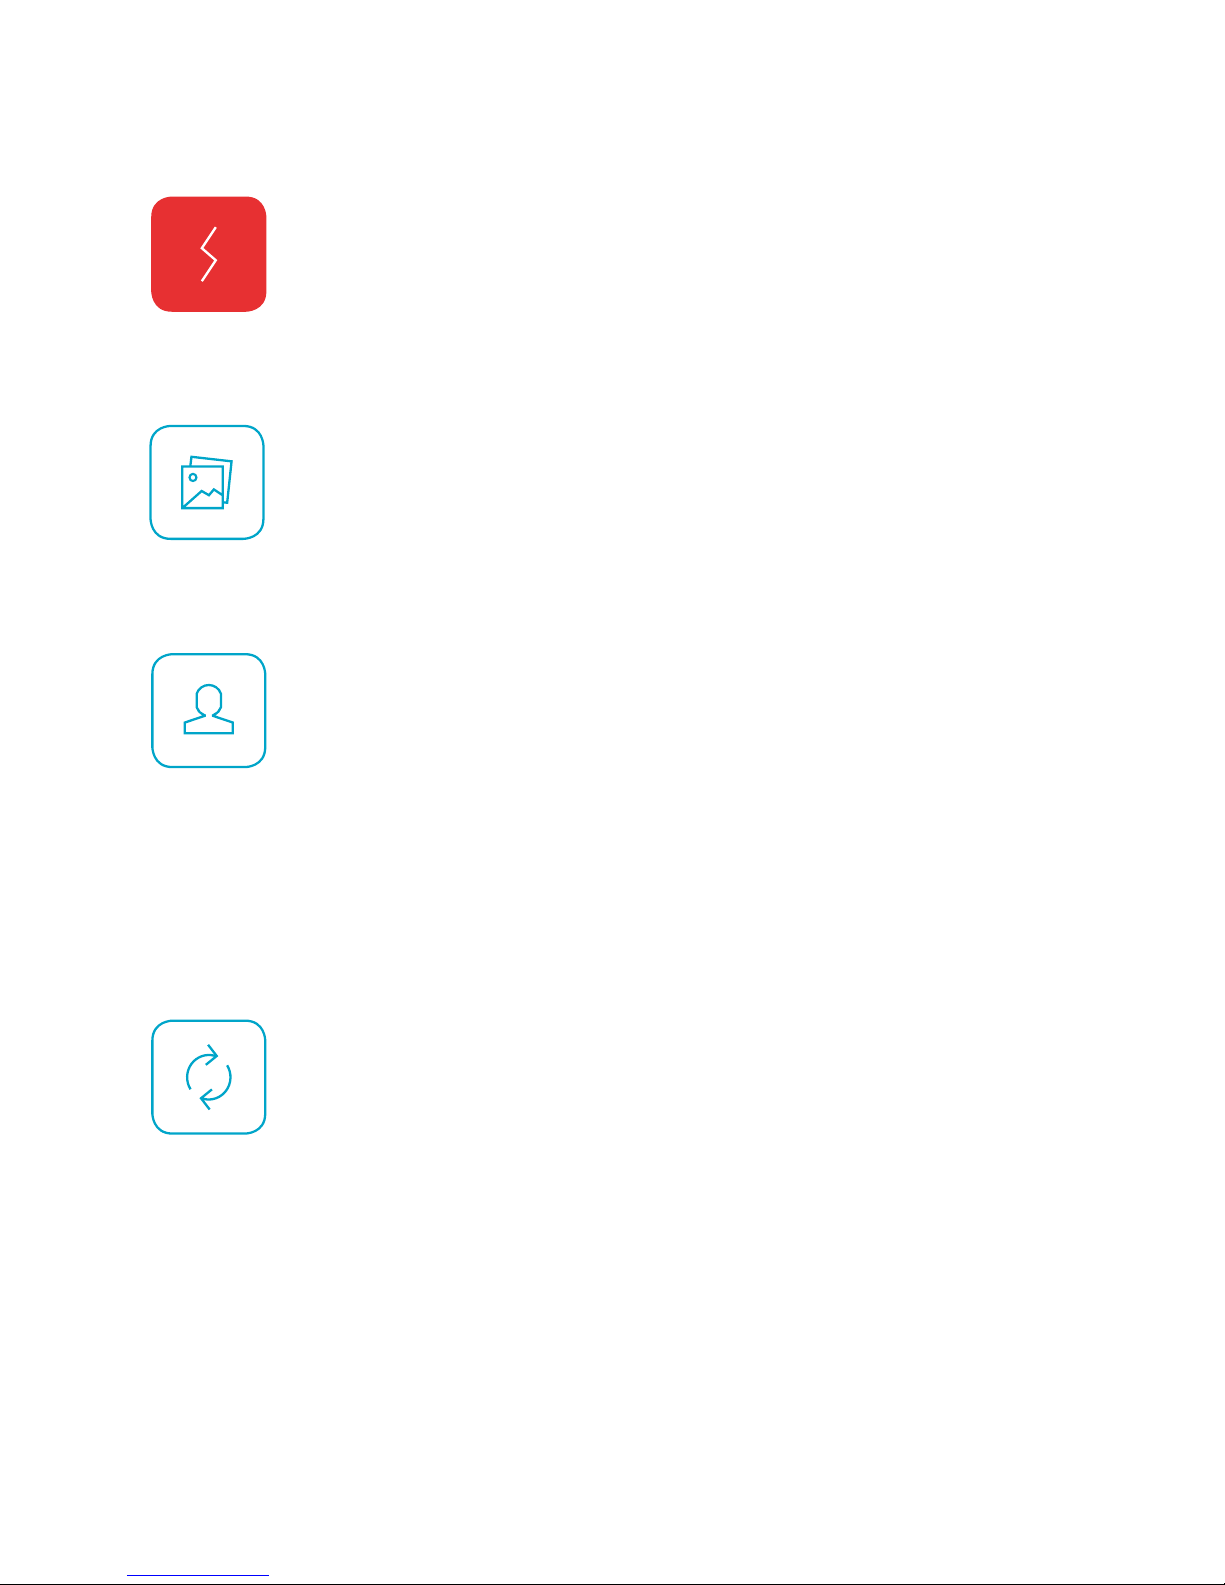
Adding friends to the list
In order to add friends to the list with your ZOOM.ME, choose one of
the following options:
These functions have been covered in detail in the
Start-up -> Searching for friends... sections.
SEARCH FRIENDS
VIA EMAIL
SEARCH FRIENDS
VIA WIFI

15
Gallery
Go to “Gallery”: Swipe the screen downwards to display a gallery of
pictures stored on the device. The pictures are organized on a time-
line, from newest to oldest. Scrolling down through the gallery, you
can see markers informing you when a given picture was sent.
The gallery lets you manage your pictures, add or delete favorites.
Hold down a given picture to select it. You can select additional ones
by simply touching them.
In order to deselect a picture, touch it again or use the “OK” button,
which will deselect all previously selected pictures.
Favorites
You can mark pictures that hold a special signigicance for you by
adding them to favorites. Favorite pictures will always show up
during the slideshow, regardless of the set number of pictures to be
displayed (you can nd information on picture display options in the
Settings section). This option will let you keep close to those special
cherished moments.
Deleting pictures
You can delete any unwanted pictures from your device at any time.
Simply select a given picture in the gallery and touch the “Delete”
button. Your ZOOM.ME will ask you to conrm your selection.
To go back to the slideshow, touch any picture.

16
Quick menu
During a slideshow, you can open the quick menu and gain access to
the following options:
SETTINGS – Go to settings,
FAVORITES – Mark picture as favorite,
HOLD – Enable the “Hold” function for a given picture,
DELETE – Delete the currently displayed picture,
CANCEL – Resume slideshow,
In order to access the quick menu, touch and hold a picture in your
ZOOM.ME display slideshow. Your ZOOM.ME number allows to
identify your ZOOM.ME. Give it to your friends and loved ones, so they
can send you their pictures.
The quick menu also contains information on the special email ad-
dress your friends can use to send pictures to your ZOOM.ME.
Invite friends – Let your friends know about your ZOOM.ME and how
they can send you pictures.
Note: In order to receive pictures from a friend, you must rst
add them to your list and accept them!

17
Quick menu
THE “HOLD” FUNCTION - lets you hold the slideshow on the
selected picture. Once you go left or right from that picture, the
slideshow will resume.
To close the quick menu, touch the “Cancel” button. Your ZOOM.ME
will resume from the last viewed photo.
Your ZOOM.ME number
allows others to identify
your ZOOM.ME. Give it
to your friends and family
members. It will allow them
to send pictures to your
device.
To access the quick menu,
touch and hold picture
on your ZOOM.ME display
slideshow.

18
Settings
This screen lets you manage settings of your ZOOM.ME. You can
choose from the following options.
WIFI NETWORKS – connect and manage WiFi networks,
SCREEN BRIGHTNESS – use the slider to adjust the screen bright-
ness of your ZOOM.ME,
ZOOM.ME ACTIVITY – choose the hours in which you want the
device to be active. Outside of this period, your ZOOM.ME will enter
the sleep mode. Even in this mode, it will still be able to receive
messages,
NUMBER OF NEW PICTURES IN THE SLIDESHOW – set
the number of new pictures displayed in your default ZOOM.ME
slideshow,
Hint: Pictures marked as Favorites will show up in the slideshow,
regardless of this setting. This allows you to keep track of messages
and pictures that hold a special signicance for you.
PICTURE DISPLAY TIME – set the default time a single picture will
be displayed during the slideshow,

19
Settings
WAKE ZOOM.ME ON NEW PICTURE – move the slider right to
make your ZOOM.ME activate the display on receiving a new picture
outside of its working hours.
ENTER ZOOM.ME SLEEP MODE AFTER – set the time in which
your ZOOM.ME will go back to sleep mode after receiving a new
picture outside of its working hours,
DISPLAY SENDER – move the slider to the right if you wish to
display the name of the sender of each picture,
BLOCK PICTURE – move the slider to the right if you wish to stop
the slideshow upon receiving a new picture,
CHOOSE SLIDESHOW ANIMATION - choose the animation for
picture transitions,
RANDOM ANIMATIONS - move the slider to the right if you want the
transition animations to be selected at random,
SOFTWARE - touch to see if your ZOOM.ME software is up to date,
RESTART DEVICE - touch to restart your device in case of it’s not
functioning properly,

20
Settings
Exporting pictures to an SD card
FULL RESET - touch to fully reset your device in case of persisting
technical problems,
Note: Selecting this option will revert the device to its default
settings.
In order to save your settings and go back to the previous screen,
touch the “Save” button.
This allows you to easily create a backup copy of your pictures. Make
sure there is enough space on your card and insert it into the device.
Your ZOOM.ME display will show the following message: “Do you
want to create a backup copy of your memory card?” Touch “Yes” to
start backing up your pictures.
If the memory card had been previously inserted into the device, you
must remove it and insert it again in order to enable the copy function.
Note: Your memory card must be compatible with the FAT32
le format in order to be recognized.

21
About your ZOOM.ME
Display messages
Go to the “About your ZOOM.ME” screen: swipe the screen down-
wards to bring up the Gallery. From there, select the “About ZOOM.
ME” option, where you will nd important information that might prove
useful while using your device:
SERIAL NUMBER – here you can see the serial number of your
device.
SOFTWARE VERSION – here you can see the software version
currently installed on your device.
DEVICE VERSION – here you can see what version of the device
you are using.
TERMS OF USE – here you can nd information on the terms of use
of the device.
PRIVACY POLICY – here you can nd out about the privacy policy.
Connecting ZOOM.ME to a computer
In order to establish a connection with a computer, connect the device
to a USB port using the appropriate cable (not included in the set).
The computer should automatically detect your ZOOM.ME within
several seconds. You can then copy or delete pictures on the device.
While the device is active, it can display messages to inform you of
new activity or a technical problem. Notable messages include:
22
YOUR ZOOM.ME IS NOT CONNECTED TO THE
INTERNET
Check your network connection. It is necessary if you
want to be able to receive pictures.
YOU HAVE A NEW PICTURE
This message means you have received a new picture
from someone you know. It will also display the picture
itself, along with a message from its sender.
... WANTS TO JOIN YOUR FRIENDS LIST
A new person wants to join your friends list. You can ac-
cept that person and allow them to send pictures to your
ZOOM.ME, or reject them. The “Hold” button will move
the person to a list of contacts pending your decision.
Manage your friends list to control the number of people
who can send you messages.
ZOOM.ME SOFTWARE UPDATE AVAILABLE
The device automatically scans for available updates.
Ifthe latest version of the software is available, it will be
downloaded and installed automatically. Upon nishing
the update process, your ZOOM.ME will restart and
resume standard operation.
Display messages
 Loading...