

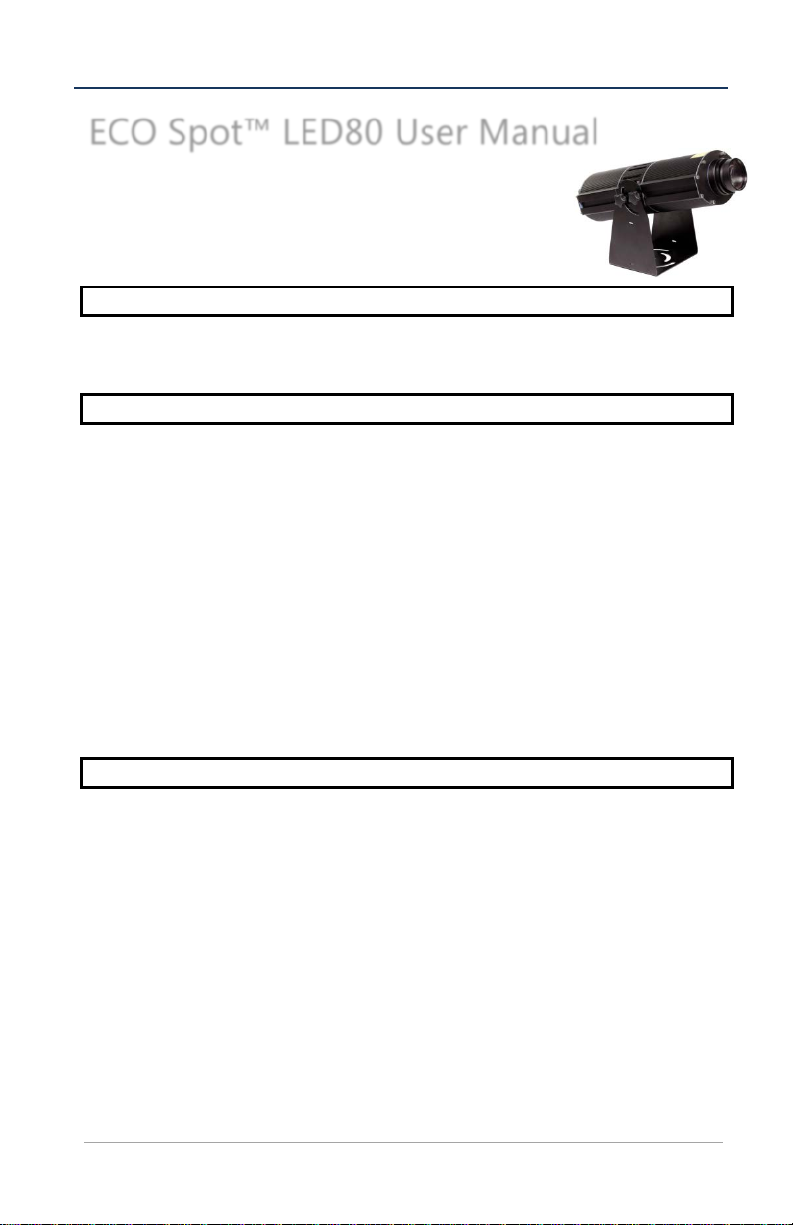
ECO Spot LED80 User Manual
ECO Spot
experience in lighting equipment and general electrical experience.
defective or wet, or if they show signs of overheating.
™ LED80 User Manual
Thank you for choosing an ECO Spot™ Gobo projector. This unit is
equipped with a fan cooled high power LED. Please read this manual
before installing or operating this fixture, follow the safety
precautions listed below and observe all warnings.
Package Contents
Projector with power cord and integrated gobo holder and rotator
Integrated LED bulb
Safety Information
• Place your fixture at a suitable place with good air flow.
• Keep flammable materials away from the fixture.
• Minimum distance to flammable material = 1 ft (0.3m).
• Minimum distance to illuminated surface = 3.3 ft (1.0m).
• Provide a minimum clearance of 4 in (10cm) around air vents.
• Use only genuine spare parts for part replacement.
• Do not look directly into the lamp; it can result in eye damage.
• Don’t touch the hot surface during operation, use gloves if necessary.
• Always unplug the unit from the power mains before any service is done.
• Allow 20 minutes to cool down before servicing the unit.
• Light fixtures should be installed and maintained only by qualified personnel with
Electrical Safety
• Disconnect the fixture from AC power before handling it.
• Always ground (earth) the fixture electrically.
• Use only a power source that complies with local building and electrical codes and
has both, overload and ground-fault protection.
• Do not use the fixture if the power cable or power plug is in any way damaged,
Copyright © 2013 Globus New Media LLC Page 1
ECO Spot LED100 User Manual
can hold at
•
• There are no controls for rotating speed or direction.
Handling Instructions
• Before the initial start-up, please unpack and carefully check for damage caused
during transportation.
• Place your fixture at a suitable place with good air flow.
• Make sure there are no flammable materials close to the lamp.
• Depending on the ambient temperature, the lamp may need up to 60 sec. to start.
• When suspending the fixture above ground level, verify that the structure
least 10 times the weight of all installed devices.
• Verify that all external covers and rigging hardware are securely fastened and use an
approved means of secondary attachment such as a safety cable.
Warranty
One Year from Date of Purchase
Lamp Replacement
Under normal circumstances, the LED lamp will not need to be replaced over the lifetime
of the projector. If it should fail, the projector will need to be sent in for service.
Focusing
• Power up the projector by pressing the larger switch in the back.
• Turn on the gobo rotator with the smaller switch in the back and switch it off when
the gobo projects in the desired position.
• Focus the projection by twisting the lens in and out until the image is well focused.
When used for the first time, the lens will often need to be twisted many rotations to
reach the focusing point. This can take up to three minutes.Gobo Rotator
Turn on and off the gobo rotator with the switch on the back plate
Page 2 Copyright © 2013 Globus New Media LLC

ECO Spot LED80 User Manual
Gobo Replacement
Unplug the power cord and let the projector cool down for 20min. Use caution, the
housing and light bulb may still be hot.
• Unscrew the thumbscrews to remove the front cover with the projection lens.
• The gobo rotator with the gobo holder is now exposed.
• Carefully pull out the gobo holder.
• Unscrew the large ring that sits in front of the gobo.
• The old gobo is now accessible, carefully remove and replace it.
• Screw back in the large ring, so that it just touches the gobo, don’t tighten it,
otherwise it will be hard to remove it again.
• Replace the front cover.
• Power on the projector and refocus the image by screwing the projection lens in or
out.
Copyright © 2013 Globus New Media LLC Page 3

ECO Spot LED100 User Manual
Max Thickness: 4mm (0.16 in)
• Optional lenses 15 and 20 degree
Specifications
Voltage: 110-130V, 50-60Hz, 0.8A, 90W
Ambient Operating Temperature : -13 to 104°F (-25 to 40°C)
Rated bulb file: 50,000 hours
Dimmable: Not dimmable
Dimensions
Fixture Body: 7.5in x 5.5in x 17.5in (190mm x 140mm x 445mm)
Total Length: 20in (500mm) with 25deg. lens, 24in (610mm) with 15 deg. lens
Yoke Base: 6.4in x 7.8in (163 x 198mm)
Yoke Height: 7.5in ( 190mm) (from base to center)
Total Height: 10in ( 254mm) (from base to top)
Weight: ES-LED80: 13.5lbs (6.1kg),
ES-LED80E: 11lbs (5kg)
Gobo Types and Dimensions
Metal or Glass Gobos and Dichroic filters
Fits regular M-size gobos (OD66mm x ID48mm)
• Outer Diameter (OD): 66mm (2.6 in)
Max. Image Diameter (ID): 50mm (1.9 in)
Typical Range
The range varies greatly with the application and ambient light situation, typical values:
6 to 32 ft in bright environments
up to 64 ft in dim environments
up to 112 ft in dark environments
Lens Options
• Standard 25 degree (included)
No liable for errors or omissions
Page 4 Copyright © 2013 Globus New Media LLC
 Loading...