

ENGLISH
INSTRUCTION MANUAL
Goboservice by Sunland Optics SRL
Via Don Minzoni 14, 89125 Reggio Calabria
+39 0965 813264
Via Lombardia 269, 20861 Brugherio (MB)
+39 02 23166538
www.goboservice.com
info@goboservice.com
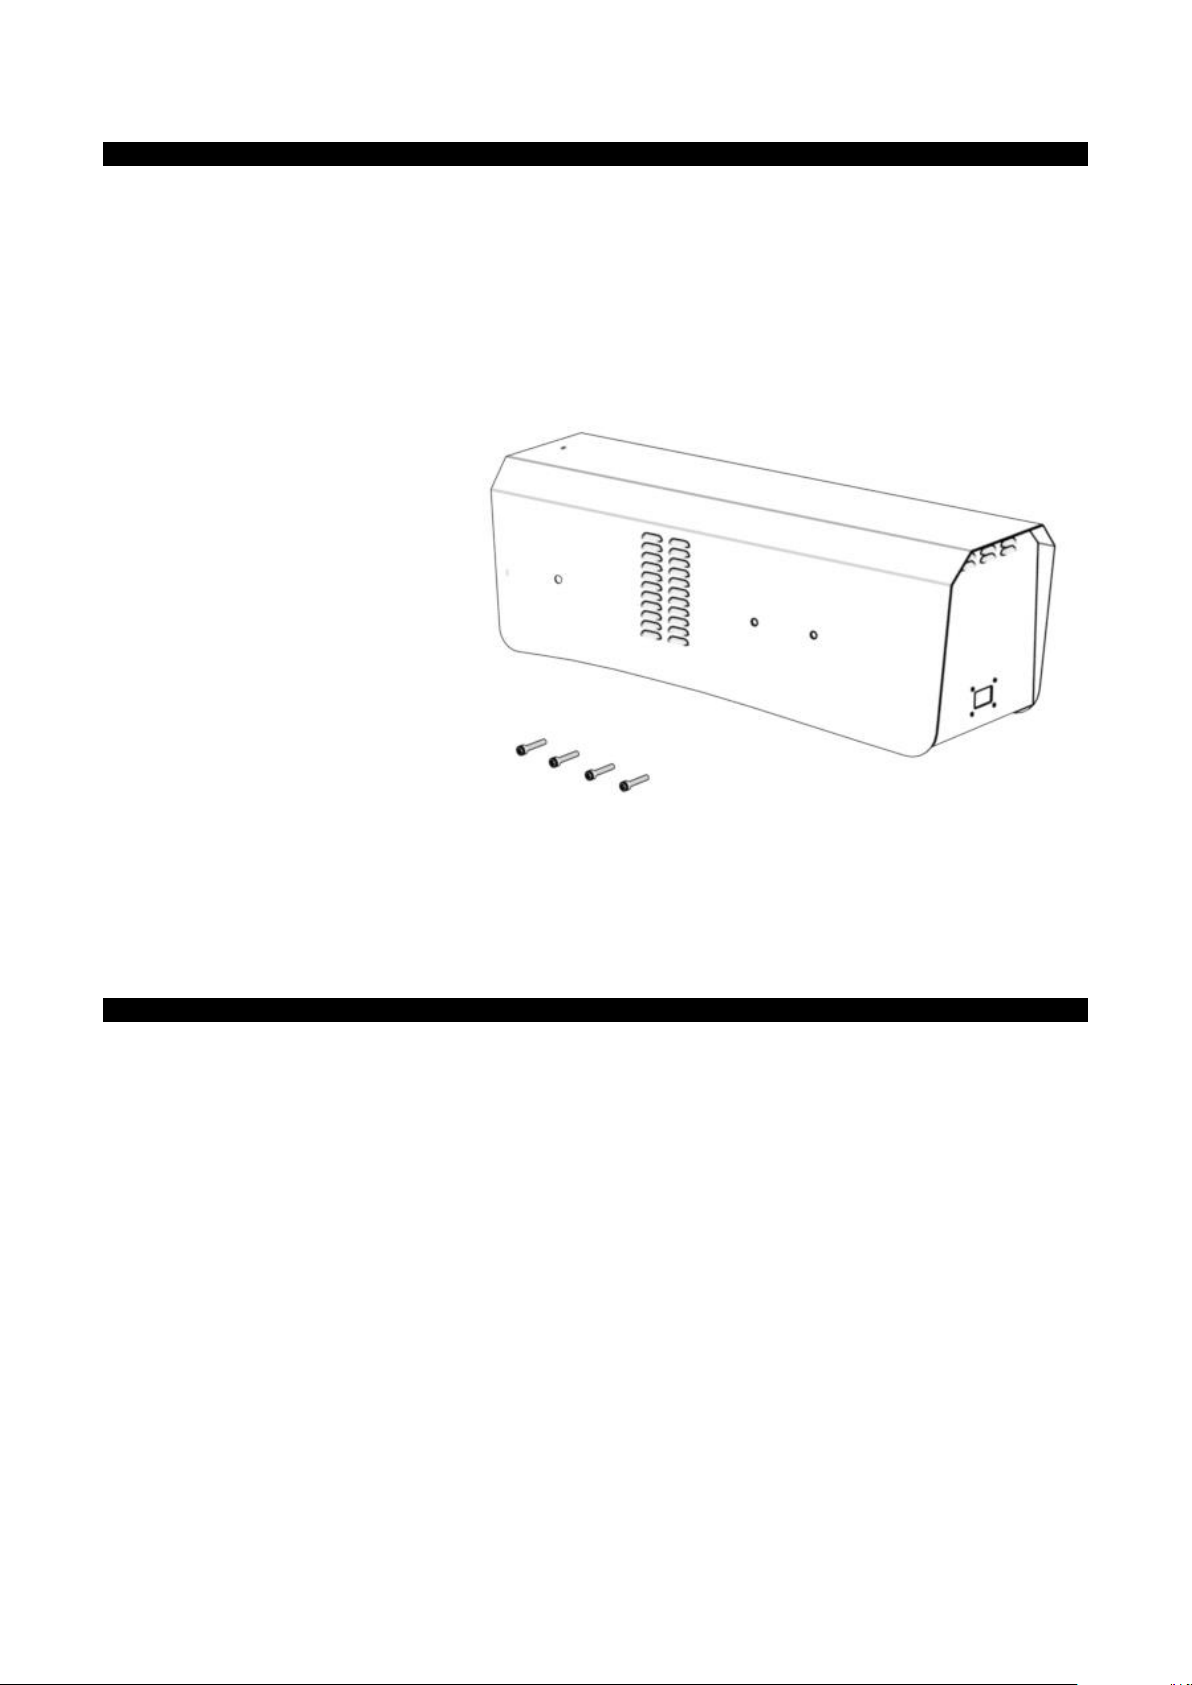
PACKAGE CONTENT
INSTALLATION OF THE COVER RAIN
The steps are:
1. First of all, mount the protection glass to the Rain cover with the four screws at the front of the
piece.
2. Position the Rain Cover so that the side holes are aligned with those of the projector, as shown in
(Fig. 2), special care to ensure that it not knick the projector’s outer lens.
3. Secure the Rain Cover to the projector by tightening the four screws provided to the four
corresponding holes on the projector (Fig.3)
The COVER RAIN is so mounted to the projector.
Once you installed you can still change the orientation of the projector on the bracket using the center
hole of the three present (Hole A), follow the instructions from the manual (4.2. Orientation of the
projector).
Upon receipt of the shipment check that the product is delivered in perfect condition in all its parts;
Otherwise contact the manufacturer immediately.
Inside the delivery box you find:
- N° 1 COVER RAIN;
- N° 4 Screws for fastening of the component;
- N° 1 Protection Glass.
Fig. 1
Dispose of the wrapping following the current regulations.

Fig. 2
Fig. 3
 Loading...