

ENGLISH
INSTRUCTION MANUAL
GOLED
Goboservice by Sunland Optics SRL
Via Vecchia Provinciale 167 – Archi – 89121 Reggio Calabria (RC)
+39 0965 813264
Via 2 Giugno19/10 – Bonate – 24040 (BG)
+39 0350176860
www.goboservice.com
info@goboservice.com

- 2 -
WWW.GOBOSERVICE.COM

GOLED
- 3 -
ENGLISH
Thank you for choosing our projector ! We inform you that this product was designed and realized to
guarantee you the best performance and to satisfy as much as possible your expectations and
requirements.
Please read carefully each part of this instruction manual before starting to use the product and refer to
it each time you have some difficulties or doubt.
The following instruction manual is a key part of this purchasing. It must be carefully stored for a period
of not less than 10 (ten) years, in an easily accessible and known place to all concerned people.
The knowledge and observance of manual contents are essential to guarantee the correct and safe
installation, use and maintenance of the product.
The Goboservice by Sunland Optics SRL company disclaims all liability for damage to the projector or to
other property or persons deriving from installation, use and maintenance that is not carried
out in accordance with this instruction manual, which must always accompany the unit.
Moreover Goboservice by SunlandOptics SRL reserves the right to change the information in
this instruction manual at any time and without prior notice.

GOLED
- 4 -
WWW.GOBOSERVICE.COM
INDEX
1. SAFETY INFORMATION .................................................................................................................................................... 5
2. PACKAGE CONTENT ........................................................................................................................................................ 7
3. PROJECTOR INSTALLATION .......................................................................................................................................... 8
3.1. FRONT VIEW OF THE PROJECTOR ....................................................................................................................... 8
3.2. INSTALLATION AND CONNECTION ................................................................................................................... 8
3.3. GOBO INSTALLATION.............................................................................................................................................. 9
4. USE OF THE PROJECTOR ............................................................................................................................................... 10
4.1. CONNECTION OF PROJECTOR TO THE MAINS SUPPLY.............................................................................. 10
4.2. ORIENTATION AND FIXING OF THE PROJECTOR .......................................................................................... 10
4.3. SIZING AND FOCUS OF THE PROJECTED IMAGE .......................................................................................... 11
5. TECHNICAL DATA ............................................................................................................................................................ 12
6. POSSIBLE PROBLEMS -CAUSES AND SOLUTIONS ................................................................................................ 13
7. DIRECTIVES ......................................................................................................................................................................... 13
8. DISPOSAL ............................................................................................................................................................................ 13
9. WARRANTY ........................................................................................................................................................................ 14
10. MAINTENANCE HISTORY ............................................................................................................................................. 15
GOLED
- 5 -
ENGLISH
1. SAFETY INFORMATION
1. INSTALLATION – Please pay attention that during installation there is not
any hinders on the place on which the projector has to be installed. The
projector must be attached with dowels or screws or other anchorages
suitable with the material to be blocked. Make sure that all parts for fixing
the projector are in a good state of repair and check the stability of the
point of anchorage before positioning the projector.
2. MINIMUM DISTANCE OF ILLUMINATED OBJECTS – The projector
must be placed so that the objects hit by the beam of light are at least 0.5
meters from the lens of projector.
3. MINIMUM DISTANCE FROM FLAMMABLE MATERIALS – The projector
must be placed so that any flammable materials are at least 2,0 meters
from the projector lens and at least 1.0 meter from every point of the
fixture.
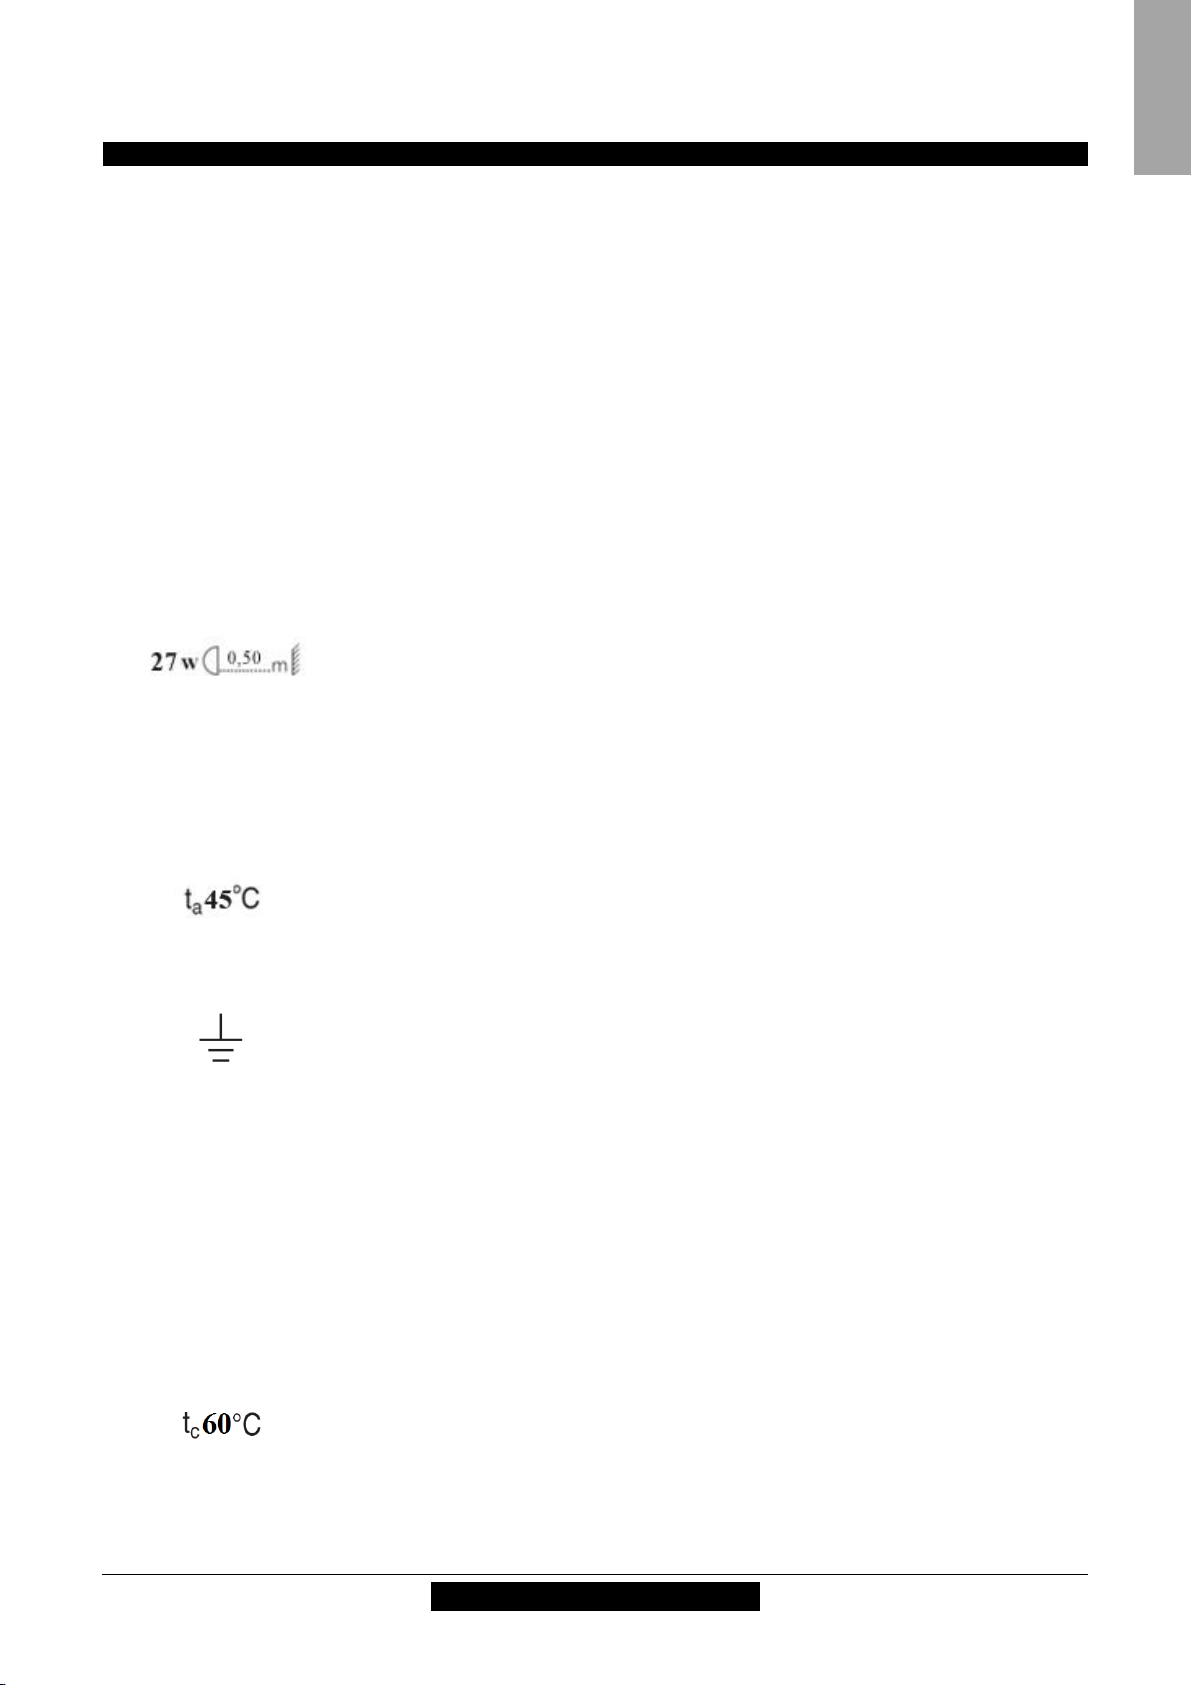
4. MAXIMUM AMBIENT TEMPERATURE- For a safe functioning of the
projector the temperature must not exceed 45°C.
5. PROTECTION AGAINST INDIRECTS CONTACTS - It is mandatory to
connect the projector to a mains supply system fitted with efficient
earthing (Class I appliance according to standard EN 60598-1).). It is,
moreover, recommended to protect the supply lines of the projectors
from indirect contact and/or shorting to earth by using appropriately
sized residual current devices.
6. CONNECTION TO MAIN SUPPLY - Connection to the electricity mains
must be carried out by a qualified electrical installer. Check that the
mains frequency and voltage correspond to those for which the projector
is designed. Evaluate if the mains supply can withstand the power
consuption of projector and, if it is, verify the maximum number of
devices that it is possible connect to the electricity line in order to
avoid overloading.
7. TEMPERATURE OF EXTERNAL SURFACE –The maximum temperature that
can be reached on the external surface of the fixture, in a thermally steady
state, is 60°C.
8. PROTECTION RATING - Direct exposure of the projector to rain, snow, hail
Please read carefully the following safety instructions before do any operations. The product describes in
this instructions manual is a lighting fixture for the projection of a light beam. It is used usually to light,
with an high level of surface brightness, small areas on which to project decorative effects or fascinating
and special logos and images. The projector must be only used for the purpose it was designed and
built for. It is suitable to illuminate indoor and outdoor environments, any other use is not approved by
the manufacturer and for this reason disclaims any liability for damages resulting from improper or
incorrect use. This unit should be disposed of according to your country’s regulations regarding the
differentiated waste collection and disposal.

GOLED
- 6 -
WWW.GOBOSERVICE.COM
or other liquids may damage the product. The projector must be kept
away from wet surfaces. ATTENTION: water must not touch the
projector when it is connected to the mains supply.
9. MAINTENANCE - Before starting any maintenance work or cleaning of
the projector, cut off power from the mains supply.
10. RISK OF VIEW - Never look directly or with optical instruments at the light
beam of the projector.
11. RESIDUAL RISKS – Even if the product is built in compliance with all rules
and precautions, residual risks related to certain structural aspects of
product usage remain. Do not disassemble the device. Maintenance
should be performed by trained personnel. Do not tamper for any reason
the ballast which is sealed for safety reasons and should remain so. If
ballast is tampered this represents a serious danger and in this status the
product is no more under warranty. Set the unit in visible areas and pay
attention that does not interfere with normal passage of people, the risk of
a collision must be minimized if not eliminated. Do not place the unit in
positions where it can fall hitting people or animals. Keep children away
from the unit when it is working and it is still connected to the mains
supply. In case of abnormalities in the coating or breakage of the housing
that contains bright spare parts, do not turn on the projector and stop the
use of the product. Do not install in areas available to minors or persons
who could be affected by the use or misuse. The device if it is not
connected to mains supply it is not a danger for people and animals even
when exposed to rain. The projector works with electrical energy at low
voltage and that puts it in an area of dangerousness typical of a
household appliance; it must be considered, in any case, a lighting
apparatus and, therefore, must be adopted during use an appropriate
attitude. The device is designed and constructed using all safety
criteria and suitable materials to prevent hazards and to minimize
risks.

GOLED
- 7 -
ENGLISH
2. PACKAGE CONTENT
3. PROJECTOR INSTALLATION
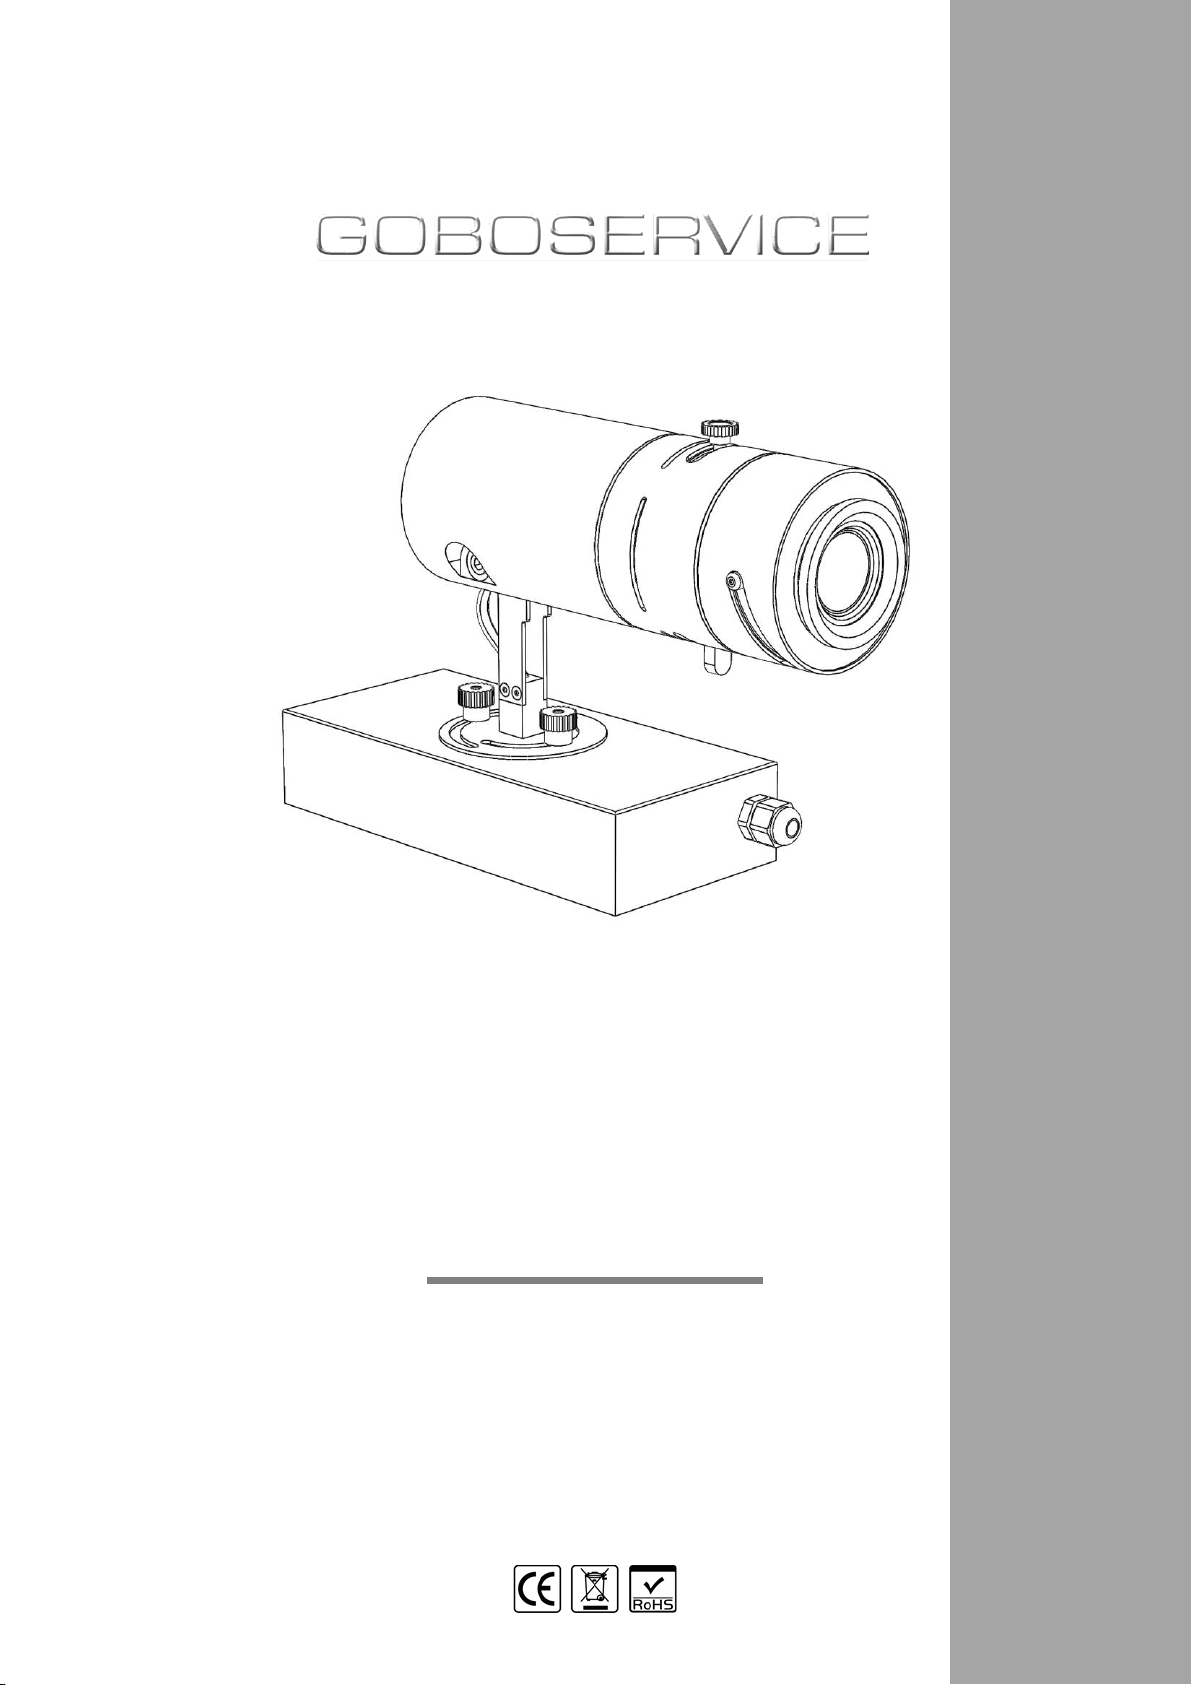
3.1. FRONT VIEW OF THE PROJECTOR
Fig.1 shows the front panel of projector.
Element 1 ’It is a knob which allows the adjustment
of the projcected image of about 30 degrees.
Element 2 It is a cable hole, it allows the output of
the power cord from the internal part of the
projector base.
Element 3 It is photo quality lens.
Fig.1
Please check that the product is in perfect condition in all its parts when the good is delivered ; otherwise
contact the manufacturer immediatly. Take out goods from the package and check if they have
any damage caused by transport. The package should be disposed following your country’s
regulations regarding the differentiated waste collection and disposal.
- N°1 Projector GOLED
- N°1 Instructions Manual and Warranty.

GOLED
- 8 -
WWW.GOBOSERVICE.COM
3.2. INSTALLATION AND CONNECTION
Fig. 2
For the installation and connection to the mains supply of
Goled perform the following steps:
1. Unscrew the two screws placed on the sides of the
projector base. (Fig.2)
2. Remove the mounting plate and attach to the
desired surface.
3. Run the cable through the cable hole in order to
bring it closer to the internal power supply.
4. Connect the cable to juction terminal block of the
power supply. Use only 220/240V-50/60Hz input
voltage.
5. Attach once again the projector to the mounting
plate screwing the two screws previously removed in
step 1.
WARNING: Ensure that the projector is fully closed in the
correct way before turning it on.
3.3. GOBO INSTALLATION
The gobo has two main parameters that allow its mounting on
projectors; these parameters, shown in Fig.3, are:
- the OD (Outer Diameter), which is the physical gobo diameter
- the ID (Inner Diameter), the circle diameter within which the
image has to be contained.
For GOLED gobos must have the following features:
OD = 37,5mm
ID = 30mm.
In case of gobo with particular graphic details always contact
Goboservice Customer Service (info@goboservice.com) which will
suggest you the more efficient configuration.
Fig.3
During gobo installation /substitution it is necessary to place the gobo with the REFLECTING SIDE always
FACING the LAMP; on contrary, the MATTED (BLACK/GREY) SIDE MUST FACE THE PROJECTOR LENS
(see Fig.4). This mounting rule allows the correct usage of gobo avoiding its breaking.

GOLED
- 9 -
ENGLISH
LAMP
GOBO
LENS
Fig.4
Once the installation direction of the gobo is clear, remove the gobo holder (Fig.5); unscrew the metal
lock ring grasping it by the two lateral notches placed on the external side of it (Fig.6); insert the gobo
into its own housing, ensuring that it is properly positioned (Fig.7); then re-screw the metal lock ring to
the gobo holder and put this in the projector with the threaded ring nut facing the focusing lens.
Fig.5 Fig.6 Fig.7
WARNING: gobo mounting has to be done taking care that the gobo surface will be not touched, fouled
or stained in order to avoid scratches visible on projection; these scratches then, with the heat of
projector usage, can also cause the gobo breaking.
The gobo mounting/substitution must be done when the projector is switched off and not connected to
the mains supply. If the gobo must be substituted after the projector usage, wait (about 5 minutes) so
that all internal components of projector are cool.

GOLED
- 10 -
WWW.GOBOSERVICE.COM
4. USE OF THE PROJECTOR
4.1. CONNECTION OF THE PROJECTOR TO THE MAINS SUPPLY
4.2. ORIENTATION AND FIXING OF THE PROJECTOR
The projector can be moved both upward than
downward; to orientate the projector loosen, on
both sides, the two special bolts (see Fig.8), place
the projector in the desired position and fasten
the bolts.
Furthermore, it is possible to adjust the direction
thanks to the two bolts situated on the projector
base (Fig. 9); unscrew just enough the two bolts,
then it will be possibile to rotate the projector
through 180 degrees; place the projector in the
desired position and fasten the bolts.
WARNING: Always refer to the informations
about the minimum distance of illuminated
objects (50cm).
Fig.8
Fig. 9
When connecting to the mains supply, standard safety and operating procedures applicable to any low
voltage device must be followed.
WARNING: it is essential that supply voltage and frequency are 230V-50/60Hz and that the power
supply circuit has a proper earth system together with a residual-current circuit breaker with the
following features:
- Rated current I
- Residual current I
= 20 A
n
= 0,03A
Δn
The projector is equipped with a power factor correction.
WARNING: Avoid any contact with water or liquids when the projector is connected to the main supply.

GOLED
- 11 -
ENGLISH
4.3. SIZING AND FOCUS OF THE PROJECTED IMAGE
The focus of the image can be adjusted by
rotating the focus adjustment ring of the projector
lens (Fig.10); rotate it until the projected image is
sharp.
For certain distances it is necessary to unscrew the
two screws placed on the side part of the Goled,
close to the projector lens (Fig.11), slide the whole
optical unit until the right focal length is set, then
adjust the focus from the adjustment ring of the
projector lens.
Fig.10
Fig.11

GOLED
- 12 -
WWW.GOBOSERVICE.COM
5. TECHNICAL DATA
SIZE & WEIGHT
Length
30 cm
Width
8,3 cm
Height
20 cm
Weight
1,2 kg
BODY
Material
Steel
Finshing
Matt
Color
Black
ELECTRICAL PARAMETERS
Voltage
220/240 Vac - 50/60 Hz
Wattage
27 W
LED
Wattage
27 W
Brightness
3.200 lm
Color temperature
5.000 °K
Life
50.000 h

GOLED
- 13 -
ENGLISH
6. POSSIBLE PROBLEMS-CAUSES AND SOLUTIONS
PROBLEMS
POSSIBLE CAUSES
CHECKS AND SOLUTIONS
The projector does not turn on
No power
Check if the power supply is ON
Reduced brightness
LED exhaustion, dirty optical elements
Accurate clearing of the optical unit ot
contact Customer Service
The line circuit breaker shuts off when the
projector is turned-on
The circuit breaker is undersized compared to
the projector electrical features
Bypass or replace the circuit breaker
Defective projection
Gobo or lamp reflector breaking,
deposit of dust or dirt
Consult technical support
Gobo cleaning
7. DIRECTIVES
The products to which this manual refers are in compliance with the European
Community Directive:
- 2014/35/EU LVD - Safety of electricalequipmentsuppliedatlowvoltage
- 2014/30/EU EMC - Electromagnetic Compatibility
- 2011/65/EU ROHS - Restriction of the use of certainhazardoussubstances
- 2009/125/EC ERP - EcoDesignrequirements for Energy-relatedProducts
The projector is manufactured according to the UE directives. Evidence of this is the affixed CE mark on
the product and the declaration of conformity.
8. DISPOSAL
The projector must be disposed of in compliance with the applicable laws relating to
lighting products. In any case should not be put in normal waste or litter the
environment; this action even if prosecuted is a serious threat to animals and people
and a source of pollution in the long term. The product may not be treated as a
simple urban waste and must be disposed of properly according to the regulations
concerning the differentiated waste disposal.
If the problem differs from the above-mentioned cases, contact technical support.

GOLED
- 14 -
WWW.GOBOSERVICE.COM
9. WARRANTY
The product is warranted under the terms of the law. In case of malfunction during the warranty period,
the product will be repaired or replaced according to manufacturer evaluation.
For further information, refer to the terms of warranty on the CD-ROM.
For the use of the warranty are essential the following information:
- The date of purchase (the invoice date applies).
- Detailed description of the problem.
The unit left our premises in perfect condition. It is absolutely necessary to follow the safety instructions
and warning notes contained in this manual. Any damage caused by the non-observance of this manual
will void the warranty. The manufacturer assumes no responsibility for damage or problems caused by
the non-observance of this manual.
Any repair should be done by the manufacturer, which declines any responsibility for unauthorized
interventions. Dismantling (even partial) of projector that is not made by the manufacturer will void the
warranty.
Consumables (such as lamp and fuse) are not covered by the warranty.
The manufacturer reserves the right to modify the content of this manual at any time and without notice.

GOLED
- 15 -
ENGLISH
10. MAINTENANCE HISTORY
Projector Mod.:
Date of purchase:
Serial Number:
Date on which it was
first turned on:
NOTES

GOLED
- 16 -
WWW.GOBOSERVICE.COM

GOLED
- 17 -
ENGLISH
Via Vecchia Provinciale 167 – Archi – 89121 Reggio Calabria (RC)
Goboservice by Sunland Optics SRL
+39 0965 813264
Via 2 Giugno19/10 – Bonate – 24040 (BG)
+39 0350176860
www.goboservice.com
info@goboservice.com
 Loading...