


Table of contents
Function button instructions
Description of the icons on the remote LCD screen
Basic Function
1. ...................................................................................................3
Sound & Light Arming
2. ....................................................................................................................3
Mute Arming
3. .......................................................................................................................3
Disarming
4.Remote Trunk Release....................................................................................................3
5.Sound & Light Searching Car.........................................................................................3
6.Anti-hijacking mode...........................................................................................................4
Alarming Function............................................................................................................5
1.Shock Alert........................................................................................................................5
2.Emergency A lert
3.Stop A lert
4.Emergency Disarming
5.Alarming Memory
Additional Function..........................................................................................................6
1. ..............................................................6
Remind Arming Reminder & Automatic Arming
2.A .........................................6
utomatic back to arming mode(avoid mistaken disarming).
3. Close Door Reminder
4. ............................................................................6
Central Control Door Lock Automation
5. ...................................................6
The Selection Of Dynamo Electronic / Pneumatic Lock
6.Open Doors and Parking Light Flash Selection
7. .............................................................................7
Automatic Closing Window Selection
8. Door Positive / Negative Trigger Selection .......................................................................7
9 ........................................................................................................7
. Auto-arming On/ Off
10. Remote Vibration On /Off
11.Remo te Button Lock
12.Turn On Remote Back Light
.Signal Indication...........................................................................................................8
13
14. ...........................................................8
The Busy Tone Reminder Of Remote ...............
15.Remote Battery Low Reminder
16. Remote Turn On / Off Engine and Air-condition (Optional Feature)
....................................................................................................................3
................................................................................................................5
...........................................................................................................................5
.......................................................................................................5
..............................................................................................................5
......................................................................................................6
..........................................................................................1
....................................................2
.............................................................7
.................................................................................................7
...................................................................................................8
.........................................................................................8
...................................................................................8
.............................8
Parameter ...............................................................................................................9
Remote code learning & deleting..................................................................................10
Technical Parameter
Troubleshooting
Special reminder 12
Attention to the use of the remote .......... 12
setting
........................................................................................................10
.....................................................................................................11
.............................................................................................................
......................................................................
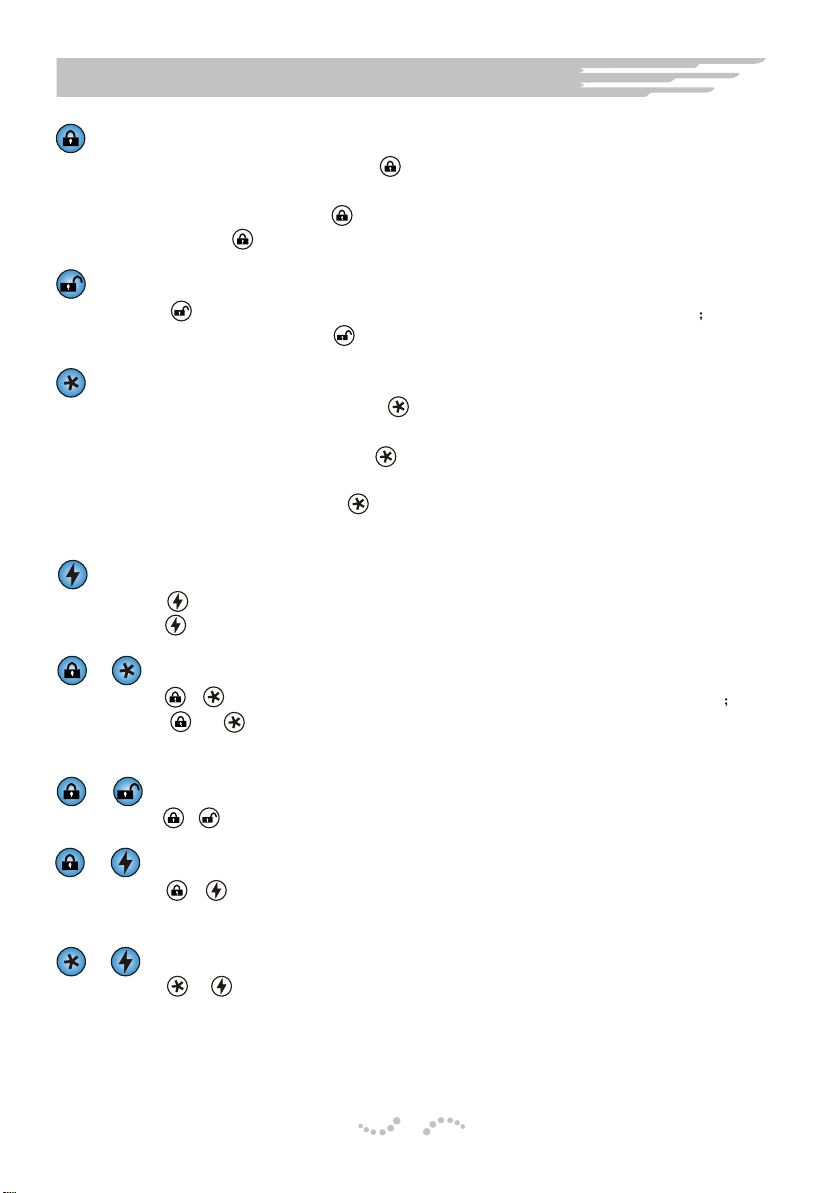
Function Button Instructions
Arming Button
Ø After vehicle is parked, press button shortly to lock the door and enter
into sound & light arming mode;
Ø During the driving, press button shortly to lock the door;
Ø Hold to press button for 2 seconds, the remote buttons will be locked.
Disarming Button
Ø Press button shortly to disarm the system, door will be unlocked
Ø During the driving, press button shortly to unlock the door.
Mute arming
Ø After vehicle is parked, press button shortly, door will be locked and
enter into mute arming mode;
Ø After vehicle is parked, press button for 2 seconds, remote engine start
and air-condition on;
Ø During the driving, press button for 2 seconds, enter into anti-hijack
mode.
Car finding
Ø Press button shortly, enter into sound & light searching car mode;
Ø Press button for 2 seconds, enter into light flash searching car mode.
+ Trunk open
Ø Press + button for 2 seconds simultaneously, trunk will be opened
Ø Press + button shortly simultaneously, remote back light will be
illumined.
+ Setting mode
Ø Press + button for 1 second simultaneously, enter into setting mode.
+ Vibration function setting shortcut button
Ø Press + button for 1 second simultaneously, remote control vibration
function turn on/off.
+ Auto rearming function setting shortcut button
Ø Press + button for 1 second simultaneously, auto rearming function
turned on/off.
1

SETSET
Description of the icons on the remote LCD screen
Signal Indication
Alarm clock
Mute Arming
Shock Alert
Vibration
Auto rearming
Door opened
Setting mode
Clock
Unlock/lock button
Arming
Disarming
Batttery life
Trunk opened
Parking lights
Engine started
LED
FCC Statement
This device complies with Part 15 of the FCC Rules. Operation is subject to the following
two conditions: (1) this device may not cause harmful interference, and
(2) this device must accept any interference received, including interference
that may cause undesired operation.
Changes or modifications not expressly approved by the party responsible for
compliance could void the user's authority to operate the equipment.
2
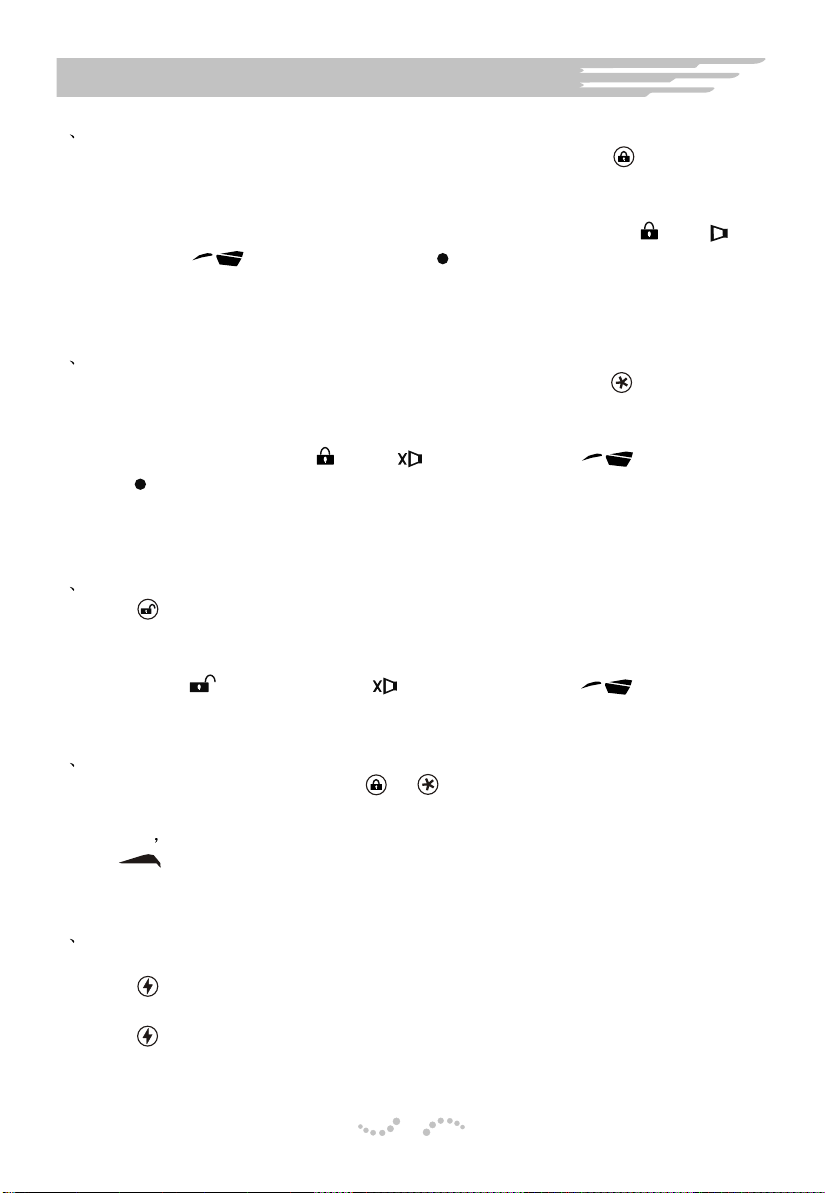
Basic Function
1 Sound & Light Arming
hAfter parked the vehicle and closed the door properly, press button shortly,
door will be locked automatically, main unit siren will beep once, the parking
lights will flash once and status indicator LED will be flashing, Remote
responds a sound and illumines back light simultaneously. Icon and will
appear, icon will flash once, icon will be flashing on the remote LCD
screen, system enter into sound and light arming mode, at the same time,
remote will show the corresponding vehicle information.
2 Mute Arming
hAfter parked the vehicle and closed the door properly, press button shortly,
door will be locked automatically, the parking lights will flash once and status
indicator LED will be flashing, Remote responds a sound and illumines back
light simultaneously. Icon and will appear, icon will flash once,
icon will be flashing on the remote LCD screen, system enter into mute
arming mode, at the same time, remote will show the corresponding vehicle
information.
3 Disarming
hPress button shortly in arming mode, door will be unlocked, main unit siren
will beep twice(the siren will not respond in the mute arming mode), parking
lights will flash twice, LED off, the system is disarmed. Remote responds a
sound, icon will appear, icon will disappear, icon will flash twice
on the remote LCD screen.
4 Remote Trunk Release
hAfter parked the vehicle, press + button over 2 seconds, trunk will be
unlocked (this function only for the vehicle had been installed motor of trunk
release) remote responds a sound and illumines back light simultaneously.
Icon will flash for 5 seconds on the remote LCD screen to indicate the trunk
is already opened.
5 Sound & Light Searching Car
hAfter stopped engine and parked the vehicle :
Press button shortly, siren will sound for 15 seconds and parking lights will
flash simultaneously, press any button could stop this function.
Press button over 2 seconds, parking lights will flash for 15 seconds to find
vehicle by light, press any button could stop flash.
3

Basic Function
6 Anti-hijacking mode
h This function will protect your vehicle in the event that there is an attempt to Hi-jack
the vehicle. Alternative Remote Anti-hijack or Auto Anti-hijack is available by
programming, when user need Remote Anti-hijack function, please select jumper
JP5 in the main unit which is in the position of Remote Anti-hijack (details in the
main unit installation guide); when user need Auto Anti-hijack function, please
select jumper JP5 in the main unit which is in the position of Auto Anti-hijack
(details in the main unit installation guide). While trigger anti-hijack mode, parking
lights will flash once and the LED will flash quickly to show the system is entering antihijacking mode.
1). Remote Anti-hijack:
If user select this mode, Turn ignition to ON position in disarming status,
press button for 3 seconds, the parking lights will flash once and the LED will flash
quickly to show the system is entering anti-hijack mode.
Exit: Within 15 seconds after enter this mode, press button or press reset
switch for 1 seconds, LED will OFF to confirm exit this anti-hijacking mode; If pass 15
seconds, press reset switch for 1 seconds, parking lights flash once,siren chirps once
and LED will OFF to confirm exit this anti-hijacking mode.
2). Auto Anti-hijack:
If user select this mode,Turn ignition to ON position or when driving the car, if
the door is forced to open, the system will activate anti-hijack immediately. The
parking lights will flash once and the LED will flash quickly to show the system is
entering anti -hijack mode.
EXIT: Within 15 seconds after enter this mode, press button or press reset
switch for 1 seconds, LED will OFF to confirm exit this anti-hijacking mode; If pass 15
seconds, press reset switch for 1 seconds, parking lights flash once, siren chirps
once and LED will OFF to confirm exit this anti car-jacking mode.
h When the system enter into anti-hijacking:
From beginning to 15 secnods, LED flash quickly, 16seconds, LED flash slowly, from
45 seonds to 75 seconds, parking lights flash and siren chirps intermittently, after 75
seconds, parking lights flashing and siren keeps chirping, the engine will be disabled
after 90 seconds.
LED flash
Lights flash
Siren chirp
Engine stopper
Timer
LED flash quickly
One flash
0sec.
Parking lights flashing twice per second
Siren chirps intermittently
15sec. 45sec. 75sec. 90sec.
4
LED flash slowly
Siren keeps chirping
Engine stopper

Alarming Function
1 Shock Alert
h During arming mode, if your vehicle’s shock sensor is triggered at first time, siren will
beep 5 times (siren has not respond in mute arming mode), parking lights will flash 5
times simultaneously, this time the vehicle can’t start, remote will send out Bi...Bi
sound 5 times and vibrate twice, illumine back light simultaneously. Icon & will
be flashing on the remote LCD screen.
h When the vehicle is triggered by second time within 15 seconds, main unit siren keep
long beep for 30 seconds, parking lights flash , vehicle can not start. Remote will send
out shock alarming sound and vibrate, back light turn on, icon
& will flash on the remote LCD screen.
h During mute arming mode if your vehicle’s shock sensor is triggered , main unit
siren will not sound, only parking lights flash, remote alarm responds the same as
sound & light arming’s.
2 Emergency Alert
h During arming mode, if door/trunk is opened, step the foot brake or turn the ignition
key to ON position, main unit siren will alarm for 30 seconds, parking lights will flash,
this time the vehicle can’t start-up. Remote send out emergency alarming music for
30 seconds and vibrate, back light flash. Icon Flash.
h During emergency alarming, if the main unit has detected that shock sensor is
triggered, the remote LCD screen shall show the corresponding shock alarm icon
simultaneously.
3 Stop Alert
h During arming mode, if you need to cancel alarming, press one of or
button will stop the alert, the system will return to the previous arming status.
4 Emergency disarming
h Provided the remote is lost, damaged accidently, if user needs to disarm the vehicle,
two method as follows:
1. Open the door by the car key and keep the door opening, the siren chirps at this
moment, step the foot brake and insert the key, turn ACC from OFF to ON 10 times,
the last time should keep ON position over 2 seconds, vehicle is disarmed. This
time, only press button to disarm the status or it will auto disarm this status after
learn code to the new remote.
2. Open the door by the car key and keep the door opening, the siren chirps at this
moment, then turn ACC to ON position, step the foot brake and then press the
reset switch for 3 times continuously, vehicle is disarmed. This time, only press
button to disarm the status or it will auto disarm this status after learn code to the
new remote.
5 Alarming Memory
h If the vehicle has been triggered and alarmed in arming mode, when you disarm the
system and open the door, it sounds the voices:
1). If the shock sensor has been triggered , main unit siren will beep twice.
2). If the door, trunk, foot brake and ACC have been triggered, main unit siren will
beep 4 times.
5

Additional Function
1 Remind Arming Reminder & Automatic Arming
h After turned off the engine and closed the door, if the owner did not set alarm within
10 seconds, the parking lights will flash simultaneously to remind owner to set alarm.
h After owner get off the vehicle for 20 seconds without setting alarm, the main unit will
notify the remote on which the back lights will turn on and sound with the remind
arming chord at the same time , icon will flash 5 seconds on the remote LCD
screen to remind the owner to arm the system.
h Provided owner still leave the vehicle without setting alarm after 1 minutes, if the auto-
arming functions were turned on and the alarming system might transfer into the
situation of mute alarming automatically, remote back light will flash and send out a
long chord, meanwhile icon will appeared on the LCD screen, icon flash 5
seconds then turn into icon to remind owner the door is still unlocked.
2 Automatic back to arming mode(avoid mistaken disarming )
When in the arming mode, press would disarm the system, if the door is
h button
not opened within 25 seconds, the arming system might taken as mistaken disarming
and back to the arming status automatically. Remote back light will and send
out a respond chord which is the same
will display on the LCD screen.
3 Closing door reminder
h After armed the system, if door or trunk are not closed, the main unit siren will beep 3
times, and parking lights flash simultaneously. Remote back light will turn on, vibrate
and sound Bi-Bi twice, icon or on the LCD screen will flash to remind
owner to close the door. If owner leave the door opening after 15 seconds, the main
unit siren will chirp and remote alerts.
h If owner continue driving and leaving the door opened after 15 seconds, and step foot
brake, the parking lights flash twice, if leave the door open after 15 seconds, the main
unit will remind one more time only.
with setting the alarming system, icon
turn on
4 Central Control Door Lock Automation
h When closed door, and continue driving for 15 seconds and step on the foot brake,
the door will be locked; then when turn off the engine, door lock will unlocked, press
button door lock will be locked when you are driving, and press button door
will be unlocked.
5 The Selection of Dynamo Electronic/ Pneumatic lock
h When select the jumper JP1 in the main unit which is in the position of dynamo
electronic lock (details in the main unit installation guide), press remote or
button, the time for locking or unlocking is less, when the vehicle is using dynamo
electronic lock may apply this mode.
h When select the jumper JP1 in the main unit which is in the position of pneumatic
lock (details in the main unit installation guide), press remote or button, the
time for locking or unlocking is longer, when the car is using pneumatic lock may
apply this mode, it needs to select when installing the car alarm system.
Notice: this product has been set as dynamo electronic lock before leave the
factory.
6

Additional Function
6 Open Door and Parking Light Flash Selection
h When select the jumper JP2 in the main unit which is in the position of open door
and parking light flash (details in the main unit installation guide), while you open the
door, the parking lights flash 15 seconds at once to remind the cars behind.
h When select the jumper JP2 in the main unit which is in the position of open door
and parking light OFF (details in the main unit installation guide). While you open the
doors, the parking lights shall not flash.
h open door and parking light flash
Notice: this product has been set as before leave
the factory.
7 Automatic Closing Window Selection
h After enter into arming mode then operate this function, the alarm system could control
the auto window machine to close the window. When need auto-closing window
function, select jumper JP3 in the main unit which is in the position of Automatic
closing window (details in the main unit installation guide), it could operate this
function successfully when you are setting the arming system; select jumper JP3 in the
main unit which is in the position of Without automatic closing window (details in the
main unit installation guide), this function has been cancelled.
Attention: this function is suitable for the vehicle which have the Auto closing window
function, it can close the windows with the key turn in a twisting or spinning way, such as
Passat, Bora, Golf and so on, if the condition is not available and do not try to operate this
function ,otherwise it would made some damage to the central control lock.
Notice: this product has been set as without automatic closing window before leave
the factory.
8 Door Positive /Negative Trigger Selection
h When select the jumper JP4 in the main unit which is in the position of Door negative
trigger (details in the main unit installation guide),it is in the door negative trigger
mode.
h When select the jumper JP4 in the main unit which is in the position of Door positive
trigger (details in the main unit installation guide),it is in the door positive trigger mode.
Notice: this product has been set as before leave the factory, you
can select according to the type of the automobiles.
Door negative trigger
9 Auto-arming On/Off
h When disabled the engine starter, hold to press + button for 1 second simultaneity,
main unit siren chirp 5 times and the parking lights flash simultaneously, it means the
auto arming function has been turned on, the icon shows on the LCD screen, you
can terminate this operation with the same way, the siren chirps 3 times and parking
light flash simultaneously, icon will disappear from the LCD screen. Repeat this
operation, the auto arming function shall switch between on and off.
h
Notice: the auto arming function for this product has been turned on before leave the
factory.
10 Remote Vibration On/Off
h Hold to press + button for 1 second, icon disappear from the remote LCD
screen which shows the vibration function has been turned off; you can turn it on in the
same way, the icon shows on the LCD screen and remote vibrates twice at this time.
7

Additional Function
11 Remote Button Lock
h Hold to press button for 2 seconds, remote will sound Bi-Bi , icon OFF in
the right corner of the LCD shows remote has been locked, press button 2
seconds again to release button lock, and the remote sound Bi-Bi-Bi , you can
see ON in the right corner. Only you can press button to release button lock
or press + button to turn on the back light in button lock status, other buttons will
not be function. In the operation when the clock display changed to OFF and flash
6 times, to remind remote button lock on, and then will change to display clock again.
12 Turn On Remote Back Light
h Hold to press + button at the same time, the remote back light will be on for
3seconds, it is convenient to check the time in the night.
Notice: You can continue operating this function after locked the button.
13 Signal Indication
h If the remote fail to receive the signal of the main unit in 2.5 minutes, the signal
strength indication icon on the LCD will disappear, only the antenna icon shows
that the remote has go beyond the service range; after remote control has return to
the service scope within 2 minutes, the signal strength indication icon on the LCD
will display again, which reminds that the remote is in the service scope.
14 The Busy Tone Reminder of Remote
h When manipulate the remote provided encounter a problem s
sending the signal to the remote which will sound busy tone means this channel has
been occupied(about 3 seconds), please try this operation later.
15 Remote Battery Low Reminder
h When the remote is battery low, when pressing any buttons will sound Bi-Bi 5
times to remind battery low. When icon flash, you should exchange the battery in
time.
uch as the main unit is
16 Remote Turn On/Off the Engine & Air-condition (Optional Feature)
h Turn on: hold to press button for 2 seconds , the remote will receive the respond
music, engine has been turned on, then icon rotates on the LCD screen.
h Turn off: press button or button could turn off the engine and enter into the
arming status.
Notice: when the door is opened. ACC is turned to ON position or even step the foot
brake, all could not turn on the engine effectively .
h Turn on/off air-condition: after the engine was turned on successfully, perform the
same operation to turn on/off the air-condition; when switch on the air-condition,
starter icon on the LCD screen will flash speedily; when switch off the air-condition,
icon turn into rotate.
Notice: Before remote starts the engine, owner have to make sure that the car is in
neutral and parking brake(you may fail if without pulling parking brake), otherwise it might
incur danger. If you would like to switch on the air-condition with remote control, make
sure the air-condition was turned on after the last parking, otherwise you may fail to fulfill
this operation. After remote engine started, engine will be off after 15 minutes. In this
period, if the vehicle has foot brake or ignition key turned, the engine will be off
immediately.
8

Parameter Setting
h Hold to press + button for 1 second, remote will sound a remind tone, back
light will be turned on, icon SET flash and enter into setting mode.
hThen press button,it will circulate exchange and select among time/minute
time/hour (alarm clock)ON/OFF (alarm clock)/minute (alarm
clock)/hour (vibration)ON/OFF (auto-arming)ON/OFF EXIT, the
corresponding icon will flash with icon SET simultaneously.
hPress button you can set the corresponding parameter of the flashing icon,
ON means turn on the function, OFF means turn off the function. After set
the present parameter, press button to select next one and perform the same
operation, when you are setting the time and alarm clock’s parameters, hold to
press button parameters shall change speedily.
hDuring the course of setting the parameters, hold to press + button for 1
second any time, icon SET and EXIT flash simultaneously, you can save
the parameters and the present status you have set and exit from the operation,
the remote control send out a remind tone meanwhile.
hWhen you press button select item to icon EXIT , hold to press +
button for 1 second at the same time, you can save the parameters and the
present status you have set and exit from the operation, press button you
can exit from the present operation directly and without saving the modifications.
hWhen reached the alarm clock time you have set, remote control will sends out
Bi-Bi remind tone and vibrates, icon flash at one time for 30 seconds.
press any key could stop the alarm clock.
Reminder:About setting vibrate function ON/OFF, auto-arming function ON/OFF .
The user could via parameter setting, also could via double button operation to set
quickly according to additional function description.
9

Remote code learning & deleting
Remote code learning
Method one:
h When the vehicle is not in the alarming mode, hold to press the Learning
button on the main unit, the main unit siren sounds Du 1 time, and the
parking lights flash once simultaneously, the LED indicator light on, then you
can press any key on the remote once, the remote sounds respond chord music
3 times after you have finished it successfully, the main unit siren sounds Du
3 times, and parking lights flashes 3 times. Pay attention not to release the
Learning button , continue pressing any key from the 2nd to the 4th on the
remote once and to learn, LED off indicates the learning code was finished.
Method two:
h When in disarming mode, step the foot brake, turning the key from OFF ON 8
times, leave the key from OFF ON and maintain ON when it is the 8th times,
the main unit siren sounds Du once and the parking lights flash once
simultaneously, LED indicator light on, then you can press any key on the
remote once, the remote control beeps 3 times with the respond chord music,
the main unit siren sounds Du 3 times, and the parking lights flash 3 times.
Attention do not release the foot brake, continue pressing any key from the 2nd
to the 4th on the remote control once and to learn, LED off indicates the learning
code was finished.
Remote code deleting:
hHold to press Learning button on the main unit, LED indicator light of the
main unit will be off after 10 seconds, the siren voices out a long tone, and the
parking lights keep on once indicates the remote which code had been learnt
has been deleted.
Technical parameter
MAIN UNIT:
Working voltage 12V 3V
Quiescent current 10mA
Working frequency 433.92MHz
Siren sound level 110~125dB
Working temperature -20 ~+85
REMOTE CONTROL
Working voltage 1.1V 1.5V
Quiescent current 0.1mA
Working frequency 433.92MHz
Transmitting power 10mW
Working temperature -20 ~+60
10

Troubleshooting
Problem
1.The continuous beeps of the
siren can not be stopped by the
remote control after the
installation of the main unit.
2.After disarming the system,
parking lights do not flash or
after set the arming, it does
not alarm when open doors by
force.
3.After set the sound & light
arming, it alarms if with slight
touch or when the heavy
vehicle passes by .
4.Remote control set arming
system successfully, but
failed to the central lock.
Solution
The plug is improperly inserted or not;
The line is improperly connected or not;
The fuse of the main unit is broken or not;
The codes of the remote control and the
main unit are identical or not.
Check the door switch pin in stalled in a
correct way;
Check whether the sensitivity of the door
switch is cut or in disconnection.
This phenomenon caused by highly
sensitivity of the shock sensor, adjust the
knob for regulating the sensitivity of the
shock sensor to reduce the sensitivity, if
you fail to solve it then change a sensor.
Check whether the wiring of the central
control lock has been destroyed, cut or in
short circuit: the installation of the wiring
is in a correct way;
Check whether the wiring fuse of the
central control lock has been cut, if you
can see the wire has been burned, which
shows the mistakes in installation, please
recheck the connection wire;
Plese reread the central control lock
installation manual and the wiring
installation manual in details.
5.The vehicle could not operate
with remote or it is still in
ignition mode after started
successfully.
The manual brake checking line hasn't
connecting properly;
The engine oil lamp checking line haven't
connecting properly.
11

Special reminder
h The system could realize the maximum distance for wireless sending and
receiving between remote control and vehicle, and show the vehicle situation
clearly, but it will affected by the factor of building, geographical environments or
weather condition, The radio wave propagation might be hampered, and affect
the sending and receiving distances.
hBefore the installation, please make sure that whether the car you are desired to
install is in dynamo electronic mode or pneumatic mode, and you also have to
confirm the type of trigger, and set the correct jumper line position on the main
unit (this product has set in a dynamo electronic position mode before leaves the
factory), and standard the operation, wiring, installation stringently which in
accordance with the automobiles technical standard of the country. Please have
the experiential and skilled technician whom hold the automobiles electrician
qualified certificate installed .
hThe remote is precision electronic product. Don't make it broken and soggy.
hThe system is intended mainly to alarming, intimidating the robbery, increasing
the stealing difficulty and reminding the owner. Owner have to still keep your
alert.
hThe user manual has covered all the detailed information which the owner need
to know, suggesting you read the manual in details before you install or use the
product.
Attention to the Use of the Remote
hDo not break it heavily or put it in a moist circumstance, do not touch the screen
of the liquid surface with your hands.
hDo not try to disassembly or maintain it, forbid using the remote when you are on
the air-craft.
hAvoiding keep close to the high-frequency electric waves or place it in a
circumstance in which the temperature is above 60 degrees.
hWhen the remote is in power shortage time, please exchange the battery.
hWhen use the remote in the car which have pasted the explosion-proof
membrane, the remote control’s distance might be affected to some extent.
12

V
V
V
V
V
TWO WAY VEHICLE SECURITYTWO WAY VEHICLE SECURITY
TWO WAY VEHICLE SECURITYTWO WAY VEHICLE SECURITY
ALARM SYSTEM ALARM SYSTEM
ALARM SYSTEM ALARM SYSTEM
Central Lock Installation Diagram
Orange
White
Lock
Unlock
A WIRE OF CENTRAL LOCK
Orange
White
Yellow
Orange/Black
White/Black
Yellow/Black
B -PULSES
Yellow
Orange/Black
White/Black
Yellow/Black
"
LOCK
GROUND
"
UNLOCK
GROUND
NC
COM
NO
NC
COM
NO
Orange
White
Yellow
Orange/Black
White/Black
Yellow/Black
D +12V PULSES
Orange
White
Yellow
Orange/Black
White/Black
Yellow/Black
E +/-PULSES OUTPUT
"
LOCK
+12V
"
UNLOCK
+12V
GROUND
+12V
GROUND
+12V
ACTUATOR
Main Unit Installation GuideMain Unit Installation Guide
Main Unit Installation GuideMain Unit Installation Guide
FOR MERCEDES. BENZ.AND.AUDI.ETC
Orange
White
Yellow
Orange/Black
White/Black
Yellow/Black
Ground
PS THE WIRE1 CHANGE THE POLARITY
Central Lock
+12V
C VACUUM PUMP TYPE
"
1
ELECTRIC
2
3
VACUUM PUMP
COLORS
1 GREEN/BLUE
2 BROWN
3 RED/BLUE
Orange
White
Yellow
Orange/Black
White/Black
Yellow/Black
F CARS EQUIPPED WITH CENTRAL LOCK
CENTRAL LOCK
+12V
LOCK
UNLOCK
ACTUATOR
Central Lock Installation Guide
This system can control several common central locks without any other additional parts.
Type A :
For vehicles equipped with central lock, first recommendation. (FIG. B)
Type B :
For vehicles equipped with central lock but no motor on driver's side, add a master motor
and rod into the driver side door. (FIG. E)
This type of installation is applicable to vehicles equipped with factory central lock unit
such as some Ford, Mitsubishi, Mazda,and Nissan models.
INSTALLATION NOTICE : First, install the actuator near the door's manual latch, and
then fix the rod of the actuator on themanual latch.
Type C :
For vehicles equipped with central lock and with motor on driver's side. (FIG.D)
Warning :
1. Please ask the experienced automobile electrician to install this product.
2. The connection wires avoid the high temperature, the high- Pressured nstallation.
3.The broken wiring place must insulate wraps up .
Main Unit Installation
JP1
Jumper
JP2
JP3
JP4JP5
The main unit is placed under the vehicle control
panel. Afterfixing the main unit in a suitable
place, start connecting all the wiring according
to the Wire Connection Diagram. Before putting
back all the parts, simply test system functions
first.
Pneumatic lock
Auto Anti-hijack
Remote Anti-hijack
Dynamo electronic lock
Open door and parking light OFF
Open door and parking light flash
Door positive trigger
Door negative trigger
Automatic closing window
Without automatic closing window
Default factory setting:
Sensitivity adjustment of shock sensor
It is recommended to mount the shock sensor
under the dashboard and stick it closely to inner
wall of car body without any shock pad.
Remote Anti-hijack
Dynamo electronic lock
Open door and parking light flash
Without automatic closing window
Door negative trigger
Please remember the place where the shock
sensor is mounted.
It will cause false alarm if it is too sensitive, or it
will miss alarm, if it is too insensitive. The
PISCIS PLUS
Main Unit
sensitivity of shock sensor can be adjusted
moderately according to the environment and
user’s demand to make it work availably.
Antenna Position
Learning button
Antenna
Oil light
Oil light switch
The ideal position for the antenna is in the top
corner of the front windscreen right up of the
+12V
wheel side. Please keep the antenna free from
any obstructions to prevent reception
ACC
interference.
On
NOTICE:
If the vehicle is parked in urban area with many
buildings around,or under a strong electric field
environment, the receiving and dispatching
distance will be affected.
Remark:
When partial vehicle types enable the engine starter, Not only the third gear to start the ignition wire and output +12V, but also the another wire to output +12V
simultaneously. Thus, the yellow wire of engine starter relay should connect with it.
Partial vehicle types there are two air condition control wires, just connecting the black wire and the brown wire of the air condition relay separately, do not connect
the black wire to +12V. The majority of vehicle types connect the black wire with +12V, the brown one connect with the air condition control wire of the lock.
STR
Type D :
For vehicles equipped with electrical-activated vacuum-pump controlled door locks.
(FIG. C) The timing of actuator mechanism can be set as shorter(dynamo electronic lock)
or
longer(pneumatic lock).
This type of installation is applicable for some Mercedes-Benz and Audi models.
Type E :
For some GM vehicles equipped with factory central lock unit.(FIG. F)
For some vehicles not mentioned above, please consult professional installers.
NOTE: Type B installation method (FIG. E) is suitable for most vehicles.
Orange
White
Yellow
Orange/Black
White/Black
Yellow/Black
Red/Black +Trunk release
Min
Max
Brown
Parking light
6P
Remote engine
starter module
Blue
Purple
Red
Brown
Brown
White
Yellow no connecting
Central Door Lock Connector
FUSE 20A
Yellow
Siren
White
Foot brake light
ACC
ON
STR
Green
Green
Oil pump
+12V/Air-conditioner control wire
Air-conditioner control
Ignition
Engine start
Pink
Yellow
Black/Ground
Red/VDD
Foot brake switch
Orange
Engine cut off
12P
4P
6P
2P
3P
2P
FUSE 10A
FUSE 10A
Brown
Yellow Engine stopper
Black Start motor
Gray Ignition
Purple Air conditioner
Green Detecting of engine starter
Red
Reset switch
Brake light
Switch
+12V
Detecting of engine starter
Parking light
Blue Door pin switch
Hand brake input
LED
Shock sensor
Hand brake input
12V VDD
Car Battery
+12V
 Loading...